Managing banners and featured items
What are banners?
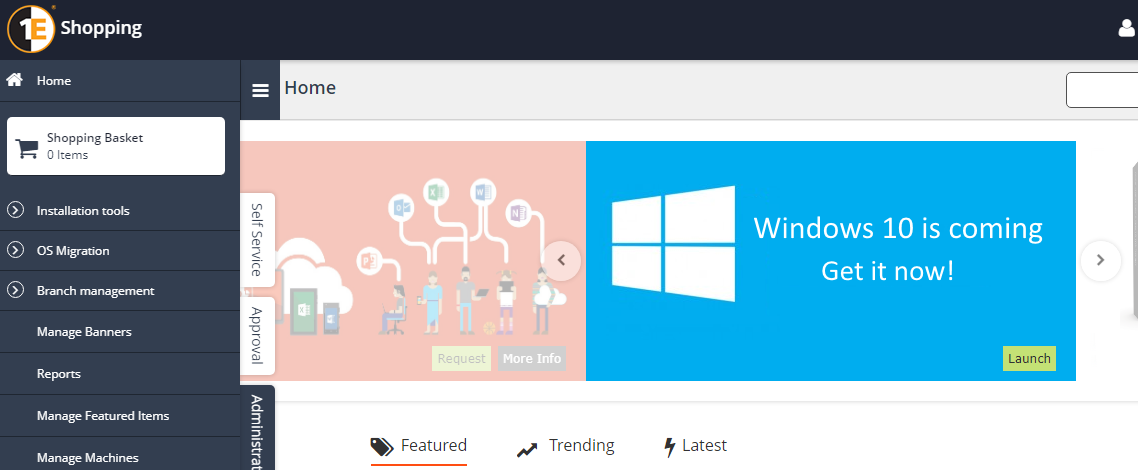
Banners are extremely useful for highlighting specific applications to users in the Shopping portal. They are also required to make OS Deployment and Windows Servicing Assistant Applications available to users in the Shopping portal. Banners appear at the top of the page in the portal and are much larger than the normal application tiles.
Banners are managed in from the Administration tab in the Shopping Web Portal. You must be logged in as a Shopping administrator to see the Administration tab.
Creating a banner to highlight an Application
To create a banner:
From the Administration tab in the Shopping web portal, click Manage Banners.
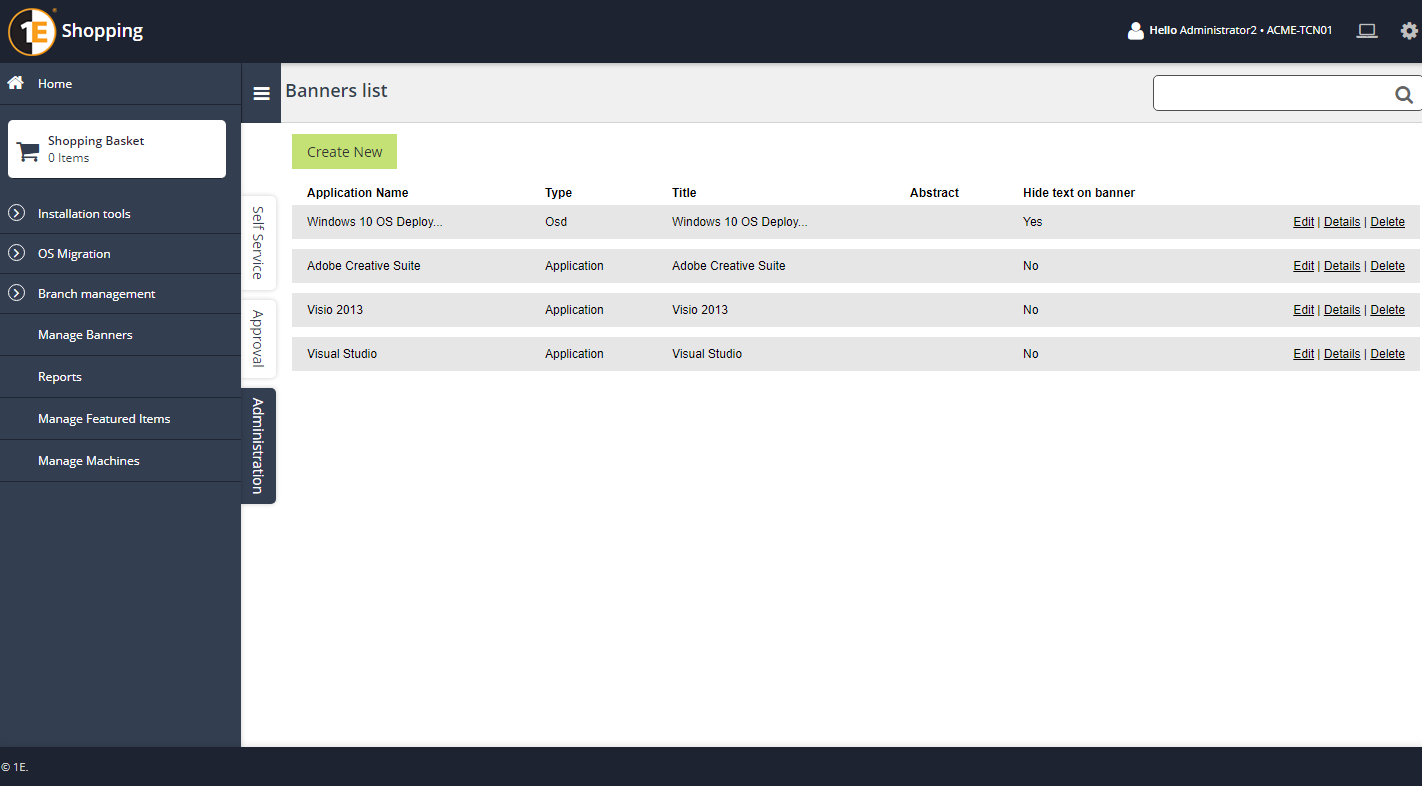
On the Banners list screen, click Create New.
On the Create Banner screen, define the application that you want to highlight. In our example, we are going to create a banner for Office 365:
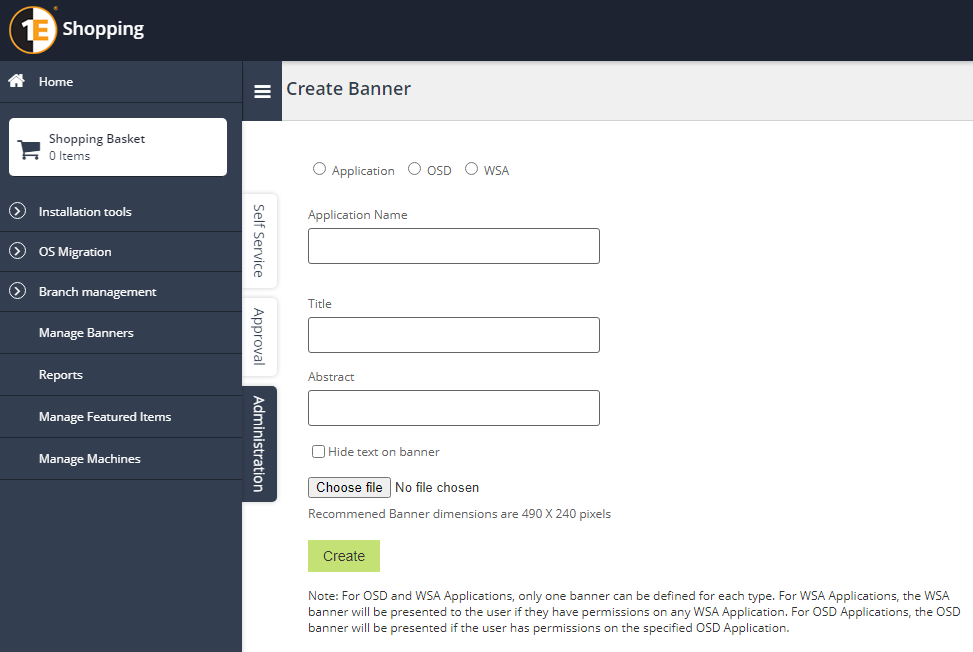
Select the Application radio button
In the Application Name field, start typing the name of the Shopping Application that you want to highlight. As you type, applications that match will be displayed in a drop-down list. Select the appropriate application from the list.
By default, the Title field will display the Name of the selected Application.
By default, the Abstract field will display the Description of the selected Application. You can modify this if you want something different to appear as the abstract on the banner.
By default, the Title and Abstract are superimposed on the image you select for the banner. If your banner image already includes the text you want to display, select Hide text on banner to prevent the Title and Abstract being superimposed on the image when displayed in the portal.
Click the Browse button and browse for the image file to use for the banner – supported file types are
.png,.gif,.jpg,.bmpand.ico. We recommend an image size of 490 x 240 pixels.Click Create.
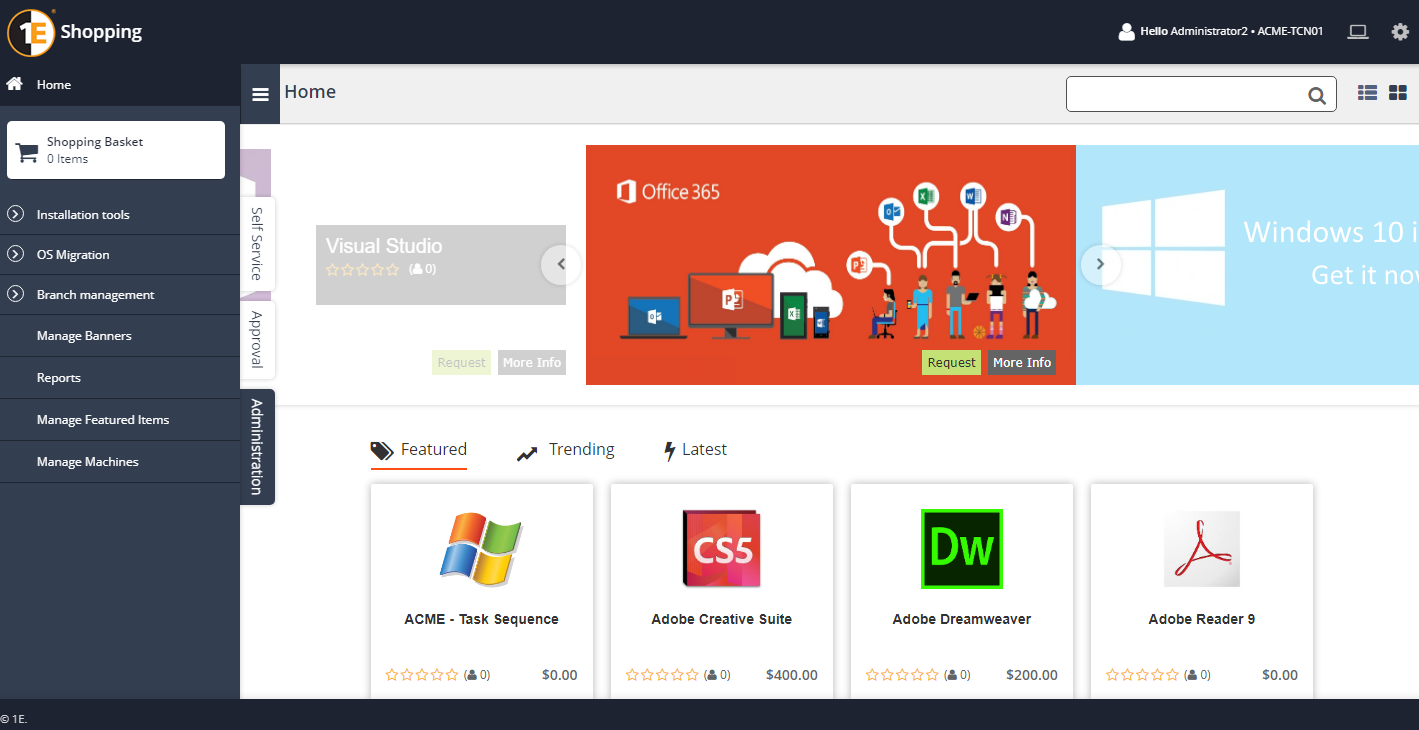
The newly created banner is displayed to users who have permissions to the Application on the Shopping portal. They can request the application by clicking the Request button on the banner.
Creating a banner to publish OS Deployment Applications
OS Deployment Applications in Shopping present the user with the web-based OSD Wizard to select and schedule the deployment of a Configuration Mananger Task Sequence. The OSD Wizard is launched from an OSD Banner, which must be created before any OS Deployment Applications can be deployed through Shopping.
Note
While it is possible to create multiple OS Deployment Applications in Shopping, only one banner can be defined for all OS Deployment Applications.
When the banner is created, it is associated with a specific OS Deployment Application and the banner will be visible to all users that have been granted permission to that particular OS Deployment Application (by default, all users have permission to all Applications in Shopping until an administrator specifically changes these either directly in the application properties or using User Categories).
However, when the user launches the OSD Wizard from the banner, the OSD Wizard will display all OS Deployment Applications that they have permission to view and the user must select which one they want to deploy.
To create a banner to publish OS Deployment Applications
From the Administration tab in the Shopping web portal, click Manage Banners.
On the Banners list click Create New.
On the Create Banner screen:
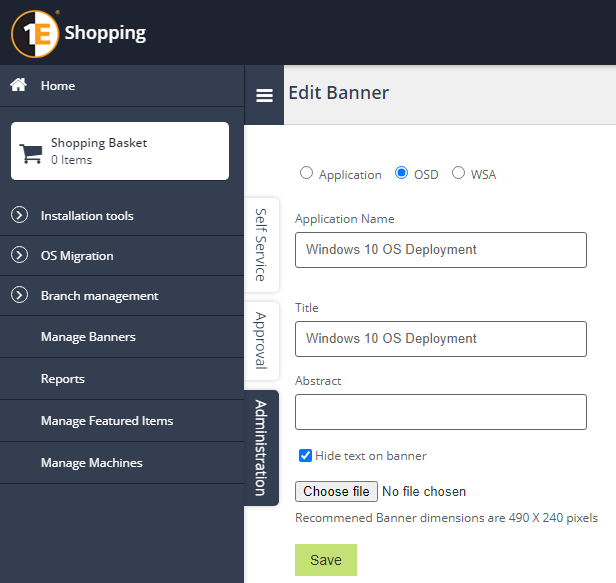
Select the OSD radio button.
In the Application Name field, start typing the name of the Shopping OS Deployment Application that you want to create the banner for. As you type, OS Deployment applications that match will be displayed in a drop-down list. Select the one you want from the list.
By default, the Title field will display the name of the selected application.
By default, the Abstract field will display the description of the application. You can modify this if you want something different as the abstract for the banner.
By default, the Title and Abstract are superimposed on the image you select for the banner. If your banner image already includes the text you want to display, select the Hide text on banner option to prevent the Title and Abstract being superimposed on the image when displayed in the portal.
Click the Browse button and browse for the image file to use for the banner – supported file types are
.png,.gif,.jpg,.bmpand.ico. We recommend an image size of 490 x 240 pixels.Click Create.
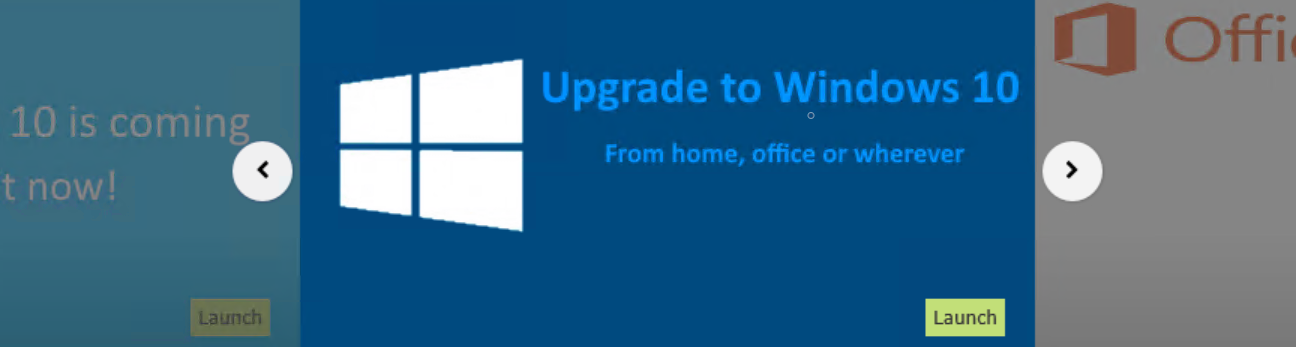
The newly created banner is displayed at the top of the page in the Shopping portal to users who have permissions to the selected OSD Application. Unlike application banners, the OSD banner has a Launch button that will start the OSD Wizard when you click it.
Creating a banner to publish Windows Servicing Assistant Deployment Applications
Windows Servicing Assistant (WSA) Deployment Applications in Shopping launch the client-based WSA included in the Tachyon agent. As with OSD Applications, a banner is required to make WSA Applications available to users in the Shopping portal.
Note
While it is possible to create multiple WSA Applications in Shopping, only one banner can be defined for all WSA Applications. Unlike an OSD banner, a WSA banner is not associated with any specific WSA application. It will appear in the portal for any user who has permission to see WSA Applications.
When the user starts the WSA from the banner, they will be presented with a list of WSA Applications that they have permission to view and must select which one they want to deploy.
To create a banner to publish WSA applications:
From the Administration tab in the Shopping web portal, click Manage Banners.
On the Banners list click Create New.
On the Create Banner screen:
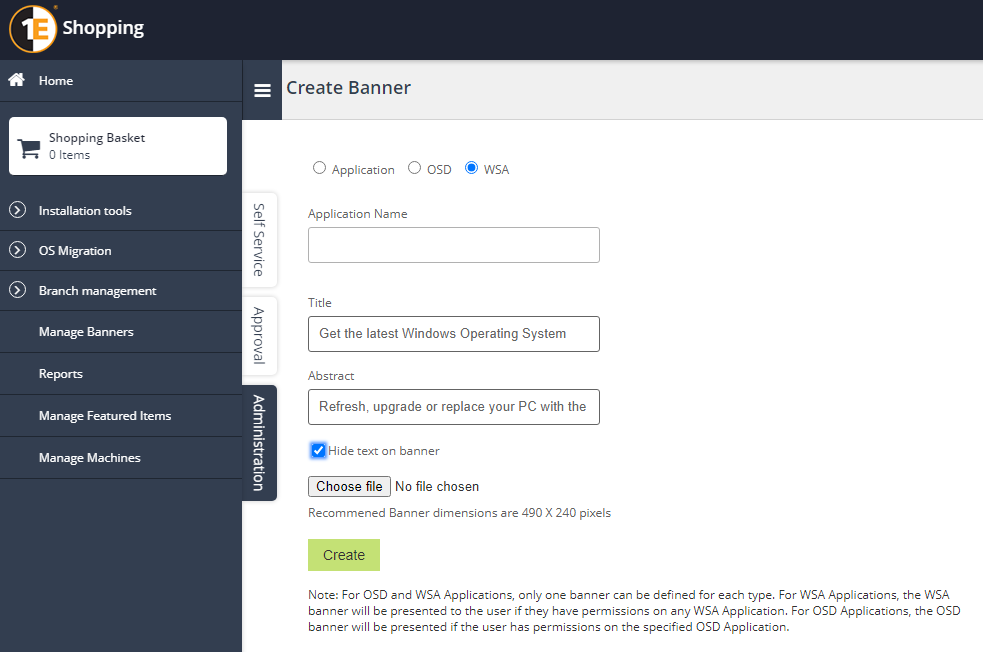
Select the WSA radio button.
The Application Name field is disabled – the WSA banner is not associated with any specific WSA Deployment Application.
If you want a title to be superimposed on the banner image, enter it the Title field.
If you want a description to be superimposed on the banner image, enter it in the Abstract field.
If your banner image already includes the text you want to display, select the Hide text on banner option to prevent the Title and Abstract being superimposed on the image when displayed in the portal.
Click the Browse button and browse for the image file to use for the banner – supported file types are
.png,.gif,.jpg,.bmpand.ico. We recommend an image size of 490 x 240 pixels.Click Create.
The newly created banner is displayed at the top of the page in the Shopping portal to users who have permissions to the selected WSA Deployment Application. Like the OSD banner, the WSA banner has a Launch button that will start the Windows Servicing Assistant when you click it.
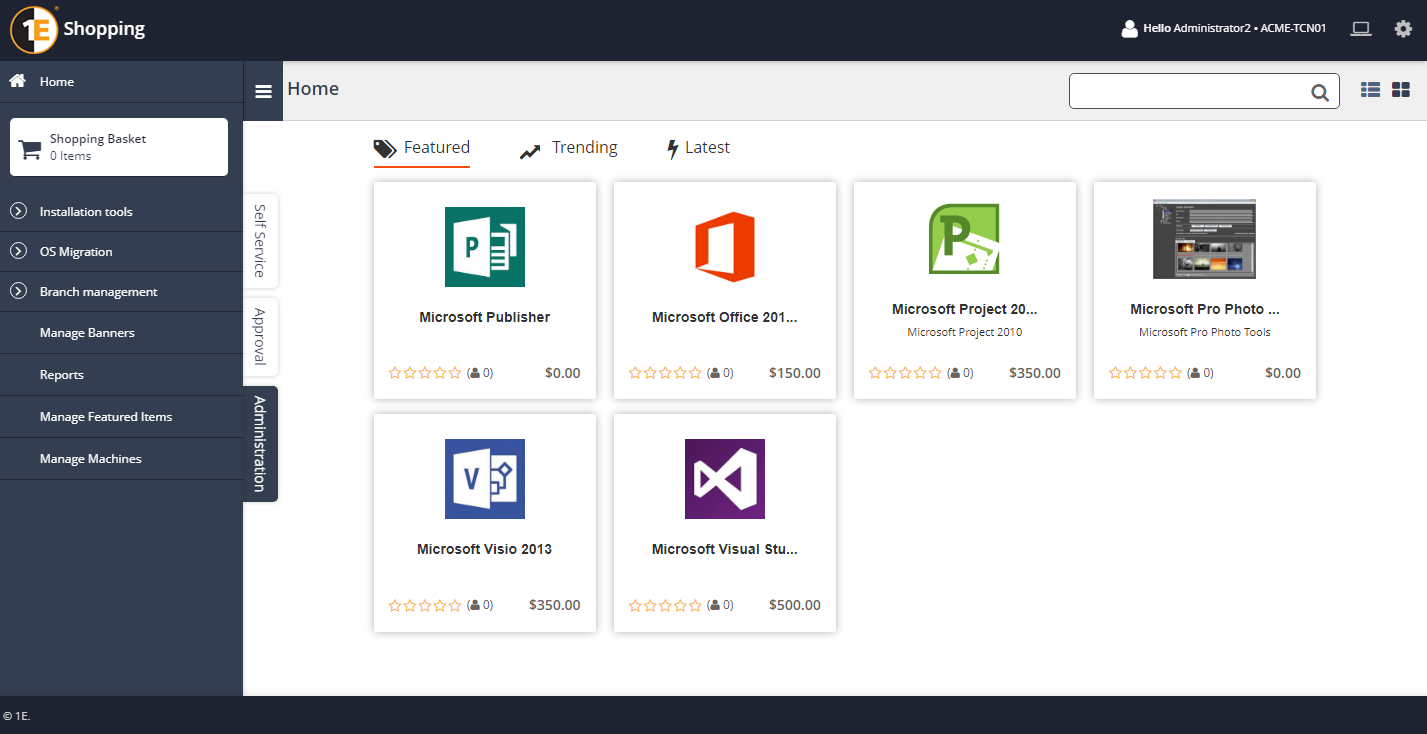
Managing featured items
If Featured Items has not been configured, Shopping will display the top 20 applications in alphabetic order. You manage featured items from the Administration pages in the Shopping Web – determine what items are displayed (if any) in the Shopping Web and in what order.
For example, if you wanted to feature Microsoft applications and ensure these are the first items visible to users:
On the Managed Featured Items screen, tick the Enable displaying featured item sequence on homepage checkbox.
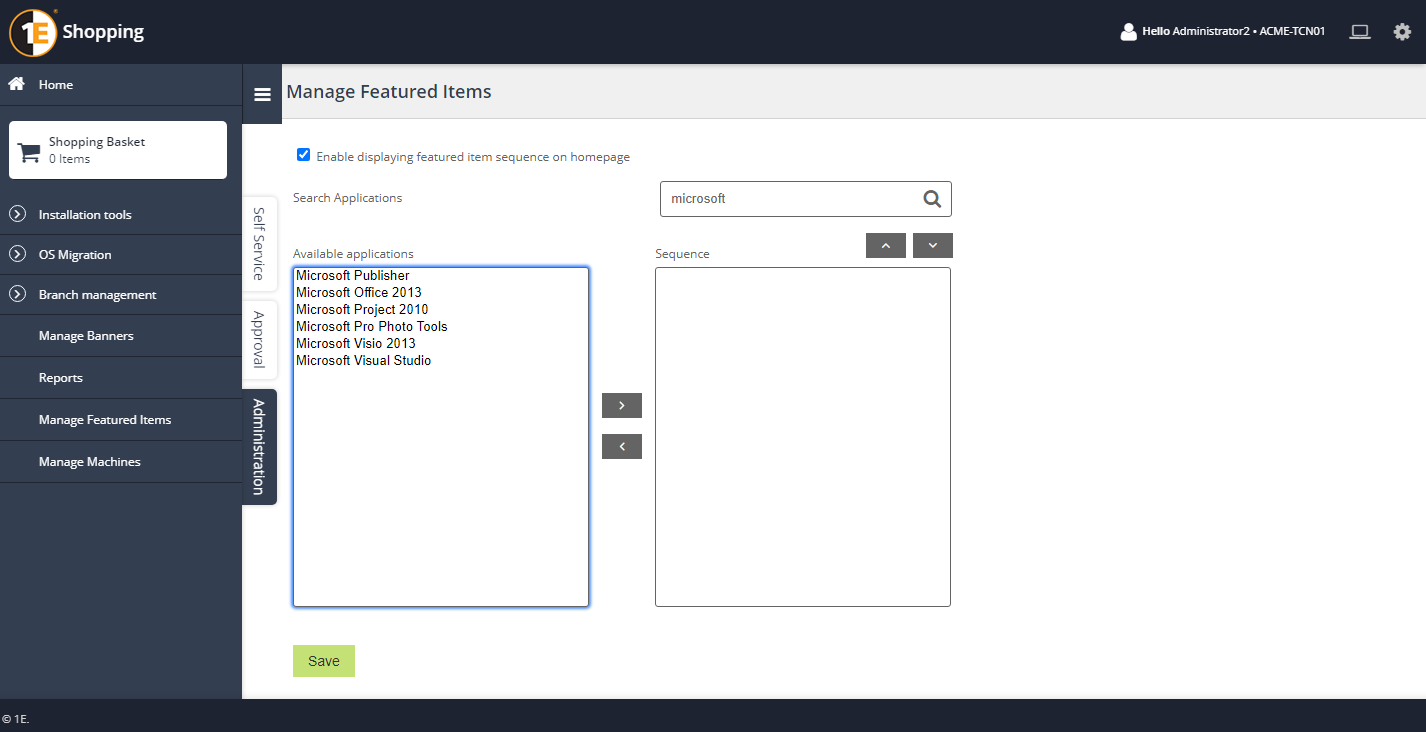
Start typing Microsoft in the search box and click the search icon.
Add the list of Microsoft applications from Available applications to Sequence.
Reorder the list of applications in Sequence if necessary.
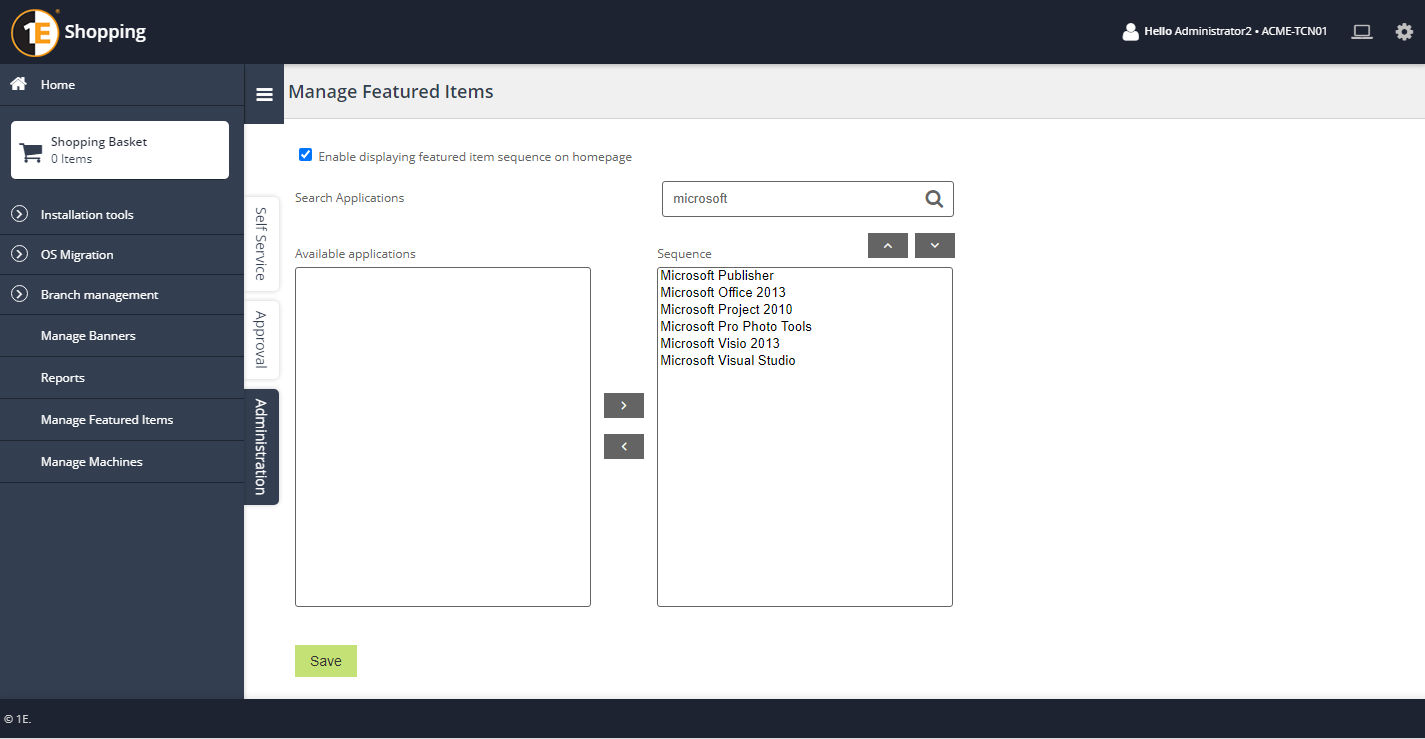
Click Save.
Featured items are now displayed in the Shopping portal in the order you set them.