Train and publish NLU model
1E ITSM Connect uses ServiceNow's Natural Language Understanding(NLU) to comprehend word meanings, recognize word contexts, and infer user or system actions. 1E ITSM connects specifically uses this NLU engine to perform recommended actions feature. The ITSM Connect application has its own NLU model and can be customized based on the requirement. In the customer environment, this model is trained and published automatically using fixed scripts. However, to manually configure it, follow the below given steps.
Login to your ServiceNow instance with admin credentials.
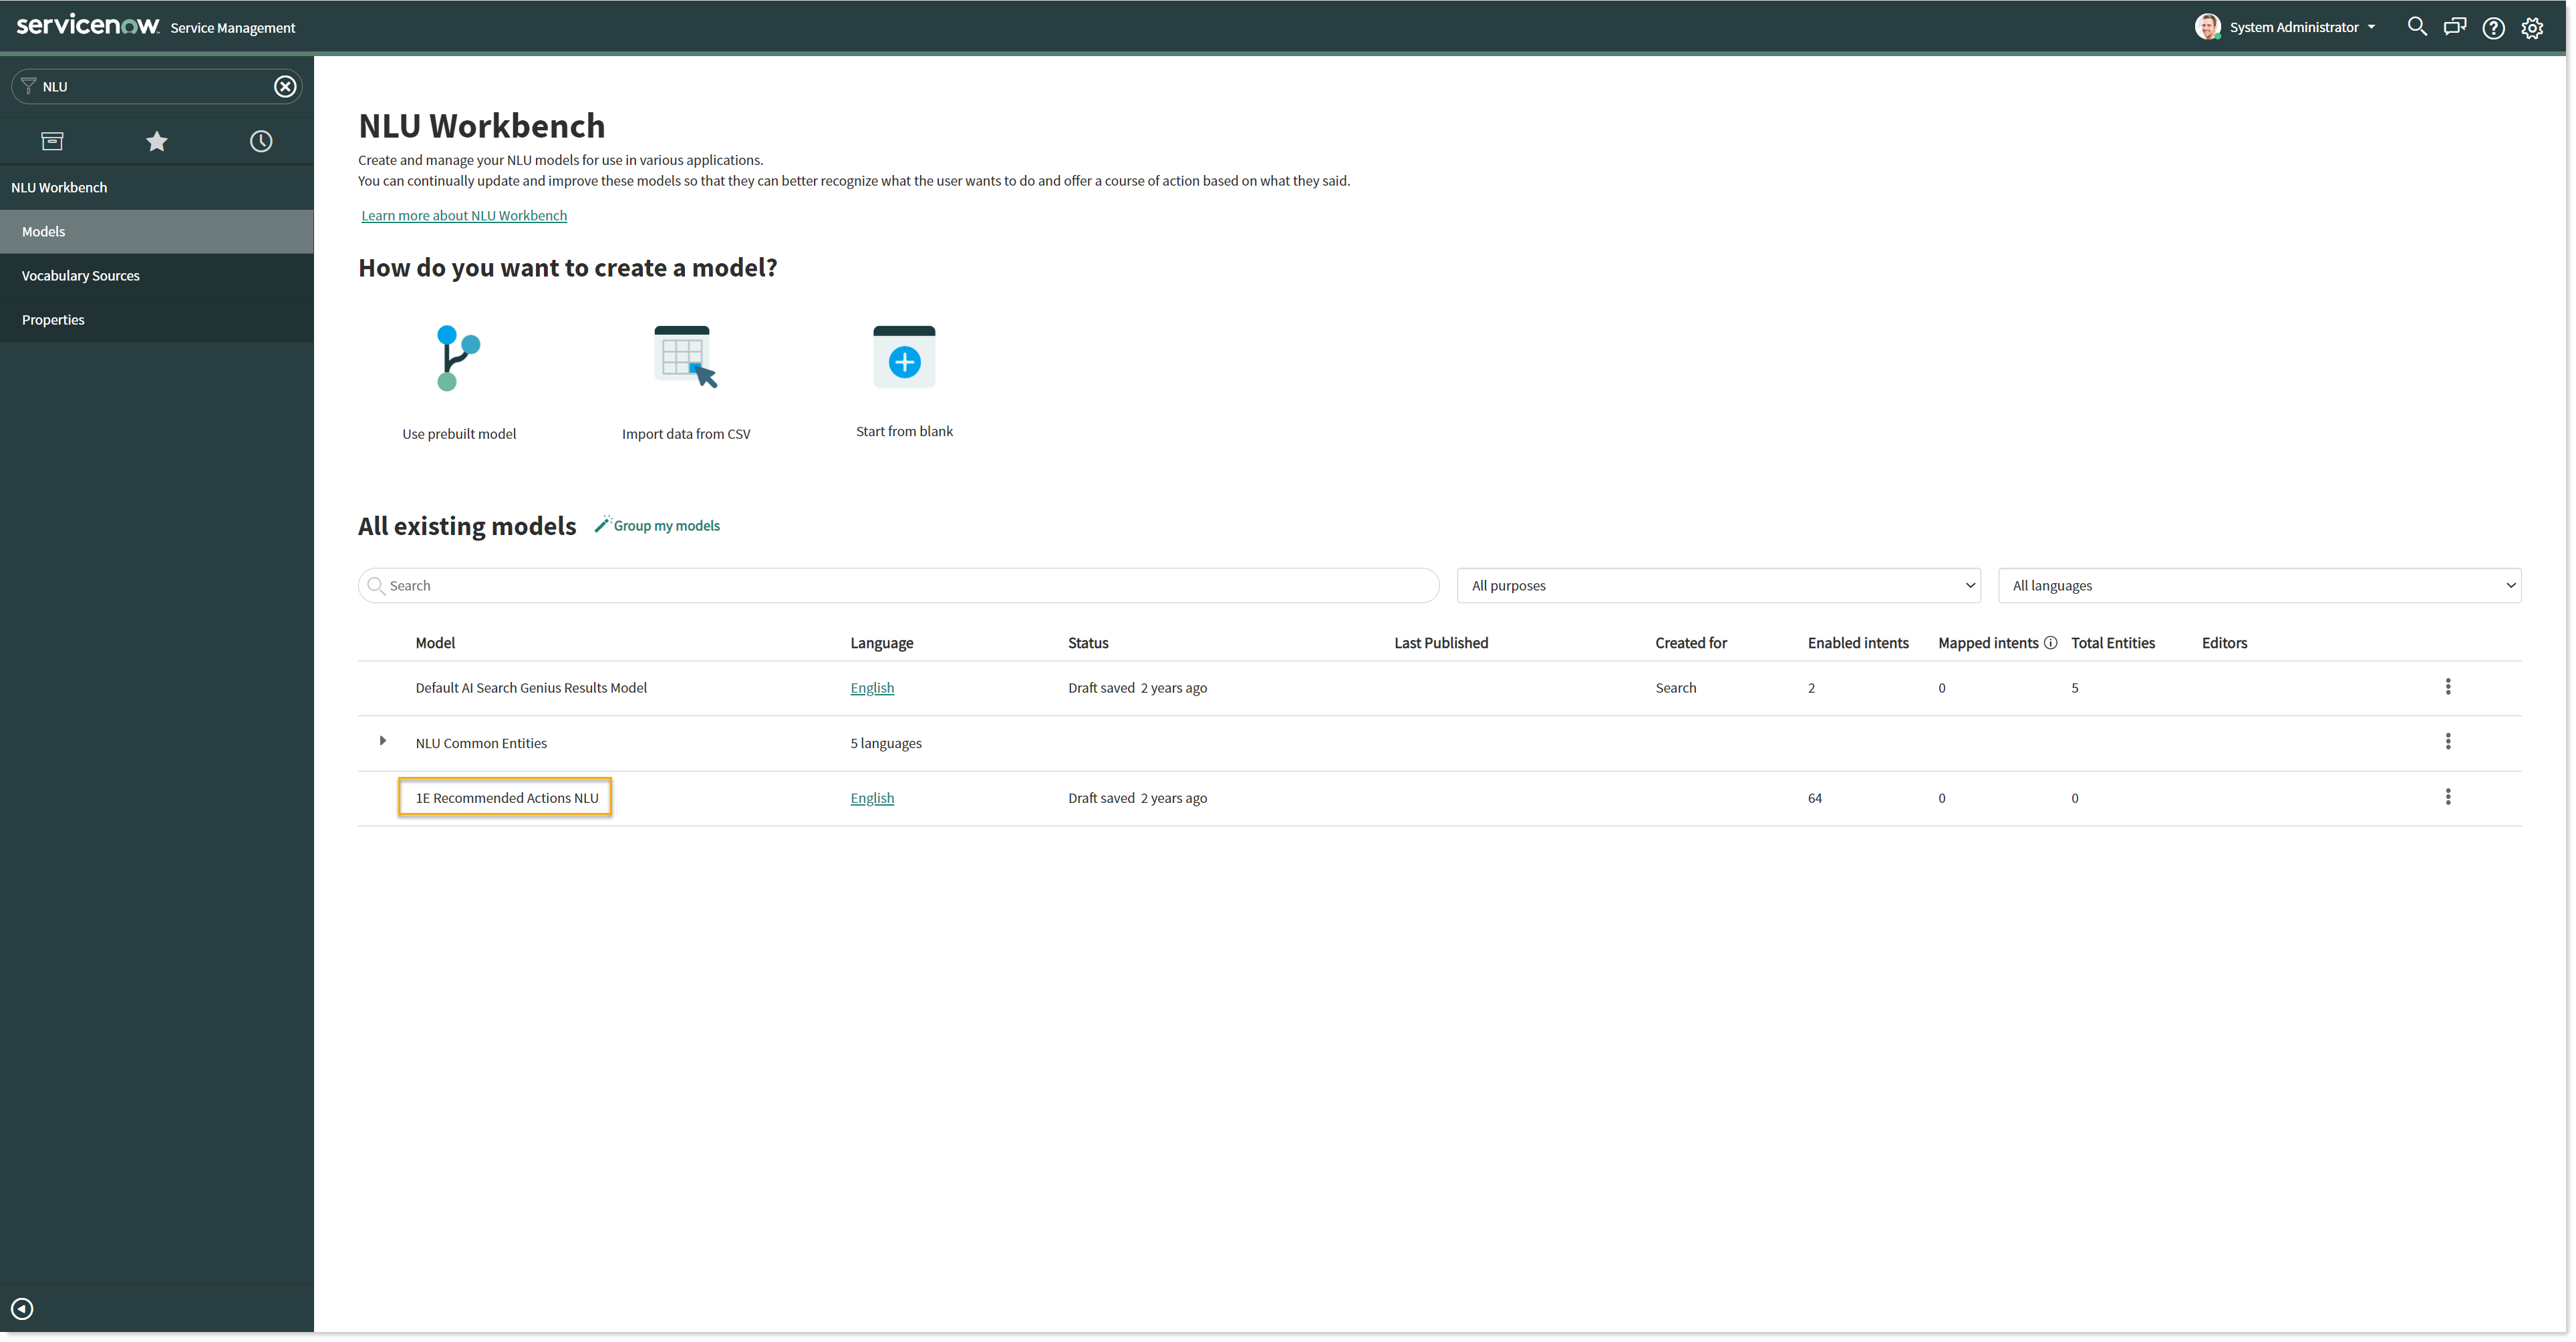
Navigate to NLU Workbench → Models in the application navigator. The page NLU Workbench opens up with the list of All existing models on the right side of the window panel. Look for 1E Recommended Actions NLU model in the list as shown in the picture below.
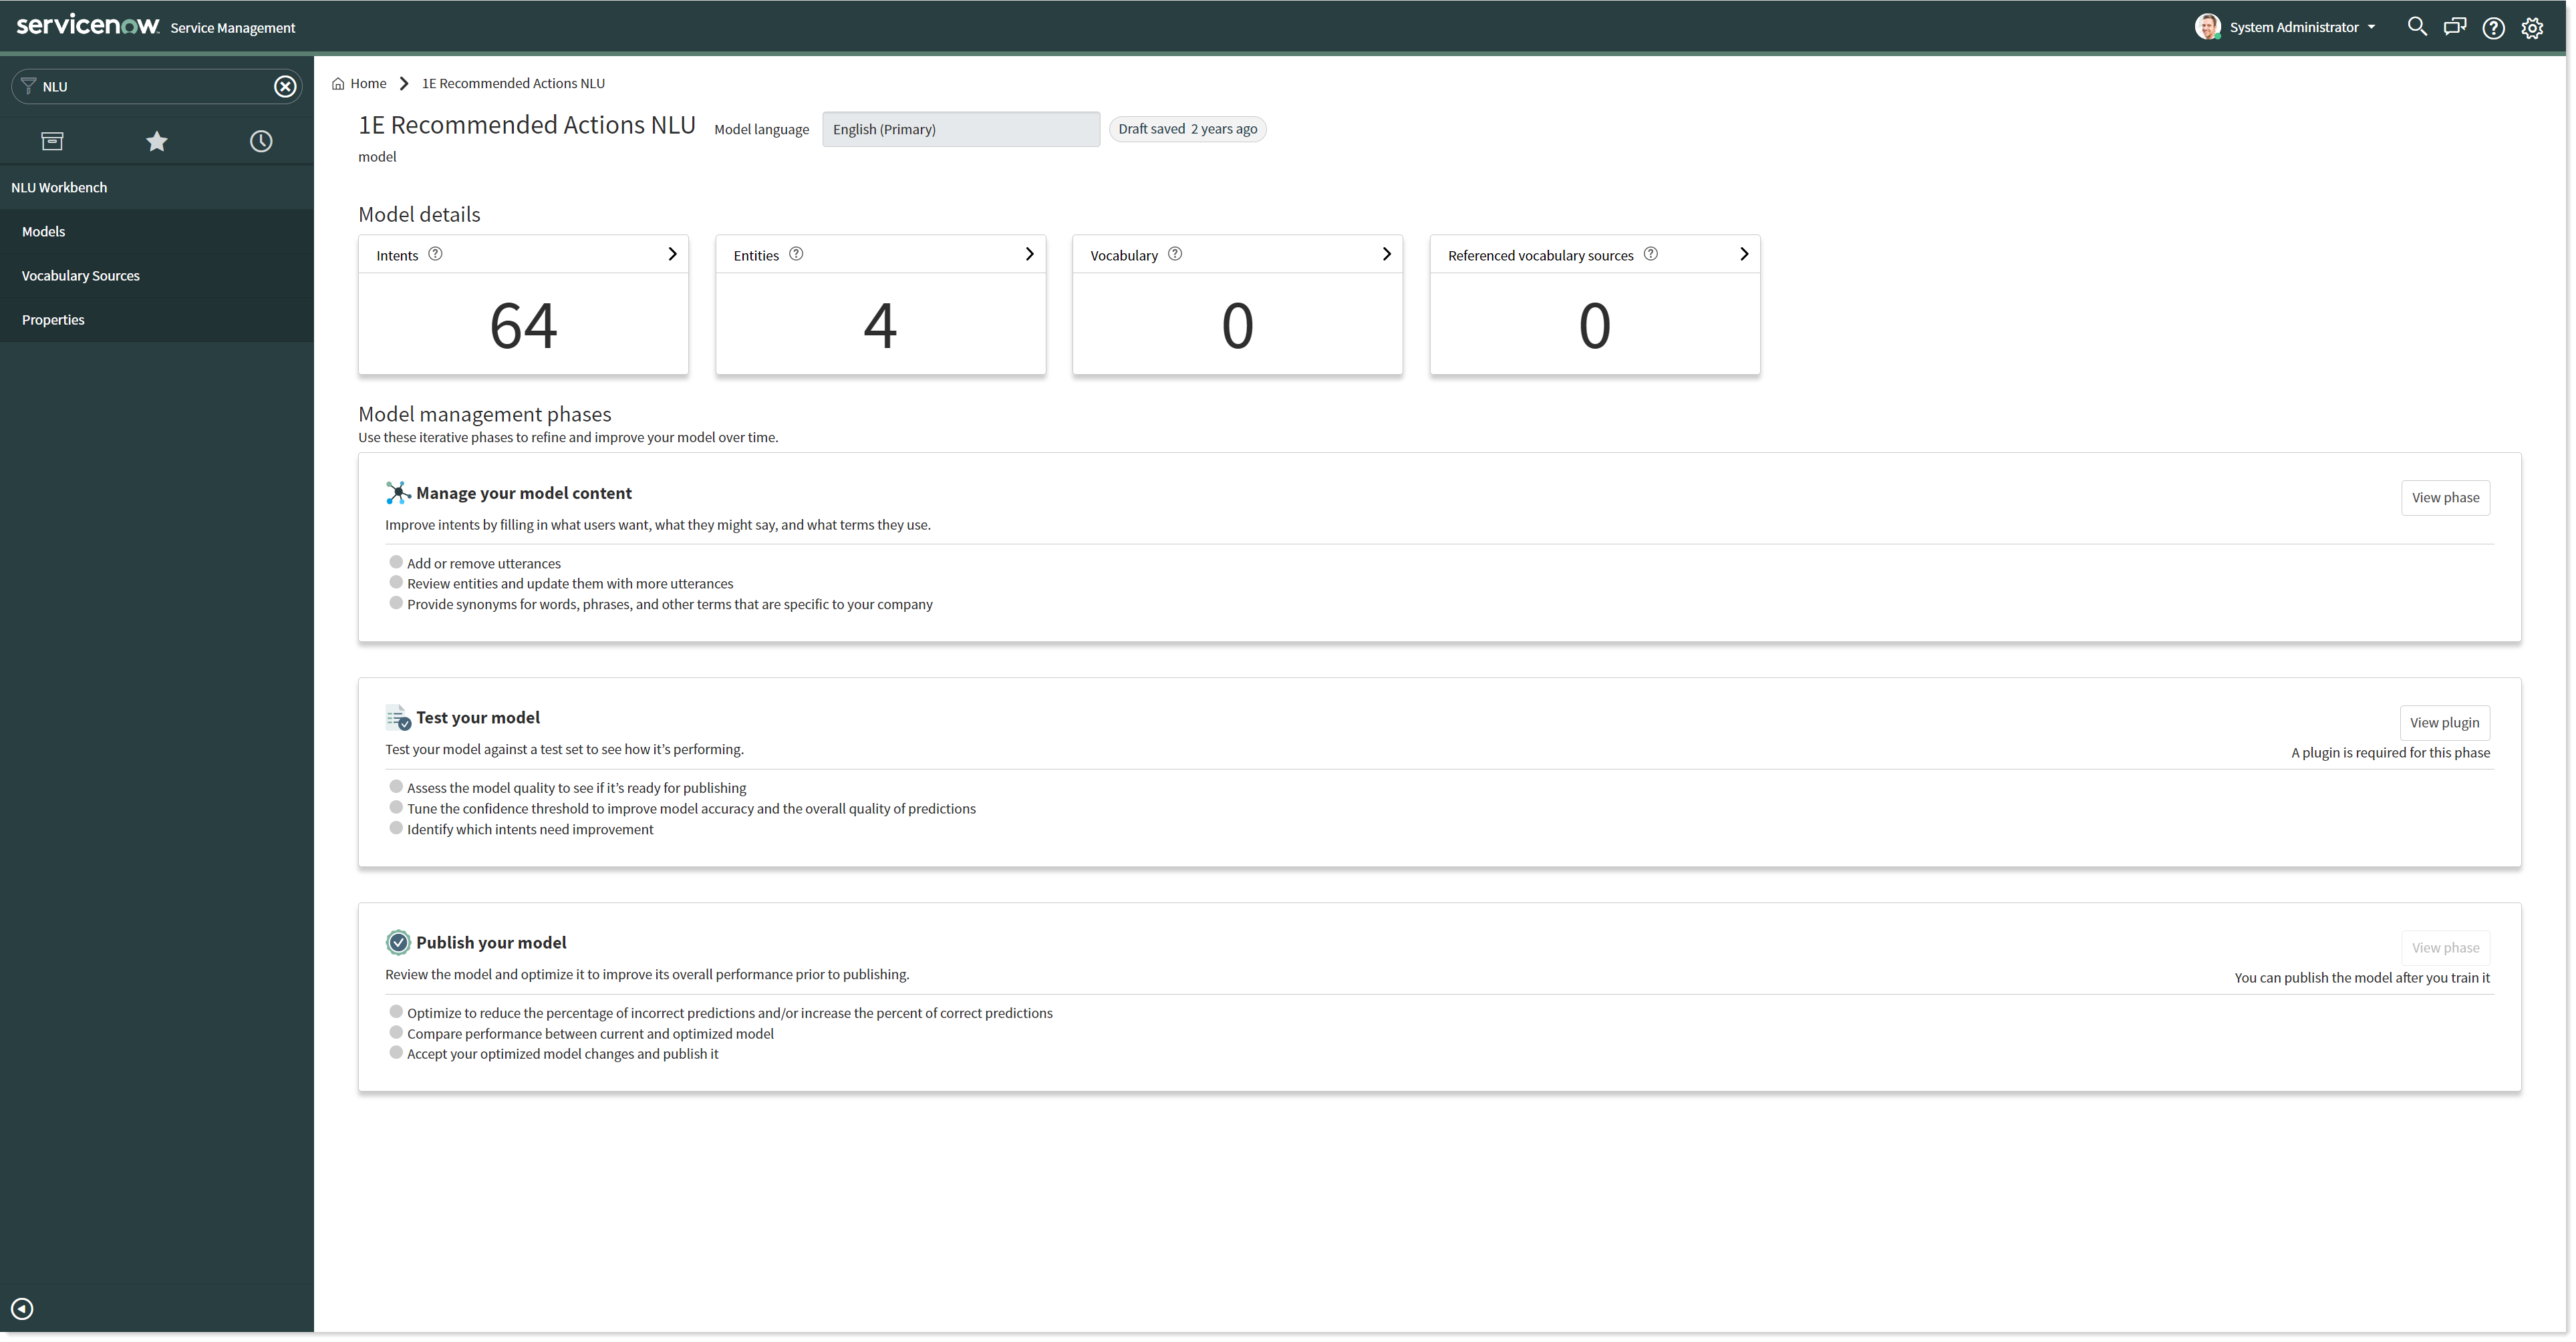
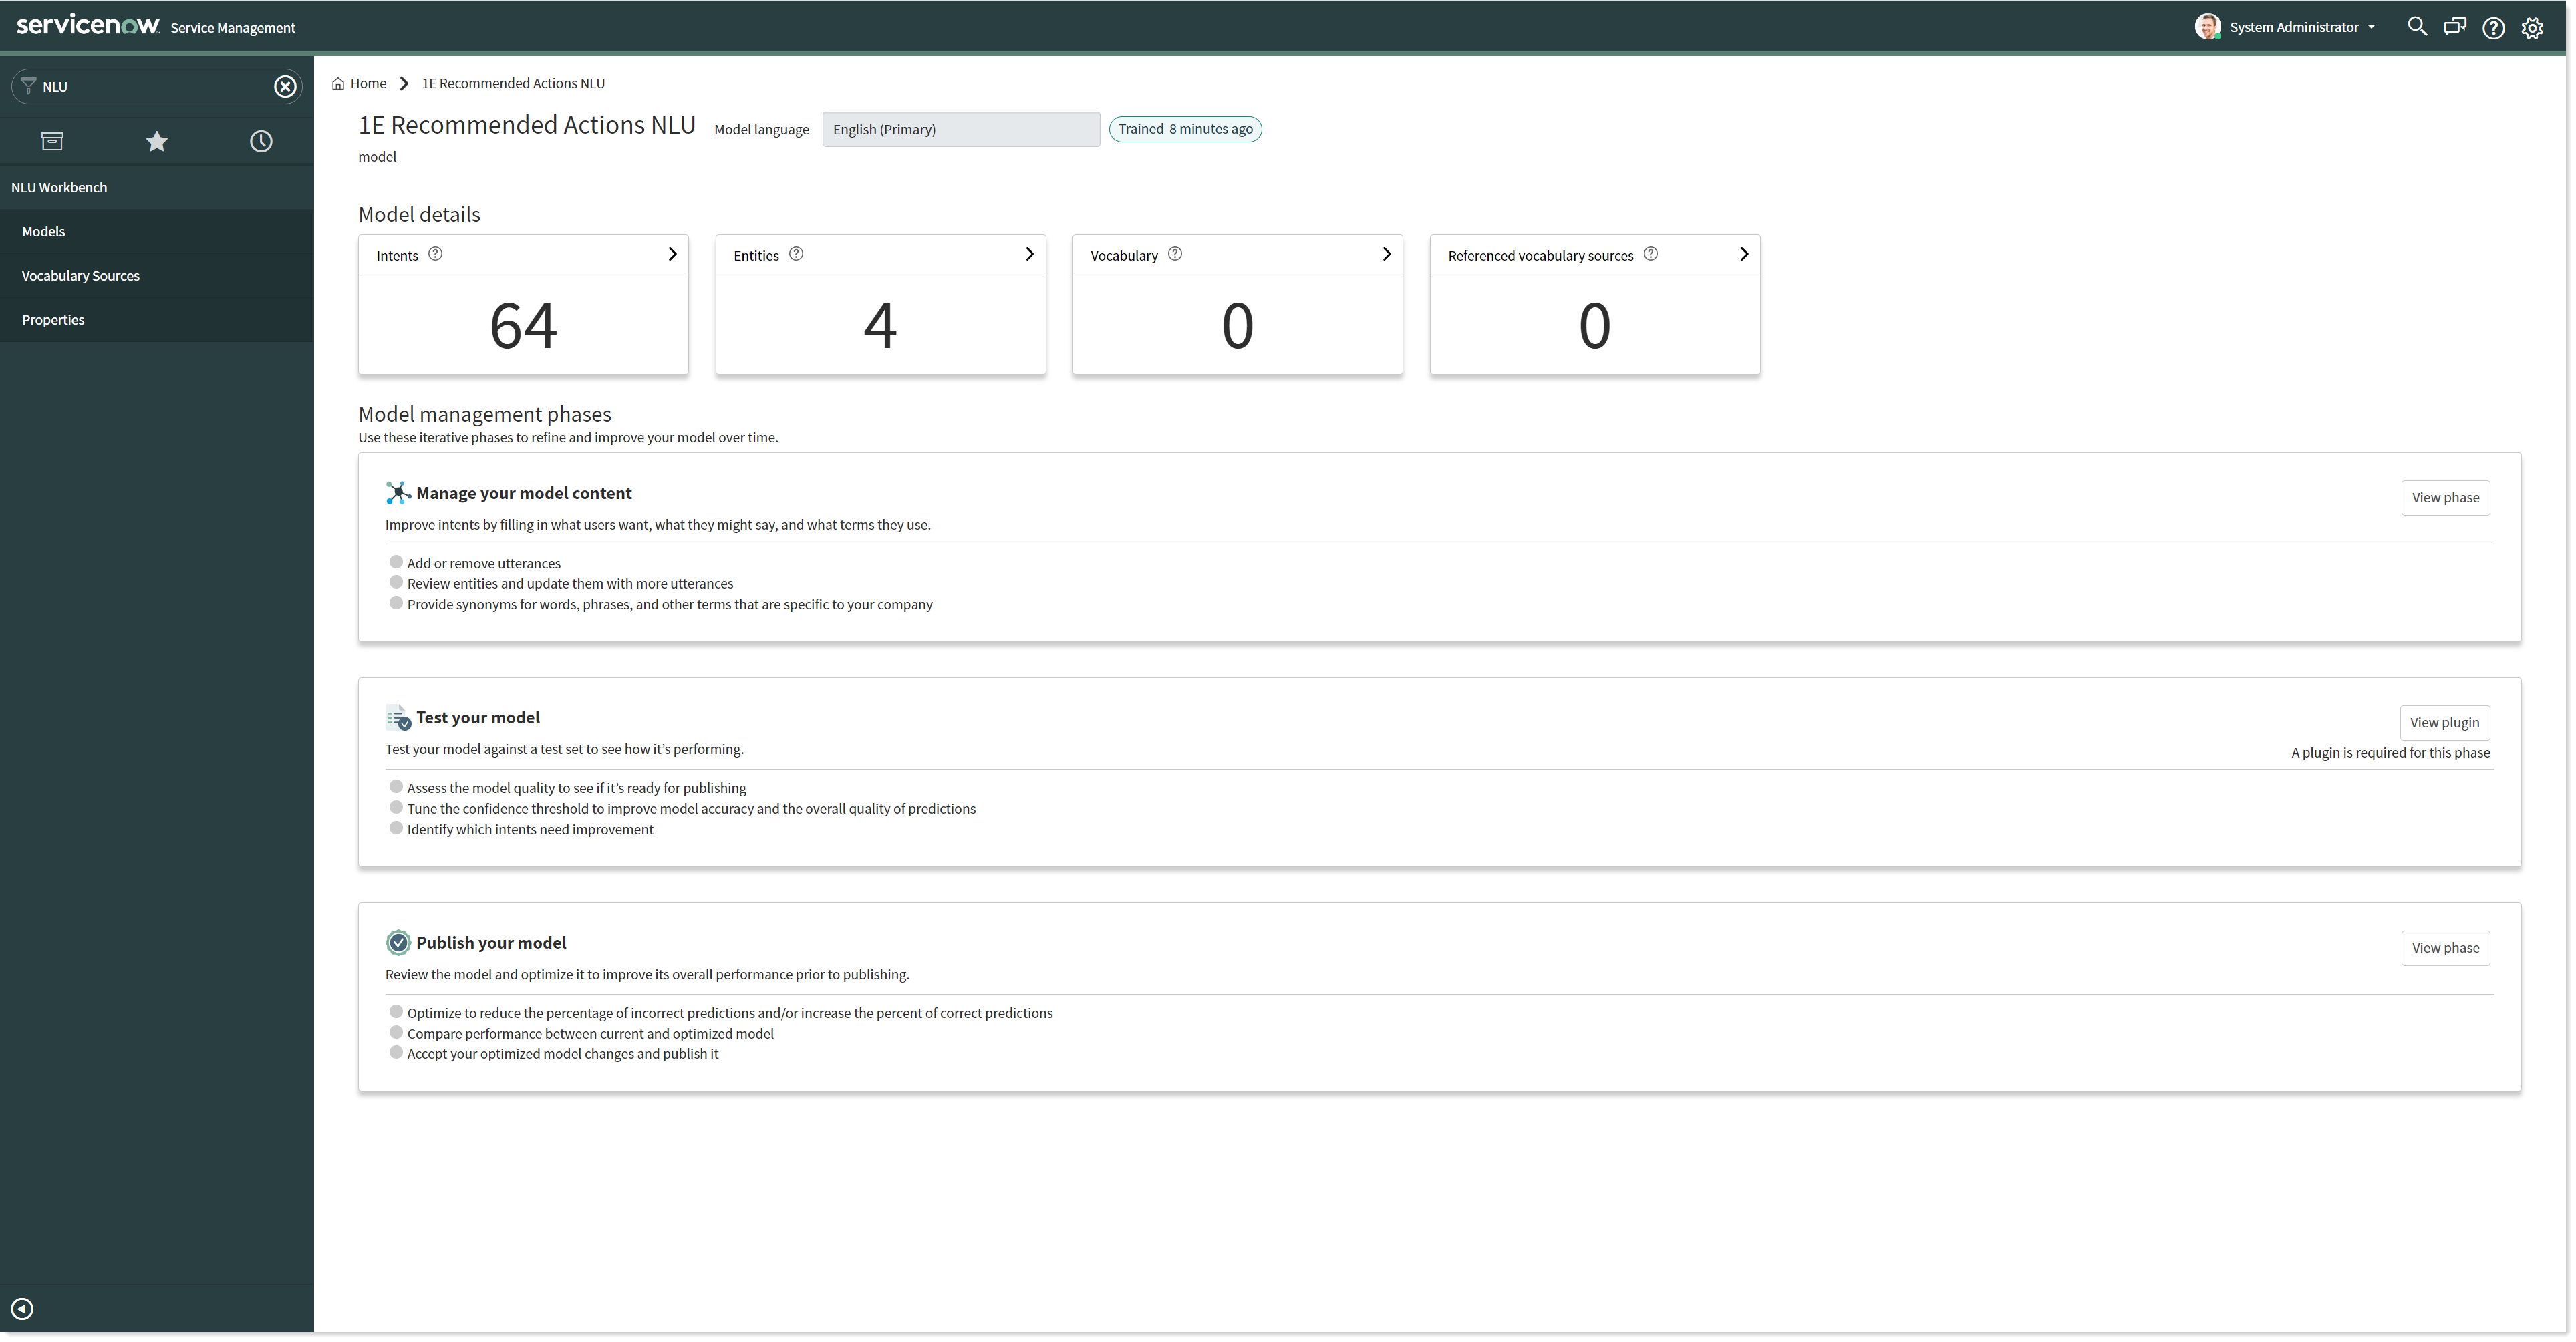
Now click on the respective language field link that you want to look for to open the record, here in this case English. This opens up 1E Recommended Actions NLU model details page as shown in the picture below.
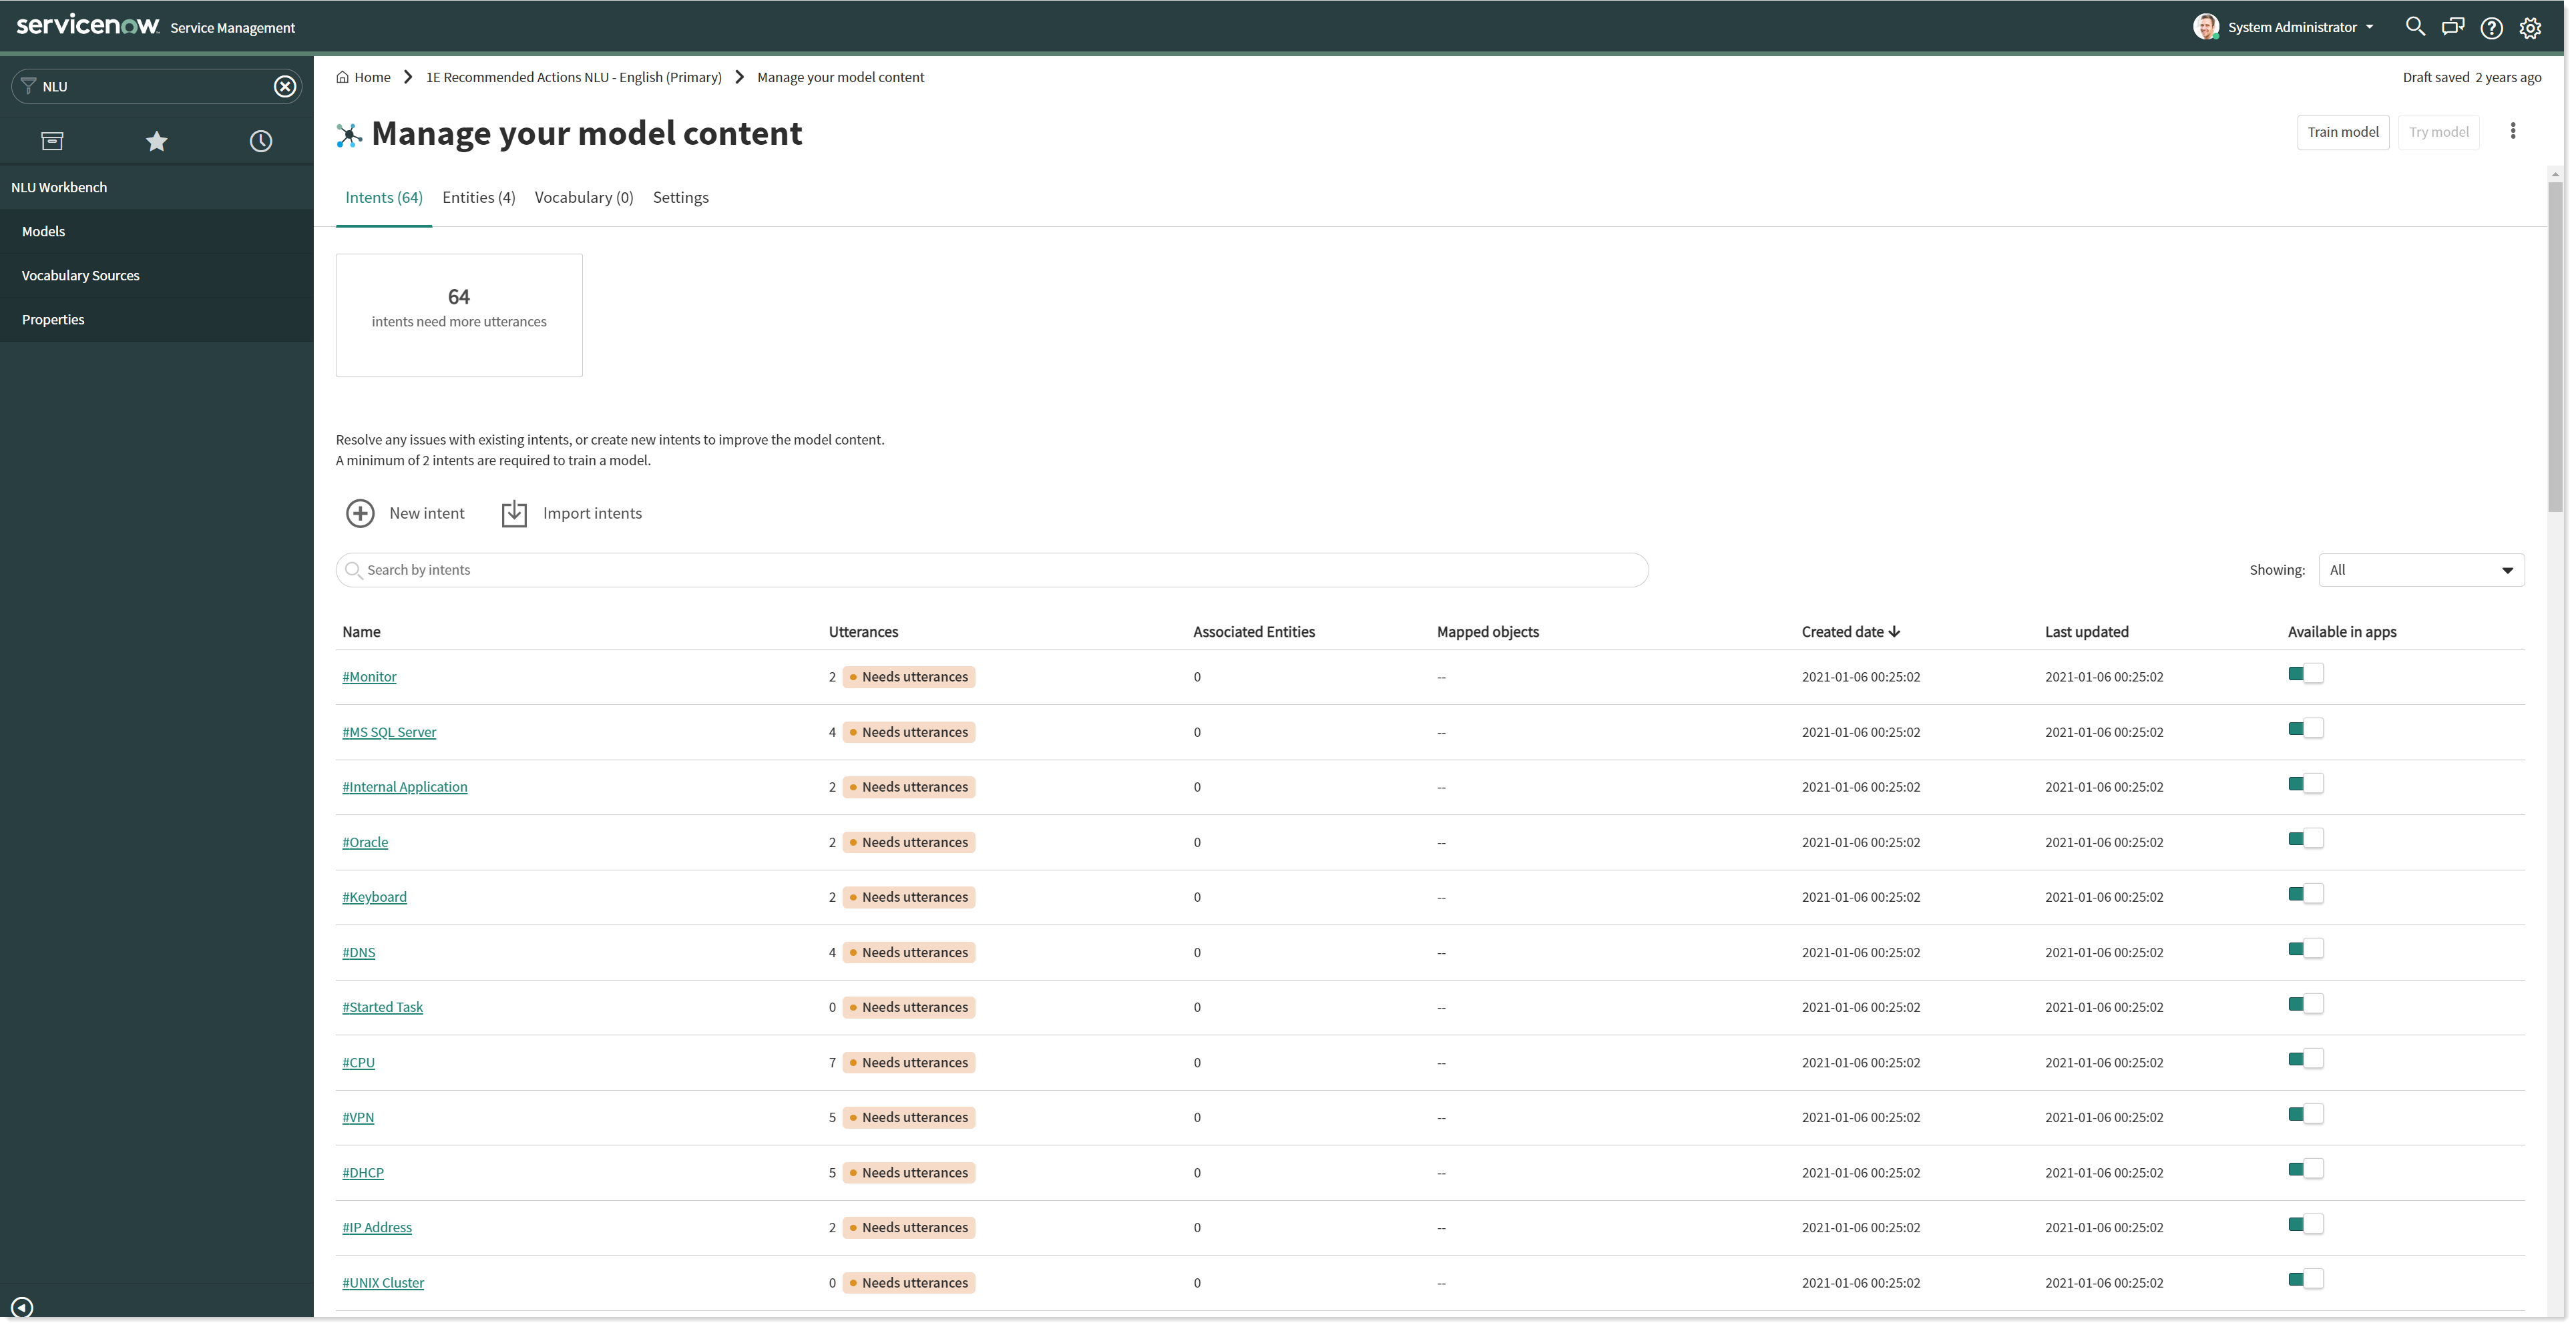
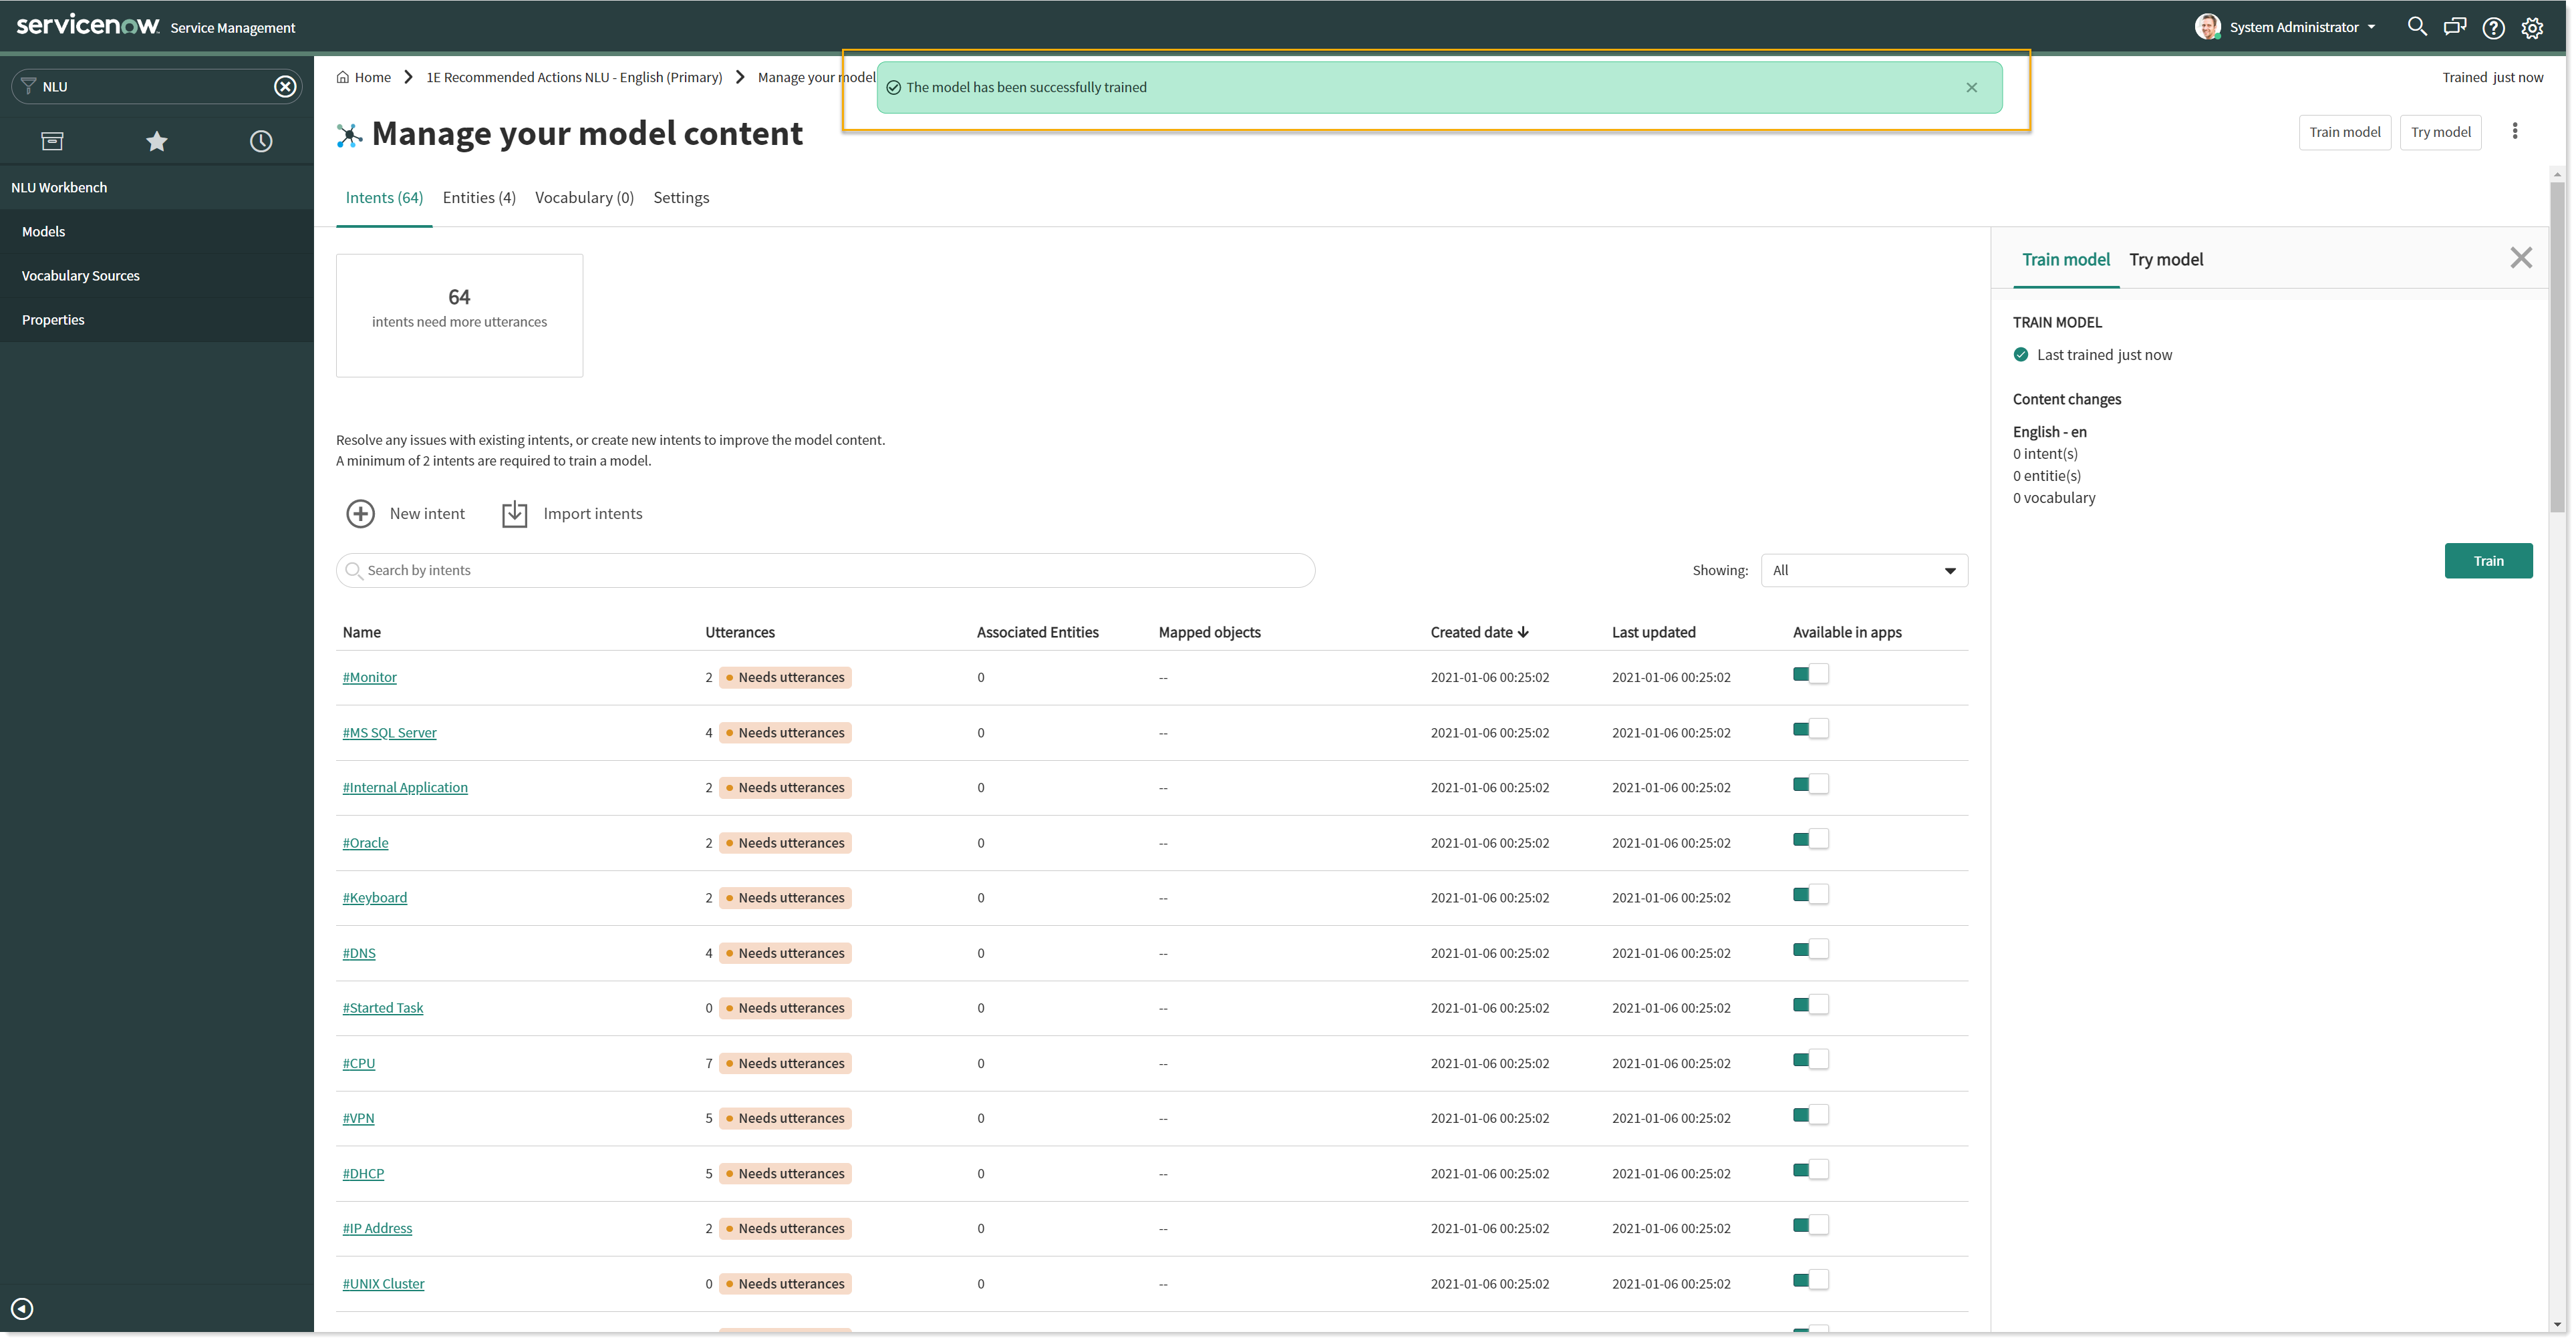
Click on the Intents card that opens into Manage your model content page as shown below. This page has a list of all the built-up intents and their details in the selected model. Now click on the Train model button given in the top right corner to train your model.
A short summary panel appears on the right side of the window, briefing about the content changes that will take place, as shown in the picture below.
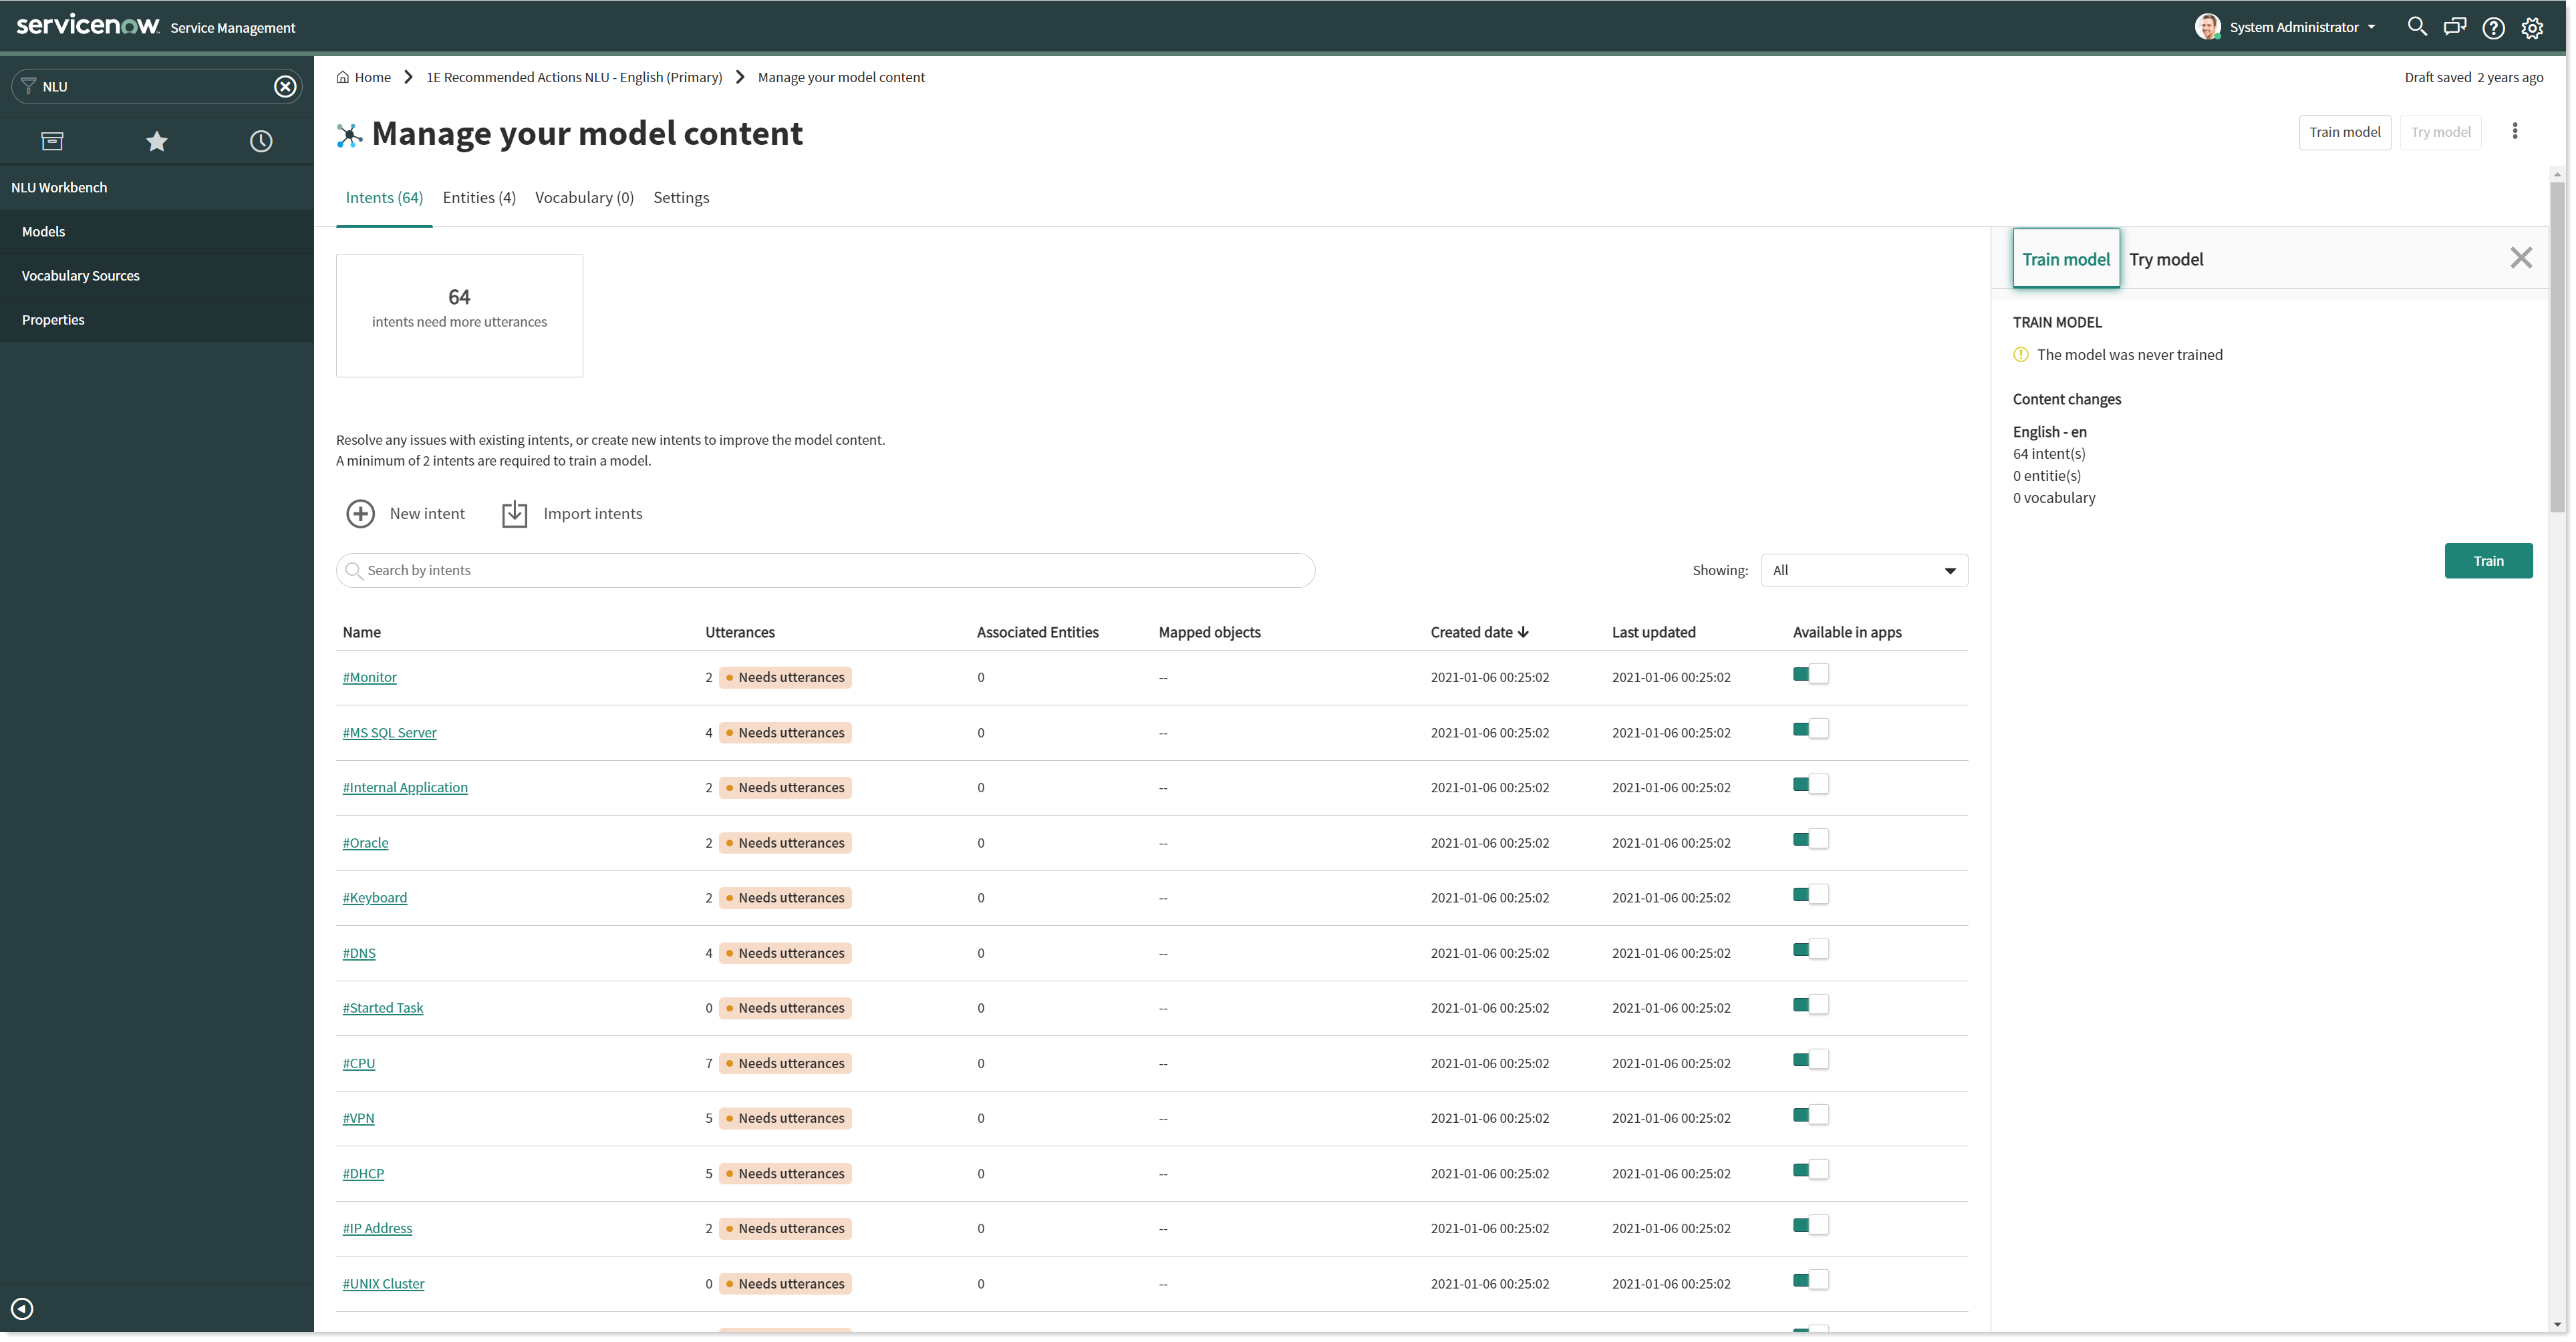
Click on the Train button to initiate the process. This may take a few minutes to complete the process. When the model is trained successfully, it displays a success message to the user as shown below.
Now go back to the 1E Recommended Actions NLU model details page and click on View phase button under Publish your model section as shown in the picture below.
This opens up Publish your model page as shown in the picture below. On this page, click on Publish model button given in the top right corner.
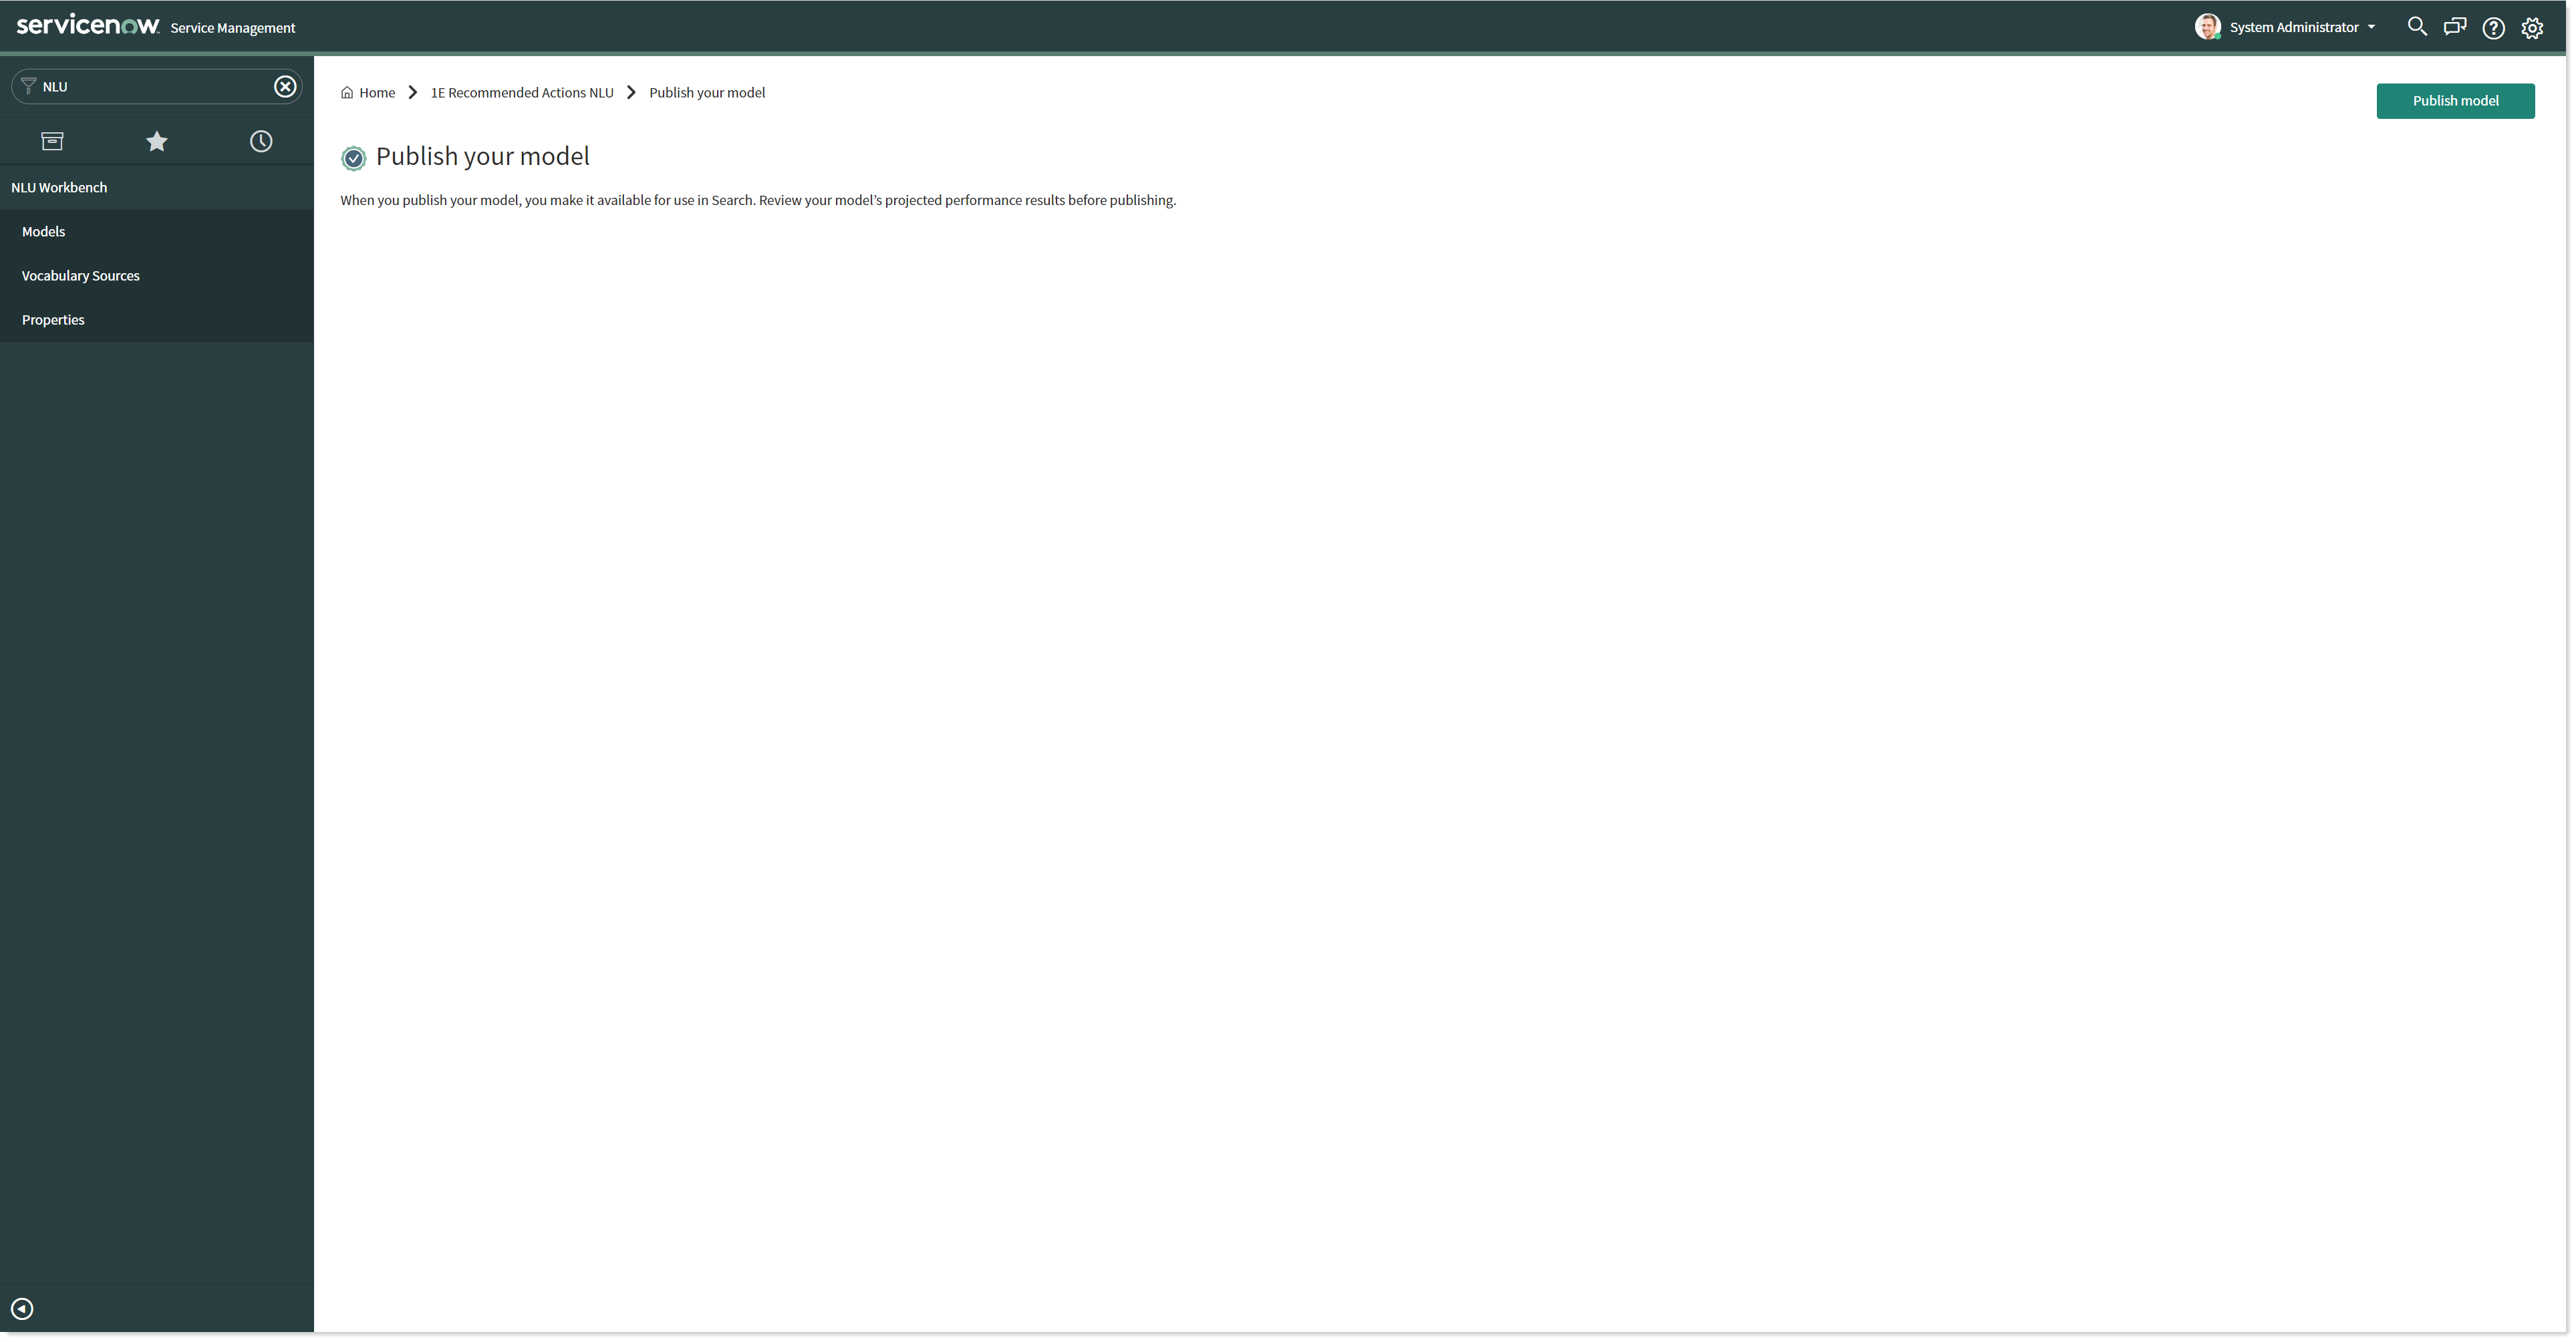
This may take a few minutes to complete the process. When the model is published successfully, it displays a success message to the user as shown below.

Once the model is trained and published successfully, it is now required to map instructions with intents. For mapping instructions to intents, refer Mapping intents with Tachyon instructions