Upgrading 1E
Before you attempt an upgrade, please ensure you thoroughly read all sections that apply to you. Combine the steps if your system matches multiple upgrade scenarios. If you cannot find a complete match, please contact 1E.
1E Setup does not upgrade the following 1E server products:
PXE Everywhere Central
Shopping (Central or Receiver)
NightWatchman Management Center
WakeUp Server.
For upgrading clients, please read below first, then refer to Upgrading to 1E Client.
Preparing for upgrade
SQL Server AlwaysOn Availability Group
If you are using an Availability Group (AG) then you must temporarily remove the 1E databases from the AG during the upgrade.
Please refer to high availability options for SQL Server:
Backup first!
Note
Before doing a re-installation or upgrade of the 1E Platform, make a backup of the following (but first see the note below about automatic backups):
1E Master database
Note
Backing up the 1E Responses database is not usually needed, unless there are instruction responses that you need to keep. 1E responses are not permanently held data and will naturally expire according to the settings specified when an instruction was run, typically in hours or possibly days. If in doubt, there is no harm in backing up the 1E Responses database as well.
1E Server installation directory
including the config files, which may have been manually updated in the previous installation
Switch certificate files.
Earlier versions of Product Packs that have been modified
Note
1E Setup will automatically perform a backup of the following items:
1E Server installation directory. This is backed up to a subfolder named Tachyon.bak under the root installation folder for 1E . All files, including the .config files and certificate files, will be copied.
IIS configuration. This is done by taking a copy of the applicationhost.config file from the Windows system folders. The backup file is placed at the same location and is named like the original file with a suffix that indicates the date and time when the copy was taken.
The following databases are backed up to the default location for backups that is configured in the database server. By default, this points to a subfolder named "Backups" under the folder where the executable for SQL Server is installed. Unless you are installing a small lab or proof-of-concept, this is usually not a good location for the backups, so make sure that you configure the backup location in SQL Server to an adequate folder before starting the 1E upgrade:
1ECatalog
ContentDistribution (optional, required by Content Distribution )
SLA-Data
SLA-Shared
SLA-Integrate
TachyonMaster
TachyonResponses
TachyonExperience (optional, required for Experience Analytics ).
The Product packs are not copied by themselves, but they are kept in a table within the TachyonMaster database, which is backed up.
Upgrading to 1E Platform
Note
Partial Upgrades
You may still be asked at some intermediate steps about configuration information for the components that will not be installed. You should still provide it, because it may be relevant for 1E Setup at the time of configuring other components that are being installed so that they can interact with the components that are not being installed but are already present in the system.
Use the following process when upgrading 1E 5.2 and later versions to 1E Platform 9.0 , and keep the same configuration and the TachyonMaster database. Keeping the same configuration means using the same installer properties as the previous installation.
Ref | Step | Notes |
|---|---|---|
1 | Ensure you have prerequisites ready for installation of the new version.
Review Known issues. | Determine if you will re-use the existing Web certificate or a new one. If re-using the certificate and upgrading from a version of prior to 5.0 then ensure you make a copy of the certificate files in the Switch SSL folder. If using a new certificate, then follow the guidance in Server Provisioning. If you are upgrading from 1E 5.x, the certificates will already be in the local Windows Computer Certificate Store so there is no need to backup. If in doubt about your configuration, review each of the configurations in the 1E installation folder. A later step in this process asks you to make a backup copy of the installation folder. This allows you to review configuration settings and also retain a backup of the Switch certificate files. 1E recommends using the same server installation account as the original installation, but this is not mandatory provided the account is an existing 1E administrator user. You can check which is the original installation account by looking in the Permissions page and finding the user which does not have an edit or delete icon. |
2 | Inform 1E users when you plan to upgrade the system. | You should notify 1E users about the impending upgrade. This includes users of external consumers such as the extension described in Using 1E in Configuration Manager. To help identify the users of the 1E system, you can review the 1E Permissions. You can also review the 1E Consumers in order to remind yourself of any 3rd party systems that will be affected by the upgrade. Any instructions that are running or pending approval prior to the Platform and Agent upgrade will not be affected, other than be delayed by services being temporarily down. |
3 | Shutdown the existing 1E system.
| If you want to keep any instruction responses, review the notes in the next step before shutting down the system. Shutting down the system gracefully ensures there are no instructions in process and prevents access. The installer will internally shut down the services if you do not stop them manually. Stopping them manually gives you greater control over when they are stopped. The services will be restarted automatically after the upgrade. NoteBoth the 1E Switch Host and the Coordinator can take some time to stop their services. No other services for the applications associated with 1E need to be stopped. WarningDo not stop or disable the 1E website or application pools. The installer needs them to be active in order to complete all installation tasks. |
4 | Close all active connections to the 1E databases. | To avoid Known issues when upgrading, you must ensure there are no active connections to the databases. You can use the following SQL script to identify which programs have active connections to the 1E databases. SELECT DB_NAME(dbid) as [database], loginame, hostname, program_name FROM sys.sysprocesses WHERE DB_NAME(dbid) LIKE 'Tachyon%' AND program_name LIKE 'Tachyon%' ORDER BY DB_NAME(dbid), loginame, hostname, program_name; With the 1E services stopped, any open connections to the database, such as 1E Consumer and 1E Portal, should not cause the upgrade to fail and can be safely ignored. |
5 | Backup the databases. | If you use 1E Setup to perform the upgrade, it backs up the following databases:
The following notes apply to the Responses database and whether you would need to create a backup of that database too: NoteBacking up the 1E Responses database is not usually needed, unless there are instruction responses that you need to keep. 1E responses are not permanently held data and will naturally expire according to the settings specified when an instruction was run, typically in hours or possibly days. If in doubt, there is no harm in backing up the 1E Responses database as well. |
6 | Make a copy of the 1E Server installation folder. | The installation folder contains the following non-default files:
|
7 | Install 1E Server. | Install 1E Server using the same configuration as before. Do not drop the databases. Please refer to 1E Server Setup for more details. |
8 | Post-install tasks. | Repeat any 1E Server post-installation tasks that are relevant for an upgrade installation and are not performed automatically by 1E Setup. |
9 | Customizations. | Re-instate non-default settings.
|
10 | Verify. | See Verifying page. |
After upgrading to 1E Platform
Signing in using your External Identity Provider
On navigating to the 1E URL, you will be presented with some additional sign in screens that integrate with your IdP.
Signing in with AAD
If your IdP is Azure Active Directory (AAD), you will be prompted with a popup similar to the one shown in the following picture.
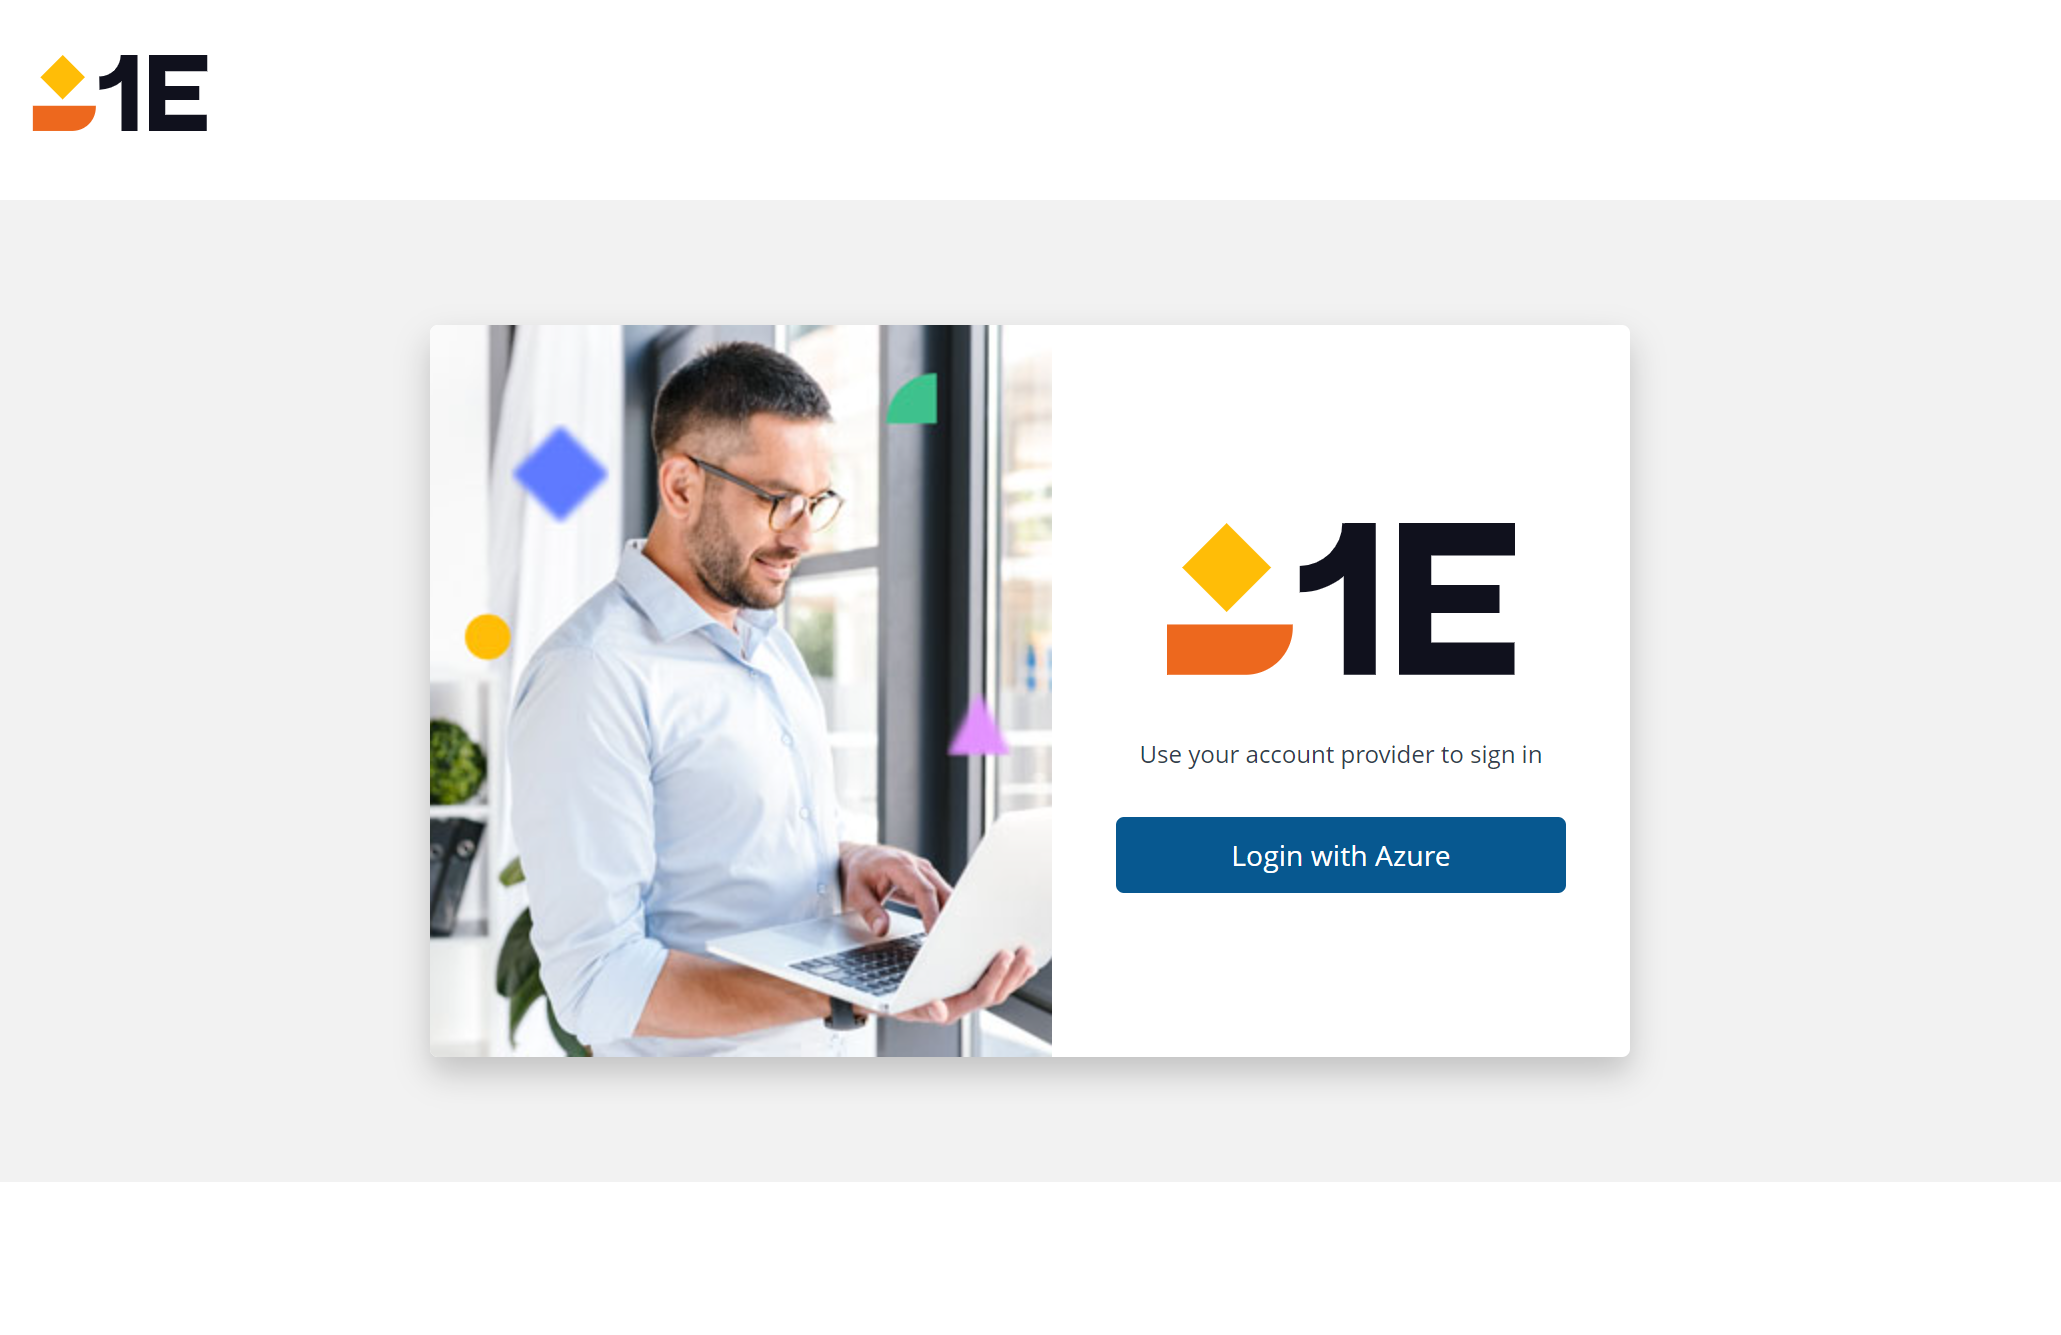
Click on Login with Azure to continue.
You will then be prompted with the normal Azure login:
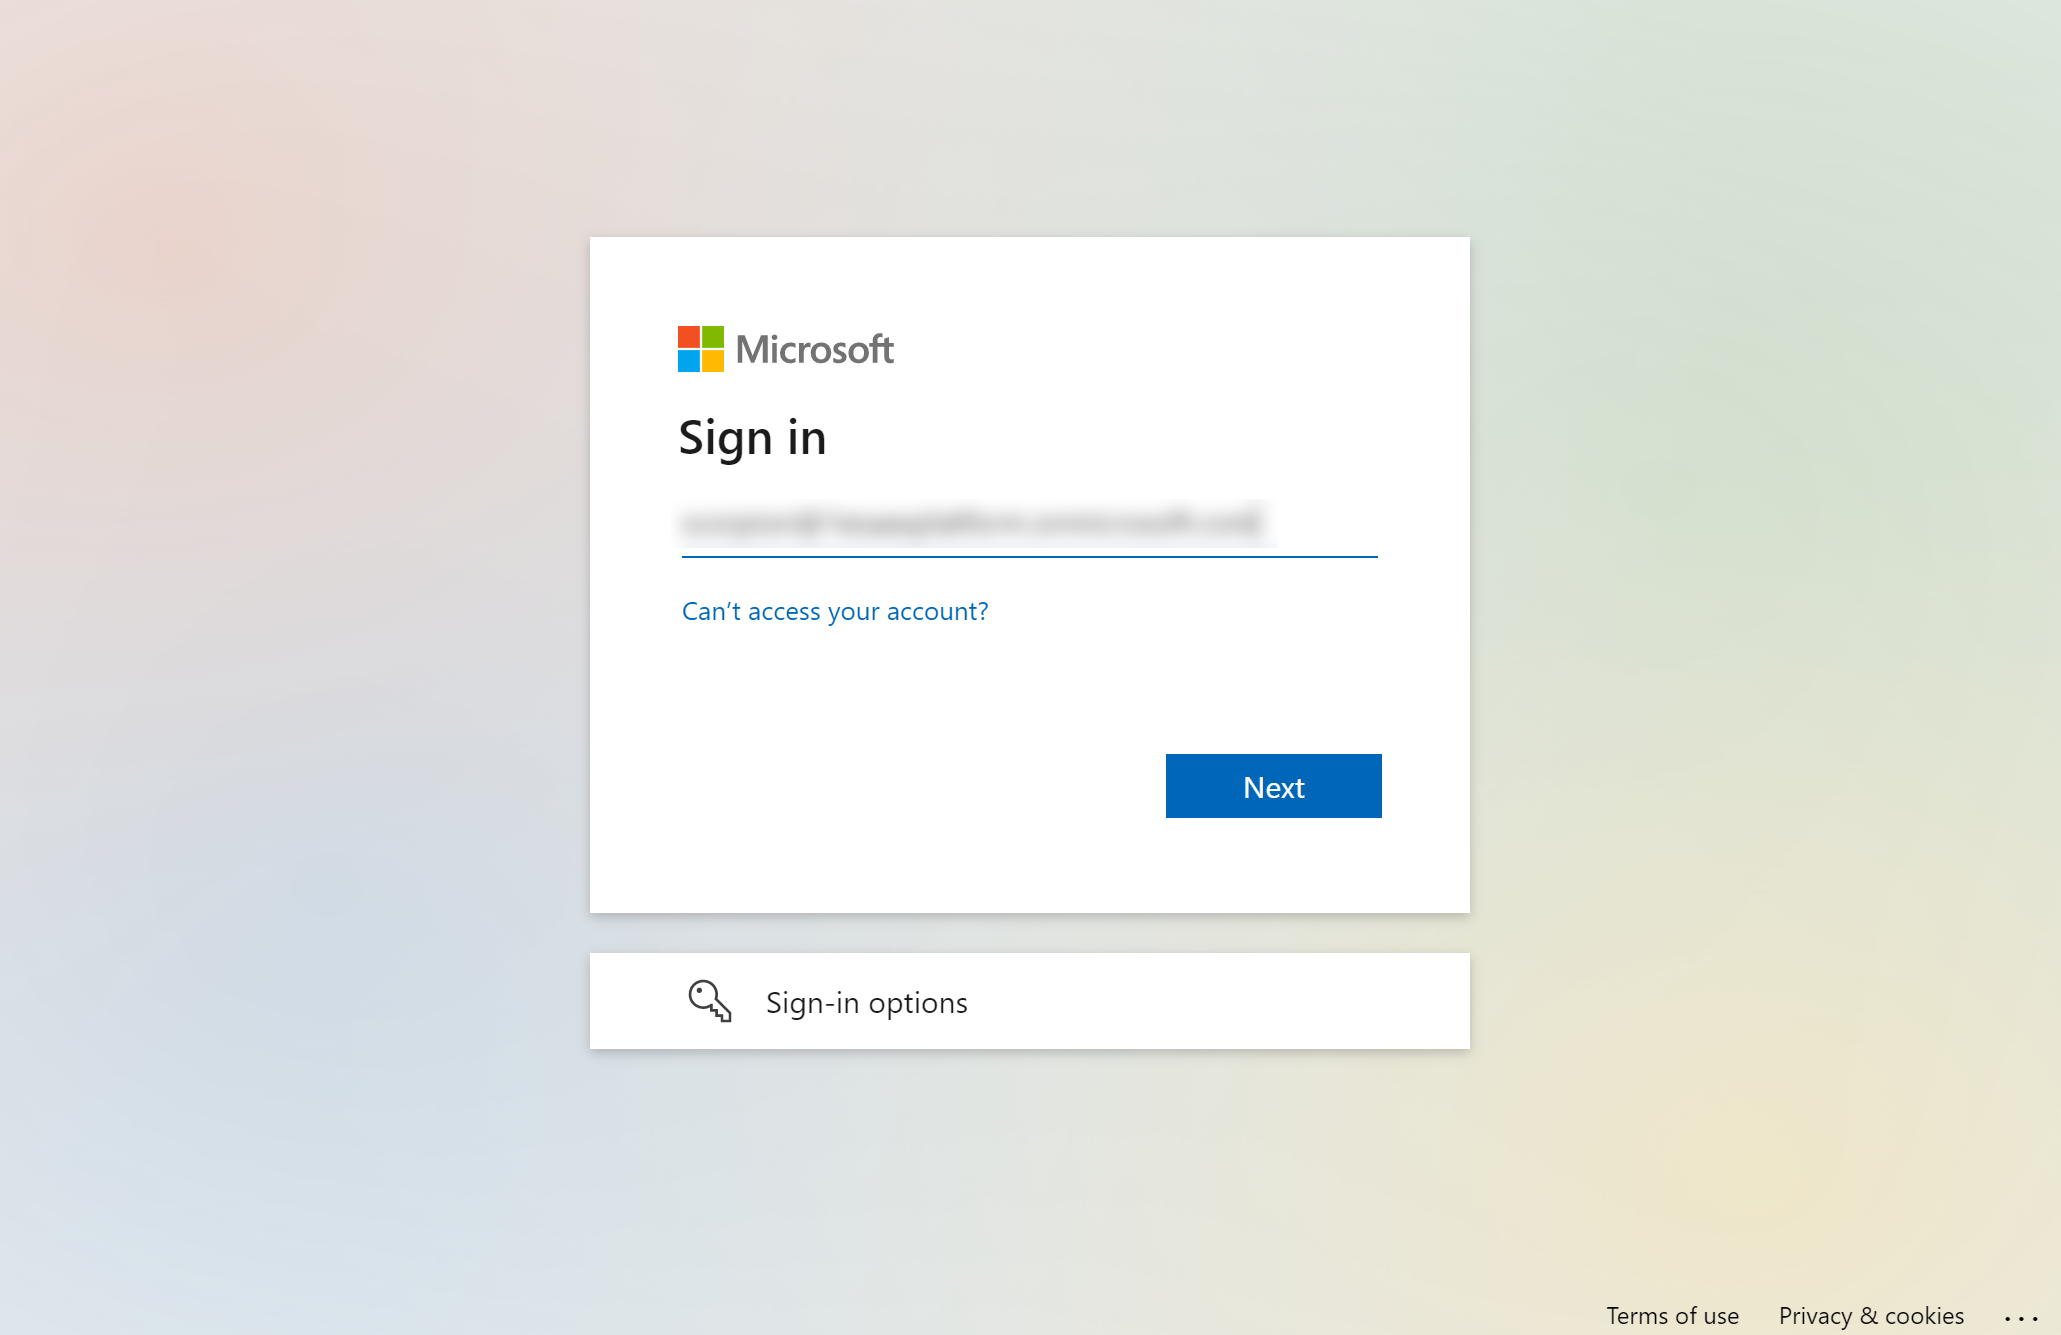
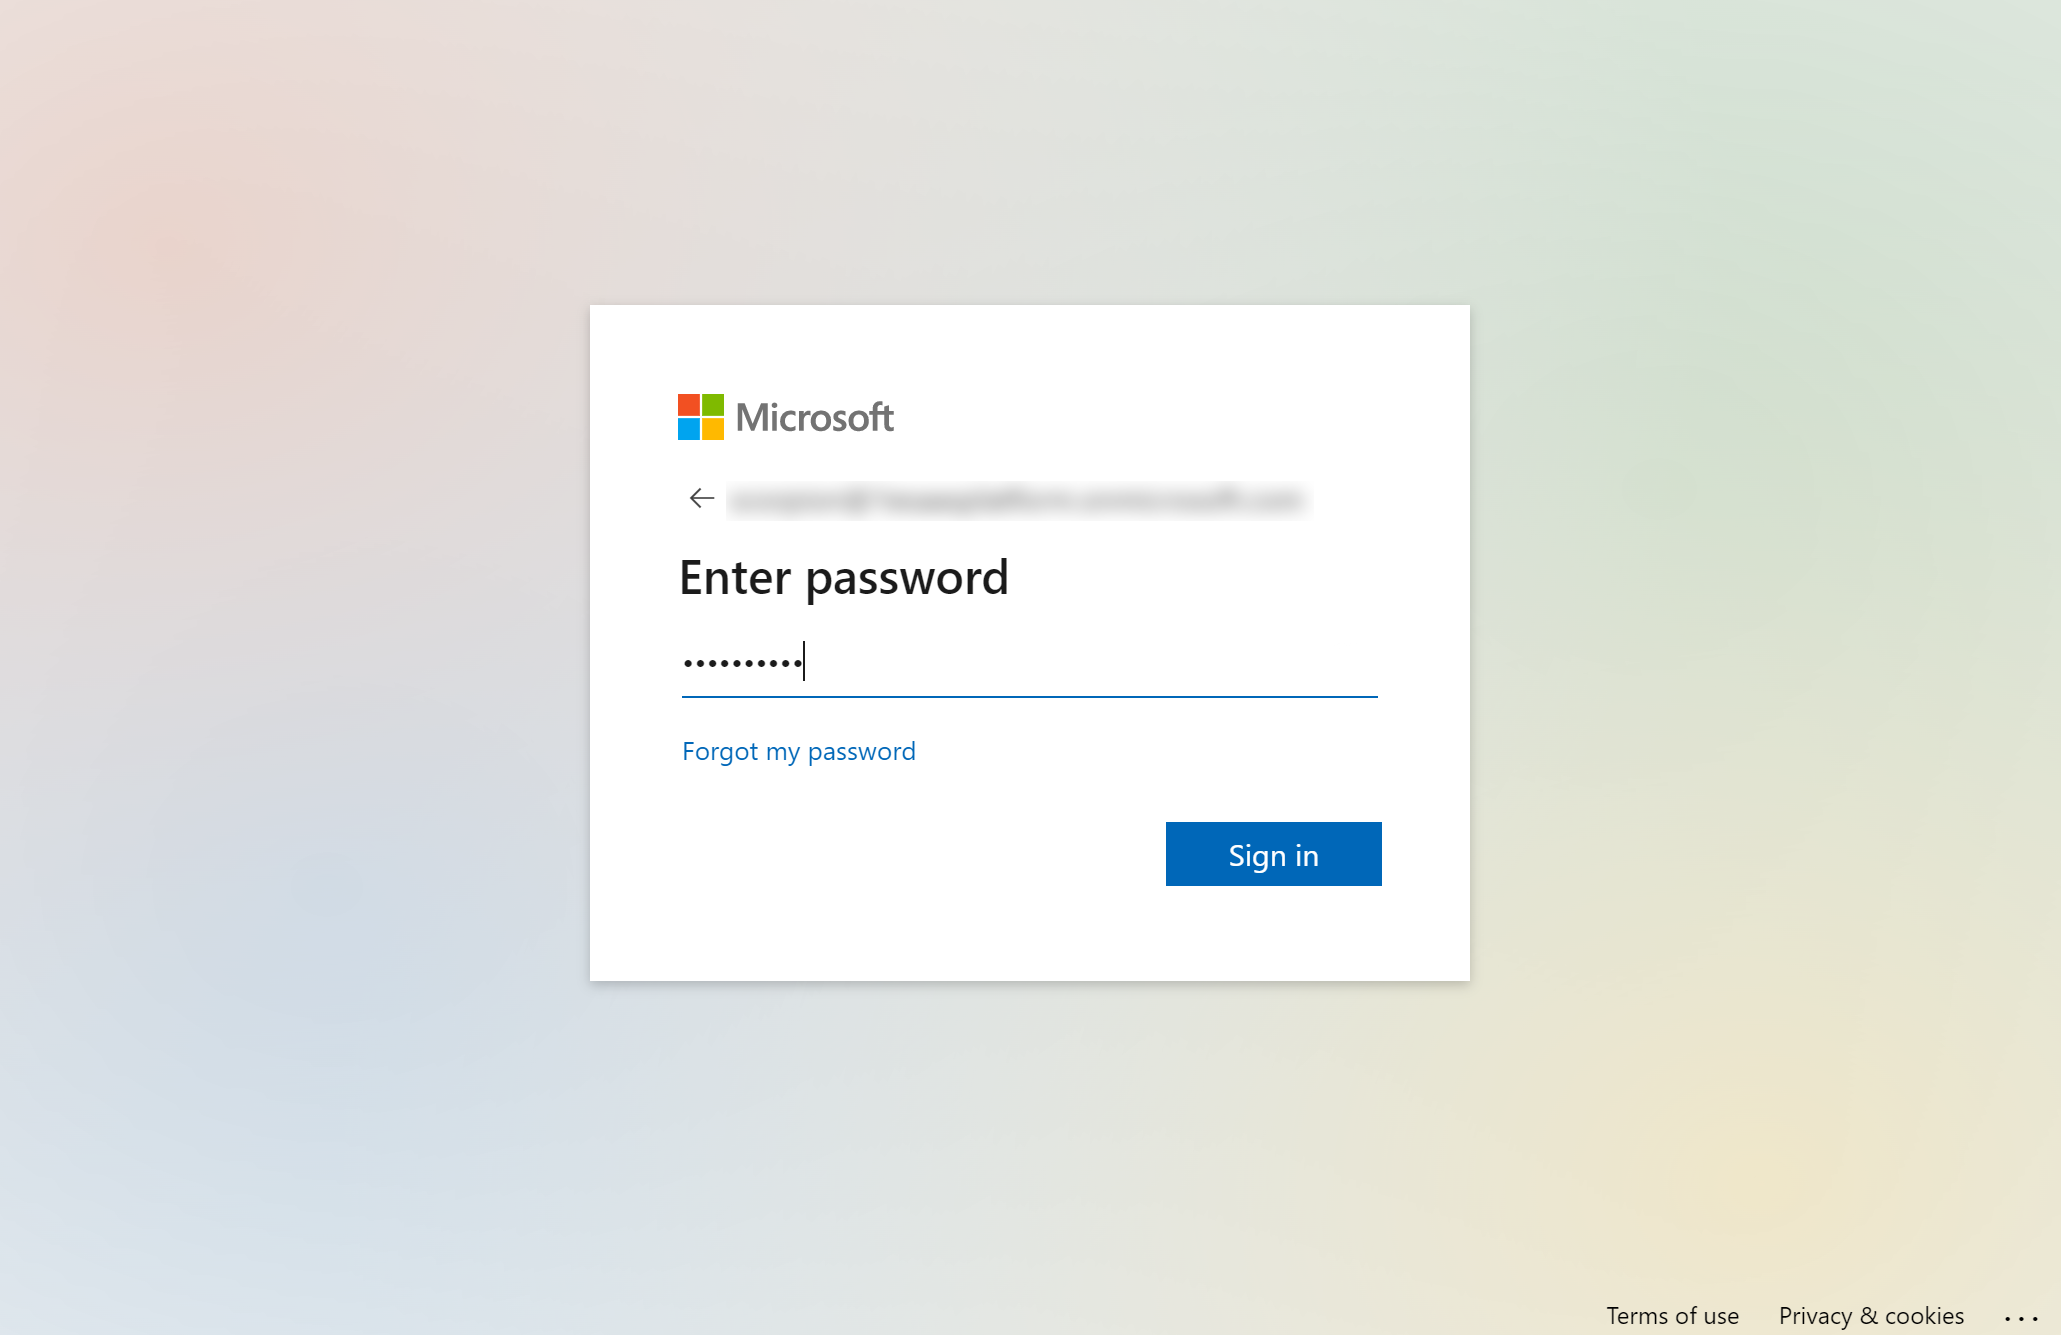
After clicking Next the Azure password dialog will be displayed.
Signing in with Okta
The sign in screen for 1E configured for use with Okta looks like this:
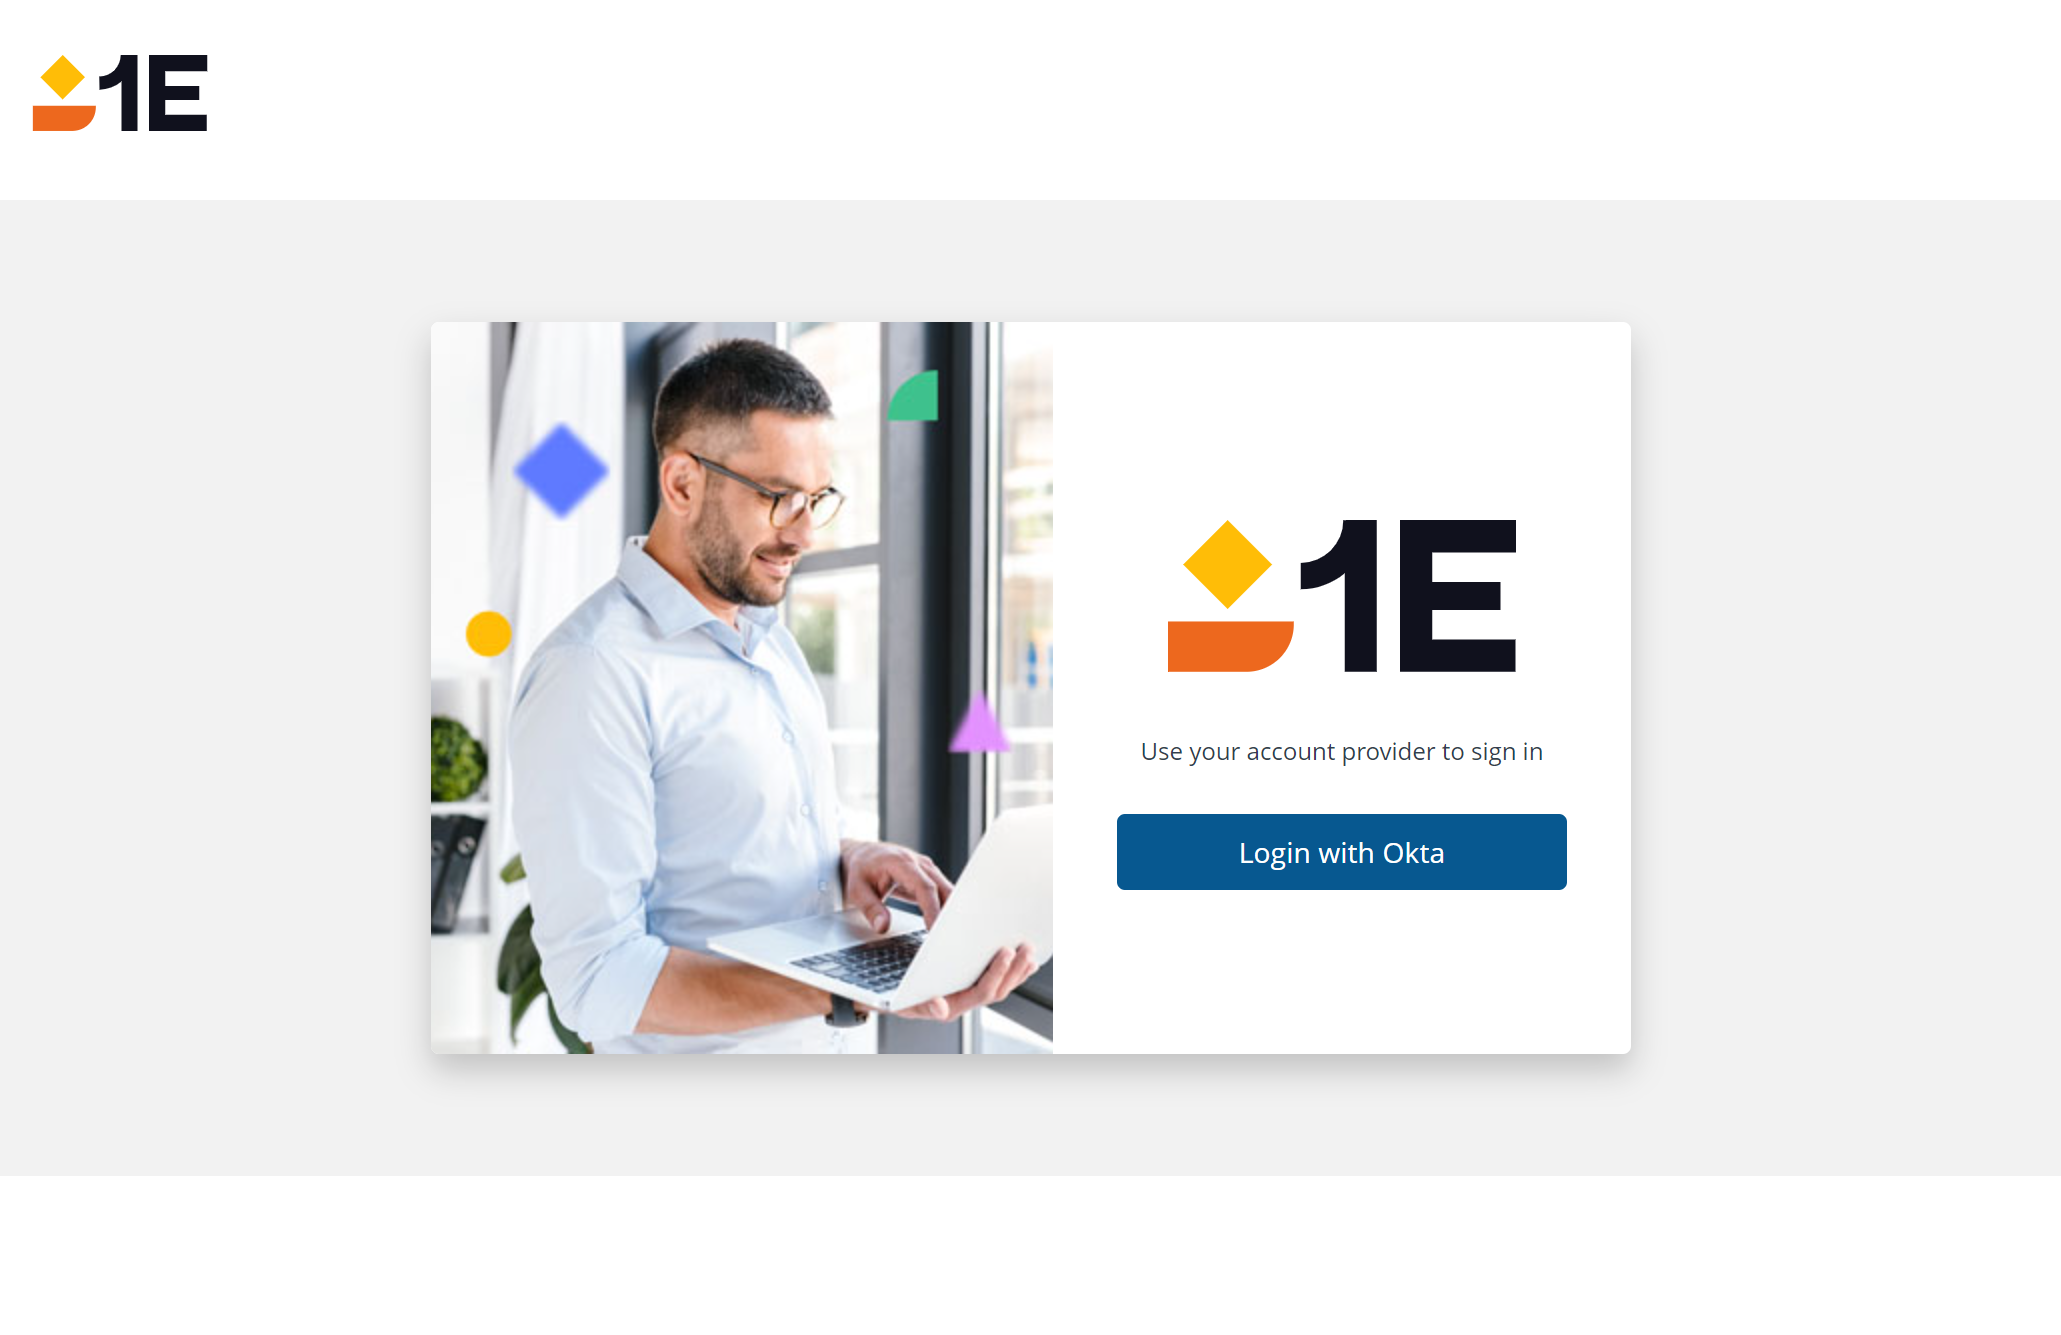
Click on Login with Okta to continue.
You will then be prompted with the normal Okta login asking for your username and password:
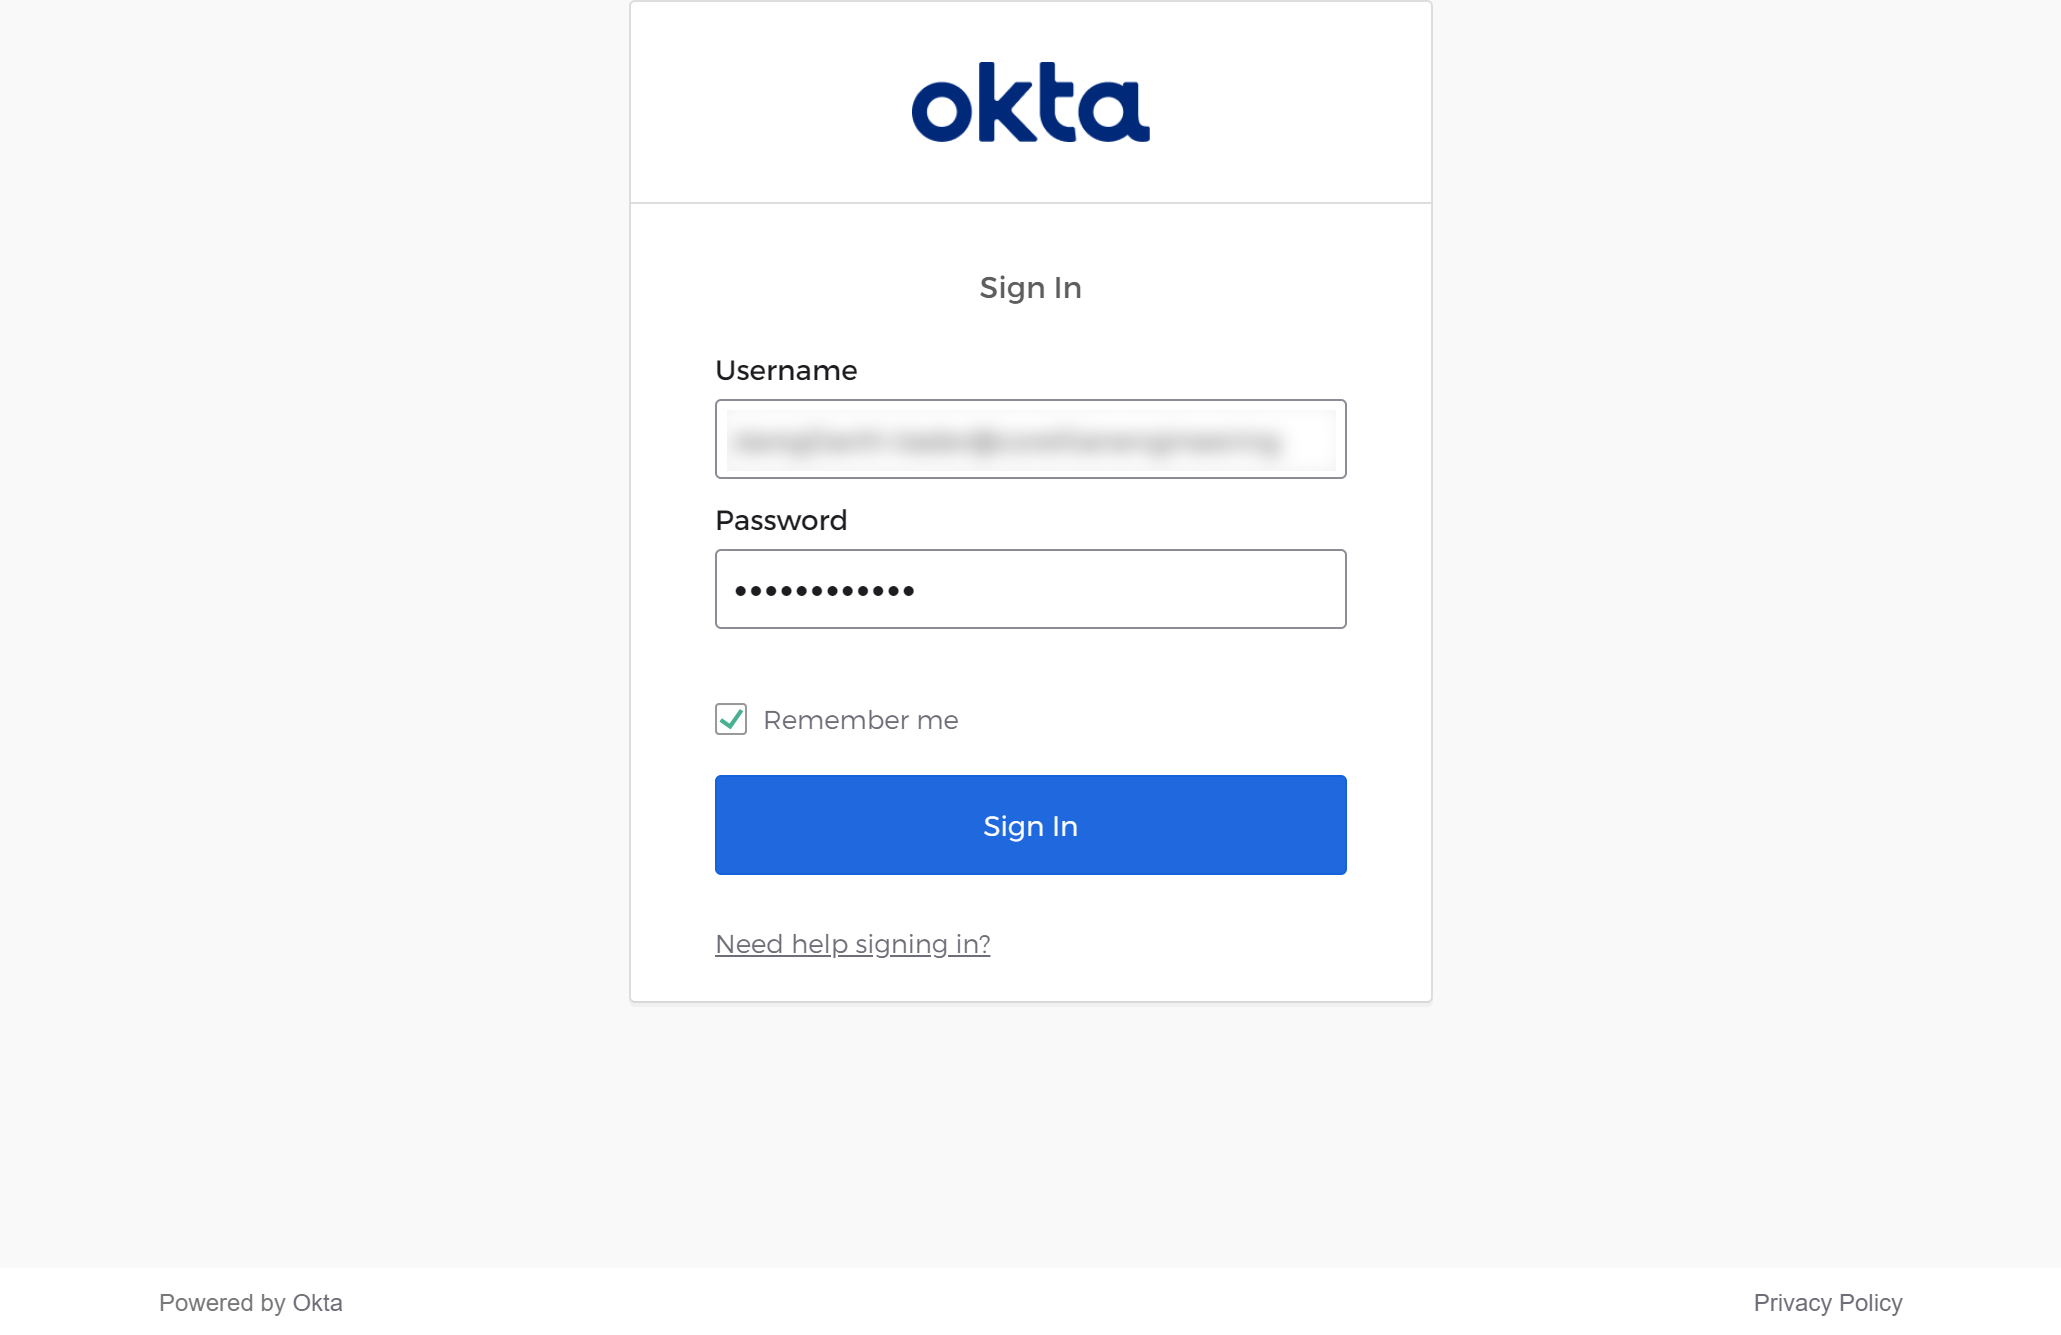
After clicking Sign In your Okta credentials will be checked and if they're ok the 1E home page will be displayed.
Accessing the 1E portal
As the Principal 1E user you will have access to all licensed applications.
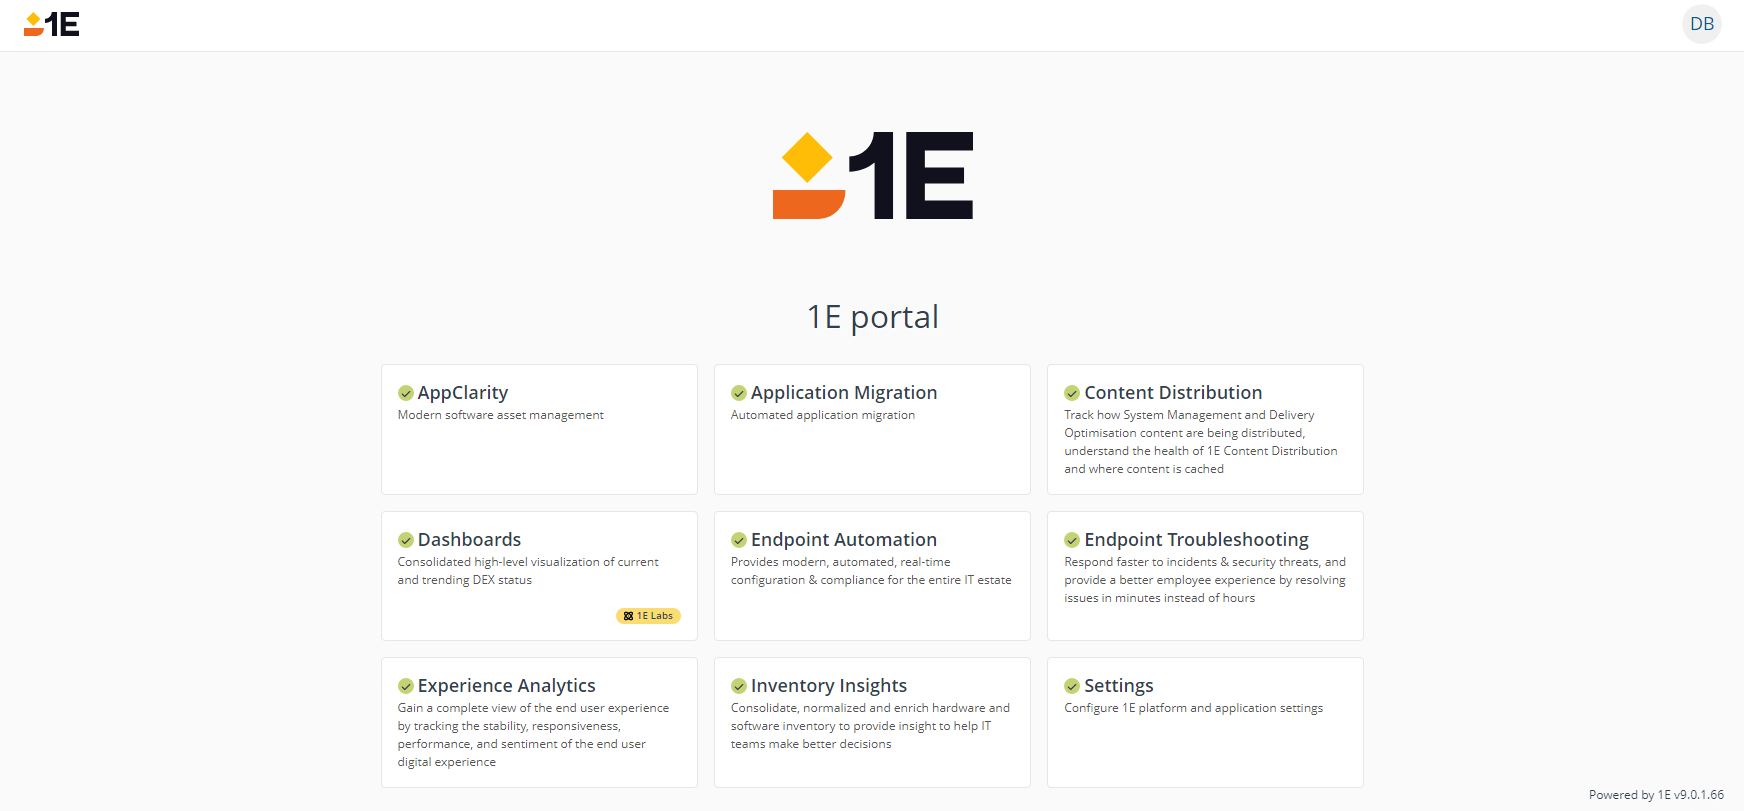
From here you should navigate to Settings->Permissions->Users and Groups and start adding the Users and Groups from your IdP that you want permission in 1E. For more information, please refer to Users and Groups page.
All versions
Verify the installation - see Verifying page
After upgrading, you should perform a sync for all configured Connectors, followed by the Basic Inventory Consolidation report.
Upgrading and updating Instructions
1E Instructions are designed as far as possible to be backwards compatible, but as a general rule we recommend that you update your 1E DEXPacks to the latest version so that you can gain the benefit of newer features.
When upgrading you should be able to safely keep your existing Instructions. We recommend that newer versions of Instructions are verified in a test environment to ensure that they still behave as expected before updating in your production environment.
Note
An instruction is not upgraded if it is the same version, or is currently in use. You will be notified if any instructions are not upgraded because they are in use. You can upload the product pack again later, after the instruction has completed, or cancelled.
Your license should retain any code signing certificates you may have registered. This means your custom instructions should continue to be licensed as normal following an upgrade of 1E. You may want to check the Writing instructions in the 1ESDK pages to check for any changes to the DEXCode language.