Using the Shopping Web
You can shop for popular or featured applications, check the status of your pending or completed orders, configure your shopping preferences when you log-in to the Shopping Web.
Setting up your preferences
You can change how Shopping displays information to suit your preferences by clicking the configuration icon  located next to My Software or Notifications icons at the top right in the Shopping web.
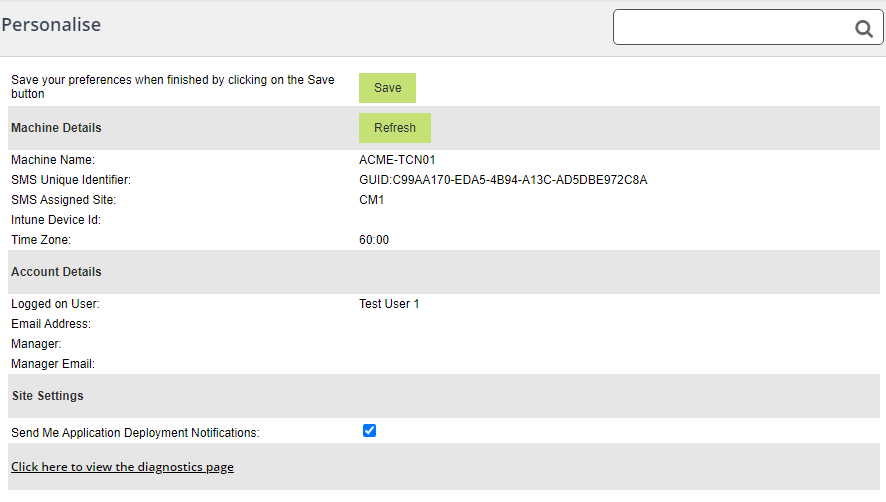
In the Personalise page, you can view information about the machine and its current user, enable or disable application deployment notifications, view the diagnostics page which is useful to Shopping administrators when troubleshooting issues and schedule convenient times when applications are delivered to you.
The Delivery Windows has a planner that lets you determine a convenient time when applications can be installed on your computer. For example, to stop Shopping from delivering applications between 0800 and 1700 on a Monday:
Scroll down to the planner.
In the Monday column. create a non-delivery block by clicking the 0800 cell and dragging down to the 1700 cell. You can create more non-delivery blocks by dragging and dragging in the different days of the week or create more than one non-delivery block for in a day.
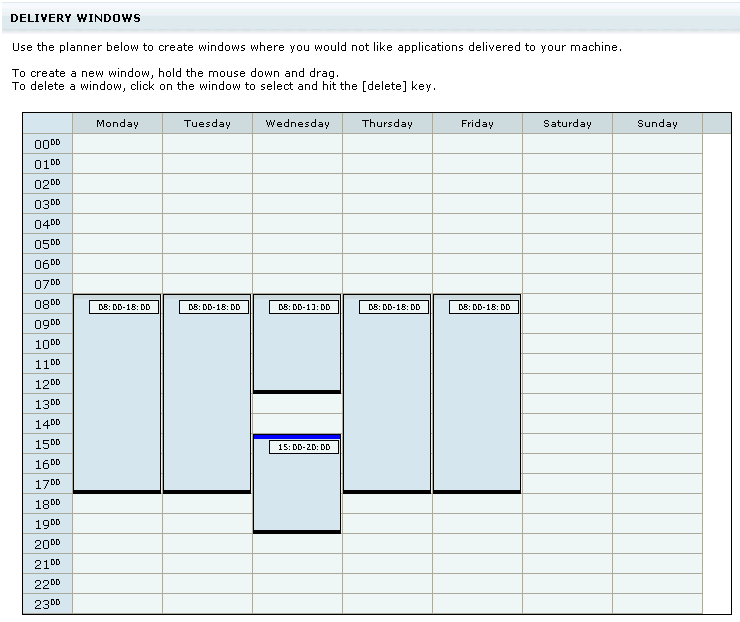
Move a block to a new time, click the top of the block and drag it to a new location
Change the end time of the block, click the bottom of the block and drag it to the new end time
Delete a block, select the block and click Delete, you will be prompted to confirm the deletion.
Featured, trending and latest application views
Shopping displays applications on its home page in three pre-configured views.
View | Explanation |
|---|---|
Featured | Applications that have been configured by a Shopping Administrator in the Manage Featured Items section. If Featured Items has not been configured, the top 20 applications are displayed in alphabetical order. |
Trending | The most requested applications. |
Latest | The 20 most recent applications available in the Shopping web. |
Placing an order for an application
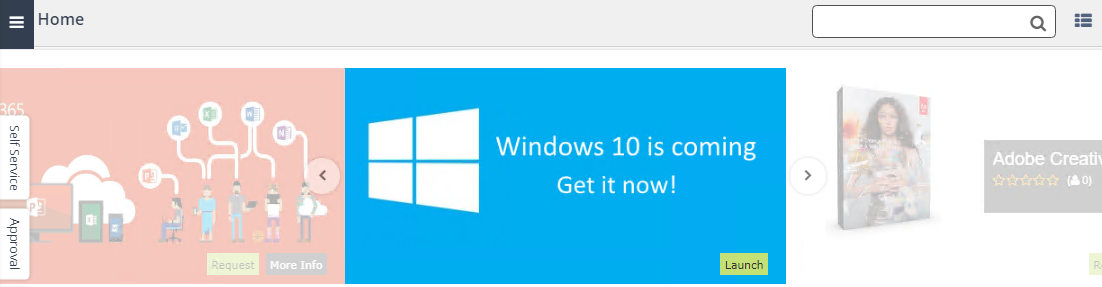
If you are shopping from your desktop:
Enter the URL for the Shopping web in your browser.
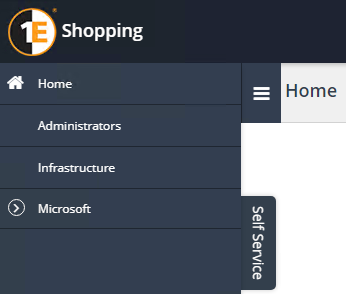
In the Shopping web, click Home. If you see the Self Service tab, click that first followed by Home.
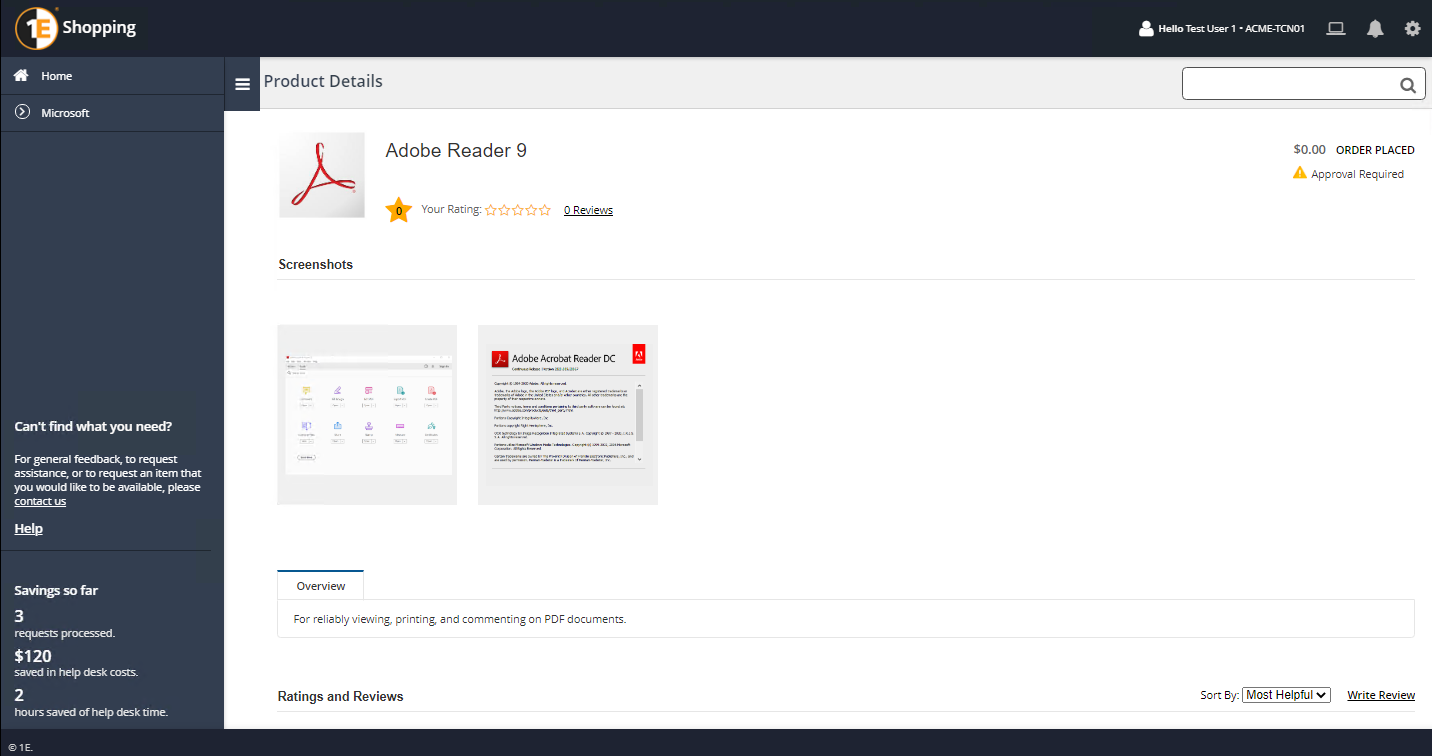
Locate the application you want and click Request.
Click Request. A notification is displayed in the banner displaying the status of your request, for example ORDER PLACED.
If you are shopping from your mobile device:
Enter the URL for the Shopping portal from your mobile device.
Locate the mobile application you want and click Download. You will only see mobile applications where it is configured as a mobile application by your administrator, it has a link created to the respective App Store and if you are allowed to shop for these applications according to the user group you belong to.
You are taken to the respective App Store for your mobile device where you can install the application. Mobile applications are not subject to the approval process.
When you have shopped for an application, its tile will still remain on the Shopping page and display its current status.
You can get an overview of the status by clicking the tile or by clicking My Software (computer icon) in the top right hand corner of the Shopping Web portal.
Searching for applications
If you know the name of the application but not its category or if you do not see the application you want, you can always search for it. To search for an application:
Click the search box (located at the top right of the Shopping portal).
Type the name of the application you are looking for.
Click the magnifying glass icon to search for application.
Locate the application you want and place an order for it, refer to Placing an order for an application for details.
You can only search for applications based on your role-based access control (RBAC) security scope, refer to Role based access control in Shopping for details. When a search returns a result set, following a link takes you to the details page of the application where search terms are highlighted (self-service view for administrators).
Note
The Shopping Web uses the internal web service which must be available for search to work. You will need to clear your browser cache for the new search feature to work.
A query is made up of terms (single and phrases) and operators. A single term is a single word such as drive whilst a phrase is a group of words surrounded by double quotes such as "paint shop". When you use simple search terms, Shopping returns matches with the search term as well as inflections of the term. For example:
drive returns drive, driven, drives, driving, etc.
Advanced searches makes use of:
Phrases – searches using phrases are constrained or expanded using particular connectives. For example:
[ +paint +shop ] returns paint and shop
[ paint or shop ] returns paint or shop
[ paint -shop ] returns paint and not shop
Exact matches – to search for an exact match, wrap the search term in double quotes (
""). For example:"paint shop" returns paint shop
Wildcards searches – these searches make use of the wildcard (
*) symbol to return 0 or more characters in the search term. You cannot use the wildcard character as the first character of a search term. For example:pain* returns painpaint, painting
Contains searches – search terms without square brackets (
[]) or double quotes ("") returns a result set containing the search term. For example:pain returns paint, painting xyzpaint, etc.
Proximity searches – these searches make use of the tilde (
~) symbol at the end of the search term to return results where the search terms are within a specific distance away from each other. For example, to search for paint and shop within 1 word of each other:paint shop"~1 returns paint near shop
Viewing application details
To view the details of an application:
Point your mouse to the application tile and click its title, for example Adobe Acrobat.
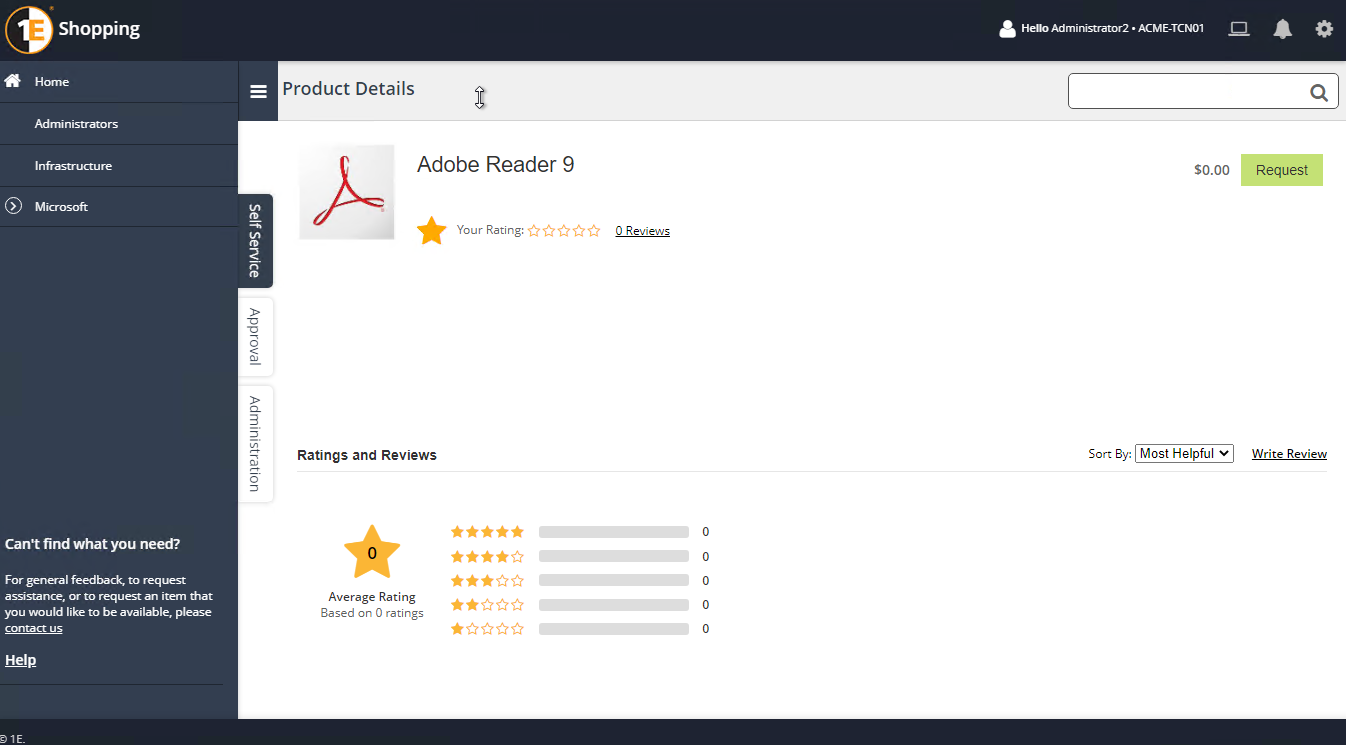
The details for the application are displayed.
Tracking your orders
To track your orders:
Click My Software to show the applications that are installed on the machine you're logged in from.
Click All Orders to view a list of all orders you have placed.
The statuses for non-Configuration Manager applications are:
Approved – for approval-based applications, displayed when the approval process is completed. For non-approval-based applications, displayed immediately because they are automatically approved.
Rejected – displayed when an application is rejected
Addition pending – displayed when an AD integration application is approved or does not require an approval
Succeeded – displayed when Shopping has succeeded in adding the user and machine to the AD group specified for the AD integration application
Addition failed – displayed when Shopping fails to add the user and machine to the AD group specified for the AD integration application
Removal pending – displayed for AD Integration applications with the Revoke group membership on uninstall option selected, after the user has clicked on the Uninstall button but prior to the AD group removal
Removed – displayed when Shopping has succeeded in removing the user and machine from the AD group specified for the AD integration application
Removal failed – displayed when Shopping fails to remove the user and machine from the AD group specified for the AD integration application.
The statuses for Configuration Manger applications are:
Install Pending – displayed when the application is shopped for but not yet installed
Installed – displayed when the application has been installed
Install Failed – displayed when the application fails to install
Uninstall Pending – displayed for applications with an uninstall program, after the user has clicked on the Uninstall button but prior to the uninstallation having been completed
Uninstalled – displayed when an application with an uninstall program has been successfully uninstalled
Uninstalled Failed – displayed when an application fails to uninstall
Rejected – displayed when an application is rejected during the approval process.
The statuses for Configuration Manager user-centric applications are:
Provision Pending – displayed when the user has shopped for a Configuration Manager user-centric application prior to the receiver posting back the status of the application
Provisioned – displayed when the receiver posts back that the user has successfully been added to the associated collection in Configuration Manager
Provision Failed – displayed when the receiver posts back that the user has failed to be added to the associated collection in Configuration Manager.
Click Approved to view all your approved orders.
Click Rejected to view your list of rejected orders.
Click Pending Approval to see your list of orders awaiting approval.
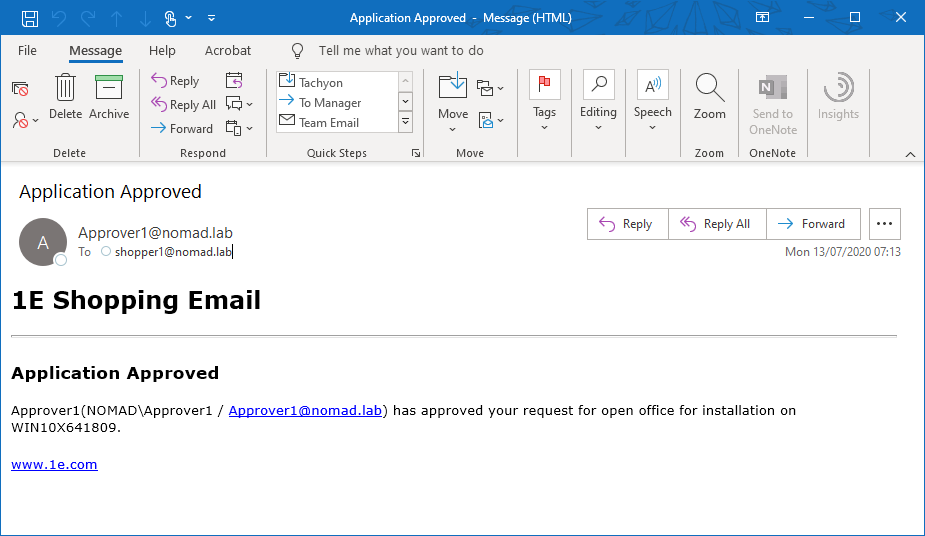
Approvals, refusals and installation notifications
You will receive an email notification for all orders that are approved or refused by the approver. If the type of approval is chained, the approval process simply goes on until all of the approvers sanction your order or when one of them rejects your order.
When you order is approved, Configuration Manager will download and install the application on your computer. You will receive an email notification when it is successfully installed and is ready for use.
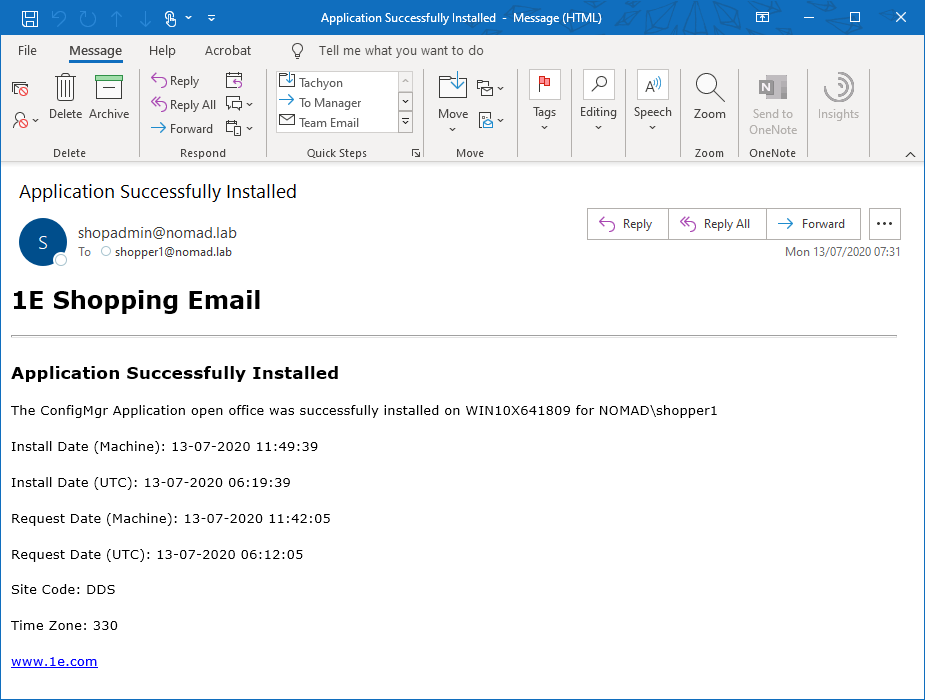
If the installation fails, both you and the Shopping administrator are sent an email notification.
Cancelling pending orders
If you decide that you no long want an order that is pending approval, you can cancel it by:
Click My Software.
Click Pending Approval.
Under Action, click Cancel.
Click Yes to confirm the cancellation.
Note
If workflow integration is enabled, an email is sent to the approver and the deputy approver notifying them of the cancellation and a Create Request Cancelled workflow task is created to update the workflow.
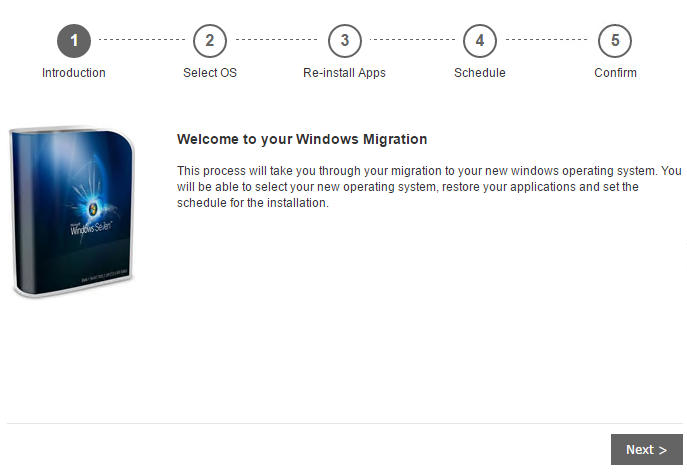
Self-service OS migration
When an OS deployment application is made available to you, your Shopping home page displays a Windows upgrade tile in the banner that enables you to run the upgrade.

To upgrade the computer you are using to the new operating system:
Make a backup of your system.
Click Launch.
In Introduction screen, click Next.
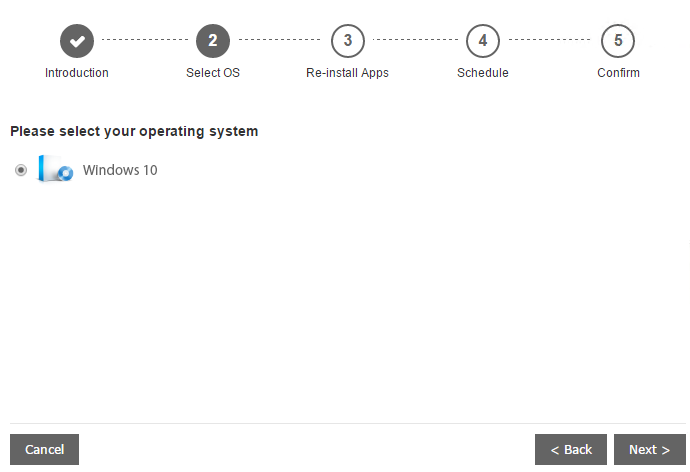
In Select OS screen, choose the OS you want to migrate to and click Next.
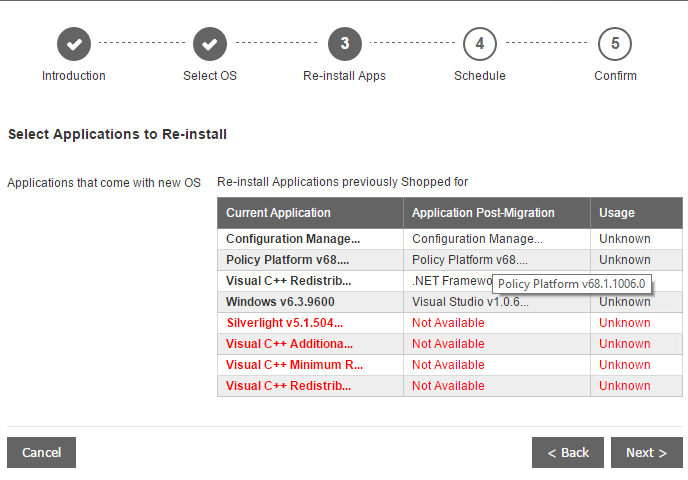
In Re-install Apps, select the applications you previously shopped for to reinstall and click Next. Applications listed in red are not available for the OS you are migrating to.
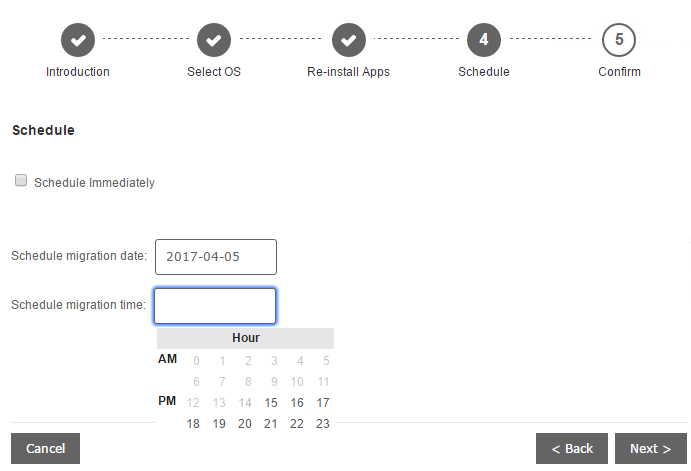
In Schedule, choose the date and time for the migration and click Next.
In Confirm, review your preferences and tick the checkbox to confirm that you have made a backup of your system. Click Back to update your preferences or Finish to proceed with the migration.
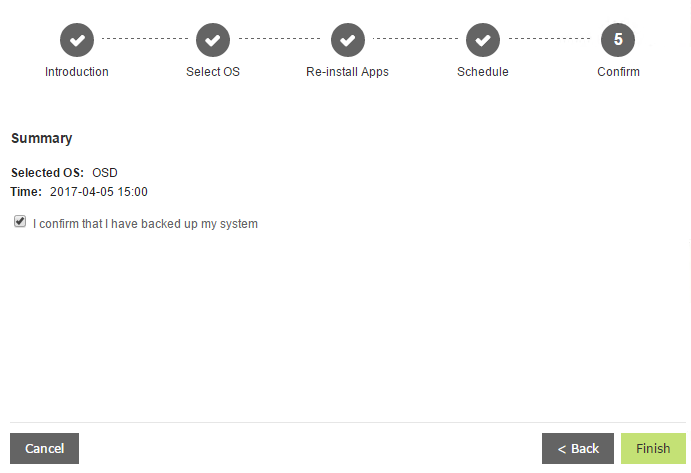
When you have scheduled your OS migration, the Windows Upgrade tile is updated with the following options:
Edit – reschedule the OS migration
Cancel – cancels the OS migration
Calendar – creates a reminder in Outlook
Unistalling applications
It is good practice to uninstall applications from your computer once you are done with them to free up licenses for someone else to use. As long as the Shopping administrator has configured the application with the unistall option.
In the Shopping portal, browse to My Software->All Orders.

Locate the application you want to uninstall.
Click Uninstall on the application entry. The application will subsequently be uninstalled from your machine by Shopping, via Configuration Manager.
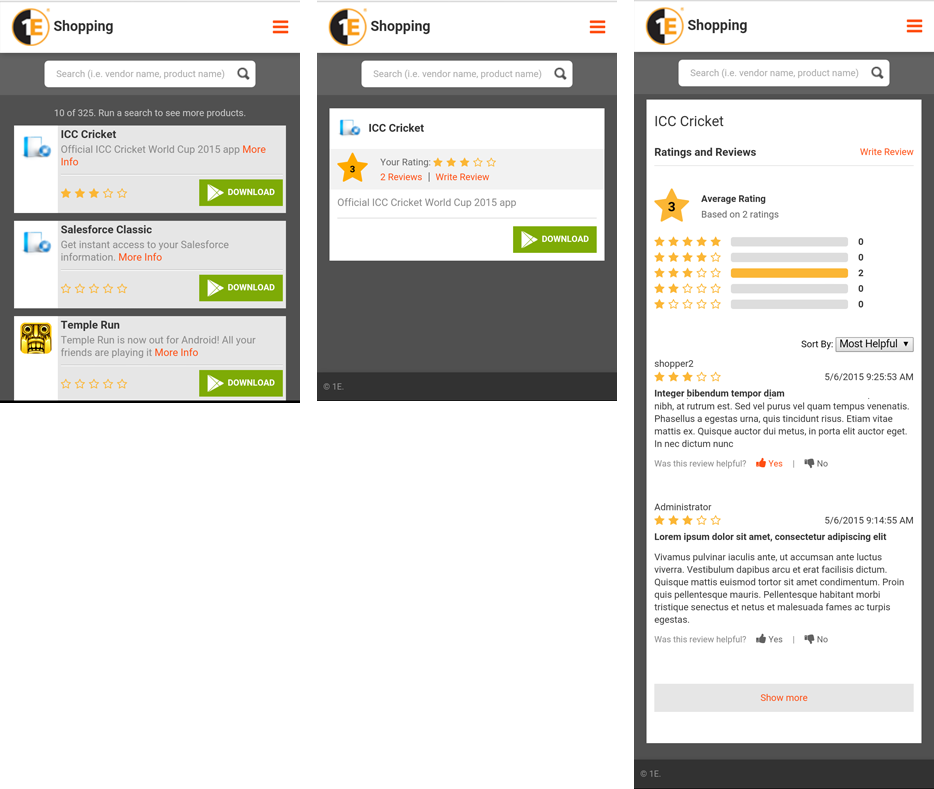
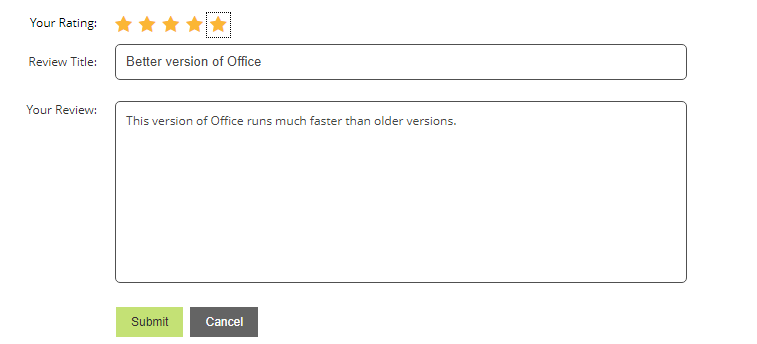
Rating and reviewing applications
You can rate and review an application and share your experiences with other users. For tiled applications, you can see the ratings and the number of reviews for each application below its icon and in the list view, the the ratings and number of reviews are shown beside its name.
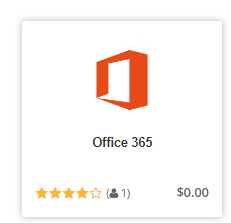

To review an application, click on the application tile, and then click the Write Review link.
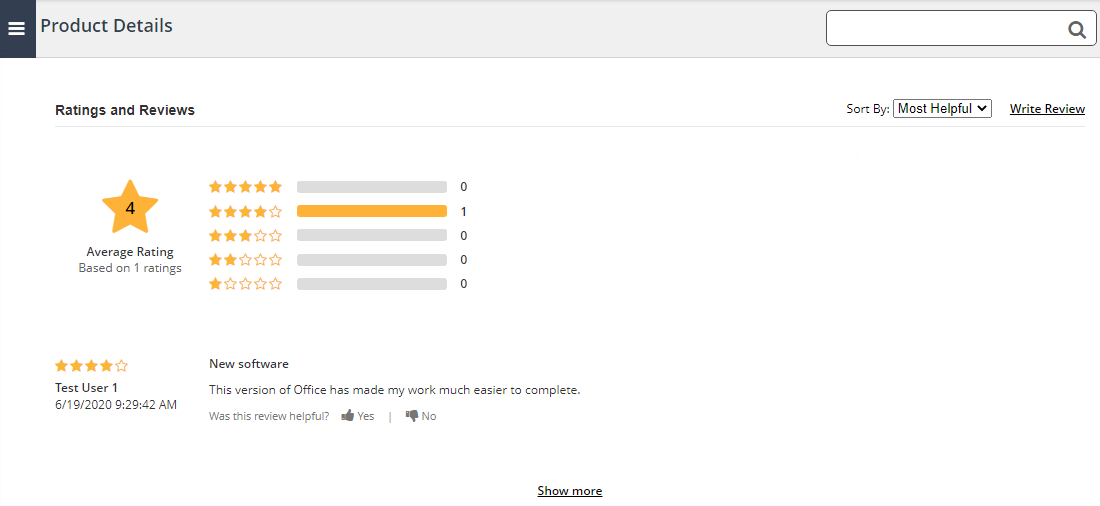
When you have written your review, click Submit.
On mobile displays, only the ratings are displayed. Click the tile or follow the More Info link to see more details about the application. Click Reviews to view what others have said about the application or Write Review to submit one of your own.