Installing Authentication Proxy
The Authentication Proxy is used to enable any 1E 23.7 on-premises components that normally use AD for authentication to authenticate with your IdP instead.
Requirements
Before you can start the installation, the following are required.
Requirement | SaaS 8.4 or later | |
|---|---|---|
1E instance | 1E must have already provisioned your 1E supported SaaS instance. | |
Host computer(s) | For SaaS, the 1E Authentication Proxy will be installed on a dedicated IIS Web server, with the following specification:
Coexistence with other on-premises components:
| |
Installation account permissions | The installation account running the 1E Authentication Proxy installer must be a member of the Local Administrators group during installation and future upgrades. NoteOnce installation is complete, the installation account can be removed from the Local Administrators group. | |
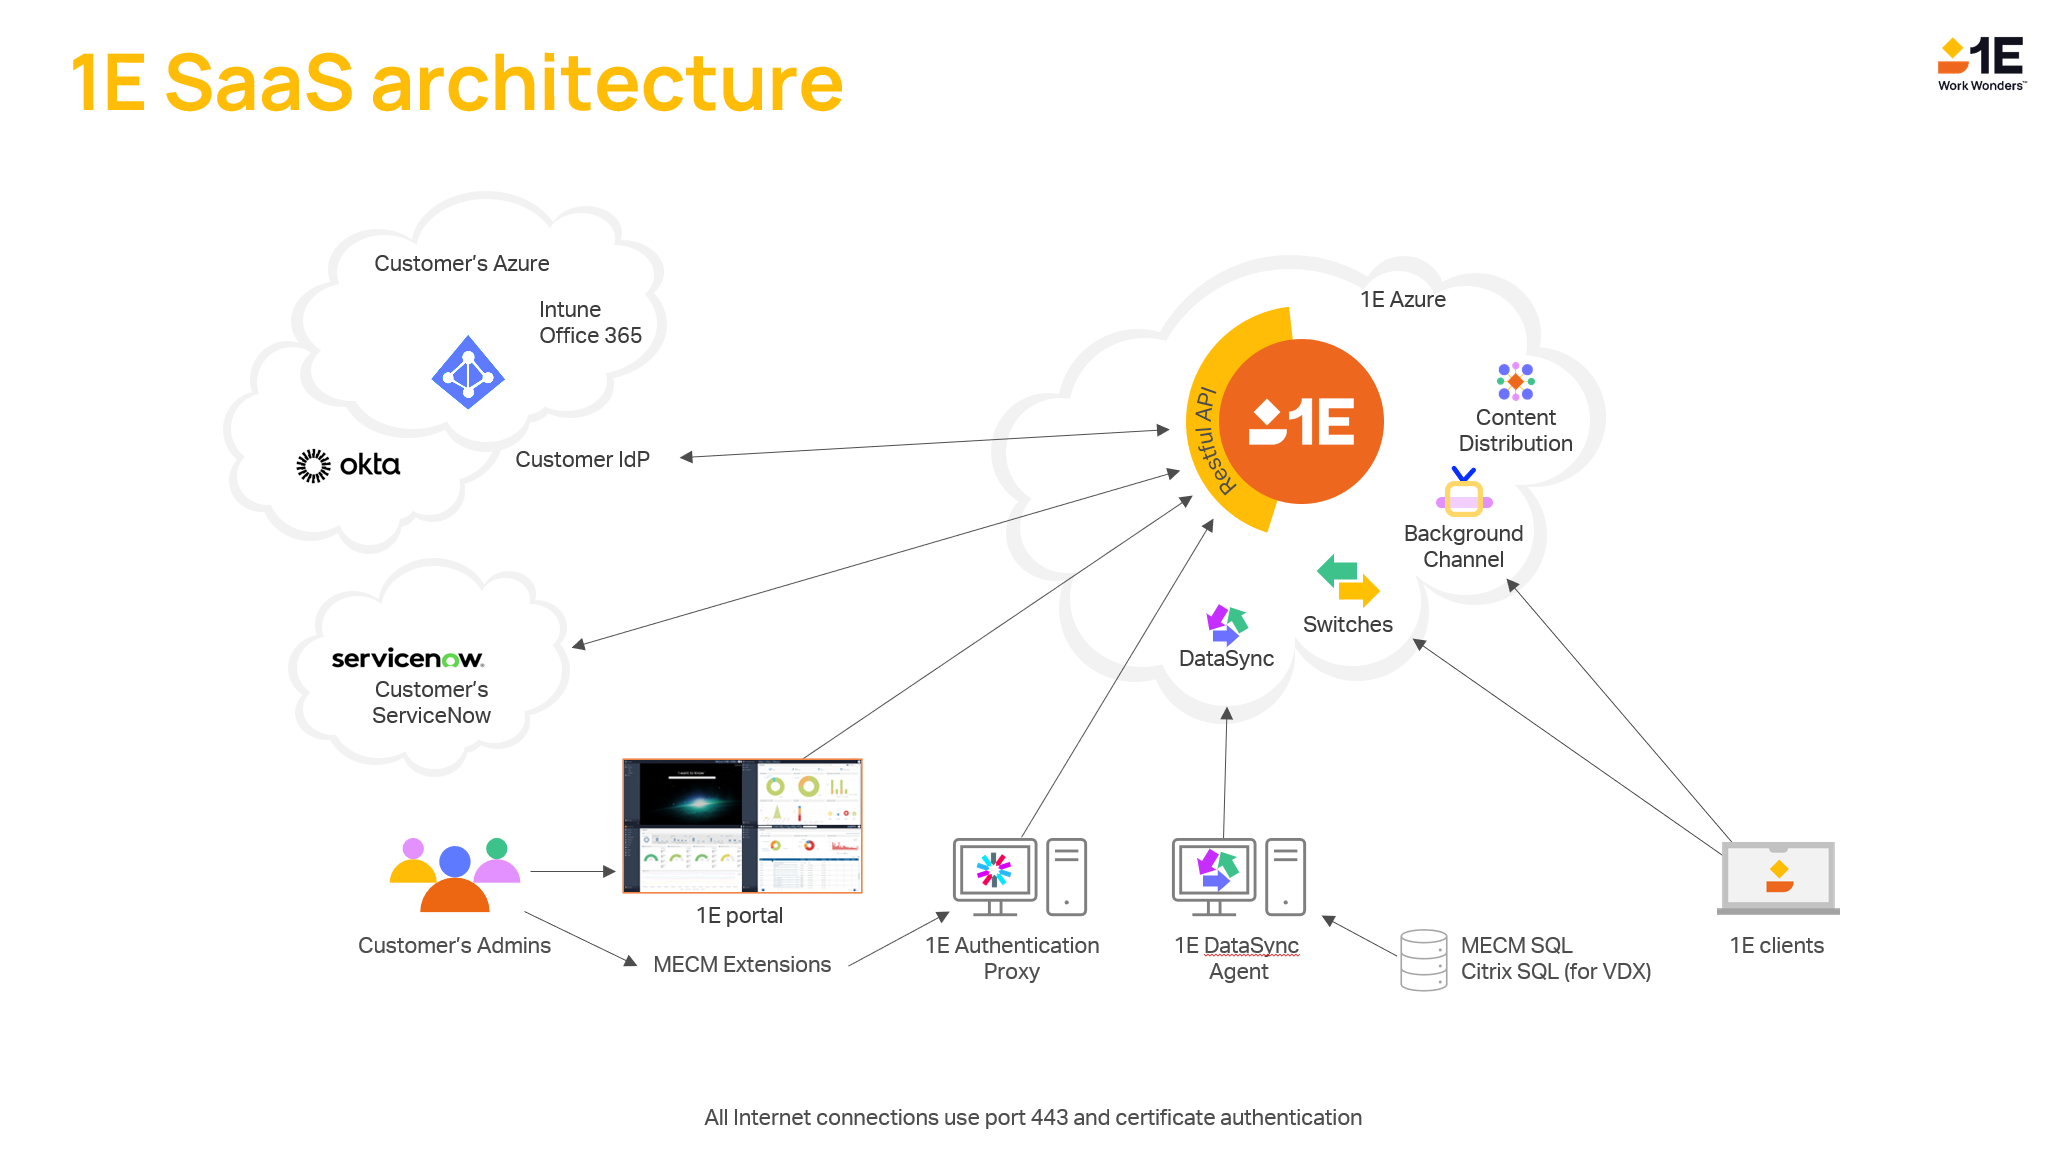
Network access | 1E Authentication Proxy -> Active Directory Domain Controller When the 1E Authentication Proxy gets an inbound request, it will communicate with the Active Directory Domain Controller to authenticate the inbound user ID. 1E Authentication Proxy -> 1E platform Once the user identity has been authenticated, the 1E Authentication Proxy will need to communicate with the 1Eplatform over port 443. | |
Signing certificate for integration tokens | You will require at least one Signing certificate for integration tokens that are used by the 1E Authentication Proxy to sign the JWT, for details refer to Certificate requirements. On the server used to install the 1E Authentication Proxy run the following PowerShell command (you will need to run this elevated): new-selfsignedcertificate -subject CN=<certificate subject name> Suggested <certificate subject name>, 1EAuthProxy. This will create a self-signed certificate and install it into the local machine personal certificate store. The Network Service account will need full access to this certificate.
| |
Preparation
When the 1E Authentication Proxy is installed to support a 1E SaaS implementation, then the server that you have identified to host the 1E Authentication Proxy must have certain Windows features installed.
The following roles, role services, and features must be installed/enabled as a minimum. The Name column is the reference used in PowerShell commands.
Tip
It does no harm to install the additional features 1E requires (not shown in the table below). Please refer to Preparation and Supported Platforms for details.
Note
In the case of .NET Framework features we refer to 4.X in the Display Name, as X may be different depending on the server OS. The PowerShell Name always uses 45 instead of the actual version.
Role or Feature | Display Name | Name | Included or not included on Web Server |
|---|---|---|---|
Web Server | Web Server (IIS) | Web-Server | |
Web Server Common HTTP Features | Default Document Directory Browsing HTTP Errors Static Content | Web-Default-Doc Web-Dir-Browsing Web-Http-Errors Web-Static-Content | Included |
Web Server Health and Diagnostics | HTTP Logging | Web-Http-Logging | Included |
Web Server Performance | Static Content Compression | Web-Stat-Compression | Included |
Web Server Security | Request Filtering Windows Authentication | Web-Filtering Web-Windows-Auth | Included Not included |
Web Server Application Development | .NET Extensibility 4.X ASP.NET 4.X ISAPI Extensions ISAPI Filters | Web-Net-Ext45 Web-Asp-Net45 Web-ISAPI-Ext Web-ISAPI-Filter | Included. Not included Included Included |
Web Server Management Tools | IIS Management Console | Web-Mgmt-Console | Not included |
.NET Framework 4.X Features | .NET Framework 4.X ASP.NET 4.X | Net-Framework-45-Core Net-Framework-45-ASPNET | Not included |
Installation
Silent installation
For most deployments, 1E recommends that you use the silent installation command.
Run the below command, from the elevated command line:
msiexec /i "<msi_path>\1EAuthenticationProxy.msi" installdir="<installation_path>" /l*vx "<logfile_path>\AuthProxy.Install.log>" /qn
Interactive installation
From the elevated command line, run the installer 1EAuthenticationProxy.msi
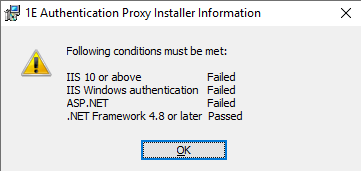
Click on OK and install all the prerequisites.
Click on the Next button.

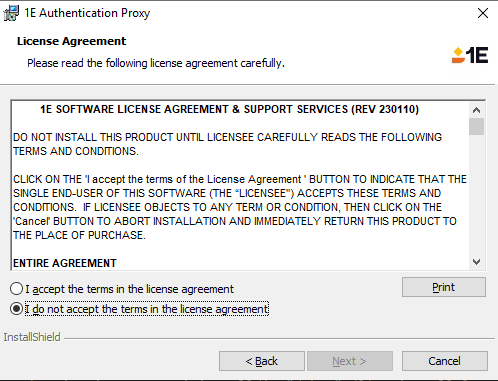
Select I accept the terms in the license agreement and click on the Next button.
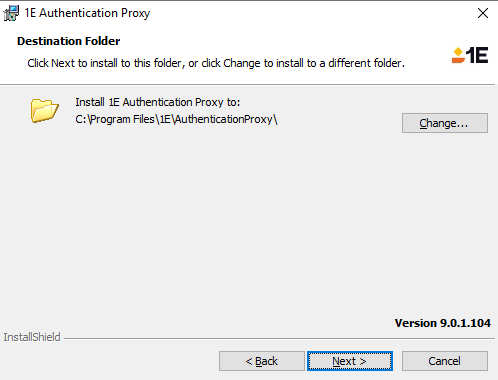
Change the directory if needed and click on the Next button.
Click on the Install button.

Setup completed page.
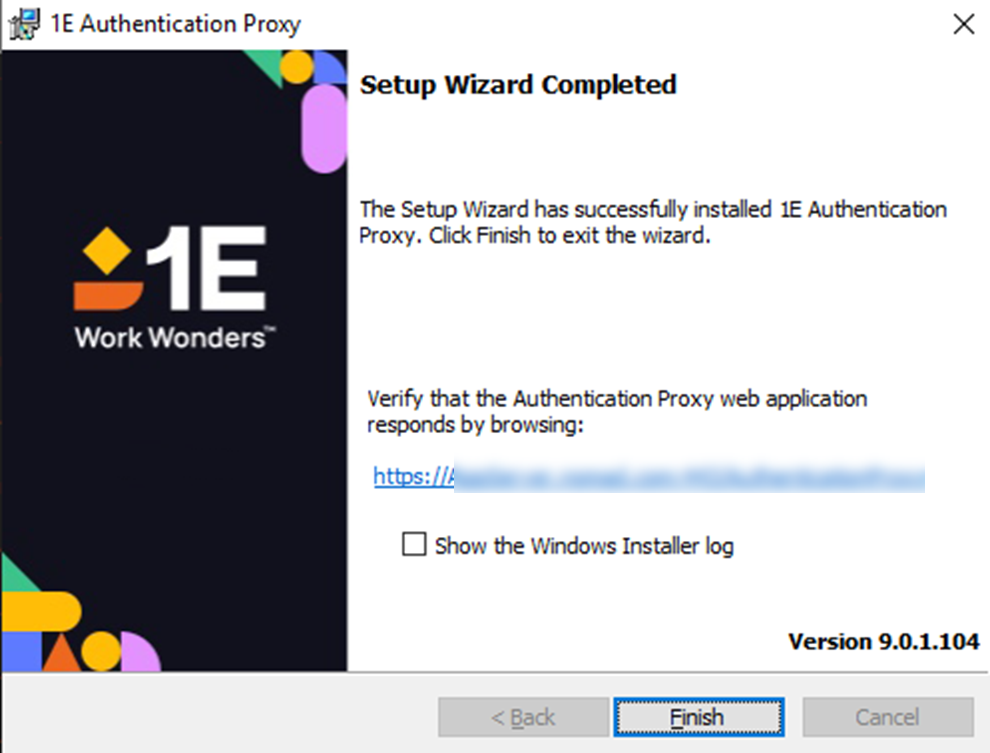
Make a note of the Authentication Proxy web application URL as you will need this when configuring the 1E on-premises components.
You can click on the URI to launch the page to confirm installation was successful. If you want to see the installation logs then, select the Show the Windows Installer log checkbox.
Click on the Finish button.
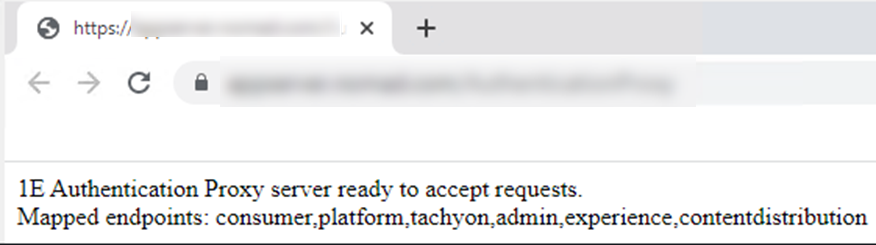
When accessing the Authentication Proxy URI you will see a page similar to this:
Post installation configurations
Configuration on the 1E Authentication Proxy Server
For this section you will need the following information:
DNS Alias of your 1E instance
Application ID of the non-interactive application that has been configured in your Identity Provider
Name of the Self-signed Certificate that was created earlier, this will be used to secure communication with your Identity Provider
The Windows user identity (in domain\user format) and the User Principal Name (UPN) for each user that you need to set up. You will need to repeat this in the future for all users that use on-premise components that are not currently compatible with Modern Authentication.
On the 1E Authentication Proxy, navigate to <installation_path>\Web.config and open in a text editor.
Search for and update the value of the TachyonServerUri
<add key="TachyonServerUri" value="https://your-platform-server" />Search for and update the value of the AuthAppId
<add key="AuthAppId" value="00000000-aaaa-1111-bbbb-222222222222" />Search for and update the value of the AuthCertSubject (Ensure that you have imported the signing certificate into the local machine personal certificate store and given Read access to the Network Service account)
<add key="AuthCertSubject" value="CN=YourCertSubject" />Search for and update the PrincipalMappingCollection section.
Update or append with both In and Out value(s) of PrincipalMapping (Ensure that you have uncommented the nodes, as the defaults are commented out).
You will need one line for each of your users.
<PrincipalMapping In="mycompany\user1" Out="user1@mycompany.com" /--> <PrincipalMapping In="mycompany\user2" Out="user2@mycompany.com" /-->
Save the Web.config file.
Configuration on the 1E instance
For this section you will need the following information:
A user with a minimum of Security.Write permissions (Security Administrator Role) in the platform
DNS Alias of your 1E instance
The Kid of the certificate is installed on the 1E Authentication Proxy Server
Using version 1.2.3.0 or above of the 1E Toolkit, run the following to get the Kid of the certificate that you are using
Import-module <path to 1E PS Toolkit>\ps1etoolkit.psd1 Get-1EJwkFromCertificate -CertSubject CN=<subject>List of User Principal Name (UPN) for each user that will access the platform using this instance of the 1E Authentication Proxy (this must be the same as the list you added to the Web.config PrincipalMappingCollection section above, any missing will fail to authenticate)
Application ID of the non-interaction application that has been configured in your Identity Provider.
From PowerShell, we are going to map the Kid to all users that need to authenticate via the 1E Authentication Proxy.
Enter the following to import the 1E Toolkit
Import-module <path to 1E PS Toolkit>\ps1etoolkit.psd1Example:
Import-module "C:\Program Files\1E\Tachyon\pstoolkit\ps1etoolkit.psd1"Connect to your instance on 1E instance (you will be prompted to login)
Set-1EServer <1Eplatformserver>For each of the UPN run the following command
Add-1EJwtPrincipalMapping -Identifier <kid> -Principal <UPN>Depending on where your instance is installed follow either of these steps.
On-premises | SaaS instance |
|---|---|
| If you haven’t already provided 1E with your Application ID of Non-Interactive authentication you will need to provide them the following information. |
ImportantFor Azure: This is the “Application (client) ID” value as displayed in the Non-Interactive Application created in the IdP. For Okta: This is the “Client ID” value as displayed in the Non-Interactive Application created in the IdP. | |
Updating Identity provider
For this section you will need to export the public key of the certificate created earlier.
Steps to export the public key:
Run certlm.msc
Right click the certificate you want to export the public key
Select All Tasks\Export
On the Welcome to the Certificate Export Wizard screen, click Next.
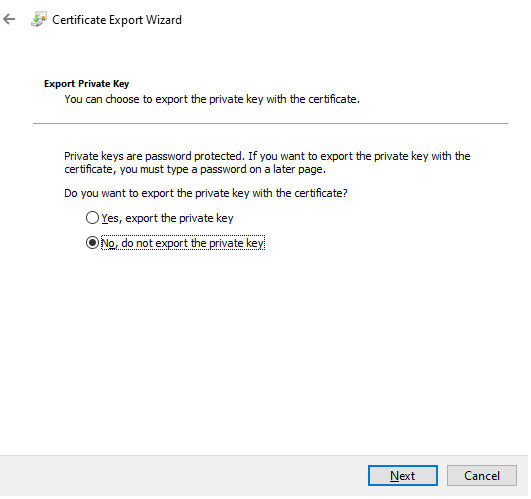
On the Export Private Key Screen, Select No, do not export the private key, click Next.
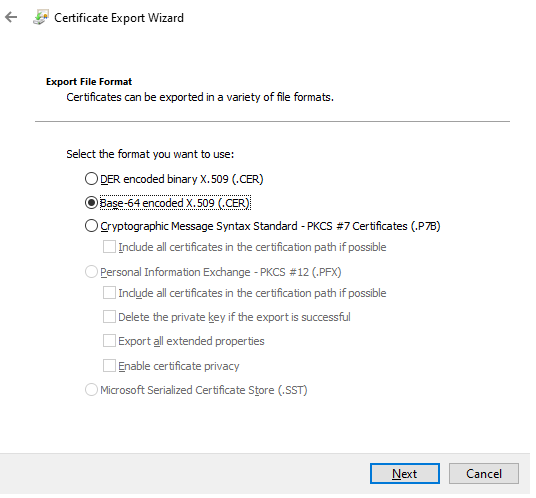
On the Export File Format Screen, Select Base-64 encoded X.509 (.CER), click Next.
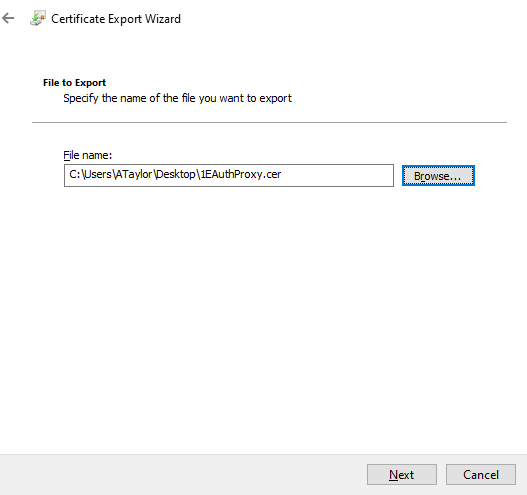
On the File to Export Screen, Enter the location that you want to save the certificate to, click Next.
On the Completing the Certificate Export Wizard Screen, click Finish
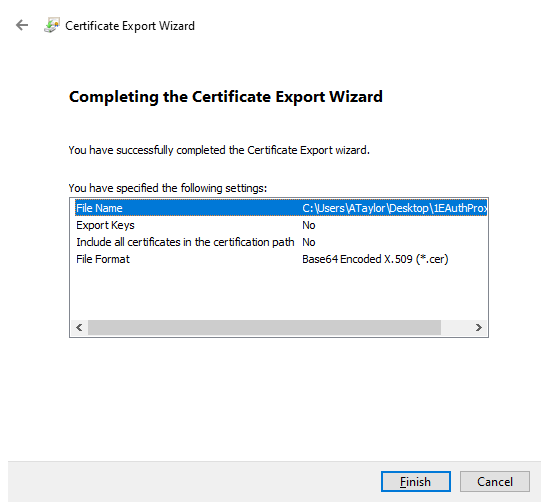
.
The public key will need to be imported to the non-interactive app that was previously created in your Identity Provider.
Validating using non-interactive login from the 1E Authentication Proxy server
Using Psexec run PowerShell as local system.
From an elevated command prompt, run
PSEXEC -s PowershellUse the 1E PowerShell toolkit to verify that you are able to connect to the 1E platform:
Import-Module .\ps1etoolkit.psd1 -force
Set-1EServer <server DNS Alias> -AppId <Application ID> -CertSubject CN=<Certificate subject name> -Principal <UPN on the user>
Example Set-1EServer 1eplatform.acme.com -AppId 00000000-aaaa-1111-bbbb-222222222222 -CertSubject CN=1EAuthProxy -Principal asmith@acme.com
Get-1EAuthToken -Decode
This will return the 1E internal authentication token of the mapped user confirming that the authentication proxy is configured correctly.