AAD Applications
AAD - 1E Client Assertion
This Client Assertion Application will be used by 1E to perform directory searches in your IdP. This will allow a 1E Administrator to add users in the platform and give them assignments for roles and management groups. These instructions show how to register the Client Assertion Application.
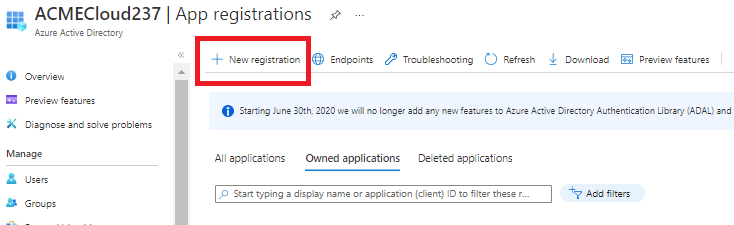
In the Azure admin portal navigate to Azure Active Directory and select App registrations.
When the blade opens click on New registration:
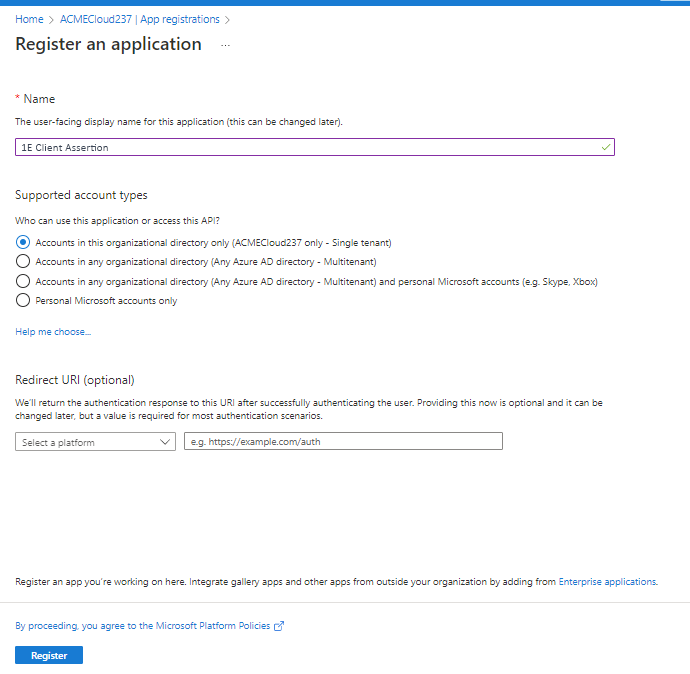
On the Register an application screen, enter 1E Client Assertion as the name - although there are no strict requirements on the actual name, the application will be used by 1E for client assertion. All the other settings on the page can be left at their default values.
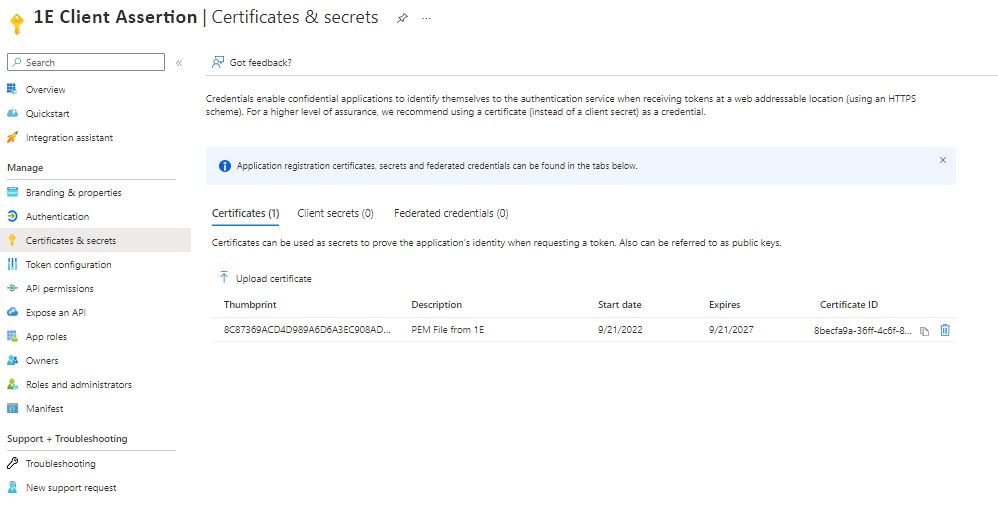
When the registration completes, navigate to the Certificates & secrets menu. Select the Certificates node. This is where you will upload the .PEM file given to you by 1E.
Once the certificate is uploaded, add the API permissions. This application will need the following Microsoft Graph API permissions. These permissions will need to be approved by a Tenant Admin.
Navigate to API Permissions and click on Add a permission to open the Request API permissions blade.
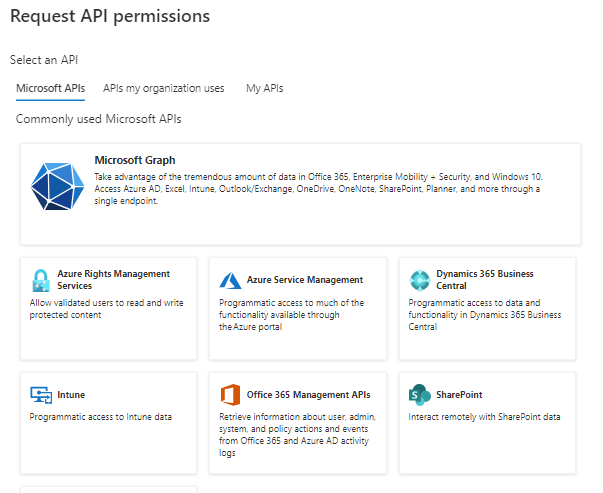
Select Microsoft Graph and then Application permissions
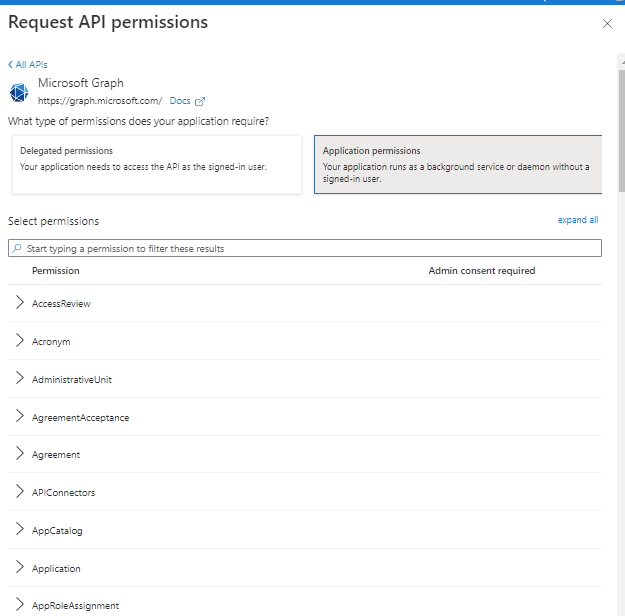
This application needs the following minimum Application permissions assigned to it.
Group.Read.All
User.Read.All
Note
If these application permissions are not applied for the 1E Client assertion app, you will not be able to add users to the 1E Platform.
The Client assertion uses app permissions, there is no user as the authentication flow uses a certificate.
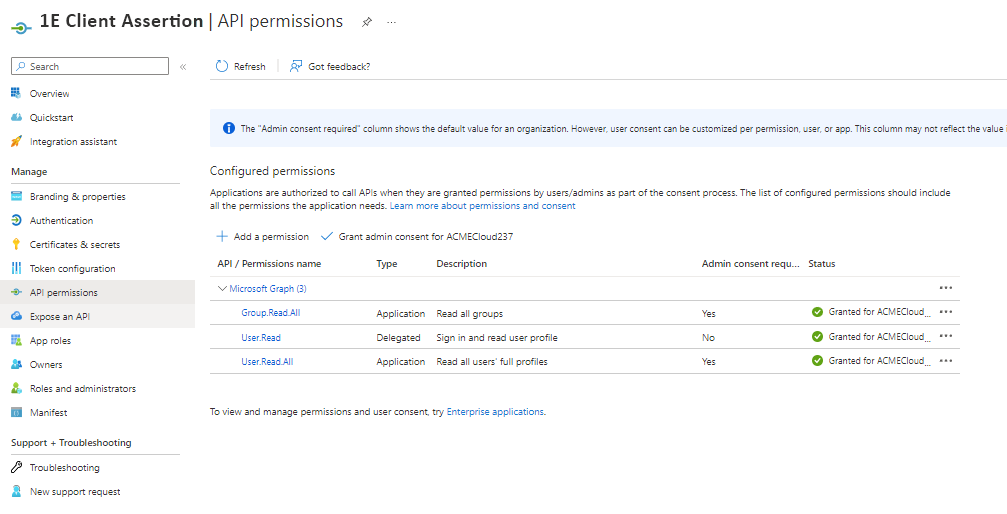
The application also needs the following Delegated permissions:
User.Read
Once the Azure Tenant Admin grants consent for the permissions, you will have a green check next to the application entries:
AAD - 1E PKCE
This application will be used to read the credentials for each account that logs into the 1E portal. These instructions show how to register the PKCE Application.
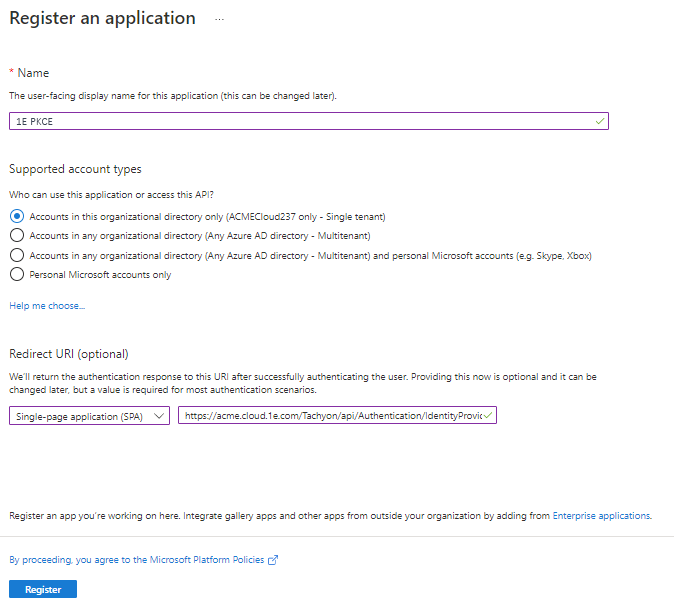
Navigate to Azure Active Directory – App registrations and select New registration. Type in the name, 1E PKCE, although there are no strict requirements on the actual name, the application will be used by 1E to validate the user that is logging in.
In the Redirect URI field type in the value given to you by 1E.
For example, the URI will be in the form of
https://<TachyonFQDN>/Tachyon/api/Authentication/IdentityProviderRedirectNote
The Redirect field is case-sensitive.
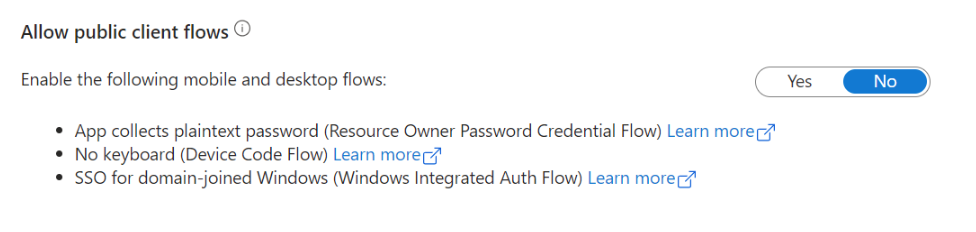
This application needs to have Allow public client flows set to disabled. Navigate to Authentication, scroll down to the bottom, move the slider to No and click Save.
This application needs Microsoft Graph delegated API permissions of User.Read. This permission is granted by default and does not need changing. You can see the permissions by navigating to API Permissions. Click on Grant admin consent.
Note
If these application permissions are not applied for the 1E PKCE app users will not be able to log in to the system.
The 1E PKCE app uses delegated permissions as the User.Read.All permission relates to the user logging on.
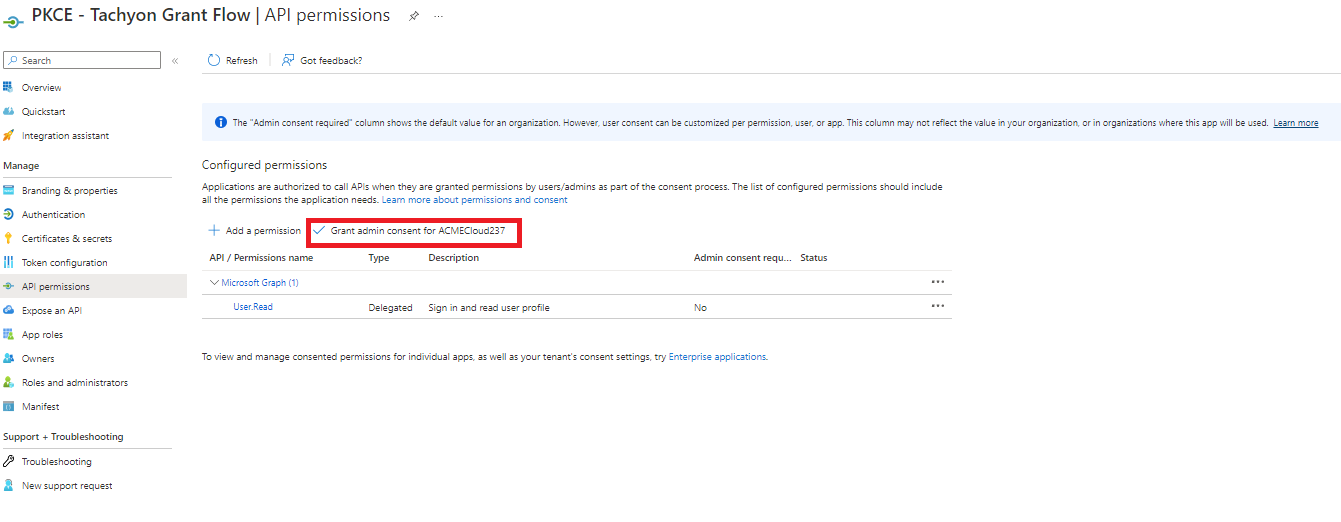
Select Yes in the Grant admin consent confirmation popup.

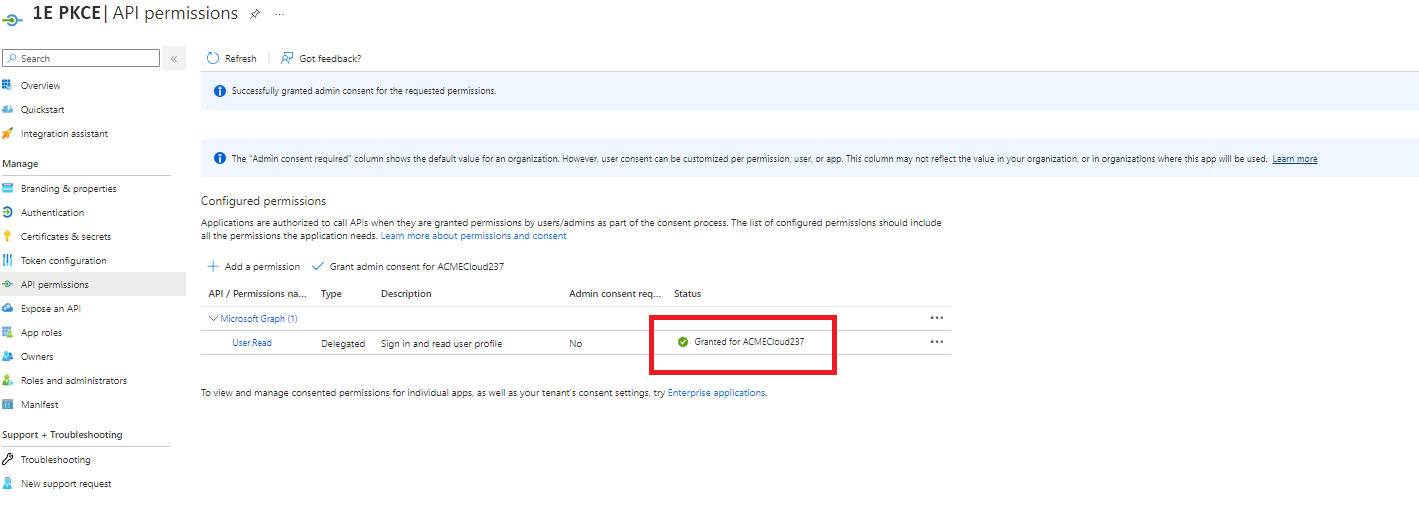
To confirm admin consent has been granted, look for a green check in the Status column.
AAD - 1E Integrations
Note
The 1E Integration app is optional and only required when using non-interactive logons.
The Integration apps uses app permissions, there is no user as the authentication flow uses a certificate.
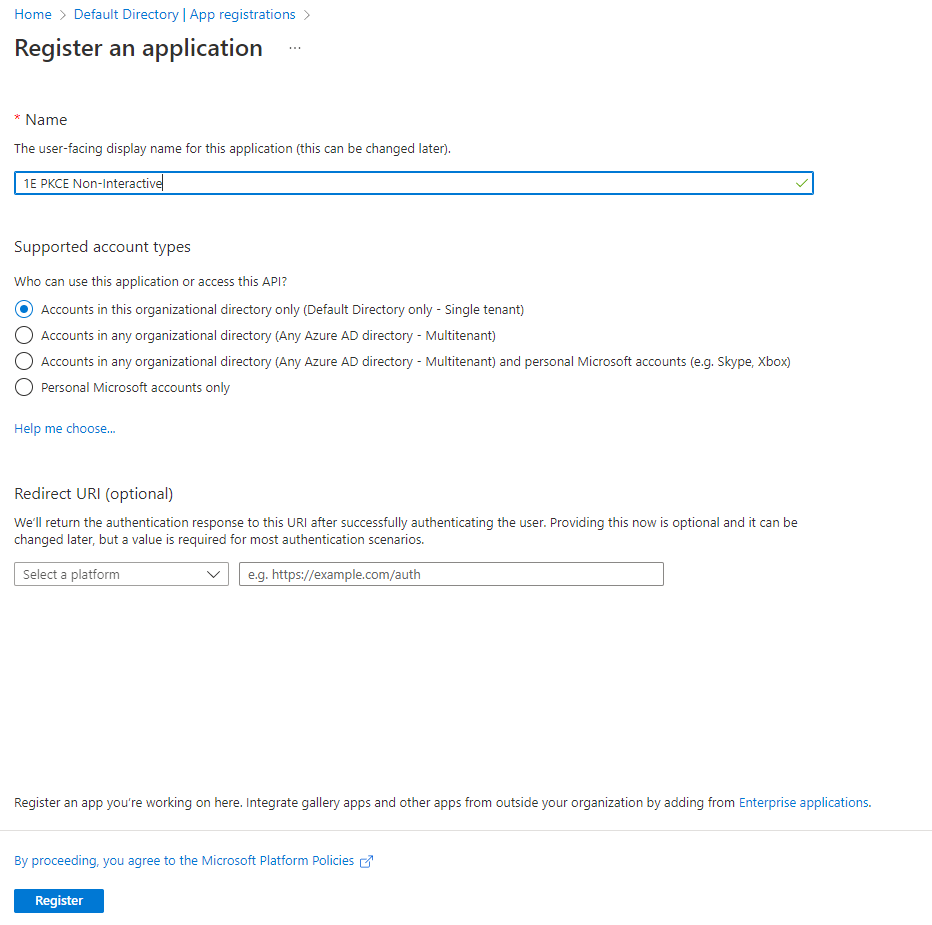
In Azure Active Directory navigate to App registrations and choose New Registration.

In the Name field type in a name for this application, we recommend 1E Integrations. Once you have the name typed in click on Register.
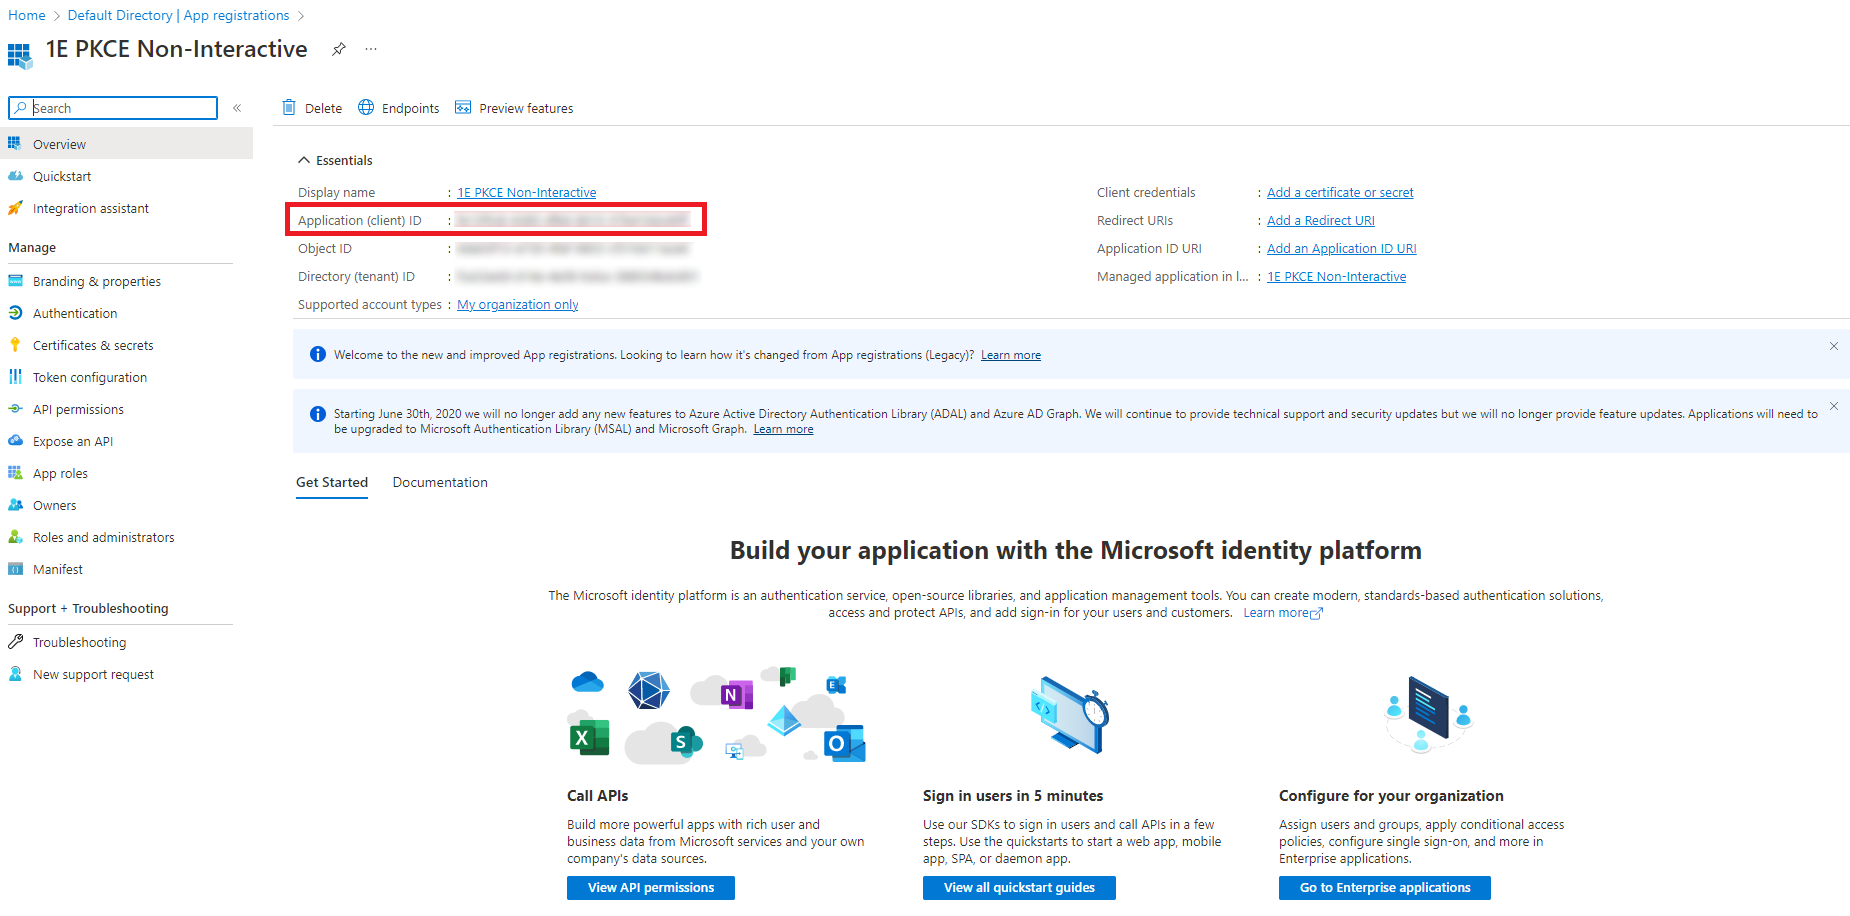
In the Overview menu make a note of the Application (client) ID, you will need to send this to your 1E Account Team as part of the overall provisioning process.
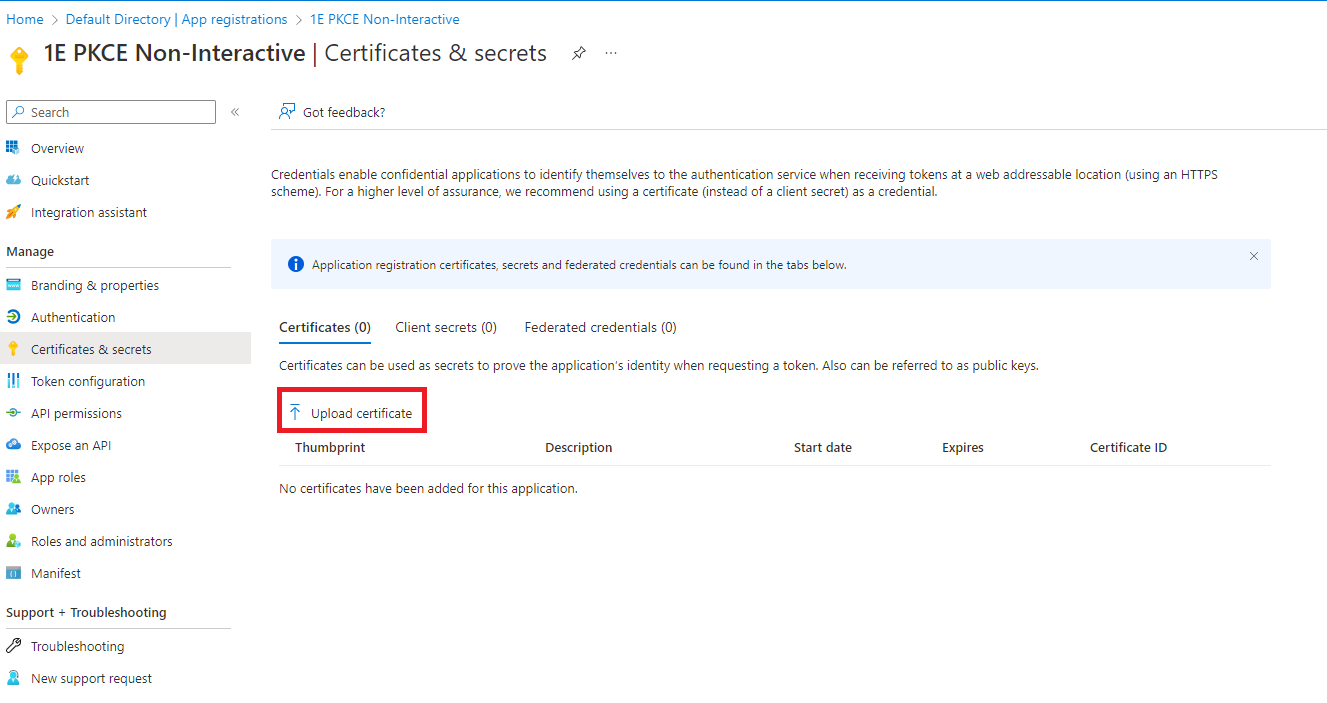
Navigate to the Certificates & Secrets Menu select Certificates and click Upload Certificate
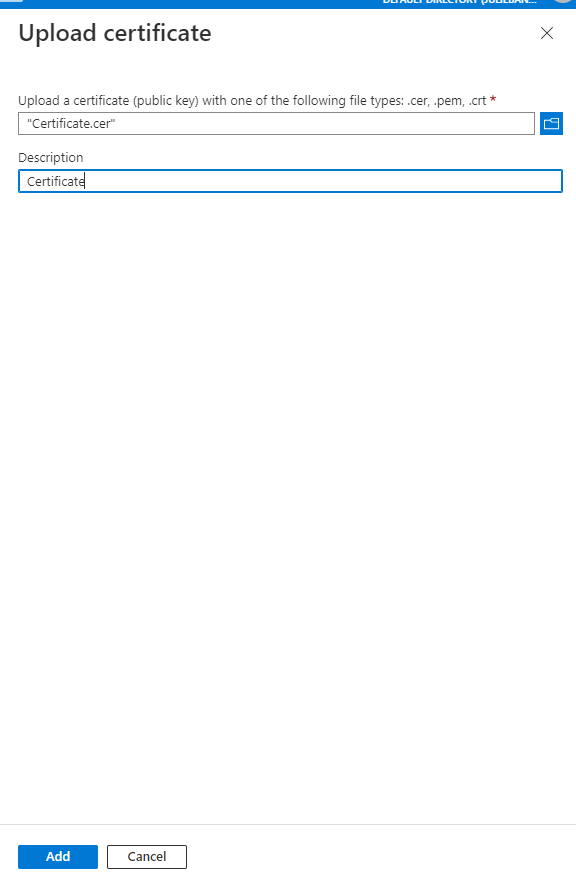
The Upload certificate blade will let you browse to your .CER file and enter a description. When you're finished click Add.
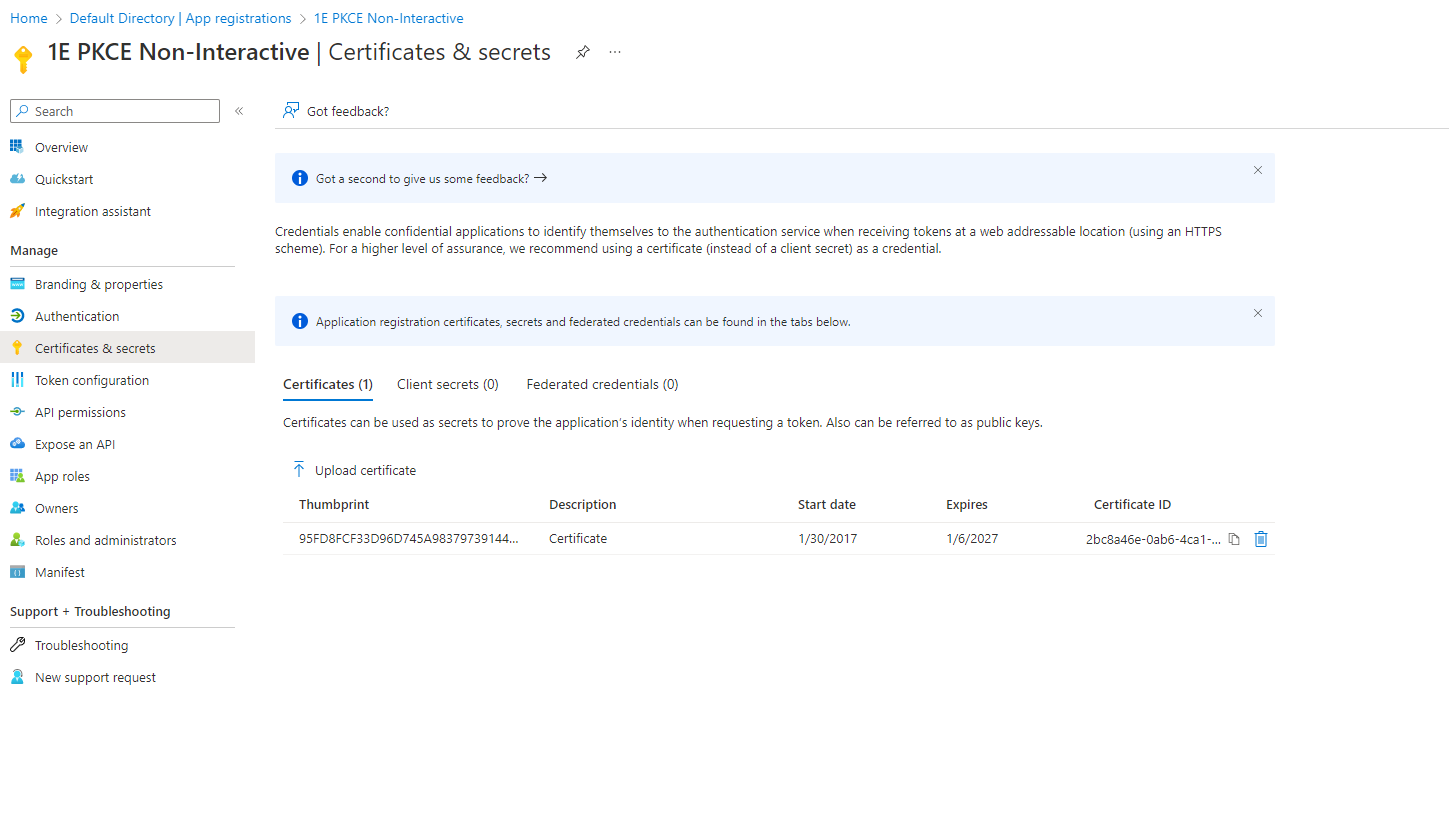
You will then see a thumbprint of the certificate
Gathering the AAD information needed
Once you have your applications configured, you will need to send the following information to your 1E Account Team:
Tenant Metadata – this can be copied from Azure Active Directory – App registrations then selecting Endpoints

Tenant ID – this can be copied from the Azure Active Directory Overview page
Application (client) ID for your Enterprise applications. These can be copied from the Overview menu of each application:
1E Client Assertion (Directory Search)
1E PKCE (PKCE Grant Flow App for Interactive Logins)
1E Client Assertion Non-Interactive (Client Grant Flow App for Non-Interactive Logins).
An Azure Active Directory user account will be used as the Setup user during this installation of 1E .