Exploring the API using a web browser
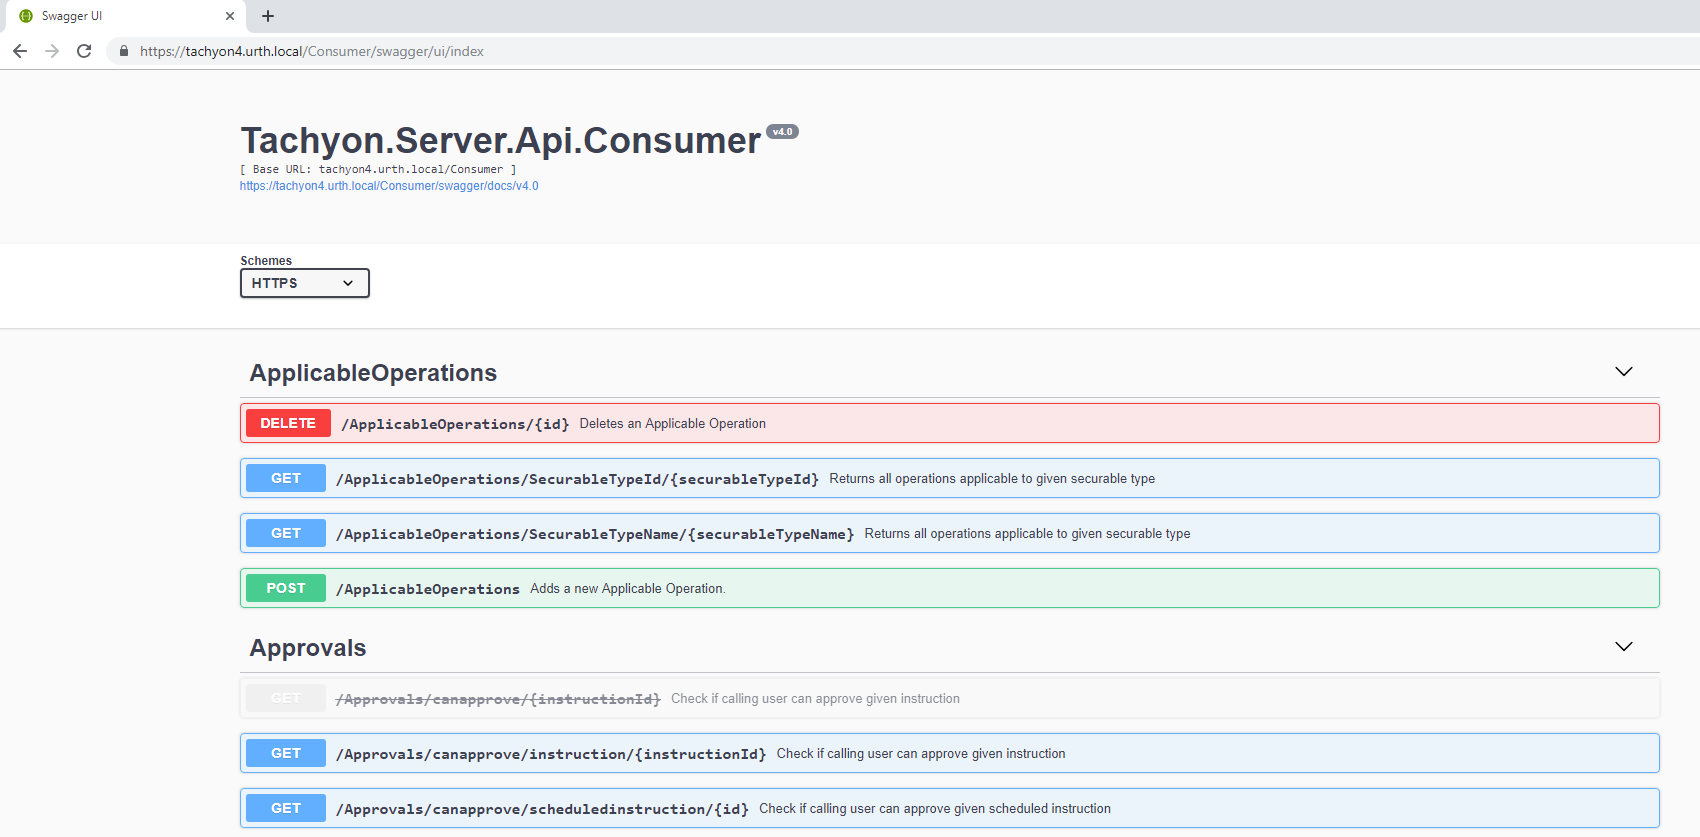
Although the Consumer API is documented in the child pages to this page, you can also explore it using the inbuilt API documentation. This is available through your browser and managed through the Swagger subsystem by browsing to the Consumer reference.
https://<tachyon server>/Consumer/swagger
Where <tachyon server> is the URL of your Tachyon server, which redirects to the API reference page:

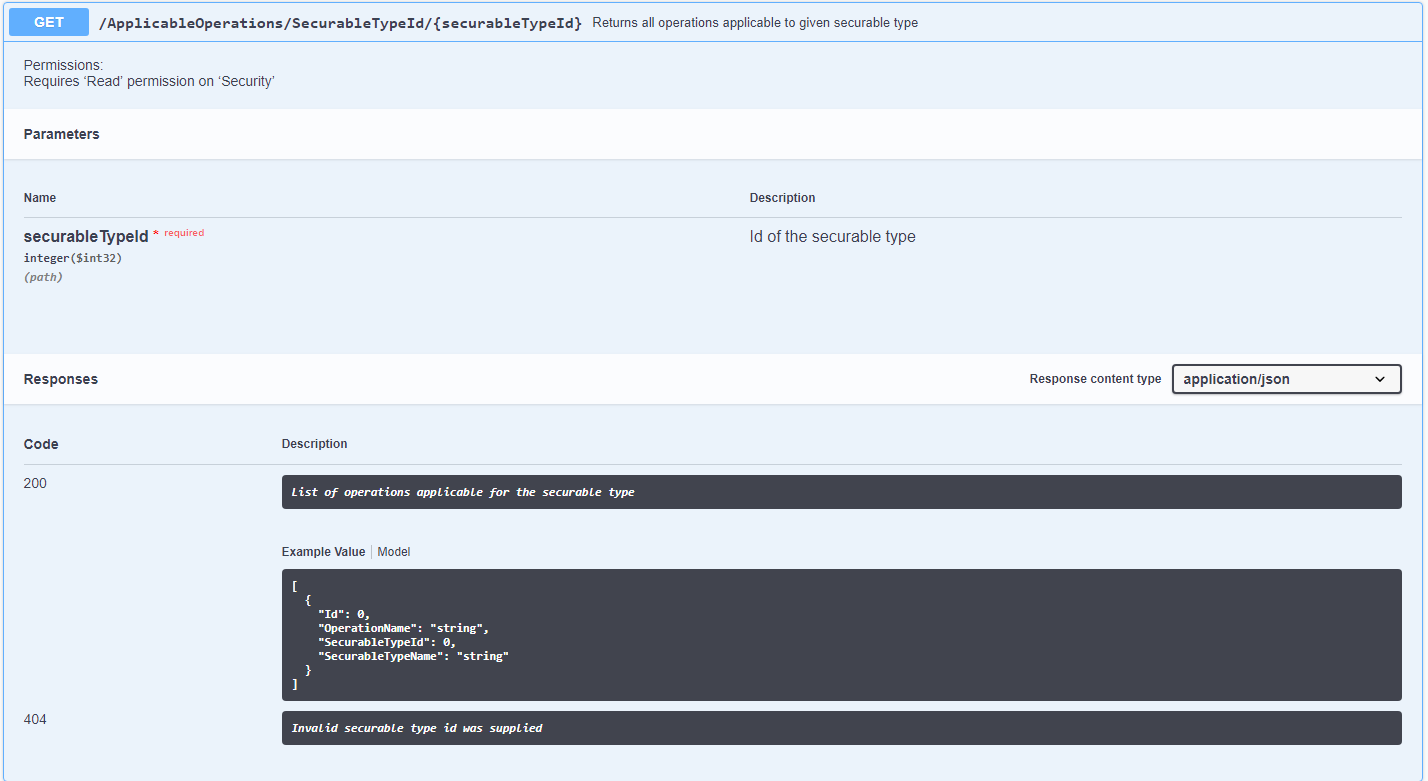
Each API is expandable, by clicking on it, you can view additional information about the API.

Swagger URL reference for 1E platform
Where <tachyon server> is the URL of your 1E server, which redirects to the API reference page.
Component | URL |
|---|---|
1E Portal | https://<tachyon server>/Tachyon/swagger/ui/index |
1E Consumer | https://<tachyon server>/consumer/swagger/ui/index |
1E Experience Analytics | https://<tachyon server>/experience/swagger/ui/index |
SLA Admin | https://<tachyon server>/admin/swagger/ui/index |
SLA Platform | https://<tachyon server>/platform/swagger/ui/index |
Content Distribution | https://<tachyon server>/ContentDistribution/docs/index.html NoteContent Distribution documentation is not readily available, please follow these steps to enable it.
|
Tool settings
Authentication Mechanisms should be read in conjunction with this page to understand the different options available
Postman
In Postman this setting and the Authentication, varies from version to version. For example, in the Chrome App version it's done automatically when No Auth option is selected.
In new standalone application, you should select the relevant type of Authentication

Fiddler
In Fiddler check Automatically Authenticate on the Composer->Options tab.

Advanced REST client
Google App Runtime for Chrome (ARC) requires the XHR extension turned on (the triple dot menu, top right of the window).
Authentication Mechanisms - Introduction
This page covers authentication methods supported by the 1E platform, focusing on the differences between “legacy” Integrated Windows Authentication mode and “modern” token-based system that integrates with OAuth.
Types of Authentication Available
If you’re using 1E 8.1, only Integrated Windows Authentication is available and your IIS must have Windows Authentication enabled and Anonymous Authentication disabled.
If you’re using 1E version greater than 8.1, only token-based authentication is available and your IIS must have Windows Authentication disabled and Anonymous Authentication enabled.
Whereas 1E version 24.1 and later only supports token based authentication and have no IIS as these are cloud native.
Which specific identity provider is supported depends on particular version of 1E. For instance, in 8.2 Azure AD is supported while 8.3 adds support for Okta. Please consult documentation specific to your version of 1E for a complete list and information on how to configure each Identity Provider (IdP).
The Windows Active Directory is supported in 1E version 9.1 and follows token based authentication, where Windows AD is wrapped in a special layer that makes it appear as if it is an OAuth Identity provider.
Integrated Windows Authentication
This was the original authentication method. It is based on Windows accounts, either local or domain, where domain accounts would be used by users and groups while local accounts would be used by services.
Integrated Windows Authentication - The Basics
The burden of handling authentication rests on Windows itself. A REST call via a tool or a browser would have to contain appropriate Windows credentials and IIS would require those via a 401 negotiation.
In most cases, authentication is automatic because a user is logged into a domain and therefore their credentials are available and can be supplied without user inputing them in. In some circumstances (such as running the browser in incognito mode) the browser would display a popup requesting credentials from the user, but in most cases authentication is invisibly handled by IIS and the browser.
Token based authentication and OAuth support - Contacting the API
Once you have a Token you can call 1E APIs.
To do so, set your authentication to “no authentication” and add a header field called “X-Tachyon-Authenticate“ into your request. The value of this field should be the Token. Do not add any extra characters, quotes or anything else like that. The value of this field is expected to be just the token.
Here’s an example of how this would look in Postman:

Token based authentication and OAuth support
Token based authentication is abstracted from any particular authentication system and completely independent from Windows.
Token based authentication and OAuth support - The basics
This system will rely on an external IdP provider (usually an OAuth compliant one like AzureAD or Okta) to handle authentication process as far as verifying user names and passwords in concerned.
This system will not, however, rely on tokens issued by said IdP as an authentication method inside 1E. Instead, 1Ewill issue its own cryptographicaly signed tokens based on the IdP’s tokens.
This means that a token needs to be requested and logging in is no longer an automatic affair as it was with Integrated Windows Authentication.
Instead, the user must begin their interaction with 1E by requesting authentication. A response to this request will be a web address that points to the configured IdP. There the user will input their credentials and log into their IdP (be that AzureAD, Okta or another provider) as they would for any other website. Afterwards, if the authentication was successful, the IdP will call 1E back to notify it of successful authentication. At that point 1E will obtain IdP’s token, keep it and exchange it for one of it’s own tokens that it will give to the caller who requested authentication.
So, the end result of an authentication request should be a token.
Token based authentication and OAuth support - How the system works
Contacting the API requires a Token.
In order to obtain a Token, you have to complete an authentication request through the 1E platform. This will entail requesting authentication from the platform and authenticating with your IdP. Once that is complete, you will receive a Token.
You can perform interactive authentication via your IdP's UI or use a programmatic way like JWT (which requires extra setup).
From that point onwards, you should add that token to every API request you make. Not just to Consumer API, but every API in the 1E platform.
Token based authentication and OAuth support - Obtaining a taken
Token based authentication and OAuth support - Interactive login
For 1E Platform version 8.2-
In order to obtain a Token you have to make a GET request to wss://your.tachyon.server/Tachyon/api/Authentication/RequestAuthentication.
This request must be made using websocket protocol in order to maintain constant connection throughout the entire authentication process. Should the connection be interrupted for whatever reason before the authentication has finished, you will have to start again. Resuming authentication or polling aren’t supported.
Once the above request is made, you will receive a redirect HTTP code and a URL address to follow. This address should be used to authenticate with your configured IdP. Once that is successful and the IdP has called 1E back (please note you will not be aware of this taking place as it will be the IdP calling 1E API directly) you will receive your Token through the websocket connection. At this point the authentication request is considered complete and websocket connection can be closed.
For 1E Platform version 9.0 and above-
In order to obtain a Token you have to make a GET request to https://your.platform.server/Tachyon/api/Authentication/RequestAuthentication (for 9.X and 23.X) or https://your.platform.server/api/Authentication/RequestAuthentication for versions 24.1 newer.
This is a regular GET and unlike 8.2 it does not require a websocket protocol to be used.
Once the above request is made, you will receive a redirect HTTP code and a URL address to follow. This address should be used to authenticate with your configured IdP. Once that is successful and the IdP has called 1E Platform back (please note you will not be aware of this taking place as it will be the IdP calling 1E Platform’s API directly). You will have to pool to check the status of your request to find out when you can retrieve the token. For more details on how to implement this method see Implementing interactive authentication.
Token based authentication and OAuth support - Non-interactive Login
You can also obtain a Token using a JWT you already have.
In order to do so you should make a POST request to https://your.tachyon.server/Tachyon/api/Authentication/RequestJwtAuthentication (for 9.X and 23.X) or https://your.platform.server/api/Authentication/RequestJwtAuthentication (for versions 24.1 and newer) and provide your token in the body of the request. This endpoint expects a string so your token needs to be wrapped in double quotes in the payload. If the JWT is valid you will receive a Token in return.
Token based authentication and OAuth support - The toolkit
The toolkit has the ability to retrieve a Token.
Please consult toolkit’s documentation for details: 1E PowerShell Toolkit management cmdlet reference.
Token based authentication and OAuth support - Handling Tokens
Token based authentication and OAuth support - Token types
There are two main types of Token, an interactive token that represents a user or a group, and a non-interactive token that represents an element of 1E platform, an API, a service or another piece of software.
Token based authentication and OAuth support - Token Types - Interactive
This is the token you will be obtaining sing the authentication mechanisms (both interactive and JWT) described above. This type of token has two subtypes.
First subtype is the fully interactive type, obtained via interactive login as described above. These tokens can be refreshed (see below) up to a number of times defined in your configuration.
Second subtype is the semi-interactive, obtained by supplying a JWT. These tokens cannot be refreshed. You need to obtain a new JWT and supply it to the API to obtain a fresh Token.
Beyond the refresh, the two token subtypes are functionally identical.
Token based authentication and OAuth support - Token Types - Non-interactive
This type of token is used by 1E internally. You will not be able to obtain this type of token.
Token based authentication and OAuth support - Token lifecycle
Fully interactive tokens can be refreshed. This is done by making a POST request to https://your.tachyon.server/Tachyon/api/Authentication/RefreshToken (for 9.X and 23.X) or https://your.platform.server/api/Authentication/RefreshToken (for versions 24.1 newer) and providing the token you’d like to refresh in the body of the request. This endpoint expects a string so your token needs to be wrapped in double quotes in the payload. Any and all API calls should check error returned to detect CommonAuthentication.TokenExpired error, which indicates that the token has expired and needs to be refreshed.
Tokens can only be refreshed a certain number of times before you will be forced to perform the authentication from scratch. If you attempt to refresh a token too many times, an error will be returned by the token refresh API when that happens and the error code will be CommonAuthentication.SessionReachedMaximumNumberOfRefreshes.
You can log out of the system by calling https://your.tachyon.server/Tachyon/api/Authentication/Logout (for 9.X and 23.X) or https://your.platform.server/api/Authentication/Logout (for versions 24.1 newer). This is a GET request that does not need any parameters, but it needs to have a token in the header field (see below). This will remove the ability of the token to be refreshed, effectively ending the “session”, though for technical reasons your token will remain valid for the remainder of its lifetime.
Logging out is optional and you can simply opt to “forget” the token. Information about your session will be automatically cleaned up after your token expires.
Token based authentication and OAuth support - Contacting the API
Once you have a Token you can call 1E APIs.
To do so, set your authentication to “no authentication” and add a header field called “X-Tachyon-Authenticate“ into your request. The value of this field should be the Token. Do not add any extra characters, quotes or anything else like that. The value of this field is expected to be just the token.
Here’s an example of how this would look in Postman:
