1E ITSM Connect post-installation tasks
Post-installation tasks, which include mandatory and optional configuration tasks.
The 1E ITSM Connect app communicates with the 1E system that is hosted in your production network. As a result, certain configuration details must be set up by a ServiceNow administrator to enable this communication with the 1E server. Additional settings must also be configured to manage how the 1E ITSM Connect app works.
Form layout setup
After the app has been installed on the ServiceNow instance, the 1E ITSM Connect section must be configured using the Form Layout option of the 1E ITSM Connect incident.
To see the 1E ITSM and 1E Experience tabs on your incident page you need to follow the below configuration steps.
Note
This page is accessible only to a ServiceNow admin after installation of 1E ITSM Connect.
Here is the step-by-step process:
Navigate to 1E ITSM Connect→Incidents menu path.
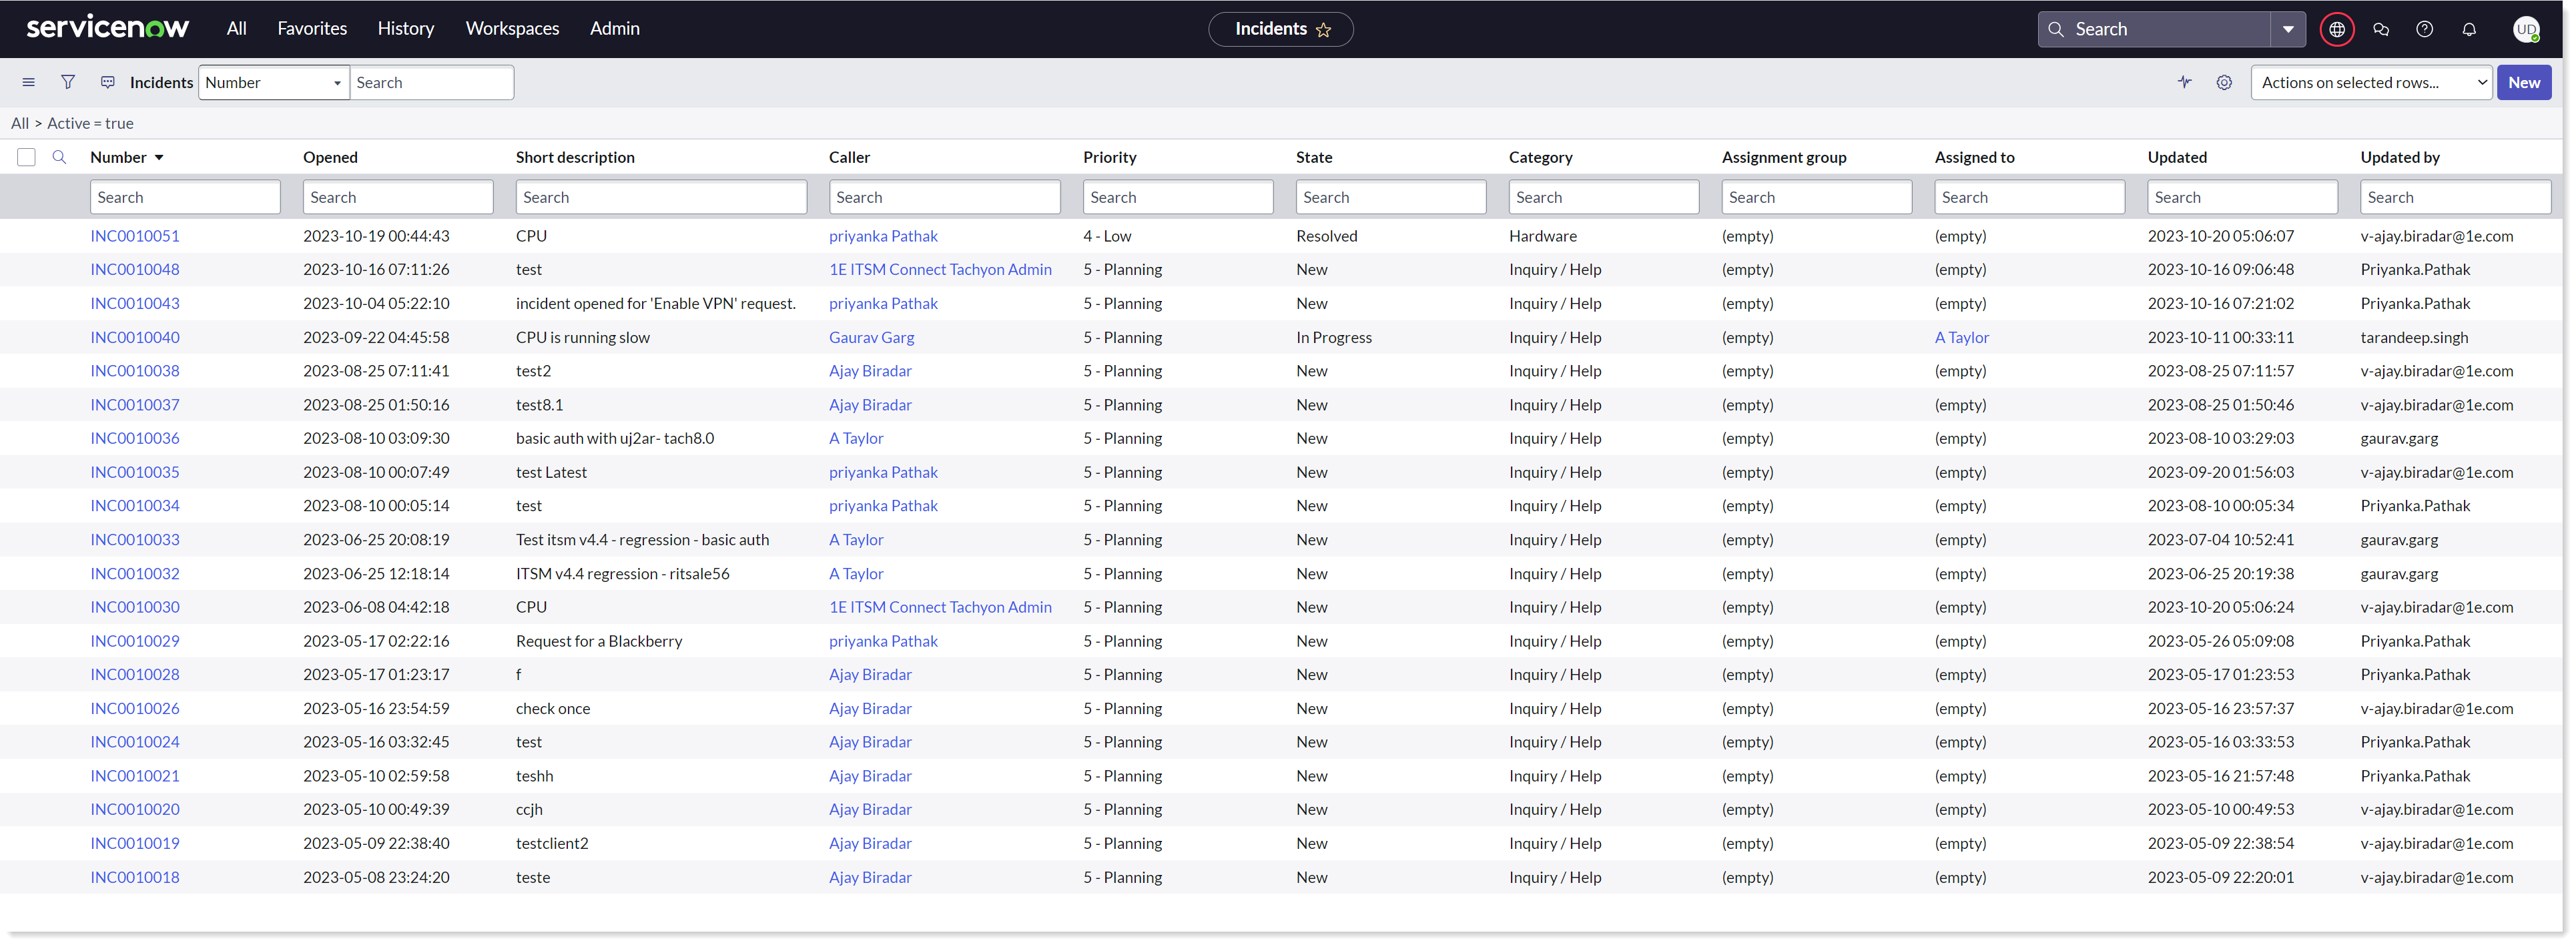
Click on the incident number of any incident.
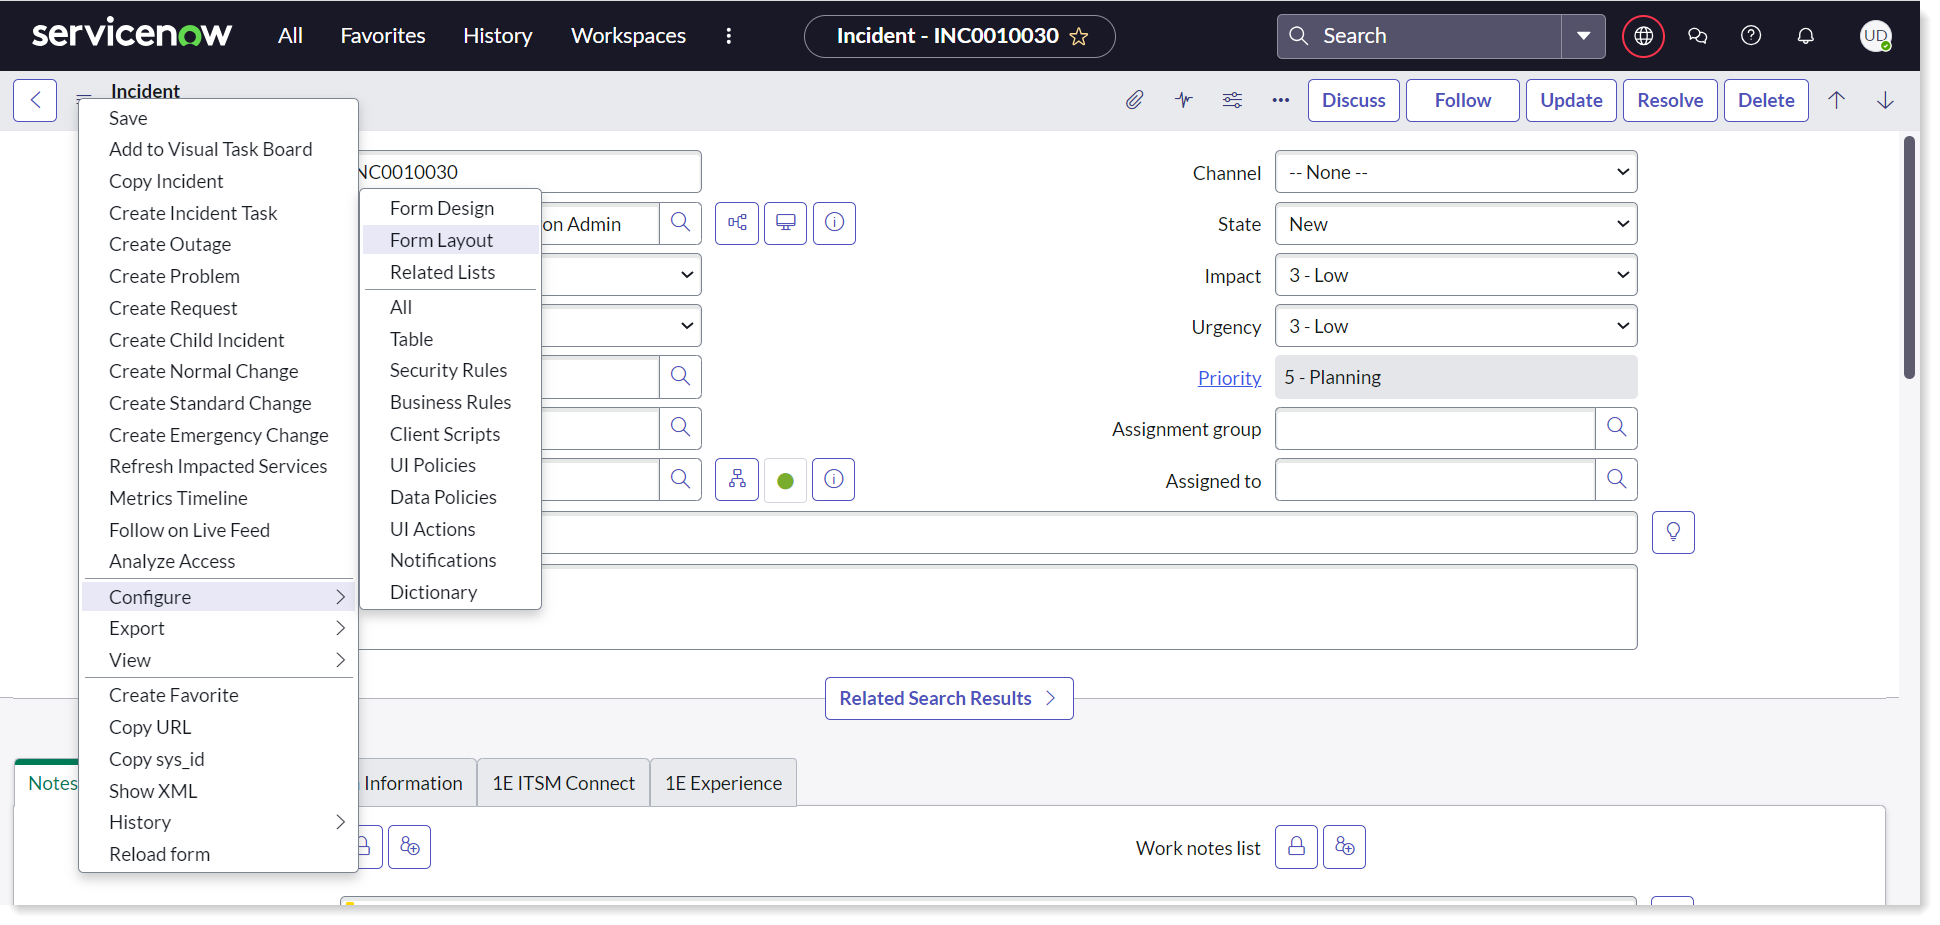
After opening the incident details, click on the hamburger menu and then select the Configure→Form Layout menu option as shown below. This will open the Configure Incident Form screen.
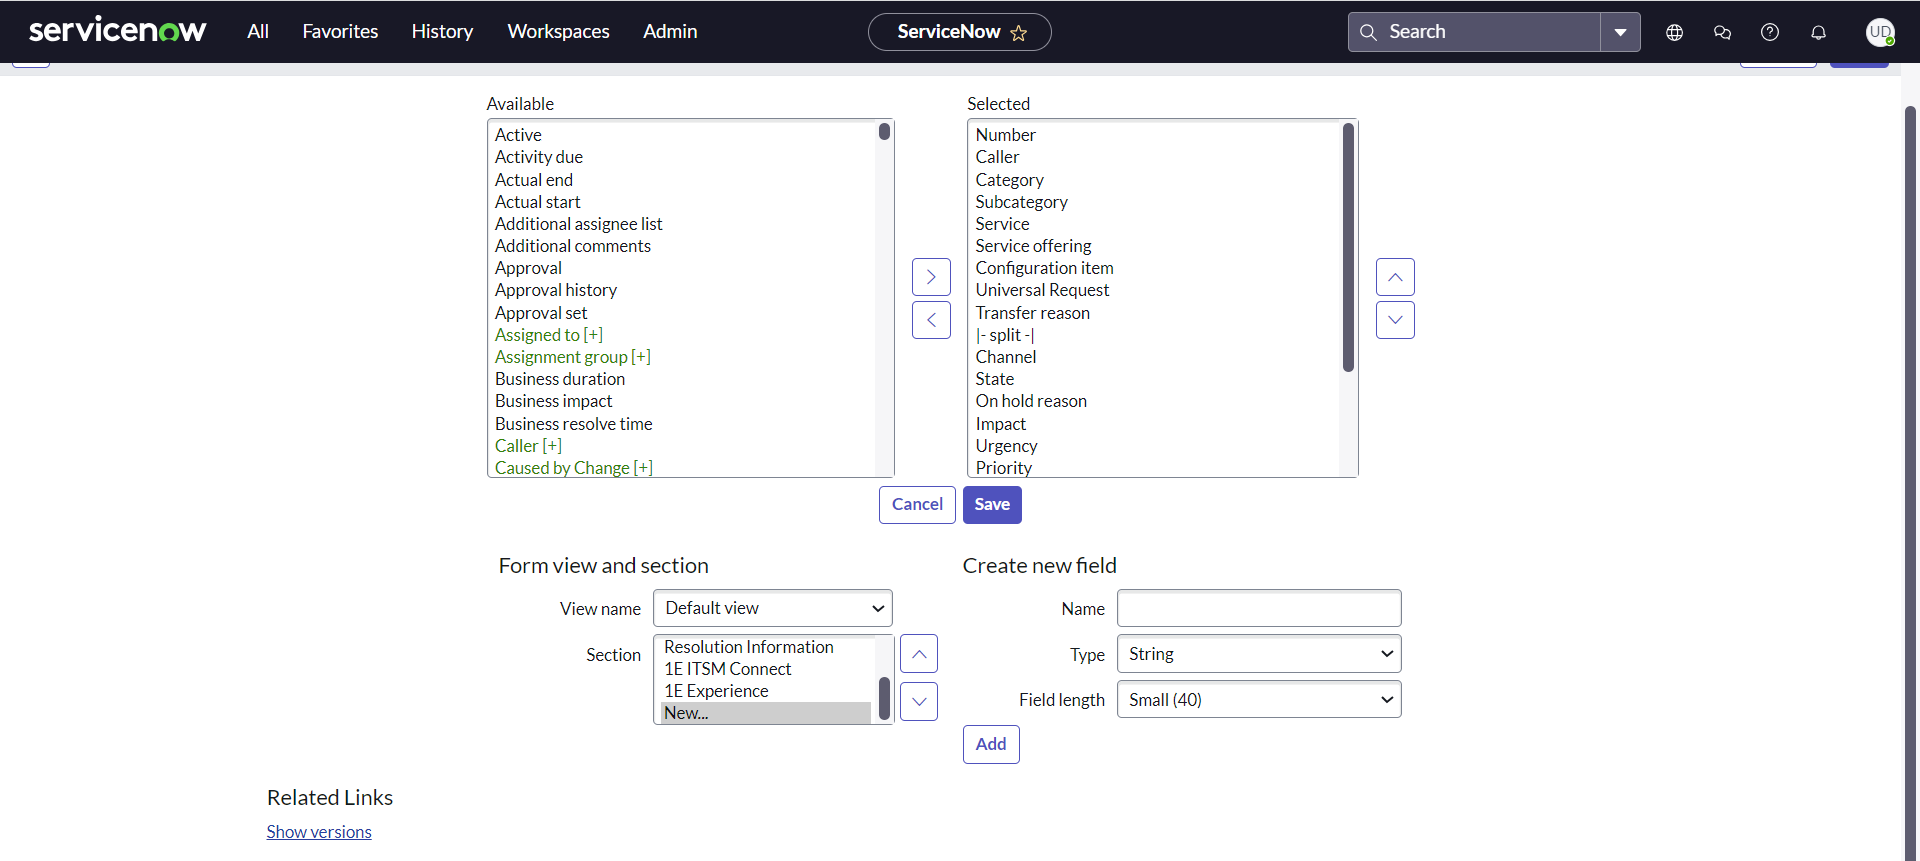
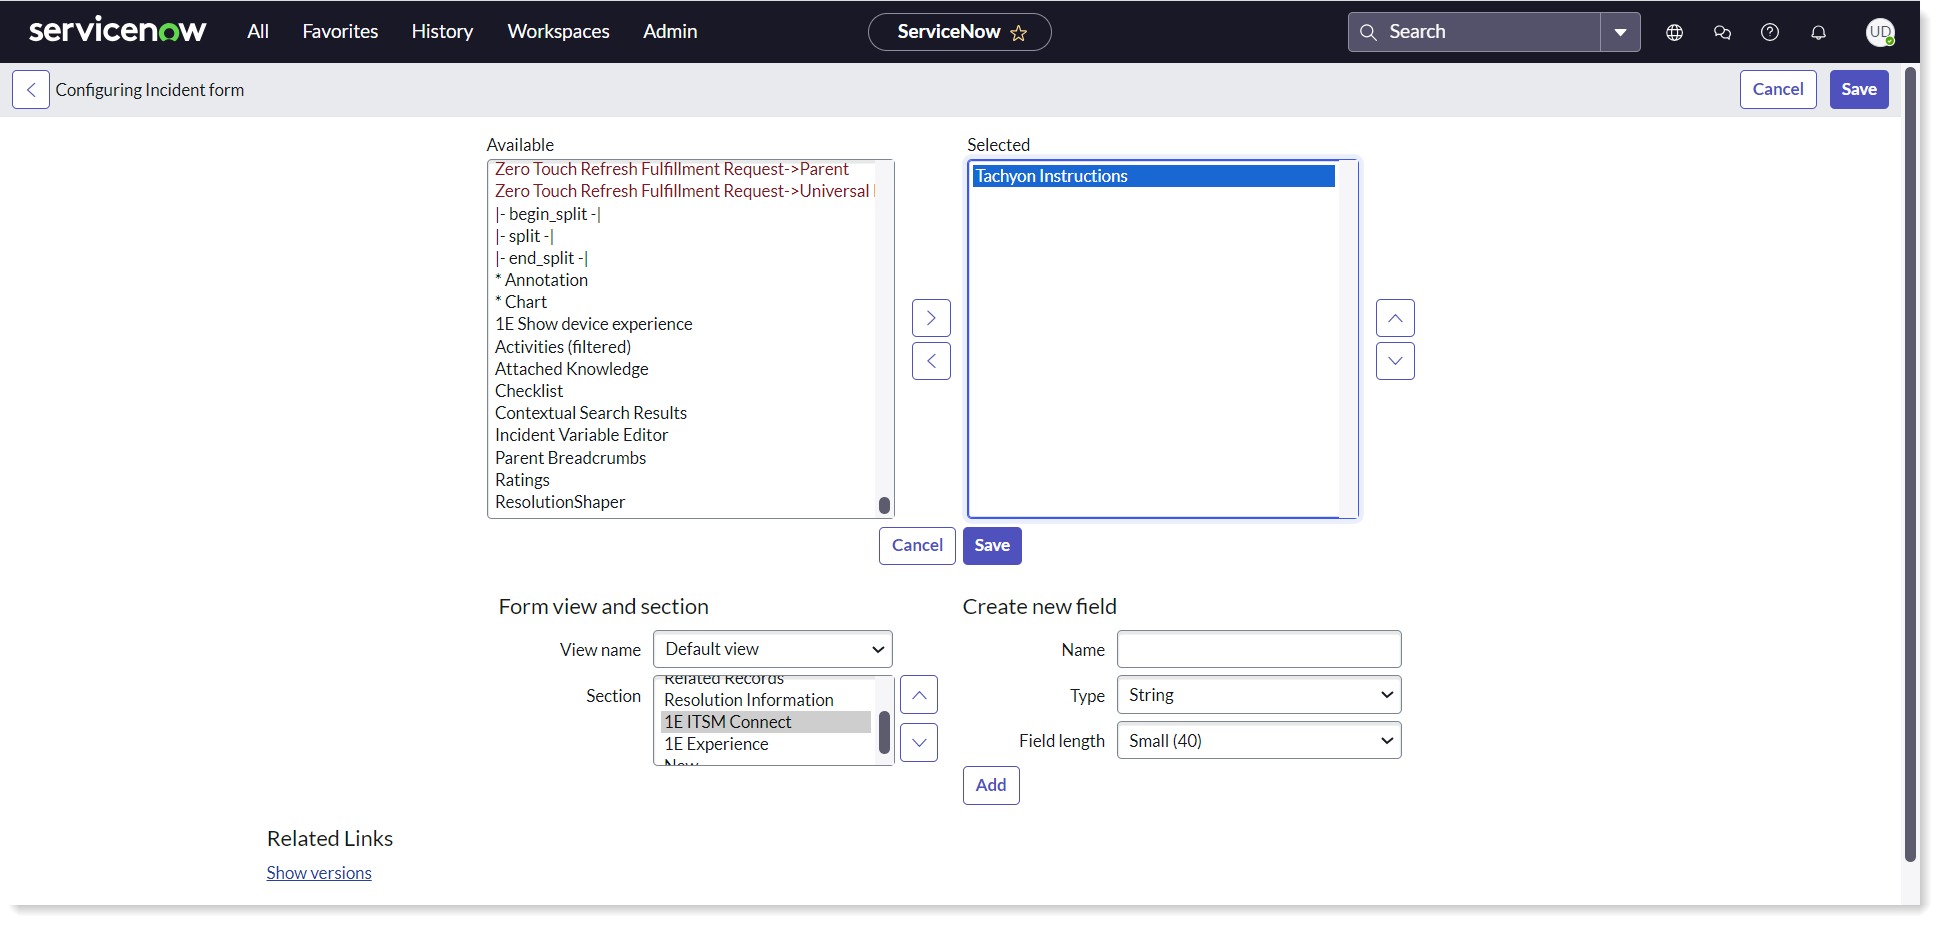
Ensure that your Application scope is Global. On the Configuring Incident Form screen, click New... item in the Section drop down list to create a new section as shown below:
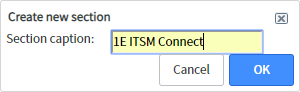
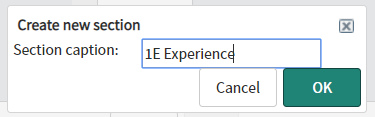
In the Create New Section popup, set the Section caption as 1E ITSM Connect and click OK.
After the section has been created, move the Tachyon Instructions item from the Available to the Selected list box by selecting and clicking on the > button. This will add the Tachyon Instructions item into the 1E ITSM Connect section. Click the Save button to save the form layout changes.
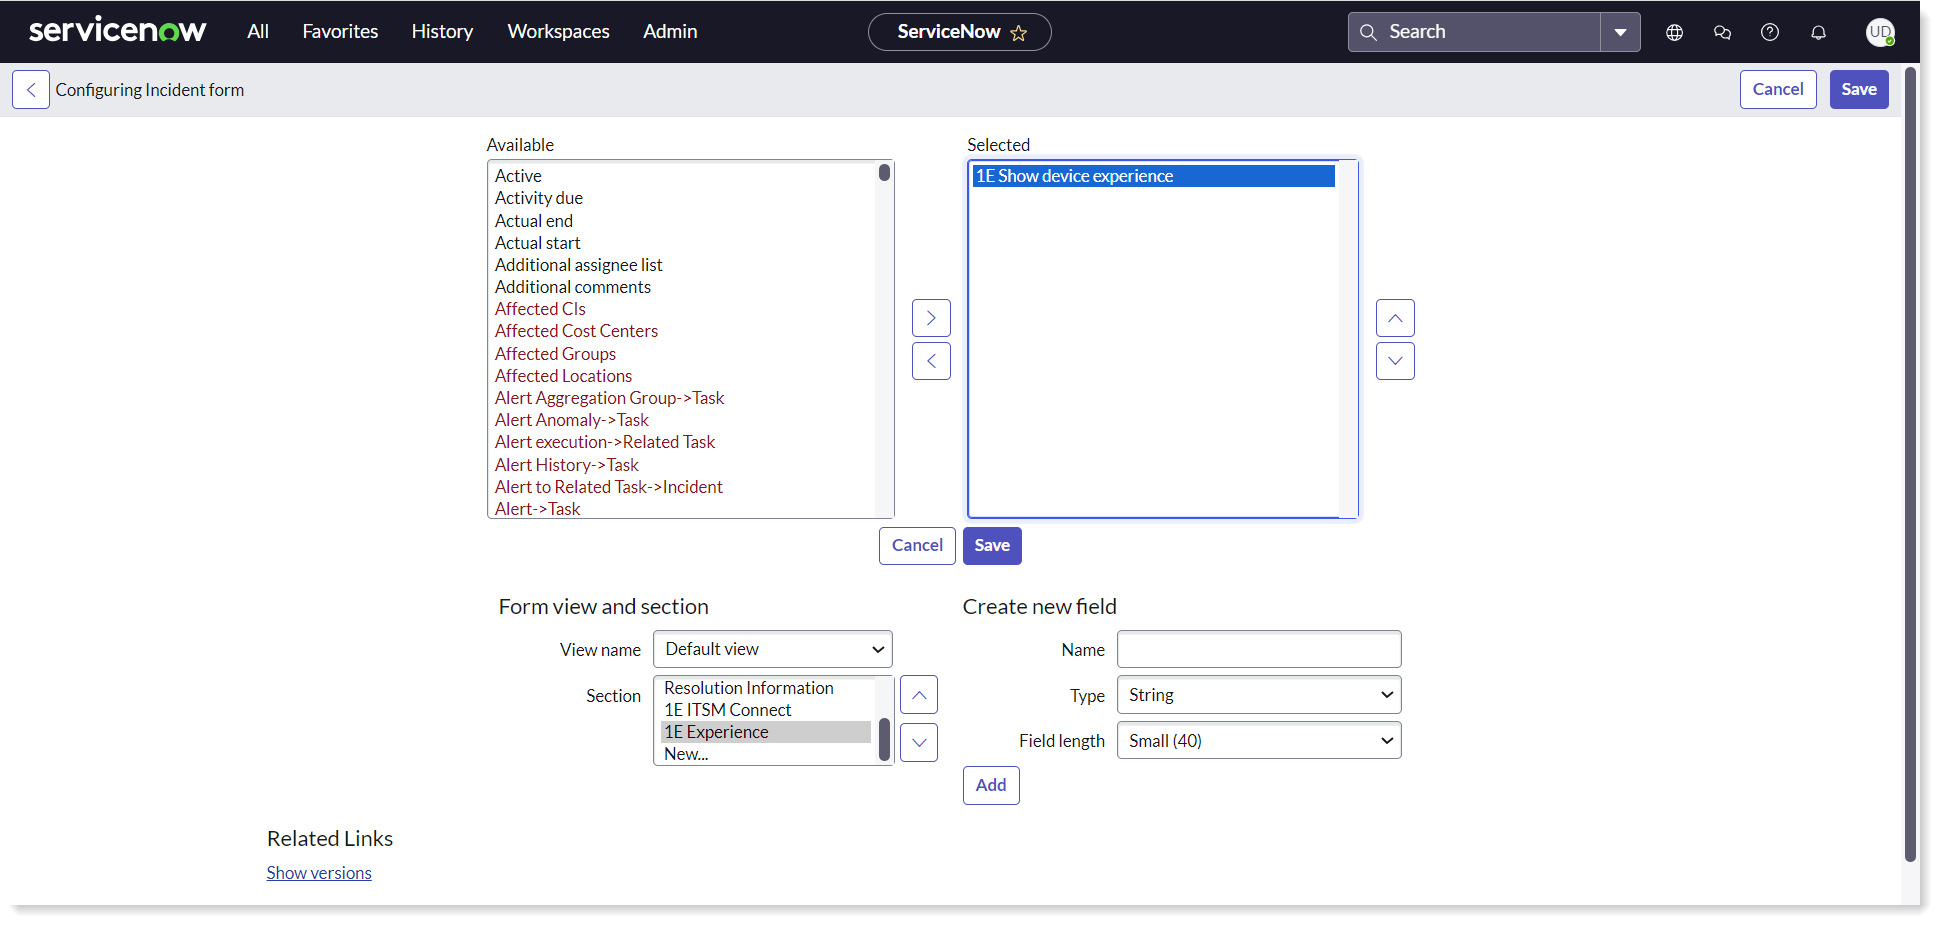
Create another new section, set the Section caption as 1E Experience and click OK.
Use the same steps to add 1E Show Device Experience item to the 1E Experience section and then click Save to save the form layout changes.
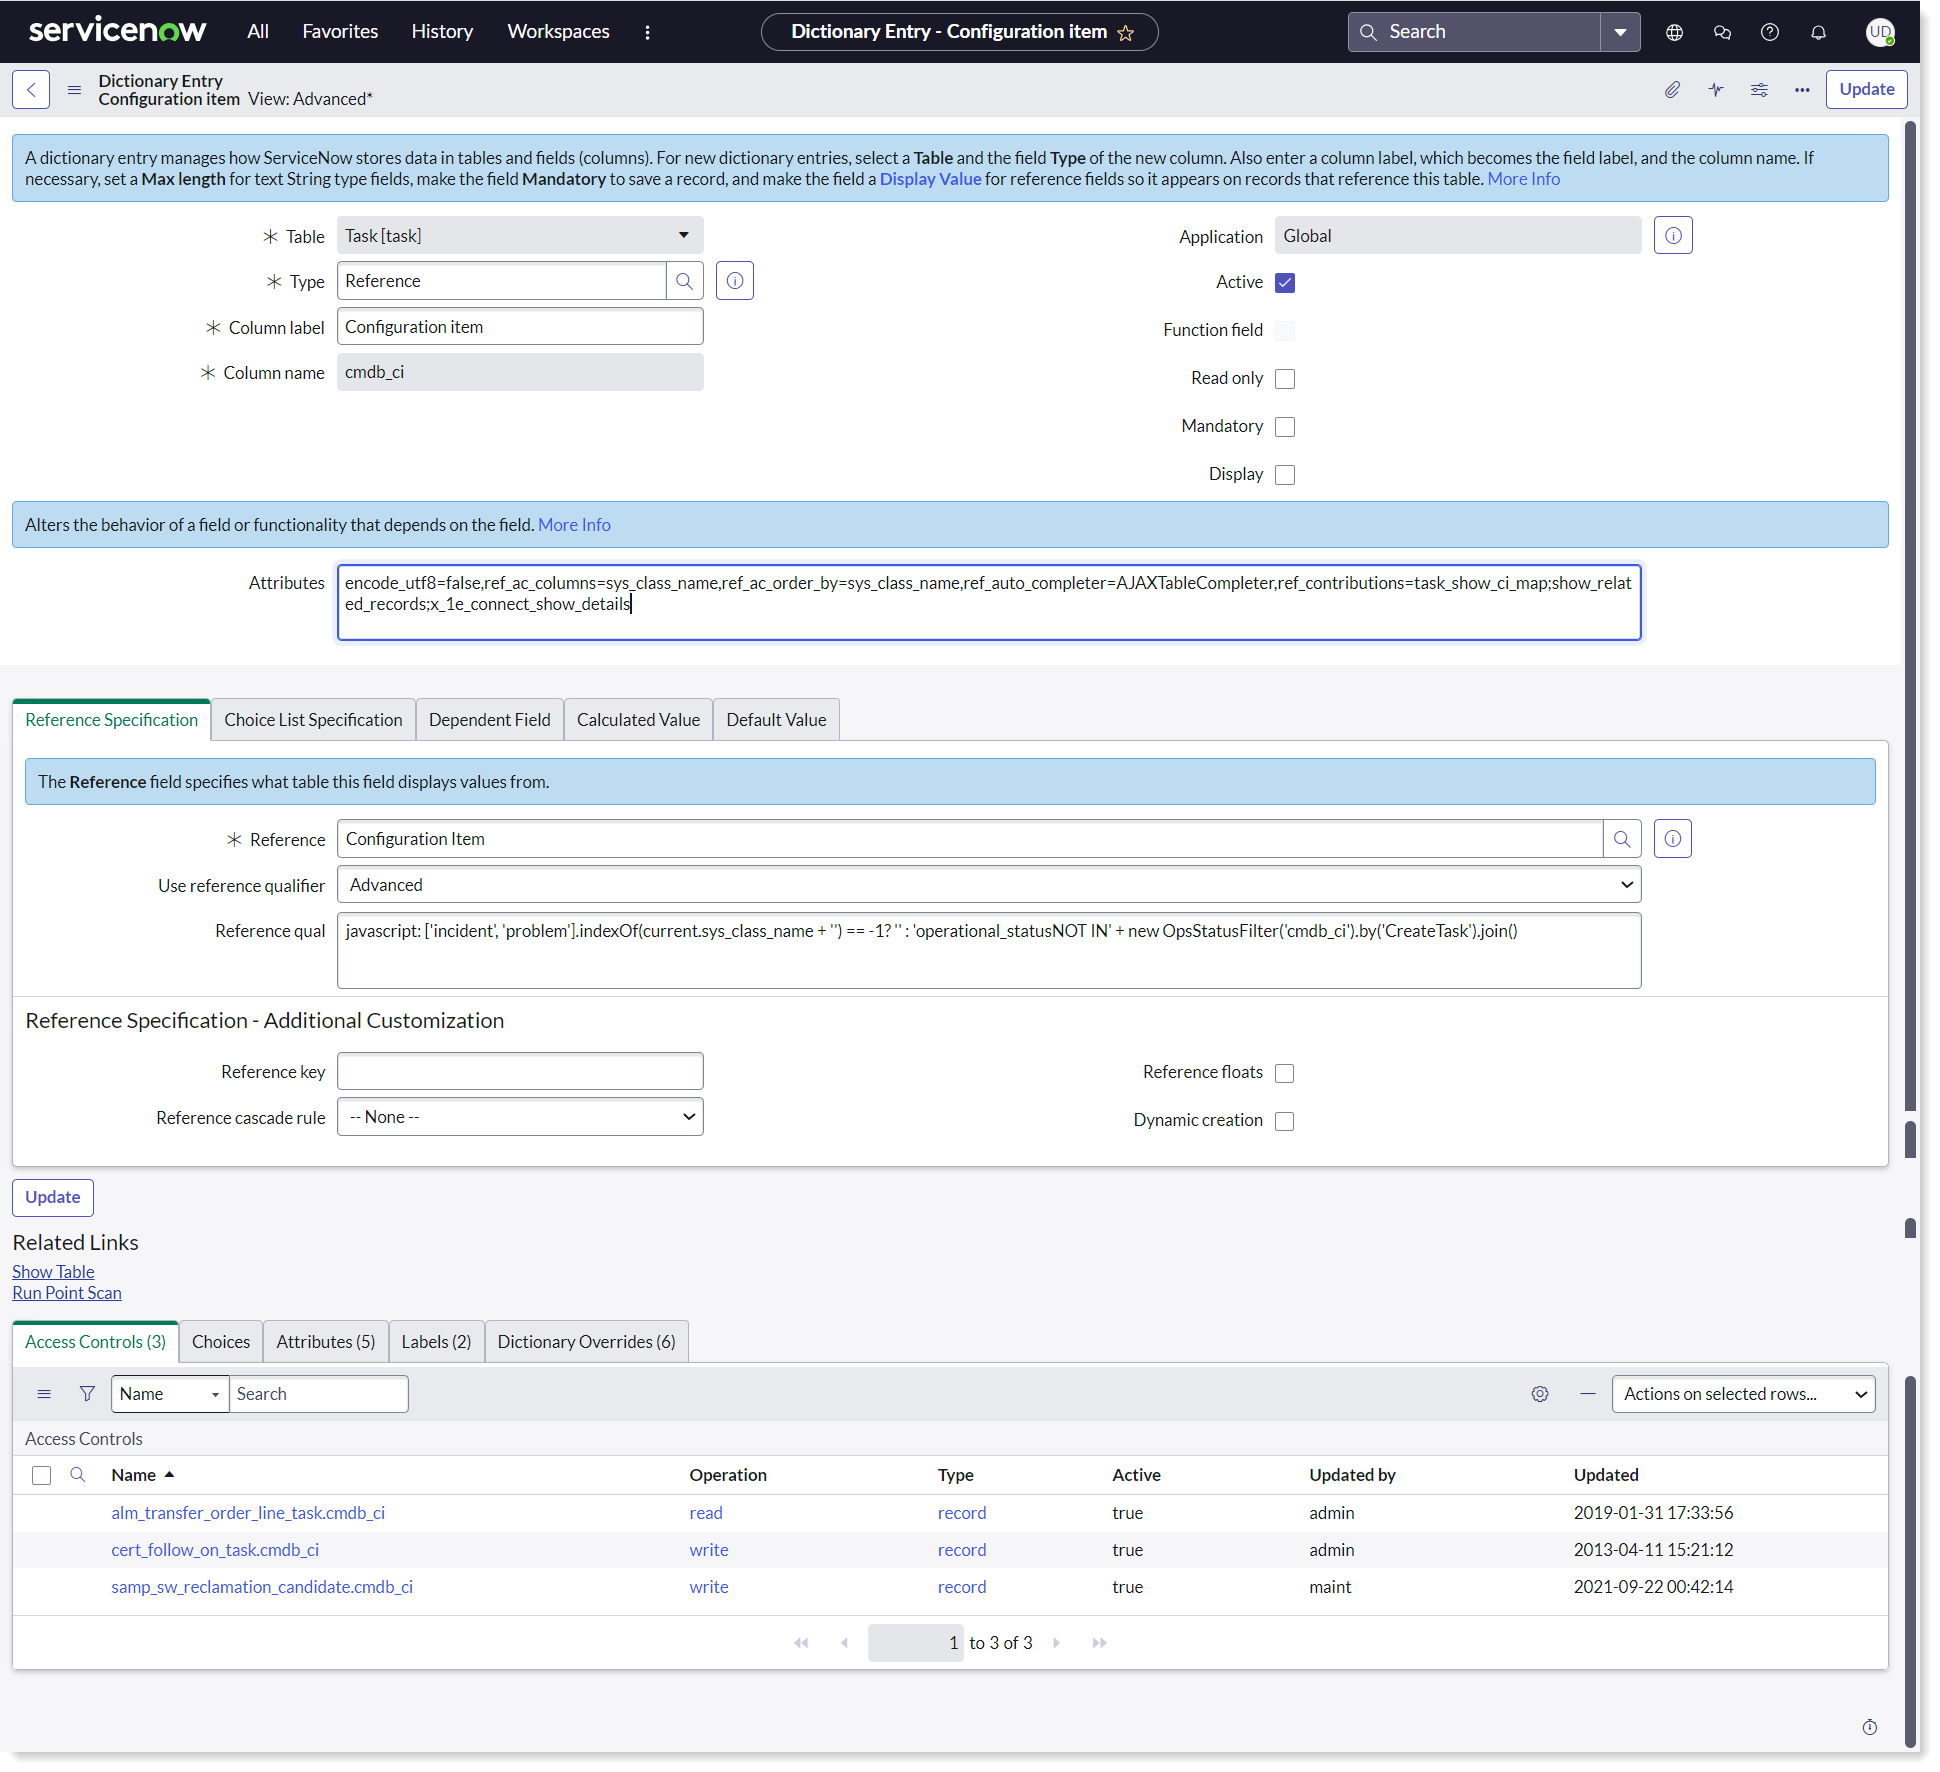
On the incident form, right click next to Configuration item and open Configuration Dictionary.
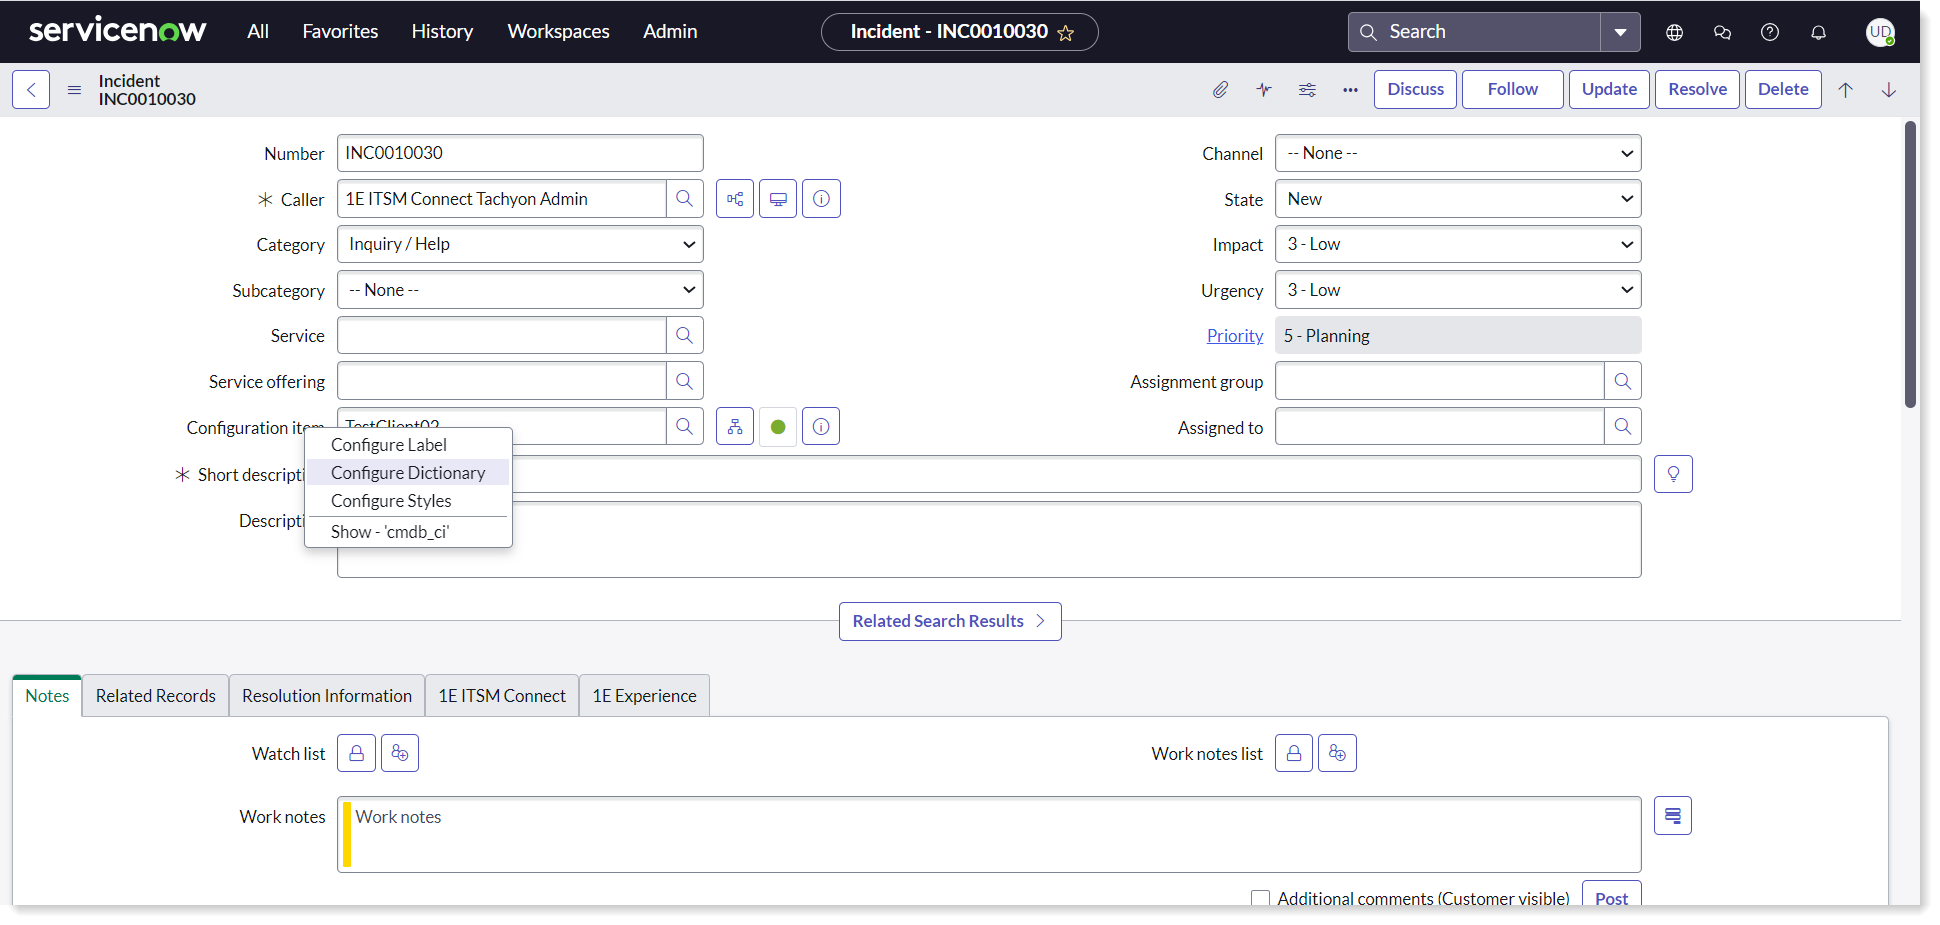
Finally, go to the Attributes and add x_1e_connect_show_details. Click on Update button to save the changes.
Interaction Form layout setup
After the 1E ITSM Connect app has been installed on the ServiceNow instance, the admin user has to do the following configurations to enable the Interaction form. Follow the below steps to configure the layout of the interaction form. Ensure that the Interaction Management for Service Operations Workspace is the selected application scope before doing the changes.
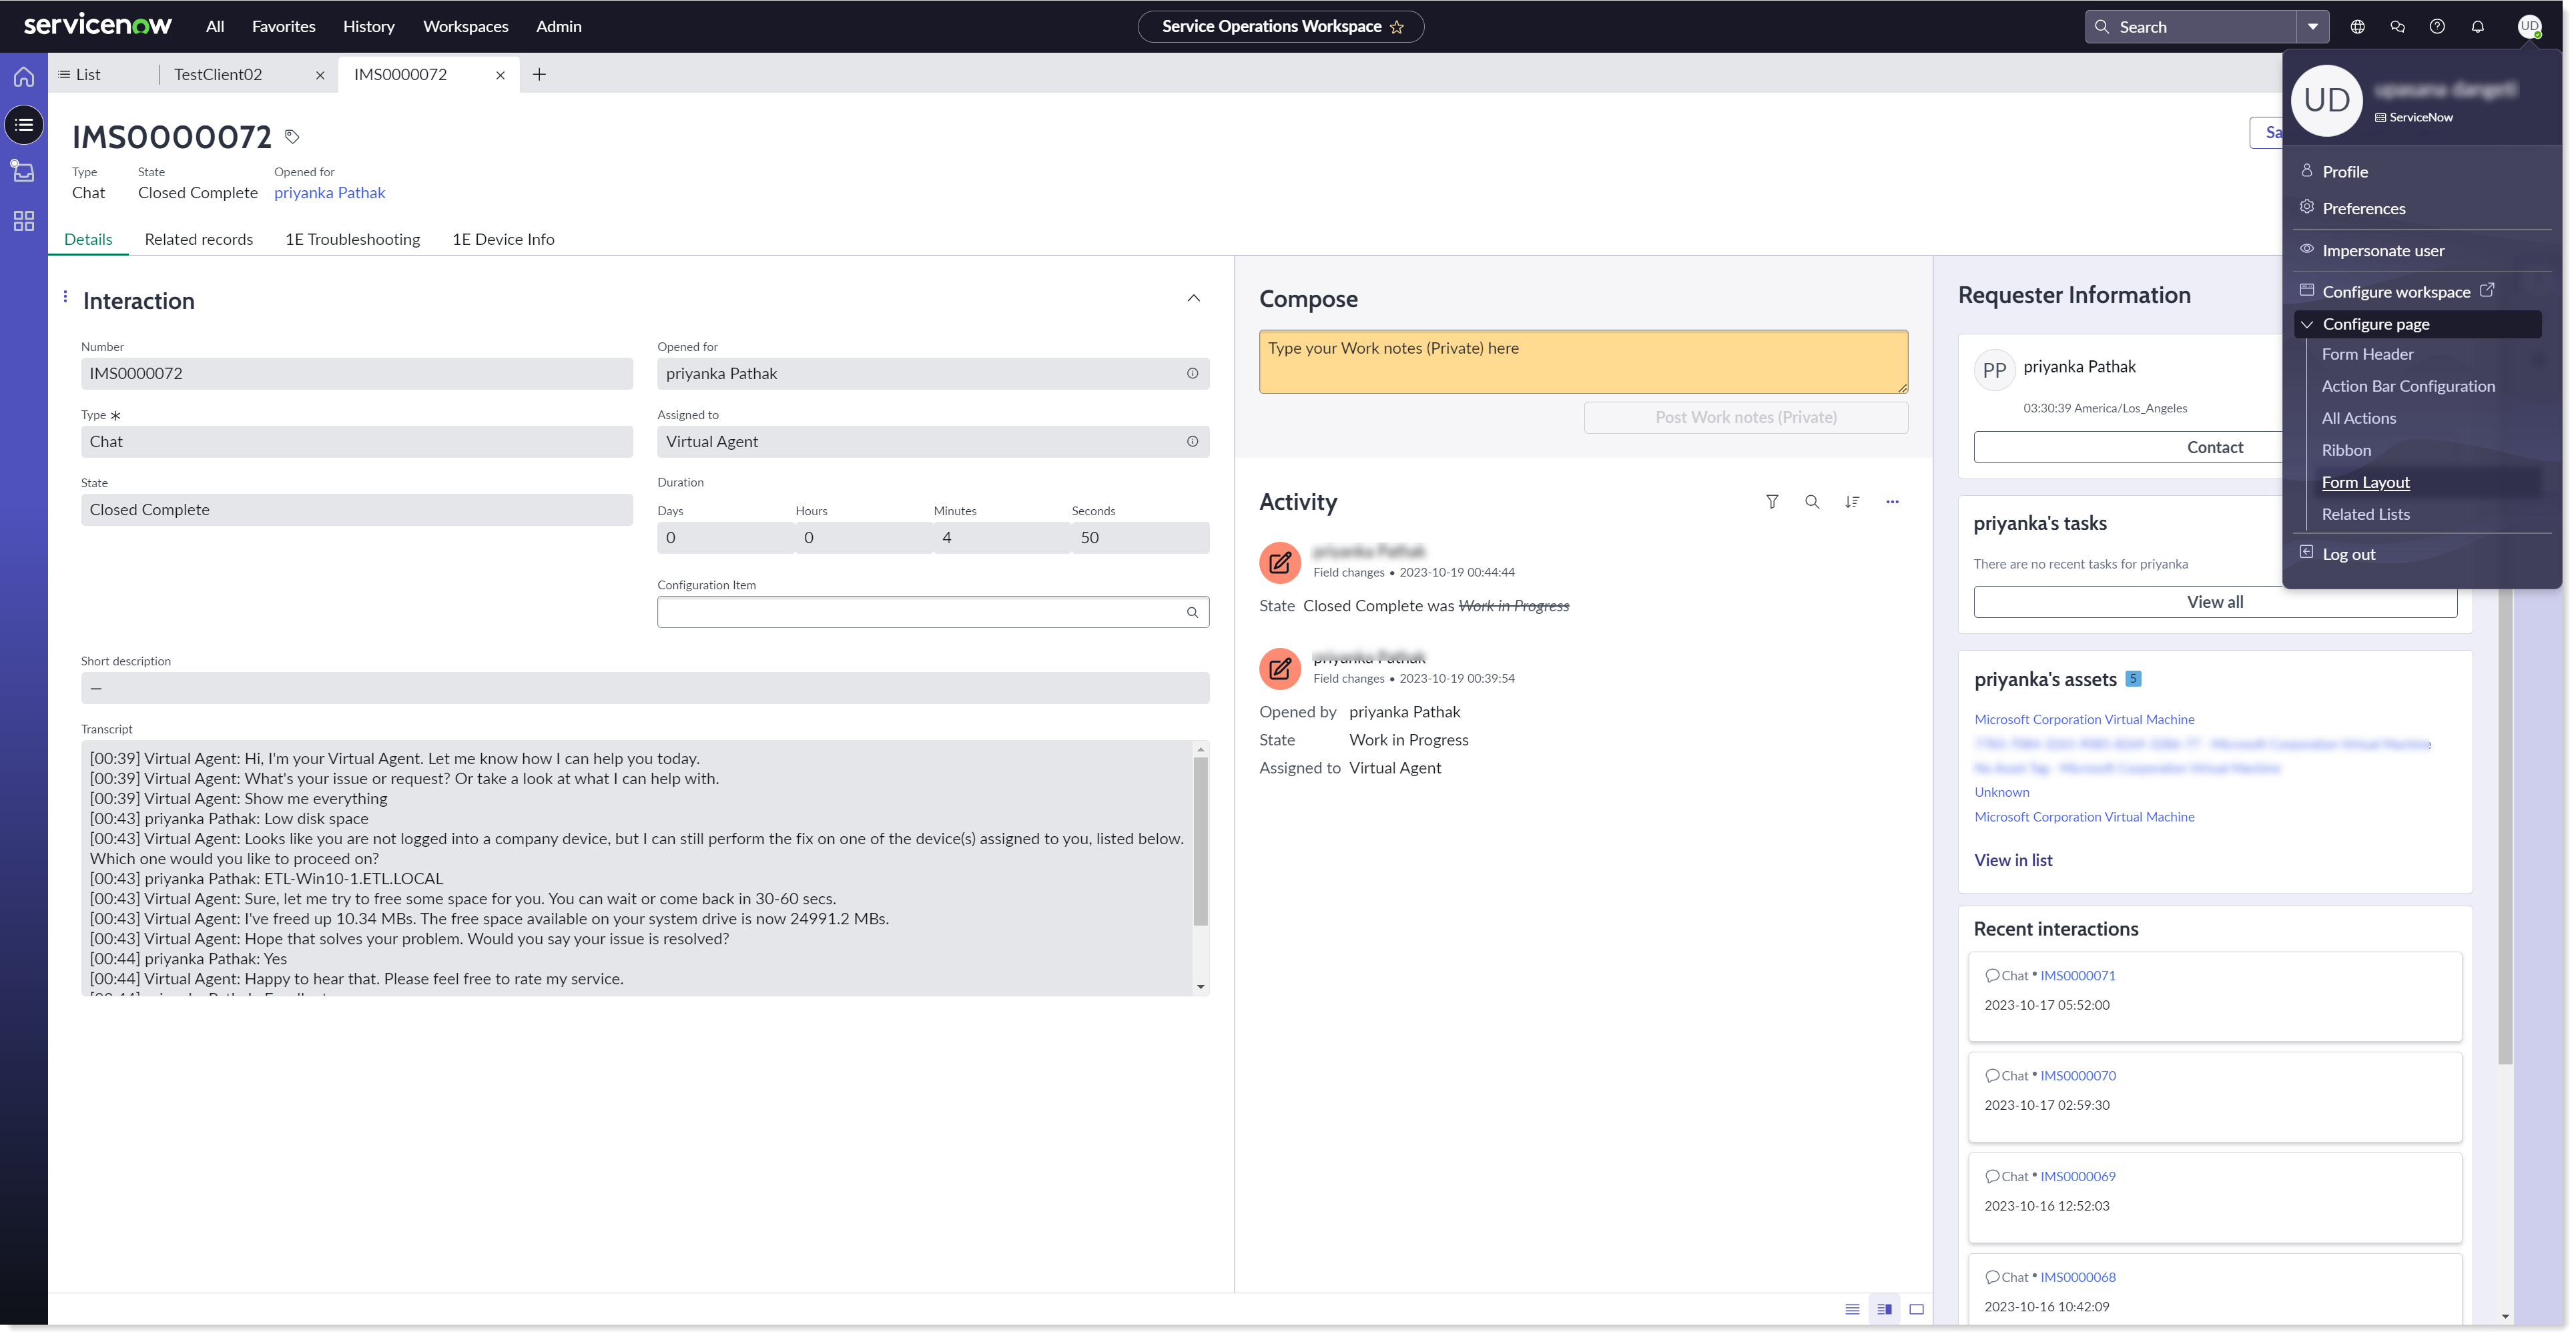
Navigate to Service Operations Workspace → Interactions and open an existing Interaction record.
Click on Profile icon present in the top right corner of the page. Select Configure page → Form Layout from the menu options.
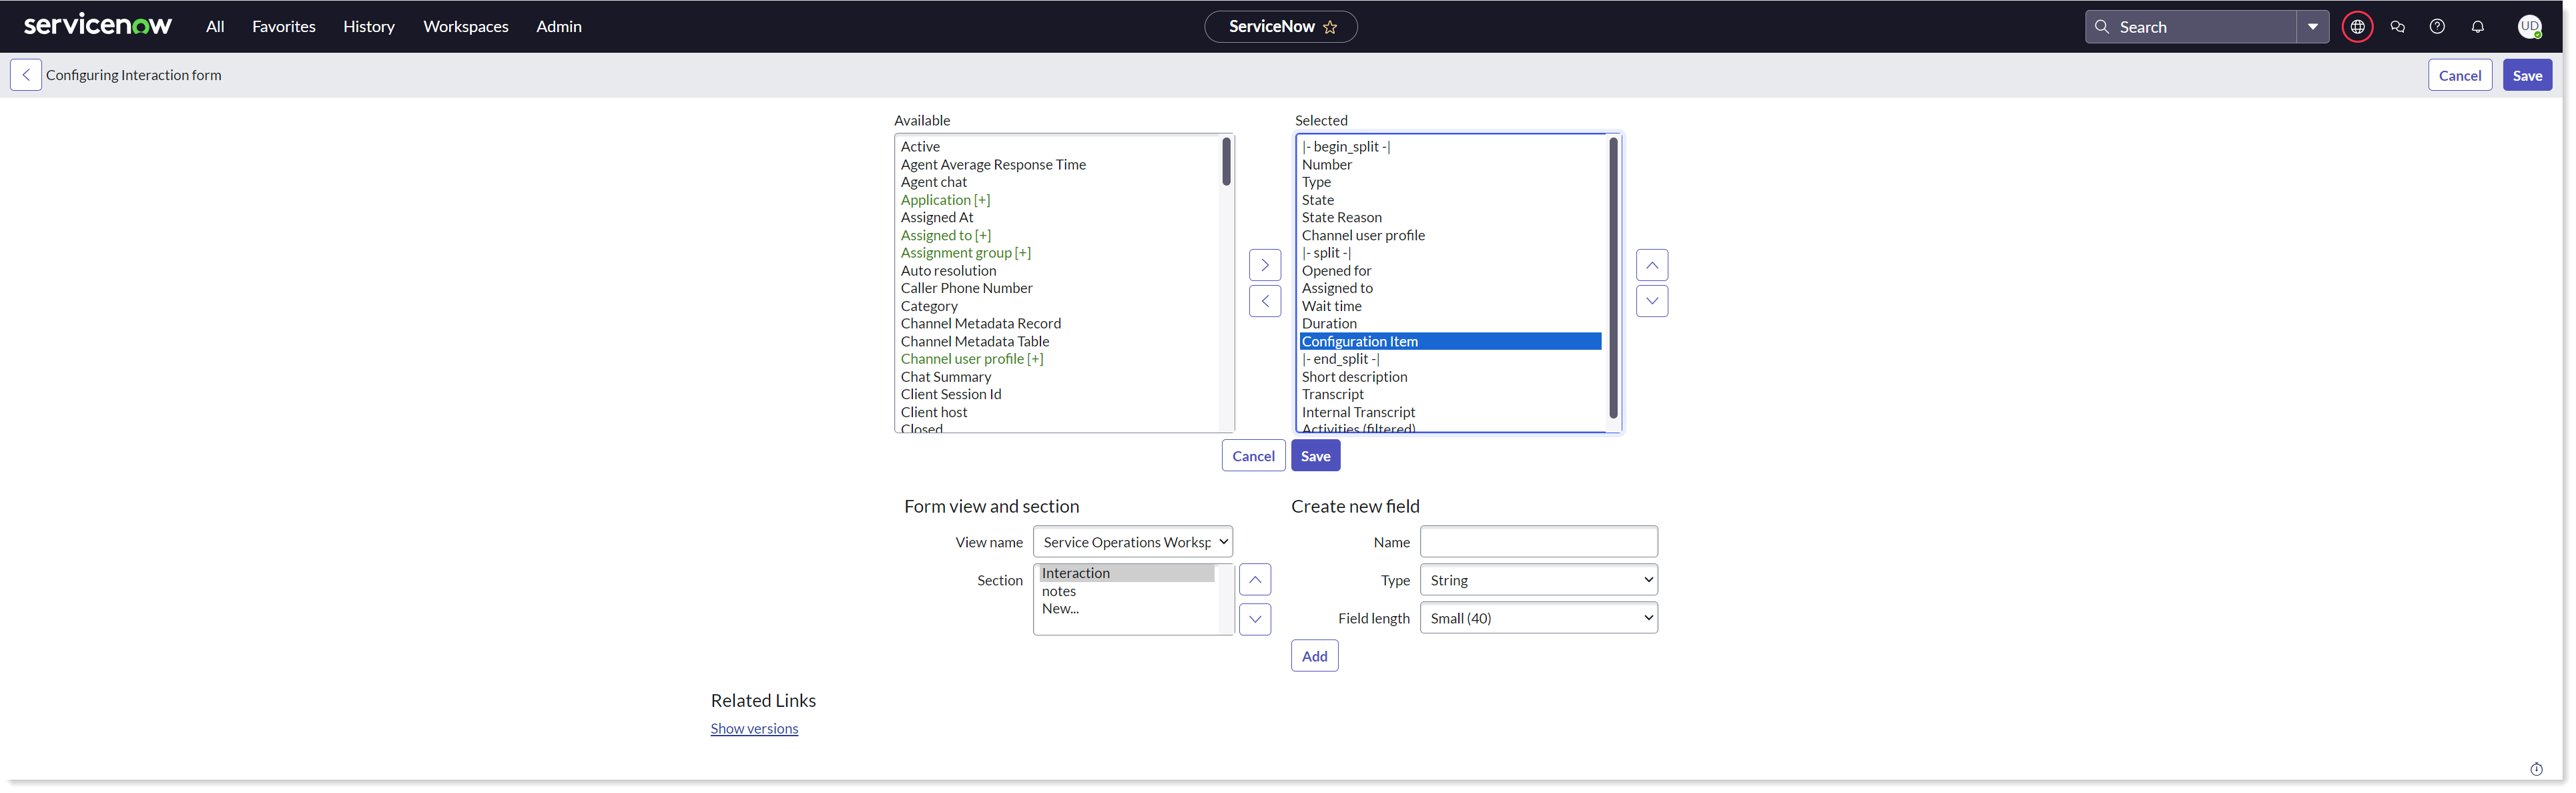
This opens into Configuring Interaction form, now add the Configuration Item field from Available to the Selected list box. Click on Save to save the changes.
App Configuration Pages
App configuration is a sub-menu available under the Administration tab of 1E ITSM Connect. This page allows an admin user to set up the details required by the application to communicate with 1E.
The Domain-separated selection is now automatically controlled using the plugin installed on your ServiceNow instance.
Depending on whether you have a Single or Multi-Tenant Instance, you should now follow the instructions in one of these pages: