User Management
Adding, updating and deleting users in ServiceNow.
A global administrator manages the individuals who can access ServiceNow by defining them as users in the system and assigning them to role/groups.
Note
Please refer to:
Design Considerations to understand more about app roles, their users, and Tachyon roles
Preparation for how to setup users and roles in Tachyon
Configuring 1E Service Catalog Connect for how to configure users in ServiceNow.
Roles provided by 1E Service Catalog Connect app
Access to features in the 1E Service Catalog Connect app is handled by two roles created in ServiceNow when the app is installed and shown in the following table. The table also shows any additional ServiceNow roles required by each 1E Service Catalog Connect app role.
Role name | Additional ServiceNow roles required | Description |
|---|---|---|
x_1e_service_catal.shopping_admin | n/a | This role allows its users to configure the 1E Service Catalog Connect app, in addition to having the same rights as the x_1e_service_catal.shopping_user role. ServiceNow admin users must change their application scope to 1E Service Catalog Connect in order to configure the app. |
x_1e_service_catal.shopping_user | n/a | This role grants its users access to invoke WSA and select catalog items tied with tachyon instructions. |
Adding a new user in ServiceNow
To add a new ServiceNow user in the 1E Service Catalog Connect app:
Login to ServiceNow with Global administrator credentials.
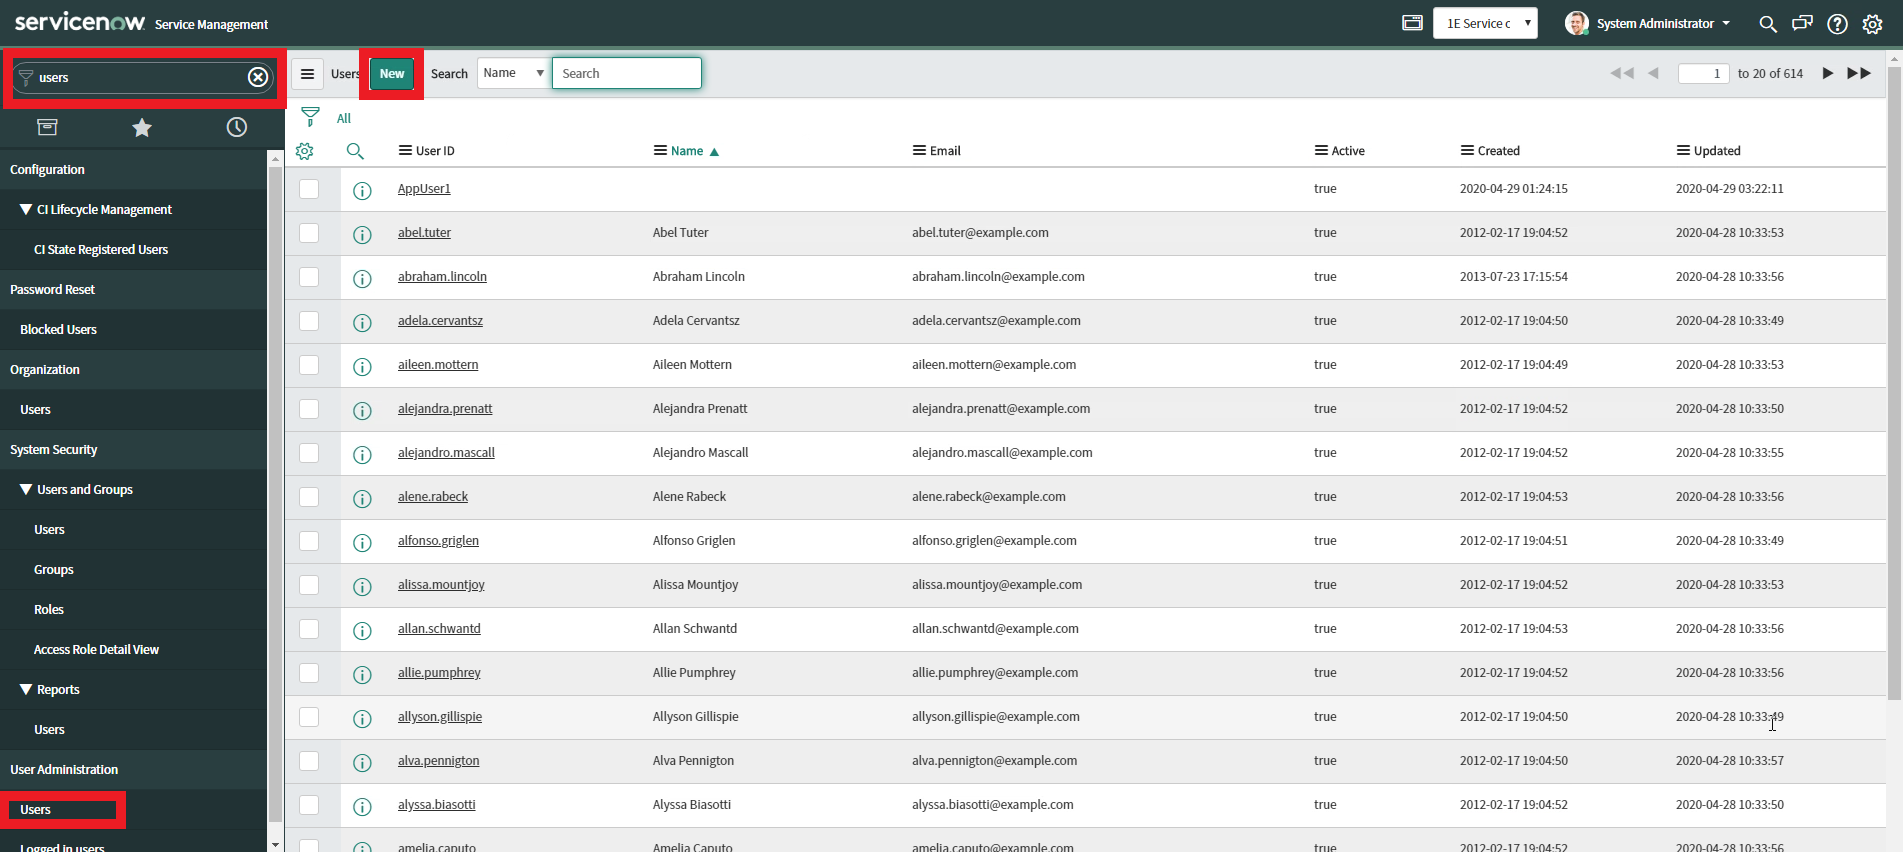
Search for users in the search field of the navigation panel.
Click on Users tab under User Administration.
Click on the New button on the left hand side of the header.
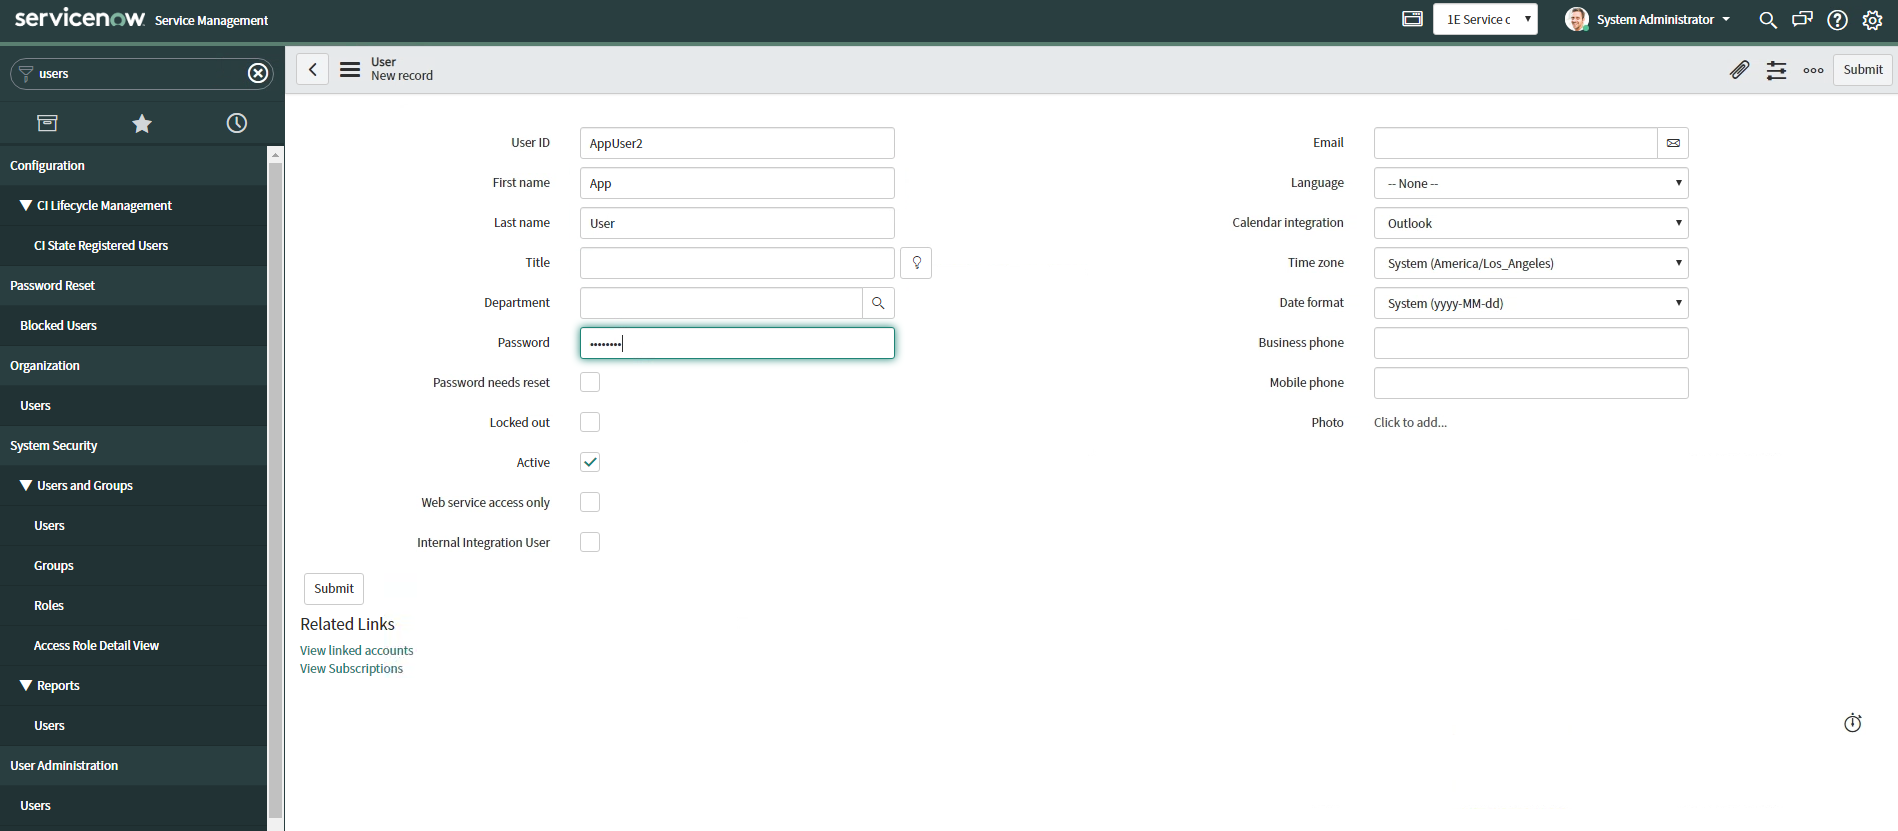
Enter the required details for a new ServiceNow user and click on Submit button.
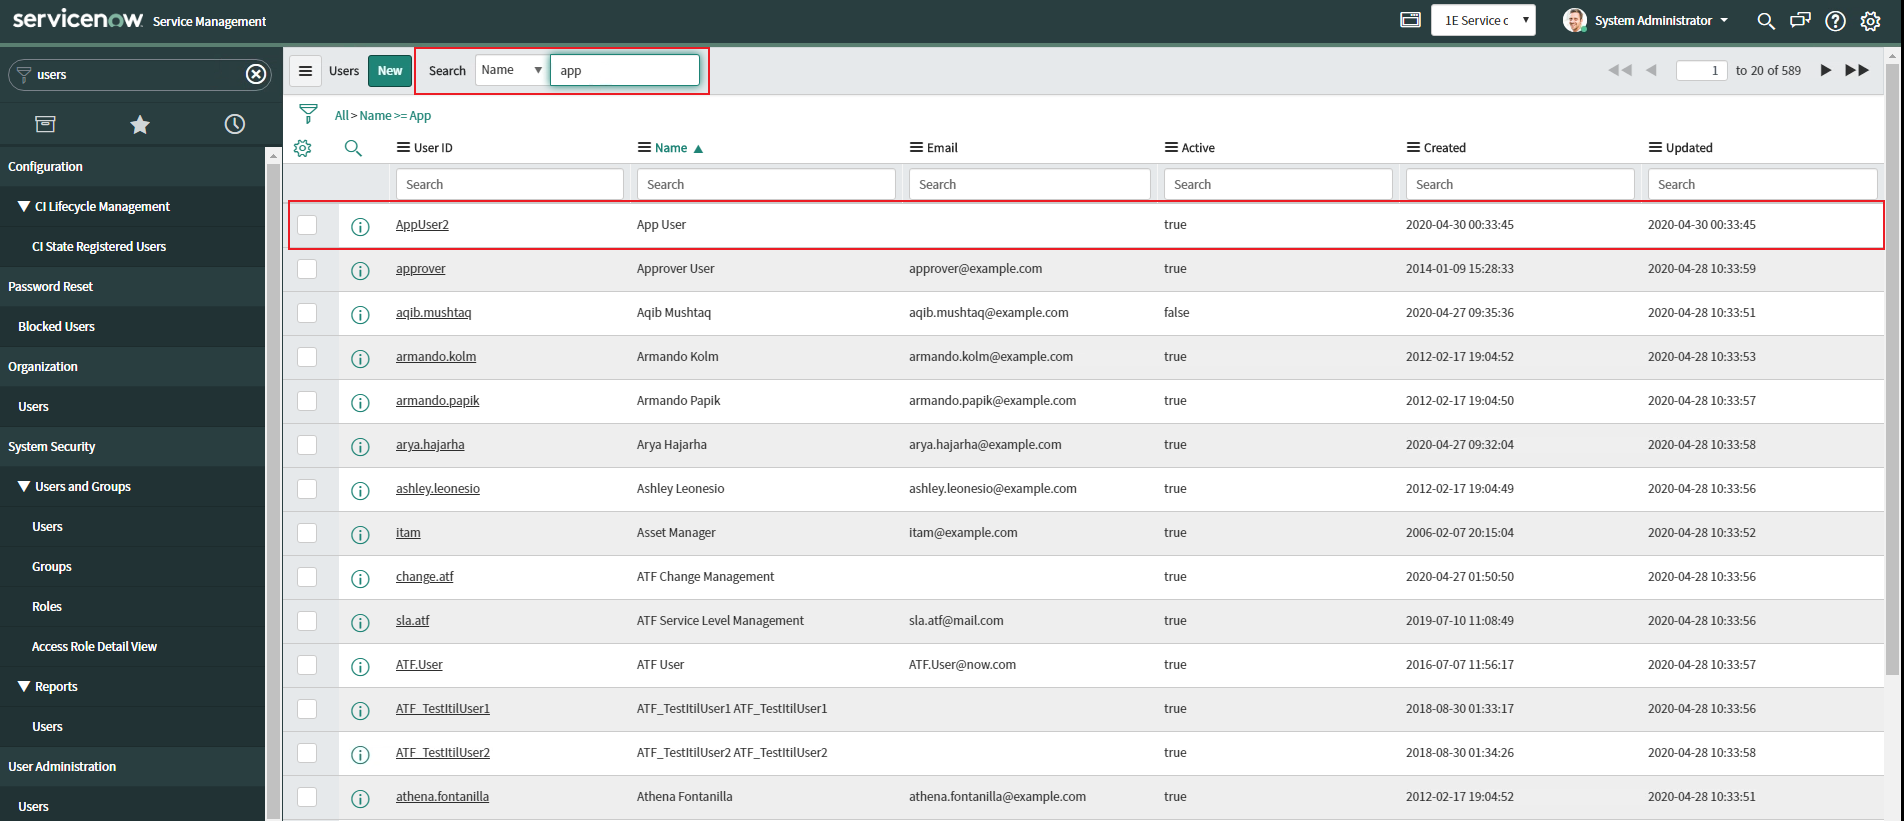
After clicking Submit the Users list will be displayed. You can check that the user has been added successfully by searching for the user Name in the header.
Adding or removing the roles for an existing user
A ServiceNow global administrator can update the roles for an existing user. This will be required for the 1E Service Catalog Connect app to assign the appropriate roles to access Shopping and administer the 1E Service Catalog Connect app.
To update the roles for an existing user:
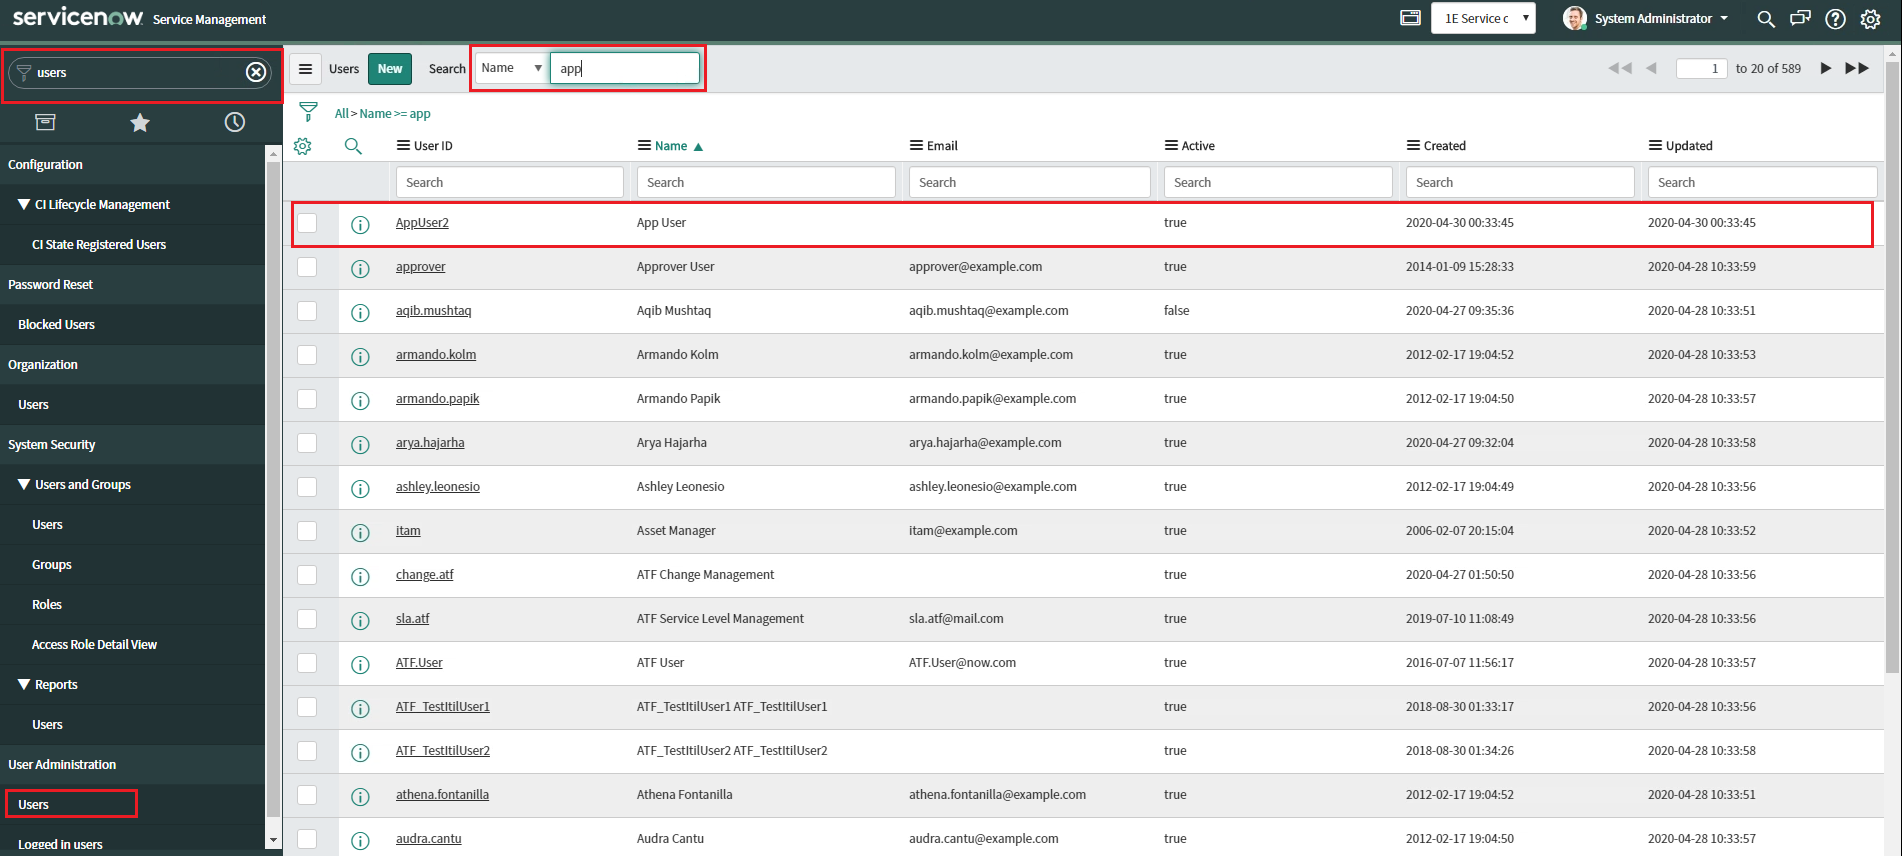
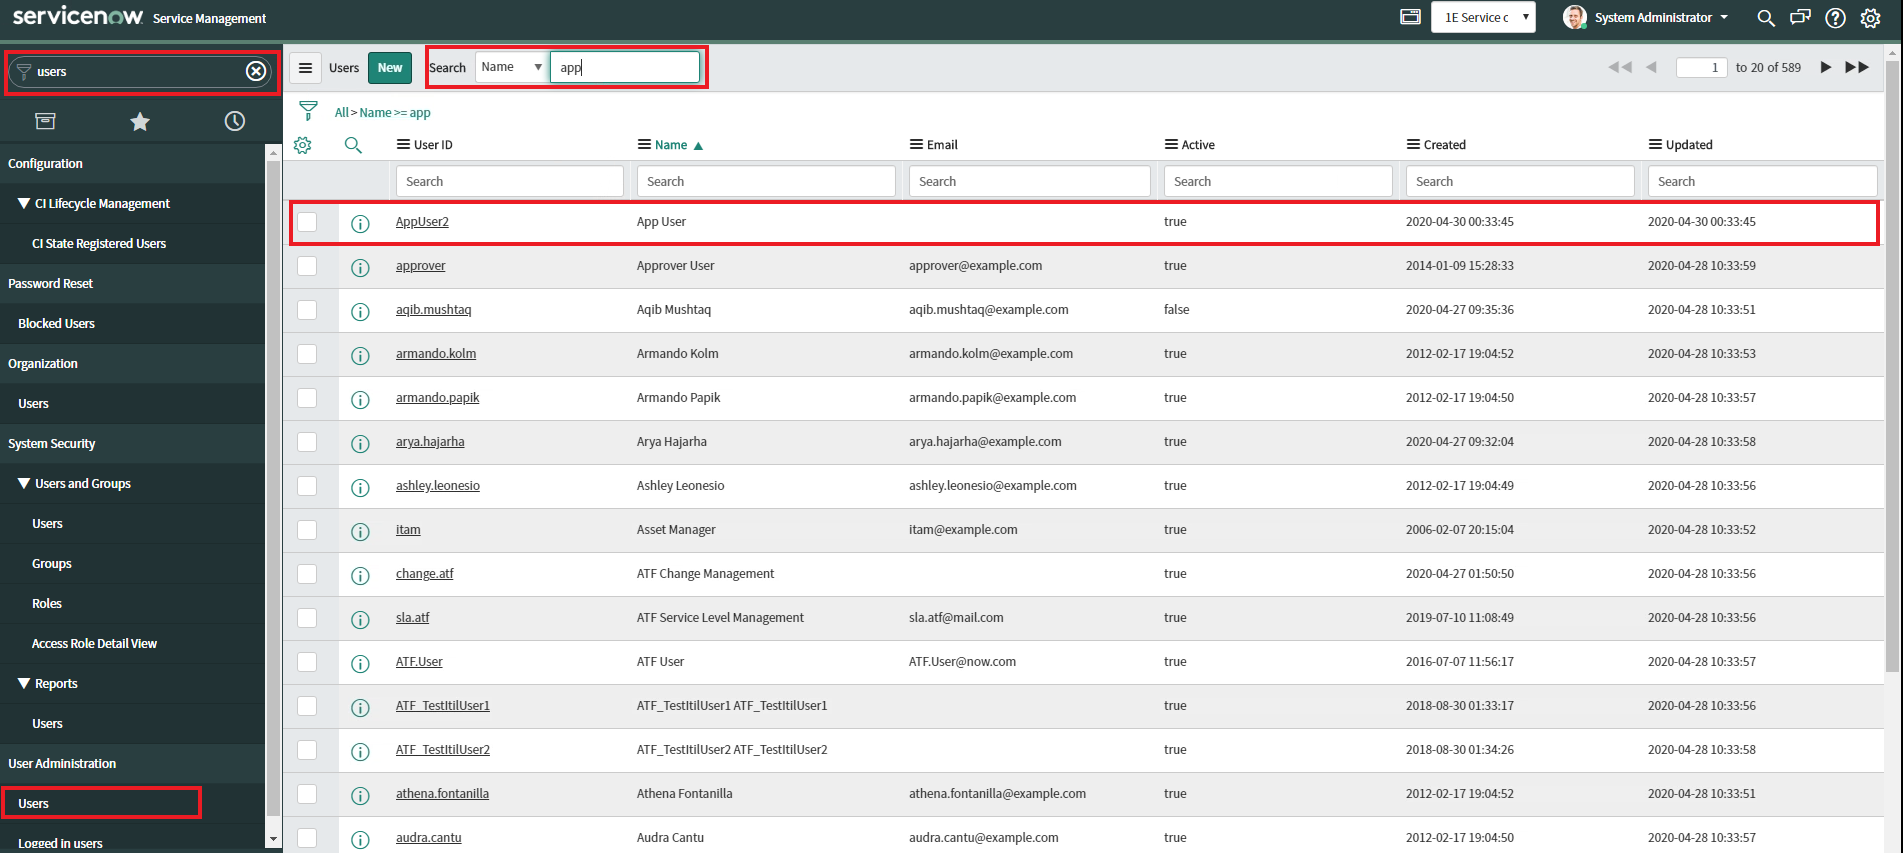
Navigate to User Administration→Users and use the search field to find the user you want to update. In our example we will modify the AppUser2 user, so we type app in the search field.
When the user is displayed, open their details by clicking on the link in the UserID column for the user.
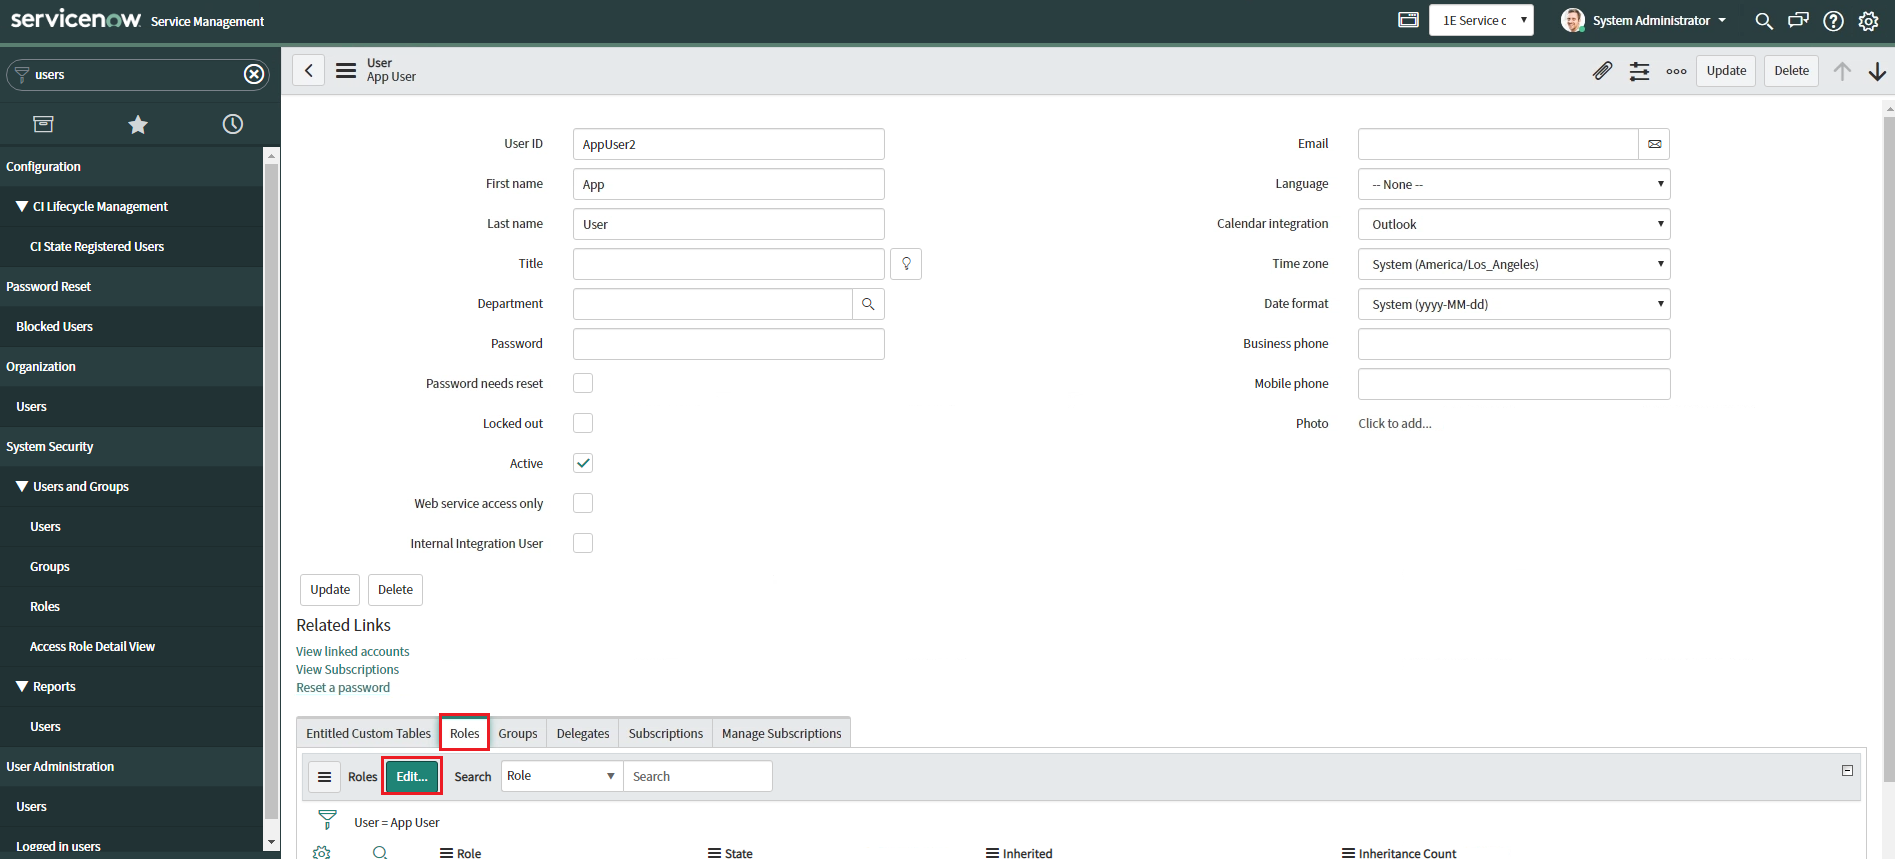
On the user details page, select the Roles Tab and click on the Edit... button. Doing this will display the Edit Members screen.
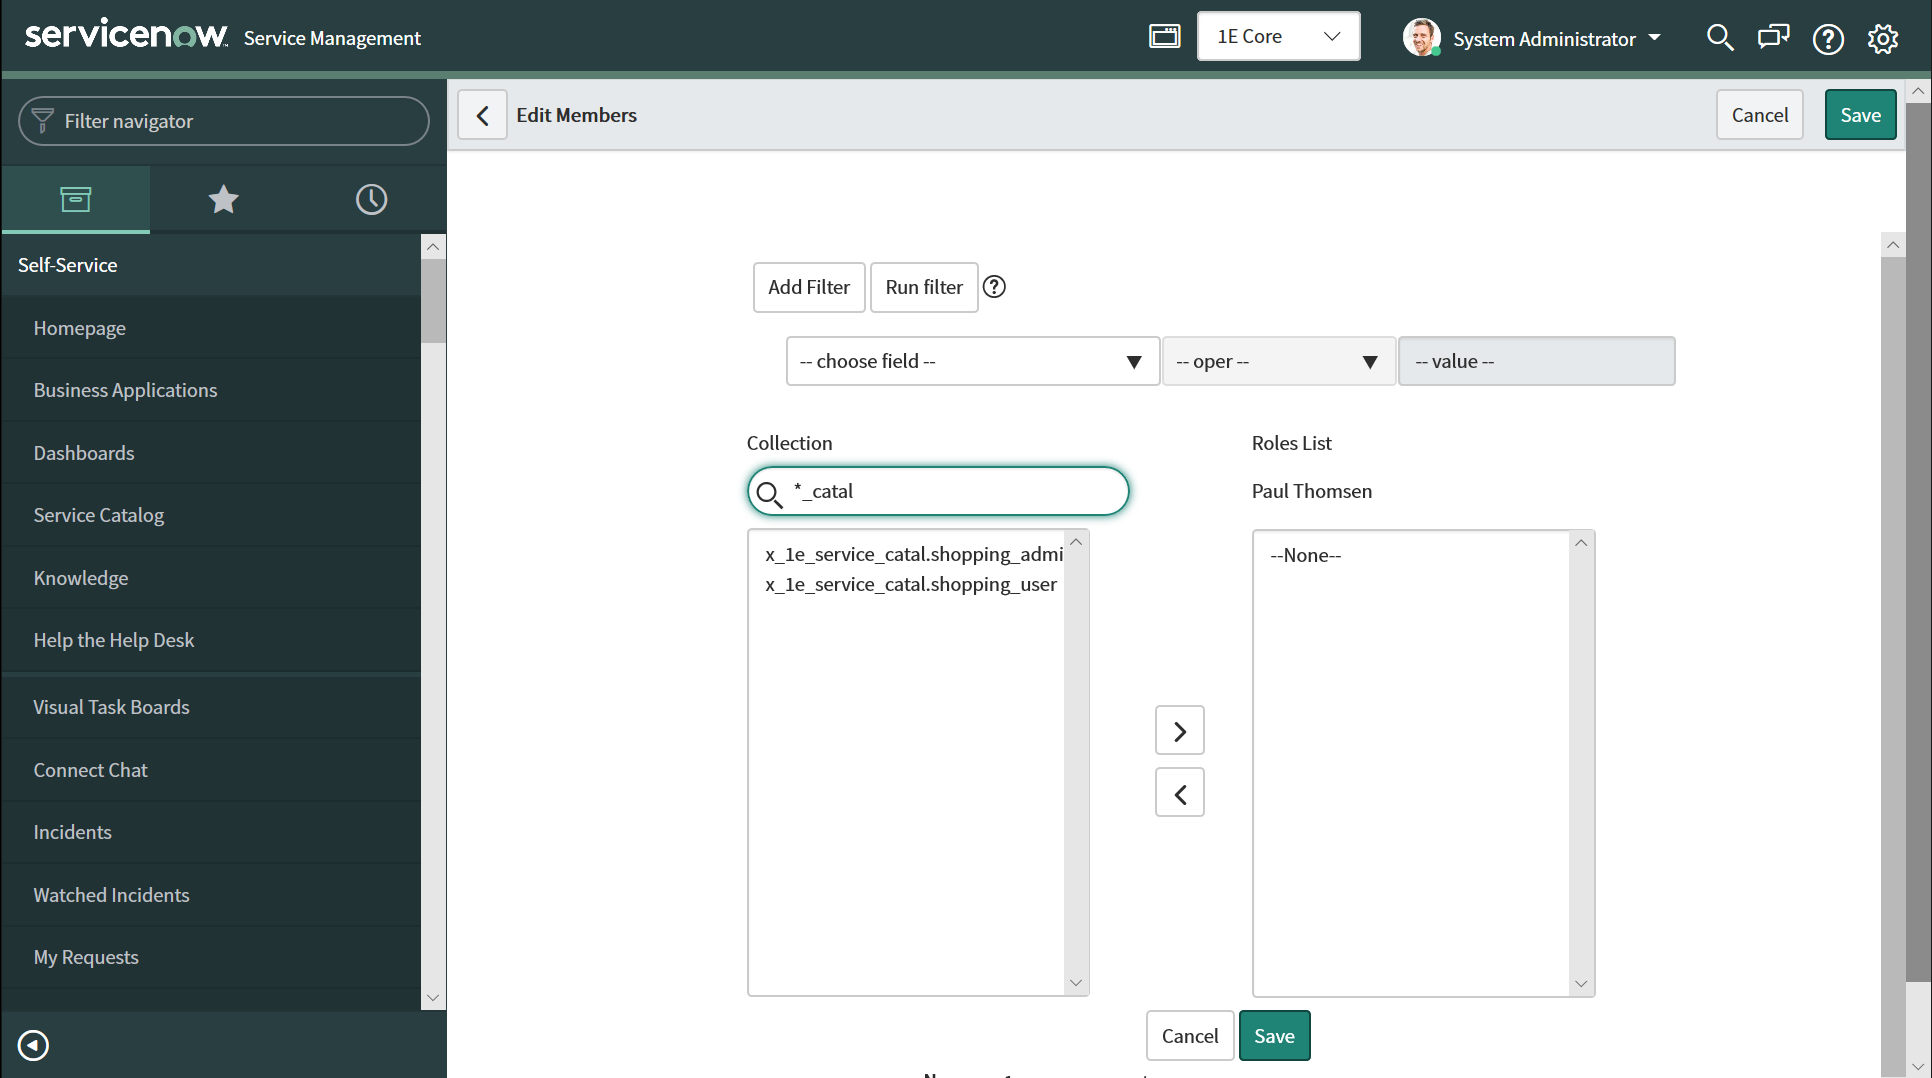
On the Edit Members screen search for roles containing the word service_catal. In our example we type the text *_catal in the Collection search field. Doing this displays the two related roles in the Collection list:
x_1e_service_catal.shopping_admin
x_1e_service_catal.shopping_user
To add a role to the user select it from the Collection list and click the > button to move it to the Roles List.
To remove a role which has been assigned to a user, select that role from the Roles List and click the < button.
Once the required roles have been selected click on the Save button to add/remove those roles for the user.
When this is done the User details page will be displayed with the selected user's roles updated accordingly.
Warning
For administrative users, when switching between ServiceNow apps, ServiceNow does not always change the app context. This can cause the app page properties to be grayed out, preventing edits of the properties. ServiceNow will sometimes display a message at the top of the page to this effect:
"Warning Message: This record is in the <application you just switched to> application, but <the previous app> is the current application. To edit this record click here."
Clicking on "click here" will correct this issue, but given that this message doesn't always occur, it is best to allow the administrative user to change app contexts as needed. This is done by:
Select the user from the users list to open the user details page.
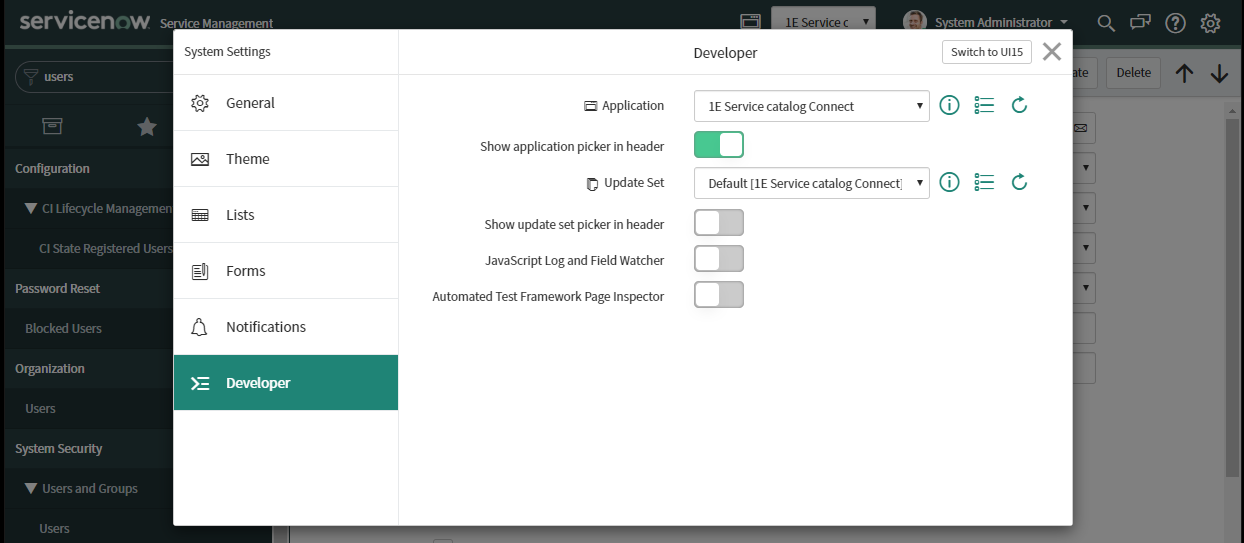
Click on the Settings (gear) icon in the top right corner.
Select the Developer tab.
Ensure the Show application picker in header option is enabled.
The administrative user can now select the current application from the ServiceNow header.
Deleting a user
Global administrators have permissions that allow them to delete users from ServiceNow. To do this:
Navigate to User Administration→Users and use the search field to find the user you want to delete. In our example we demonstrate deleting AppUser2, so we type app in the search field.
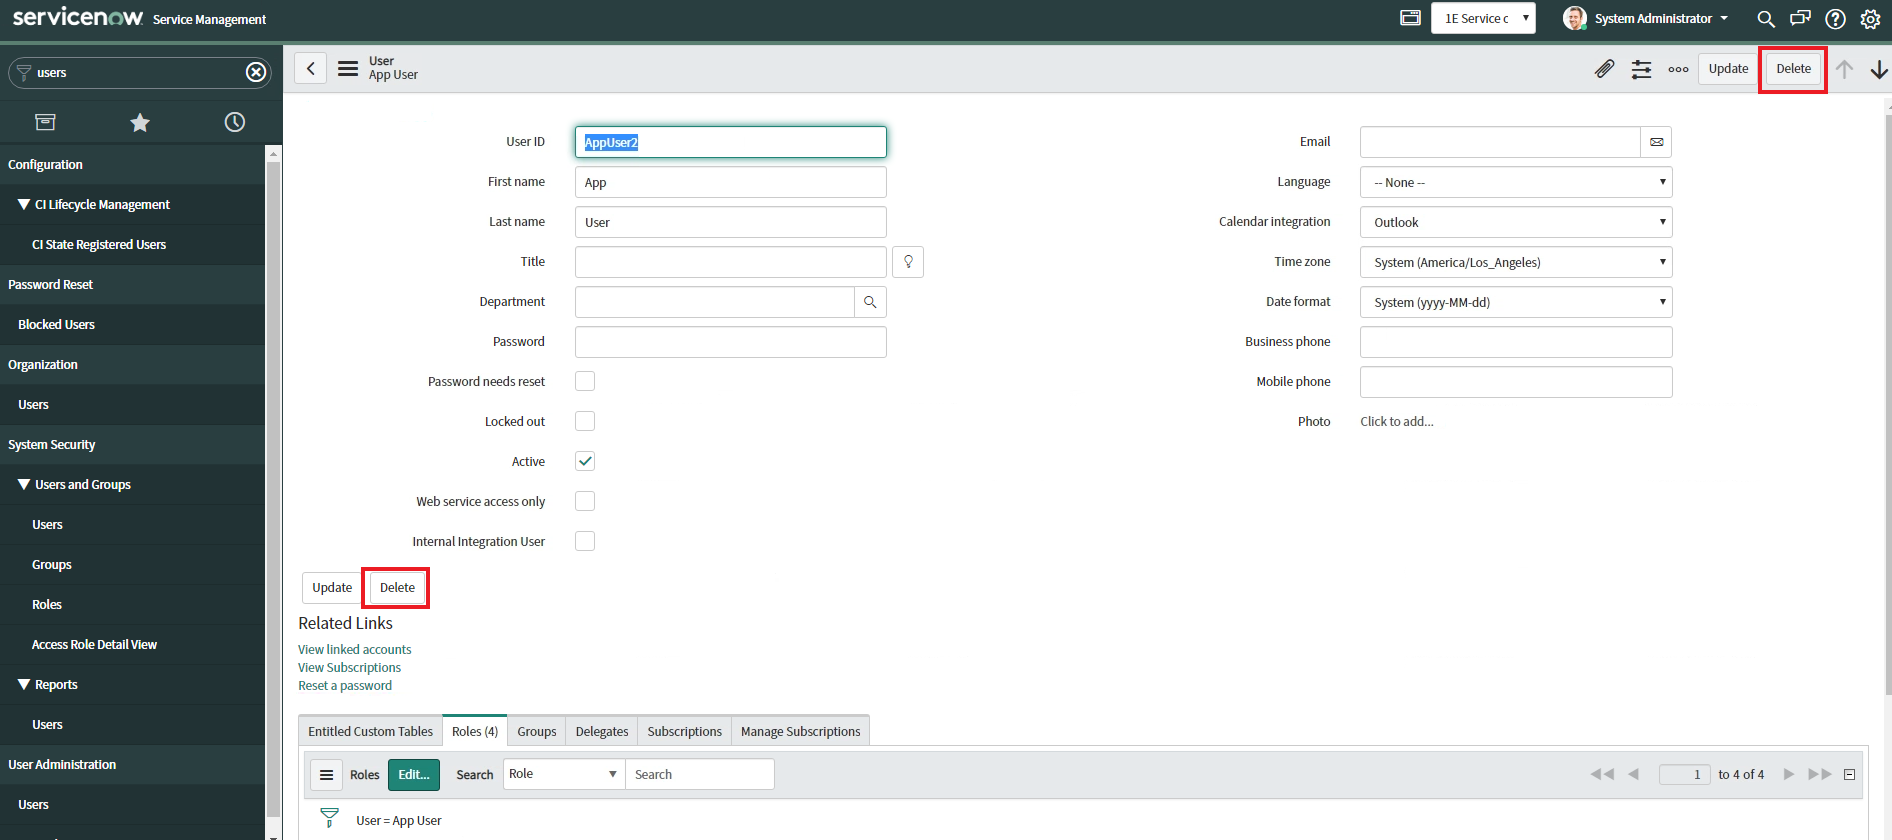
When the user is displayed, open their details by clicking on the link in the UserID column for the user.
On the user details screen, click on Delete button.
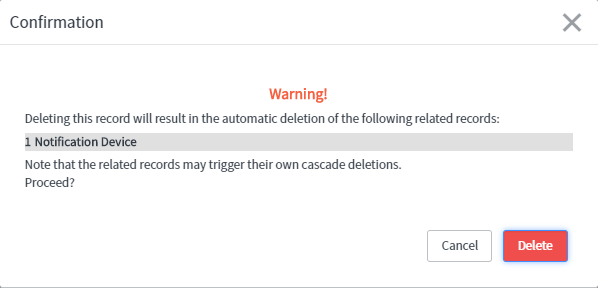
A confirmation box will be displayed asking if you want to proceed to delete the user. Click on the Delete button to confirm deletion.
Once this is done the user will be deleted. You can verify this by searching for the user in the users list.