Installing
How to download and install the 1E Core app and perform post-installation configuration steps.
App Installation
The 1E Core app is available on the ServiceNow app store and can be installed onto your ServiceNow instance using the following steps:
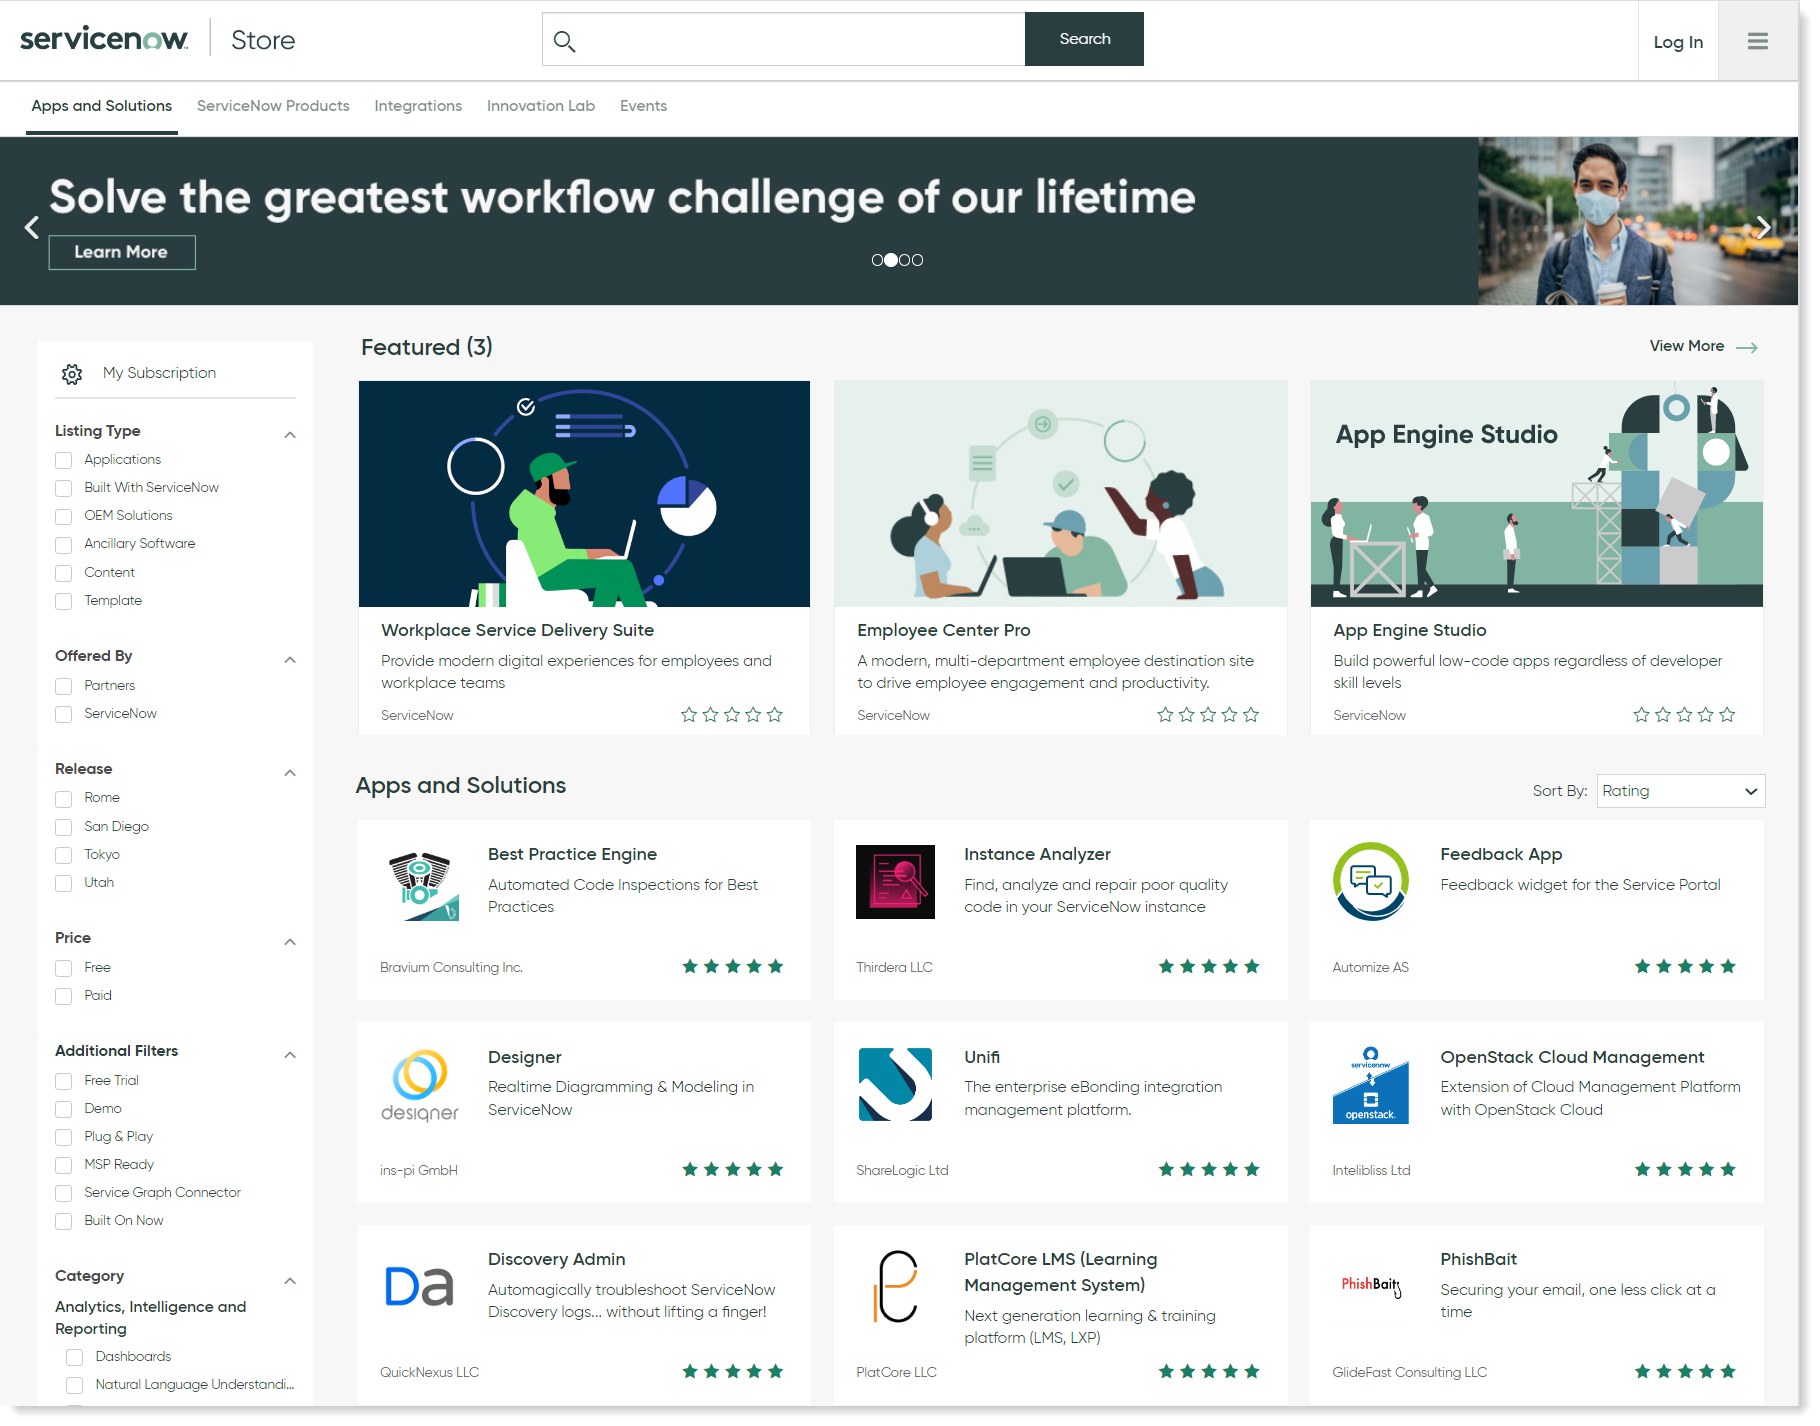
Browse to the ServiceNow App Store using the following URL: https://store.servicenow.com/sn_appstore_store.do#!/store/home, as shown in the picture.
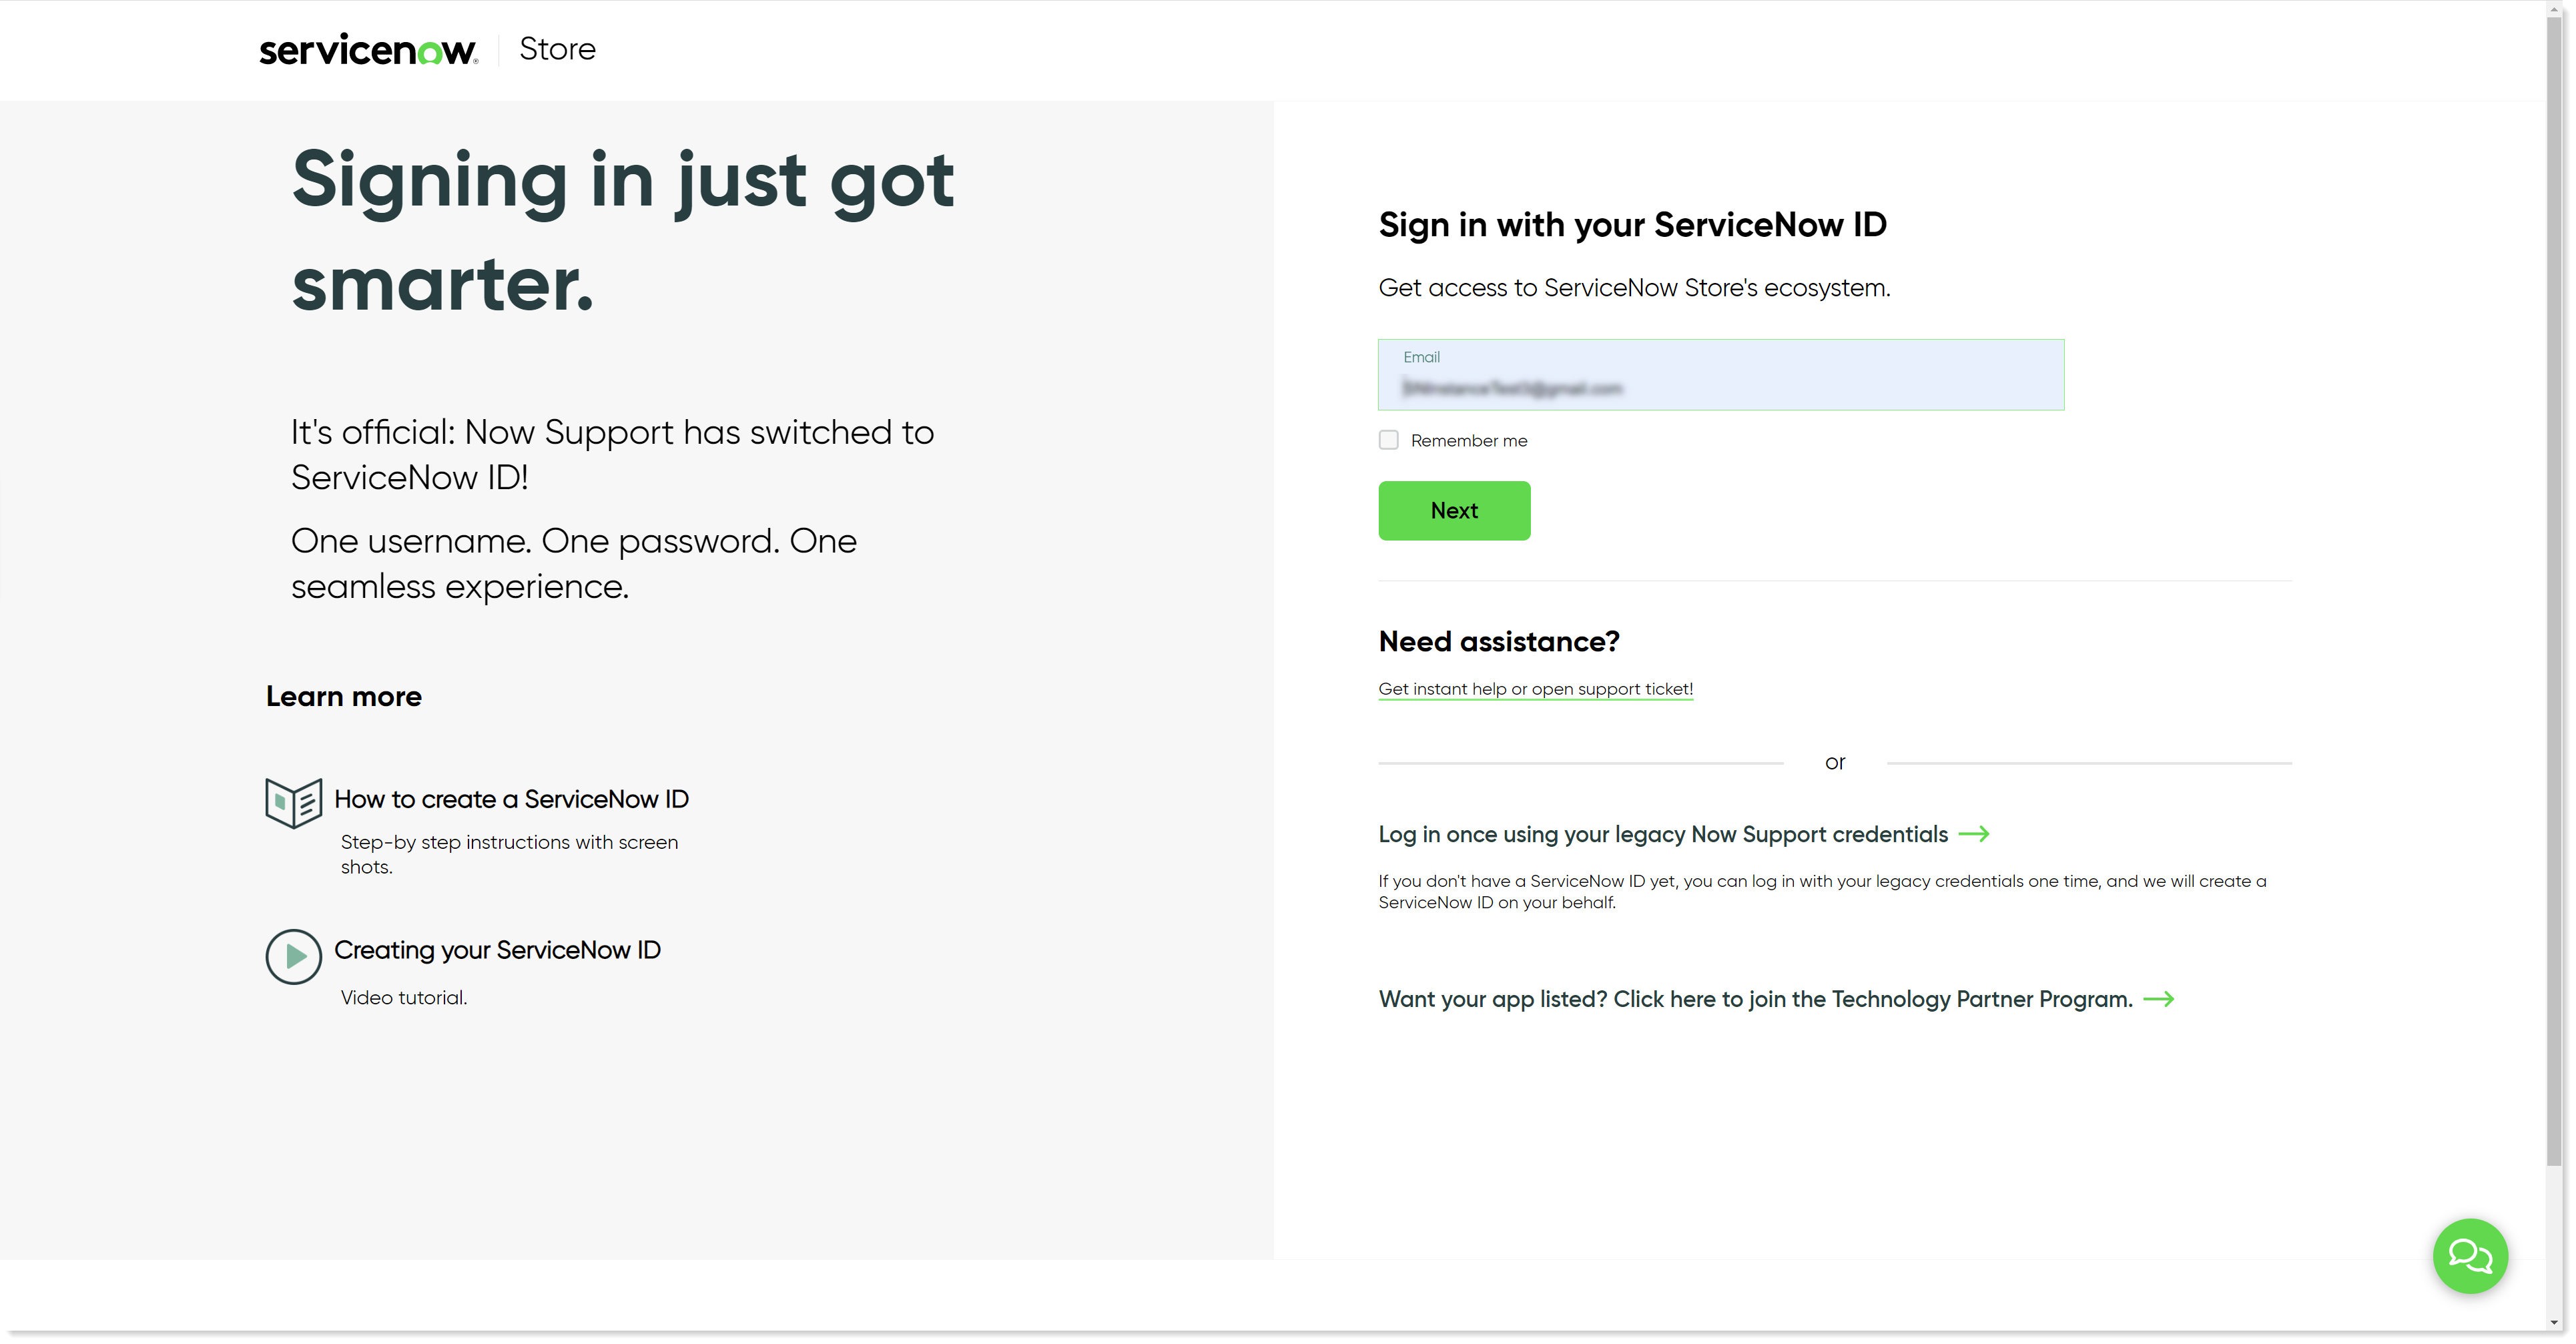
Click the Log In button at the top-right of the ServiceNow Store to log in.
In the Login popup, you will be prompted to enter your credentials. The username and the password should be the ones provided when you created your ServiceNow support account.
After you've logged in, find the 1E Core app from the list of available apps.
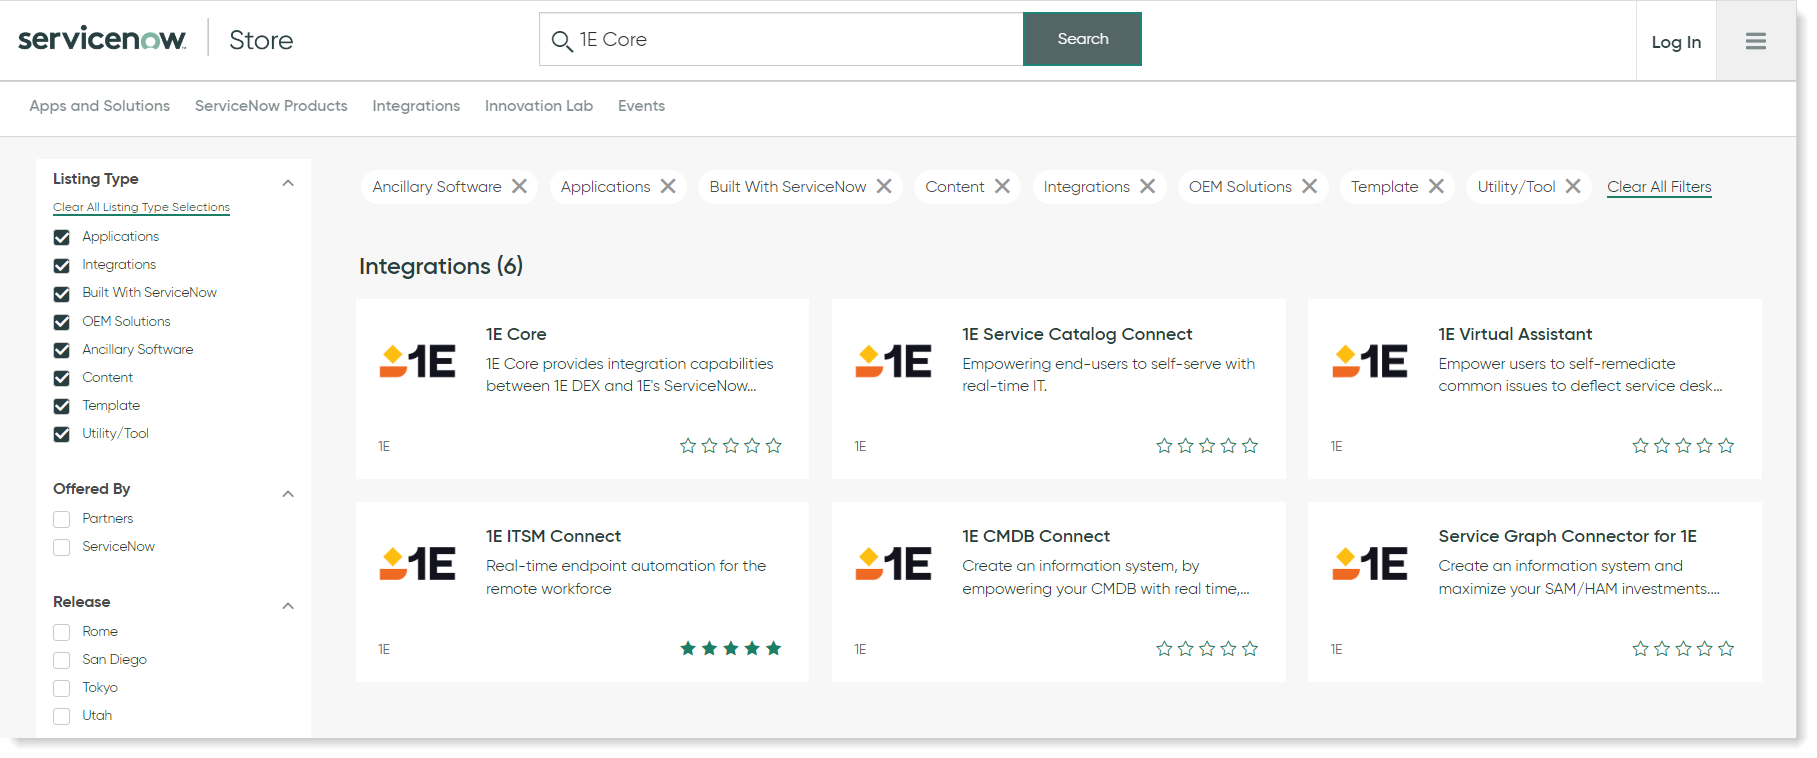
Click on the application and click on the Get button.
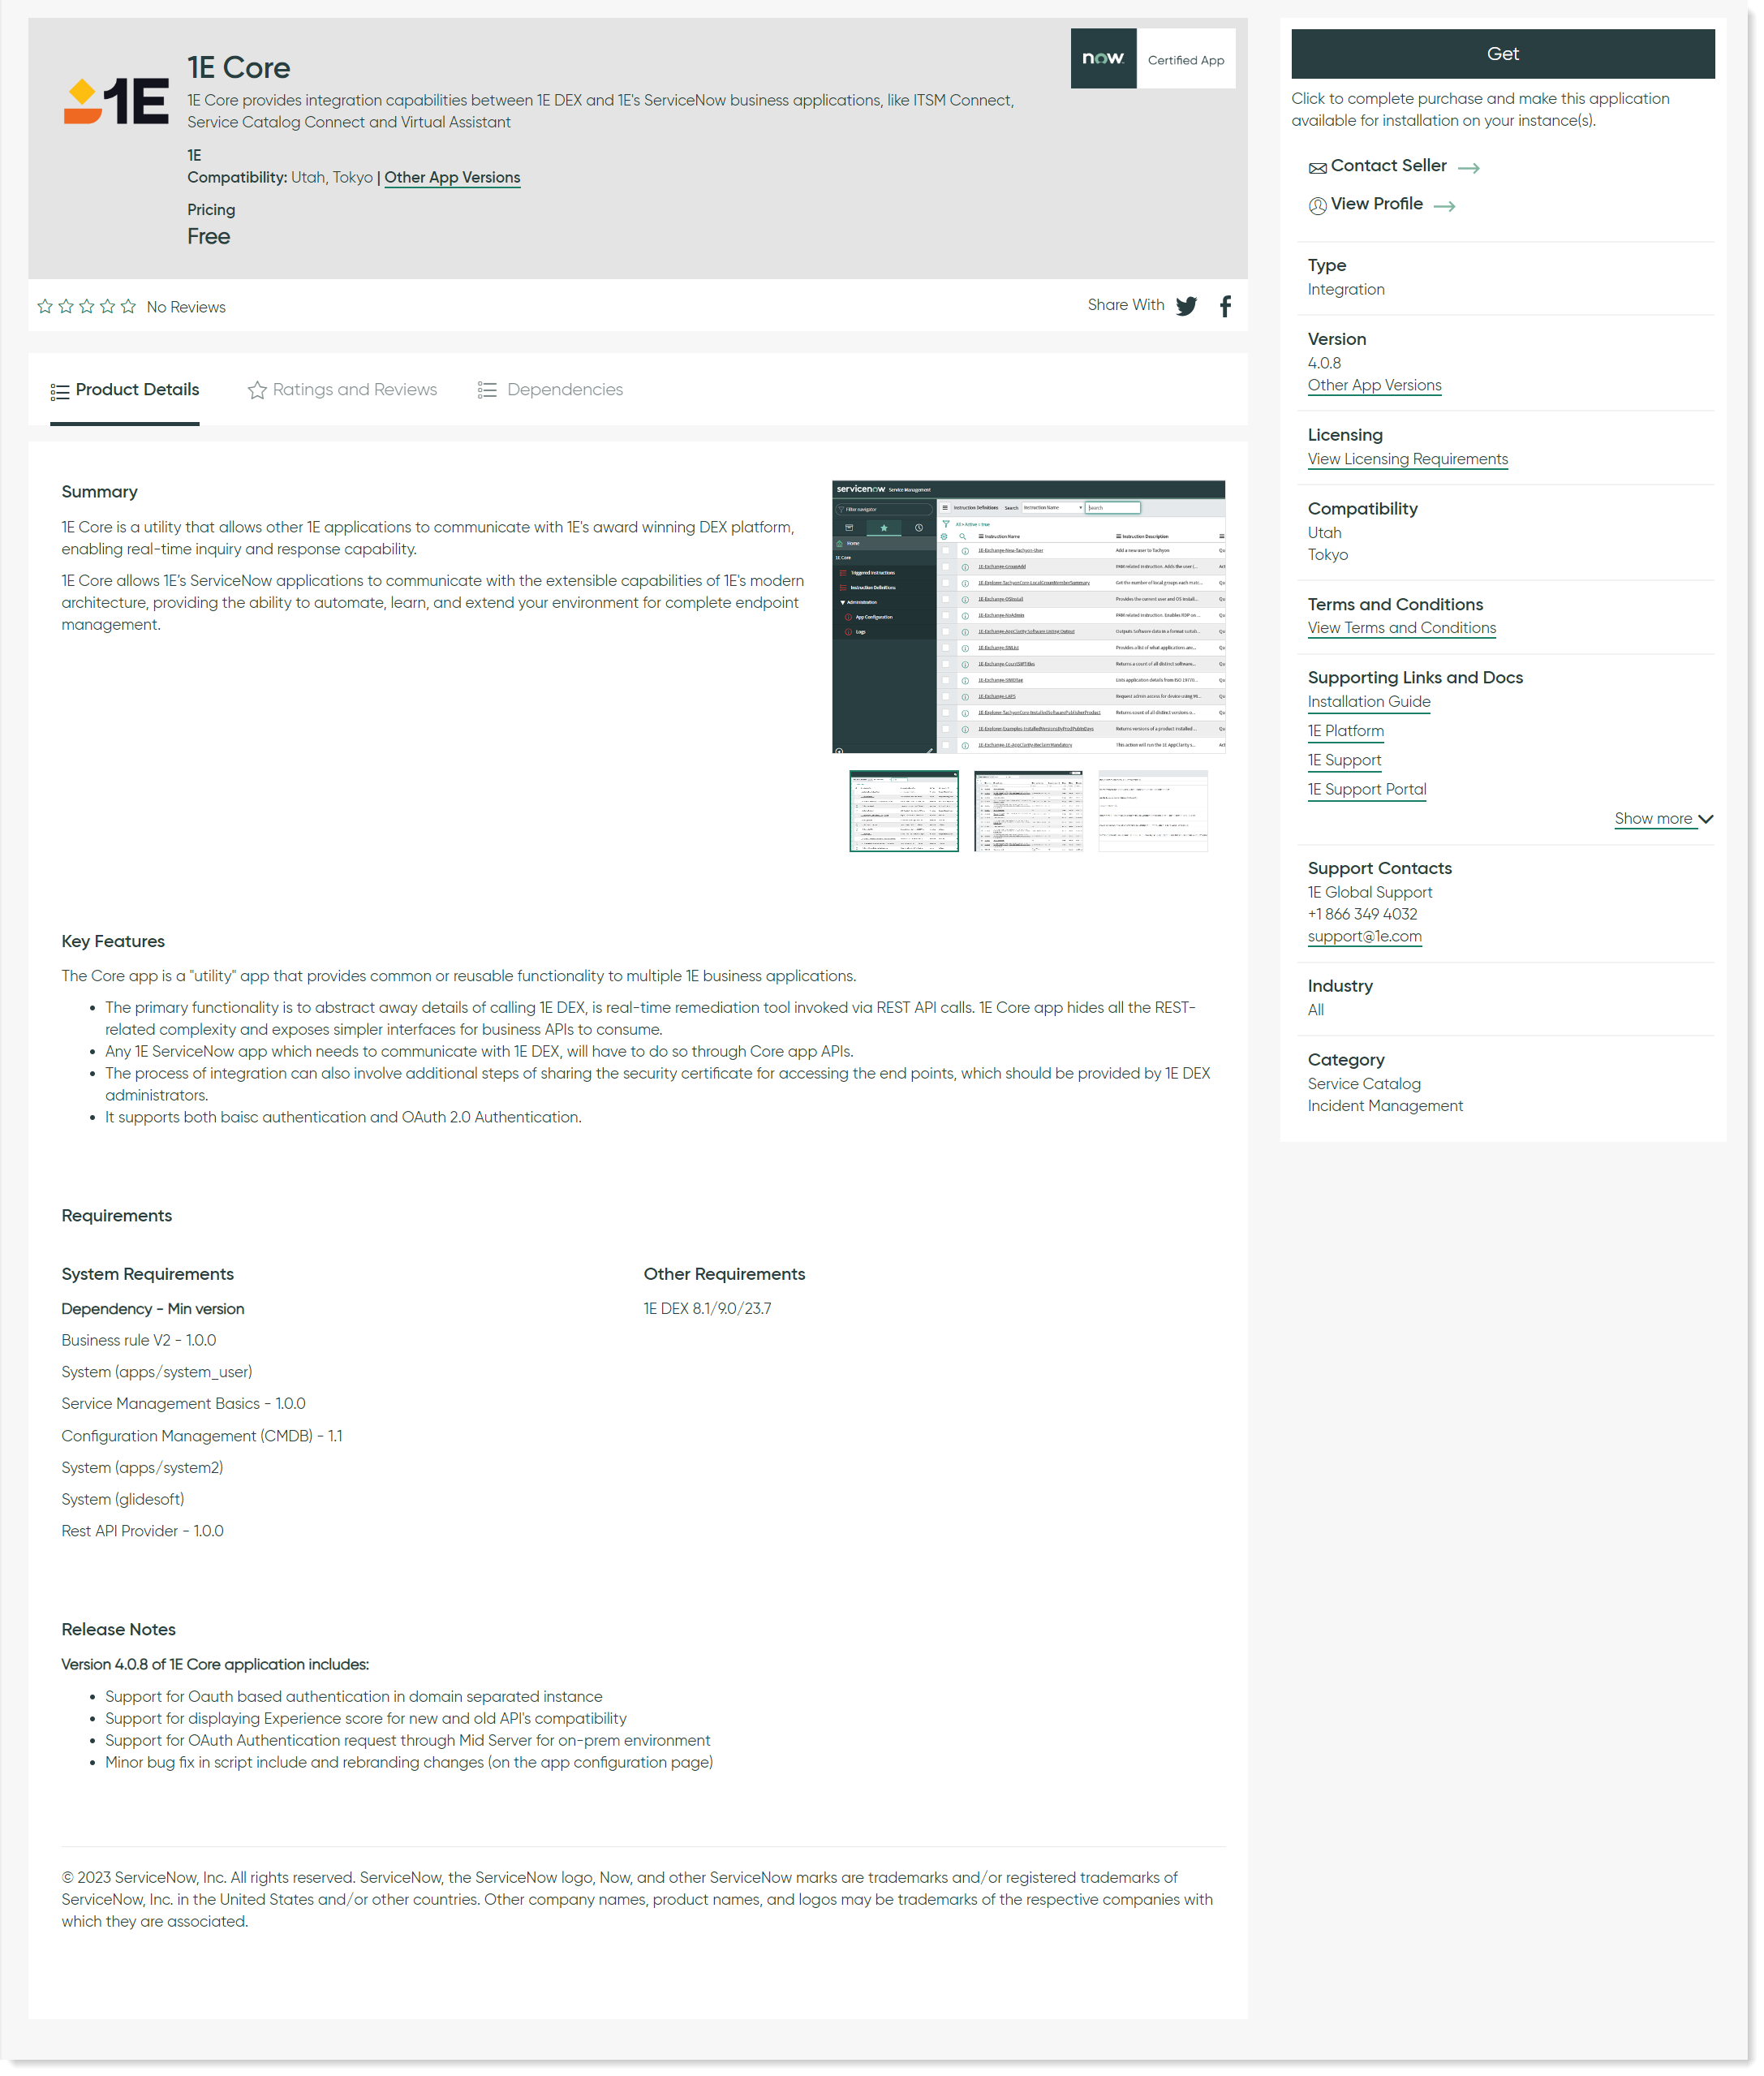
The 1E Core app will now install automatically on your ServiceNow instance. The ServiceNow Instance details are already available in ServiceNow because they are part of your TPP credentials.
Warning
For administrative users, when switching between ServiceNow apps, ServiceNow does not always change the app context. This can cause the app page properties to be grayed out, preventing edits of the properties. ServiceNow will sometimes display a message at the top of the page to this effect:
"Warning Message: This record is in the <application you just switched to> application, but <the previous app> is the current application. To edit this record, click here."
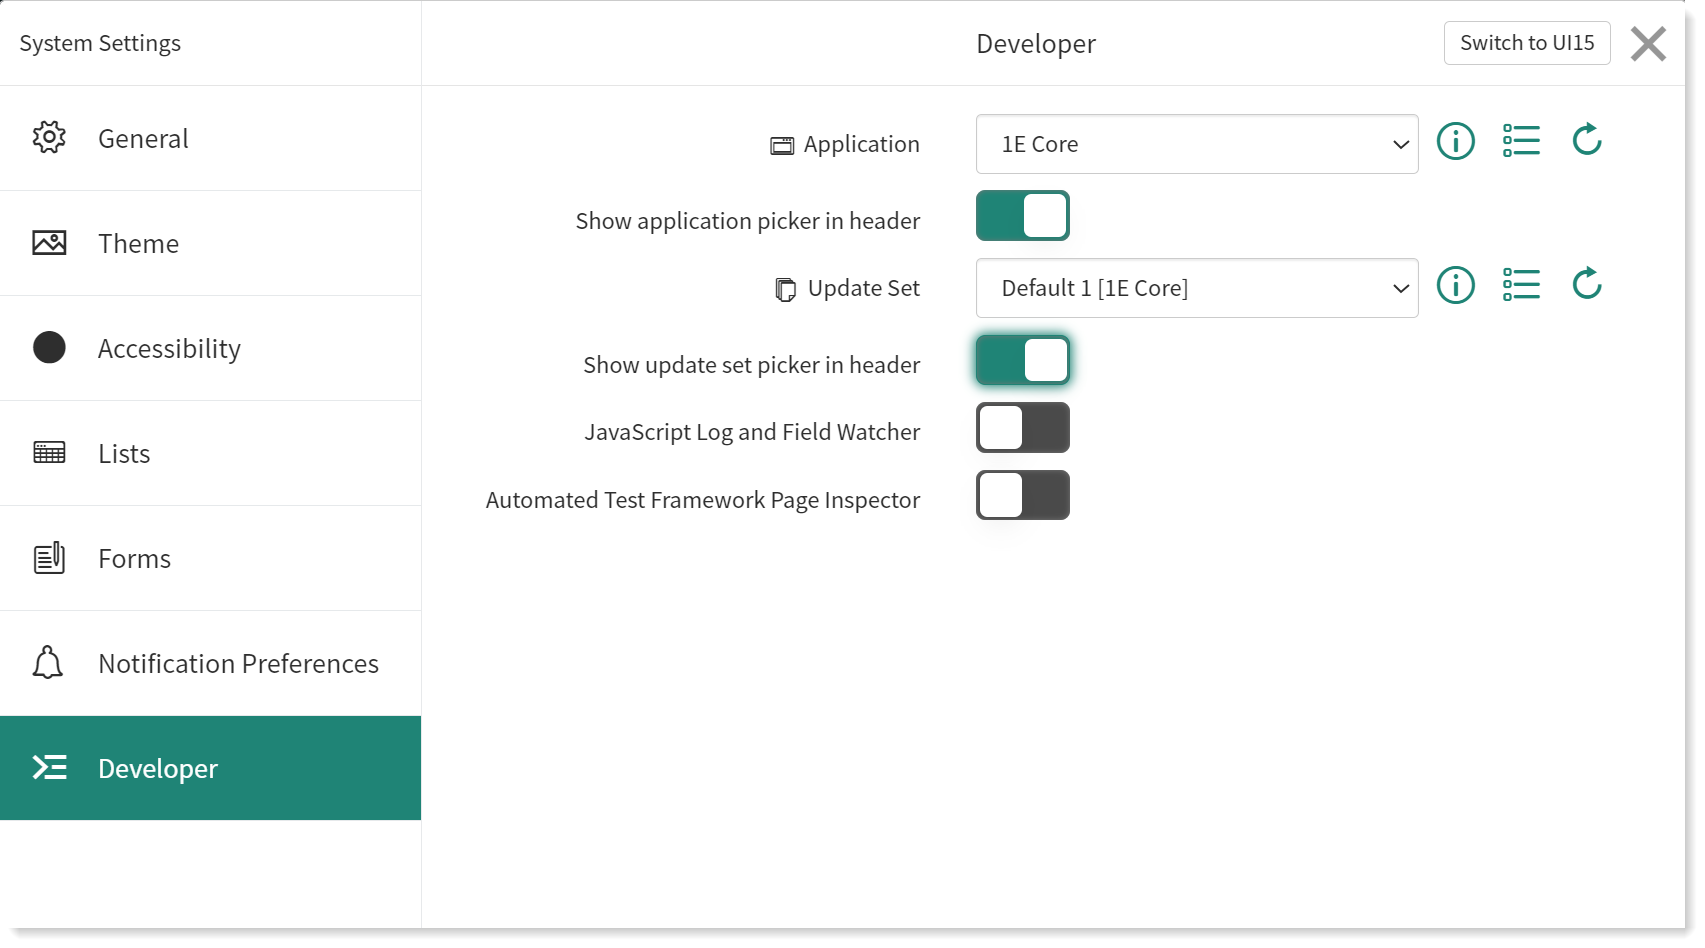
Clicking on "click here" will correct this issue, but given that this message doesn't always occur, it is best to allow the administrative user to change app contexts as needed. This is done by:
Select the user from the users list to open the user details page.
Click on the Settings (gear) icon in the top right corner.
Select the Developer tab.
Ensure the Show application picker in header option is enabled.
The administrative user can now select the current application from the ServiceNow header.
For further information, read 1E Core post-installation tasks for 1E Core.
Upgrading 1E Core
In case, you already have 1E Core application installed on your ServiceNow instance, but an older version of it. Then you should upgrade your 1E Core application to version 4.0.8.
The 1E Core 4.0.8 App is supported on Tokyo and Utah versions of ServiceNow. Follow the below procedure to upgrade your 1E Core application.
Before upgrading, ensure that the following tables have been backed up:
Triggered Instructions
Instruction definitions
Now perform the following steps to upgrade the application:
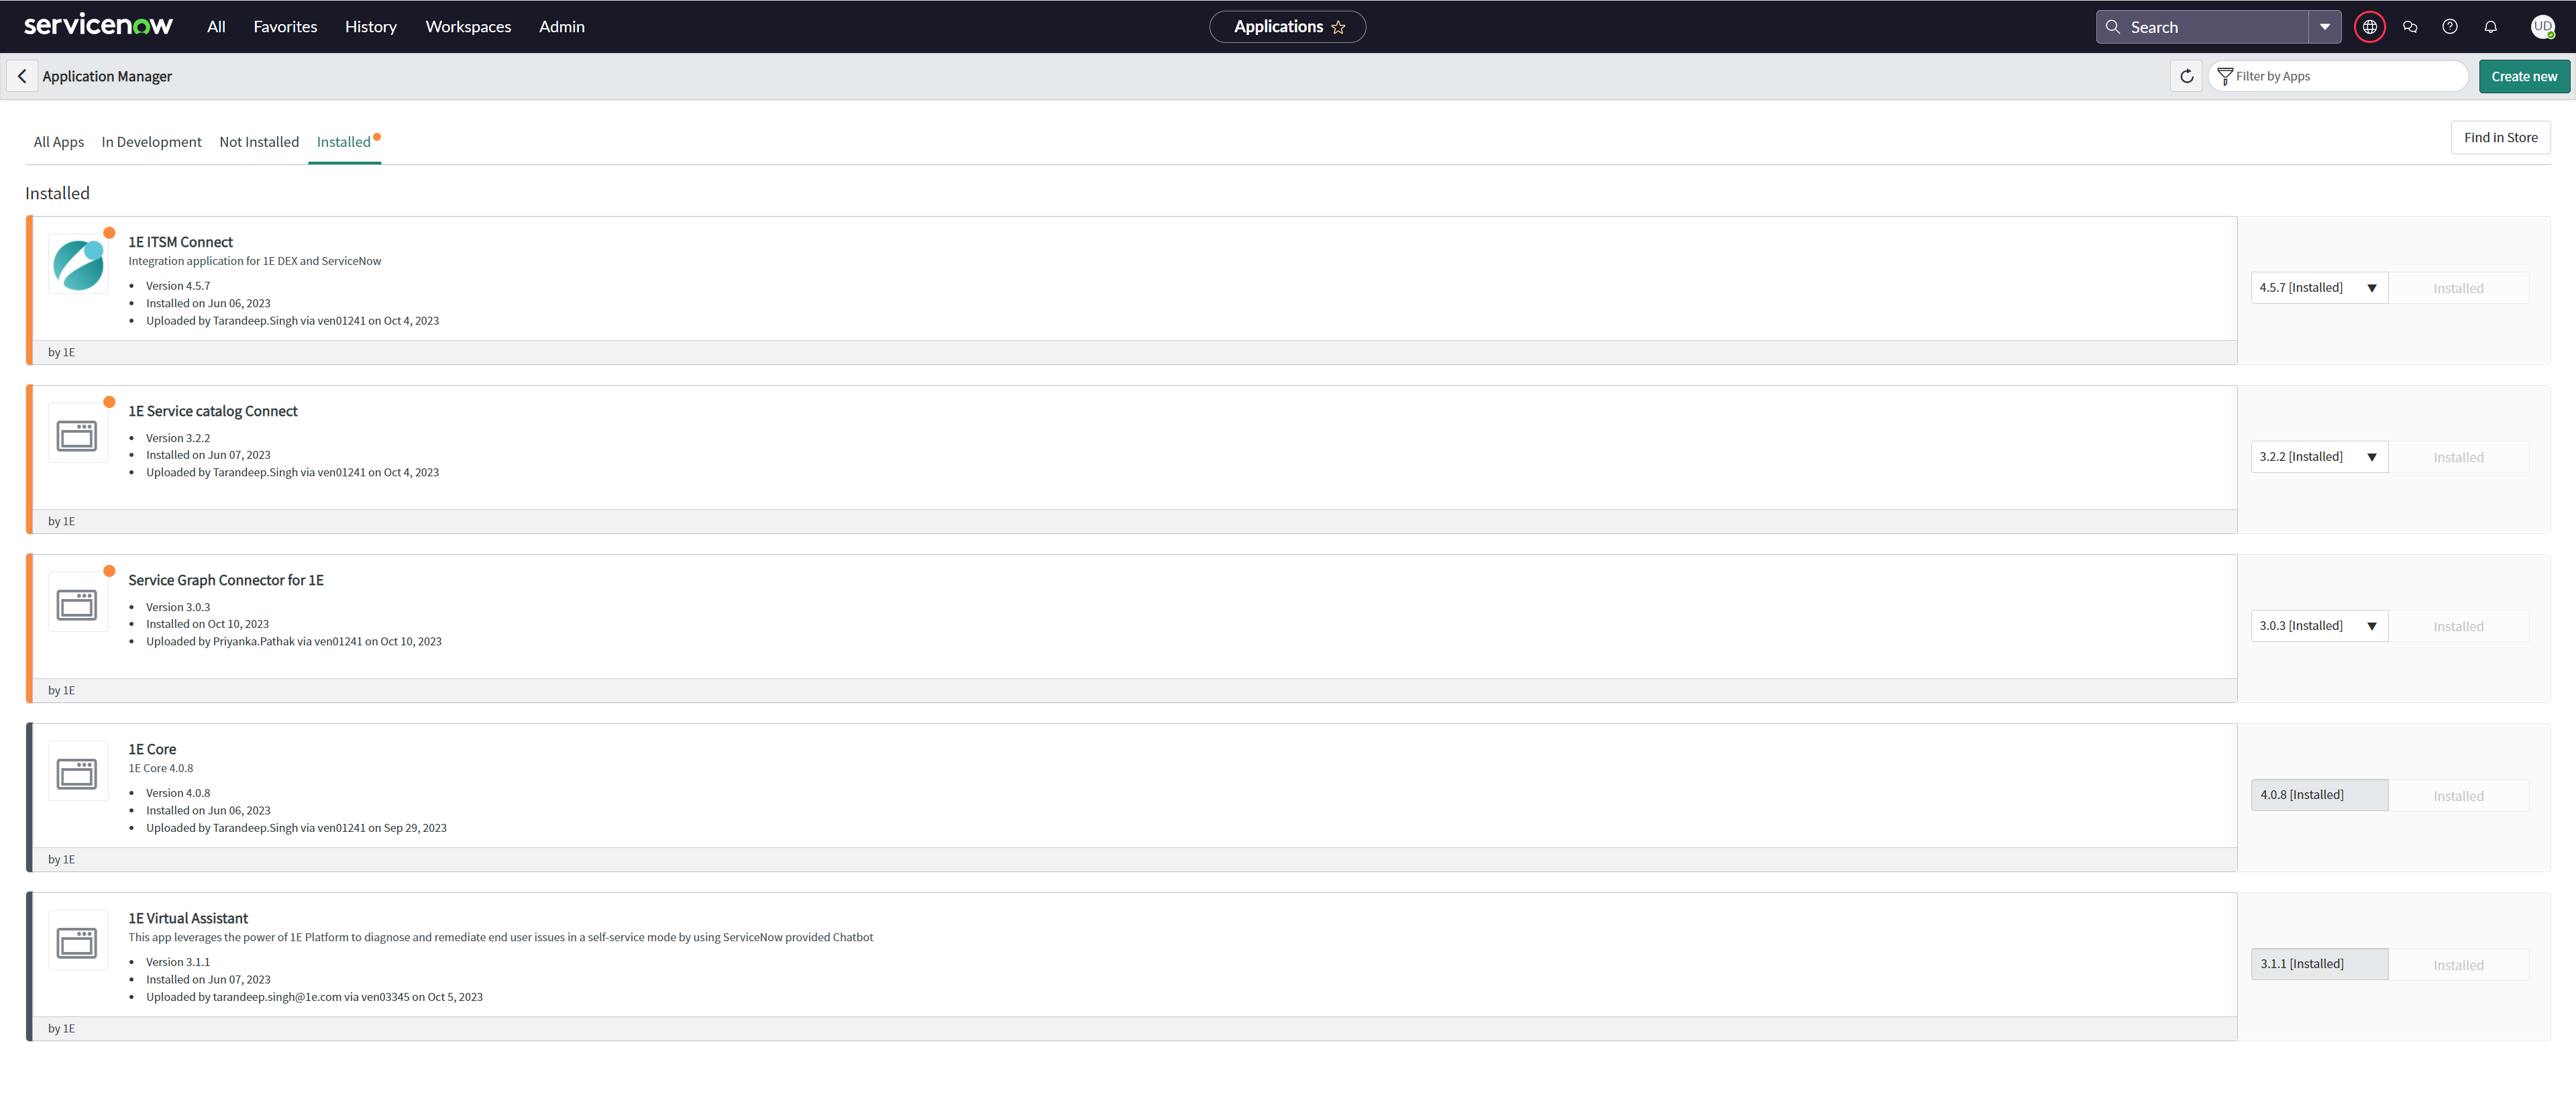
In ServiceNow, navigate to My Company Applications. This opens up an Application Manager page as shown in the picture below.
Note
In case the application is not listed under My Company Applications, then navigate to Plugins and look for the application there.
Click on the Installed tab on Application Manager page to see the list of installed applications.
Look for 1E Core from the list, select the latest version from the dropdown and click Update.
You now have the latest version of 1E Core available.