Installing the Shopping Receiver
Installing the Shopping Receiver on the Configuration Manager CAS enables application deployments, using legacy or application model applications and Operating System deployments.
Prior to installation of each Shopping Receiver, complete the Preparation steps.
After installation each Receiver, you must use the Shopping Admin Console to add the Configuration Manager site to the Sites list. This authorizes the new Receiver to access the Shopping Central server, the procedure for this is described in Setting up Configuration Manager sites.
Note
If you intend installing Shopping Central and the Shopping Receiver services on the same server, install Shopping Central first.
Installing the Shopping receiver with the wizard
The installer MSI file for the Shopping Receiver is ShoppingReceiver.msi and will only run on a server using a supported server operating system with a local installation of a Configuration Manager site.
When running the MSI, ensure you:
Are logged on using your Installation account to install Shopping, refer to Preparation: Accounts to install Shopping for details
To install the Shopping receiver, start a command prompt with elevated rights using Run as administrator, change directory to the location where you downloaded ShoppingReceiver.msi and run the following suggested command-line:
msiexec /i ShoppingReceiver.msi /l*v ShoppingReceiverInstaller.log
Warning
The installer will terminate if a local installation of Configuration Manager site is not detected.
Running ShoppingReceiver.msi
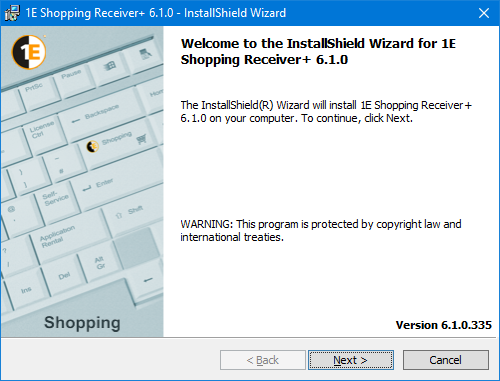
Welcome
This screen provides the version number for the Shopping Receiver and outlines what the wizard will do.
Click Next to go to the next screen.
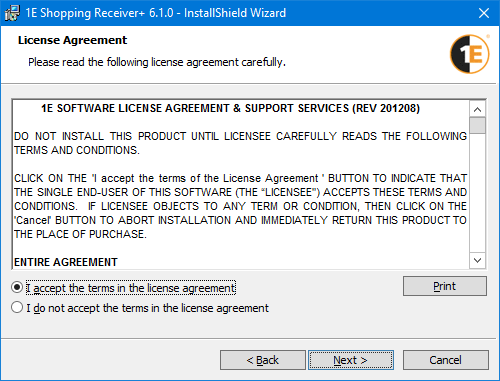
License Agreement
You must read and then accept this license information by clicking the I accept the terms in the license agreement option before you can continue with the installation.
Click Next to go to the next screen.
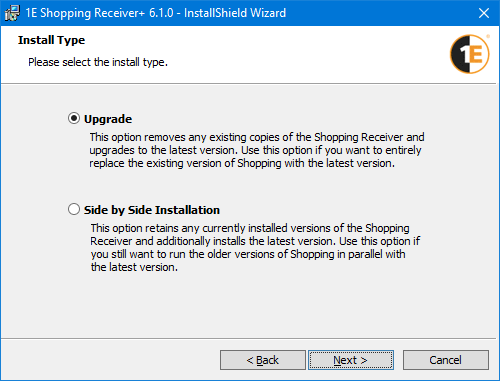
Install Type
On the Install Type screen, if displayed, choose either:
Upgrade – upgrades existing Shopping Receivers to the latest versions
Side-by-side installation – installs the latest version of the Shopping Receiver alongside existing ones. Use this option if you intend to run the older versions of the Shopping Receiver in parallel with the latest versions.
Note
This screen is displayed only if a previous version of the Shopping Receiver is detected.
If the existing version is Shopping version 4.7 or earlier, you can only upgrade. Side-by-side installation is not supported in that case.
ClickNextto go to the next screen.
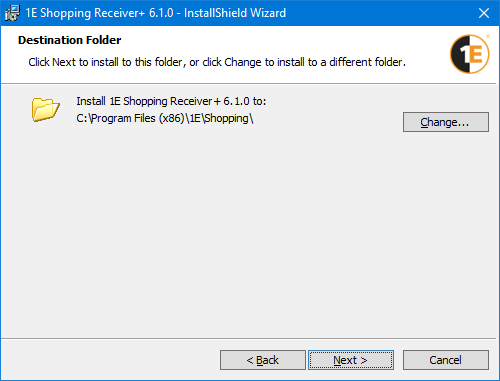
Destination Folder
The default destination folder will be suitable for most installations. Click Change... if you want to specify a new location for the installation.
ClickNextto go to the next screen.
Receiver Service Account
Choose whether the Shopping Receiver service account uses Network Service or a domain account. See Preparation: Service accounts for more details.
If you're using a domain service account, enter the name and password for the account, you would have already set this up when you were Installing Shopping Central.
Click Next to go to the next screen.

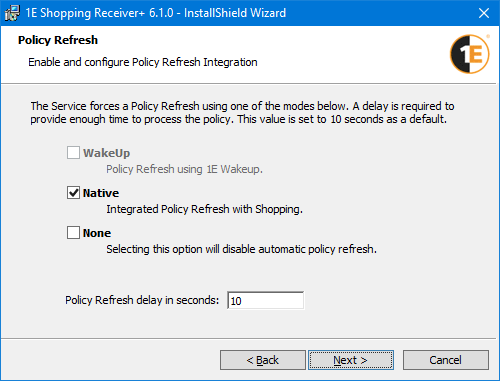
Policy Refresh
Configure how policy refresh is implemented. Enable or disable its integration and set the refresh delay. The choices determines how the Receiver initiates a policy refresh on the client, effectively enabling a rapid software push to the user's machine
If the installer detects that 1E WakeUp Server is installed on the same server, WakeUp will be the default option. Otherwise, Native is the default
Selecting WakeUp or Native allows you to specify the Policy Refresh delay in seconds. The default is 10 seconds, which causes WakeUp or Shopping to send a policy refresh 10 seconds after the Shopping Receiver has added the machine to a collection and wait for Configuration Manager to create the machine policy and replicate it. The delay depends on the responsiveness of the Configuration Manger architecture.
Click Next to go to the next screen.
Shopping URL Prefix
Set the base URL for the Shopping Central Website so that the Shopping Receiver service can communicate with the Shopping API.
You will need to modify the URL prefix and replace the default <ShoppingCentralServer> with the host header for the Shopping website, refer to Installing Shopping Central: Shopping URL Prefix.
Click Next to go to the next screen.

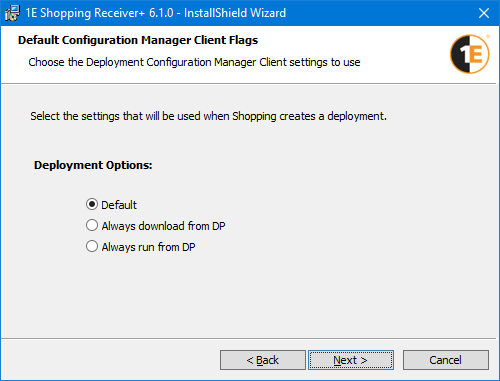
Default Advanced Client Flags
Enter the settings to use for a default deployment.
Setting | Explanation |
|---|---|
Default | Uses the default advertisement options. |
Always download from DP | The package is always downloaded from the distribution point. This should be used when integrating with Nomad Branch from 1E. |
Always run from DP | The package is always run from the distribution point. |
Note
These settings affect only packages and not app-model applications whose settings are controlled with Configuration Manager.
If you have used the installer property DPFLAG on the command-line and given it a value that does not match any of the 3 options on the screen, then none of the options will be selected. In this case, do not select an option, and just click Next to continue to configure the command-line option.
Click Next to go to the next screen.
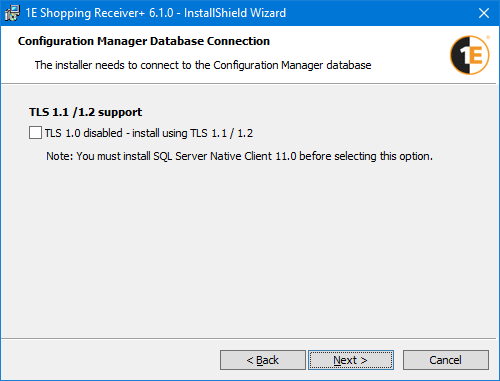
Configuration Manager Database Connection
Check the TLS 1.0 disabled - install using TLS 1.1/1.2 checkbox if TLS 1.0 is disabled in your environment.
Click Next to go to the next screen.
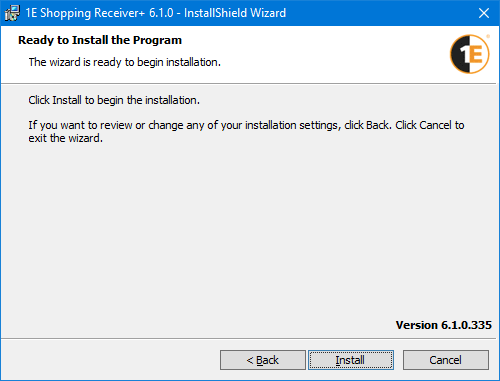
Ready to Install the Program
ClickInstallto start the installation, or use the< Backbutton to go back and review your settings prior to installation.
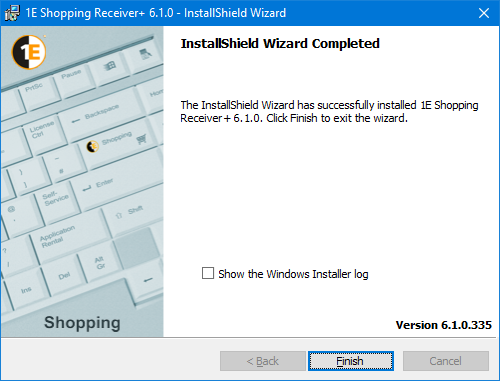
Completed
When the installer completes, optionally check Show the Windows Installer log,then click Finishto close the installer.
Installing the Shopping Receiver in unattended mode
To install the Shopping receiver in unattended mode, you must provide the Shopping URL Prefix and the Shopping Receiver service user account and password. Other settings are optional.
In the example the policy refresh setting is configured to use Native mode even if there is a WakeUp Server already installed.
The command-line example is separated onto different lines for clarity and is entered on a single line in practice. These and other command-line switches are described in Shopping Receiver installer properties.
Installing the Shopping Receiver in unattended mode
msiexec /i ShoppingReceiver.msi
SHOPPINGURLPREFIX="https://shopping.acme.local"
SVCUSER=ACME\svc_ShoppingRcvr
SVCPASSWORD=svcpassword
POLICYREFRESHMODE=NATIVE
/l*v %temp%\ShoppingReceiver-install.log /qn