Managing OS deployment applications
OSD Applications enable self-service OS Deployment that includes a web-based OSD Wizard. An administrator creates an OSD Application in the Shopping Admin Console that is associated with a specific Configuration Manager OS Deployment Task Sequence. Unlike other Applications in Shopping, OSD Applications are made available in the Shopping portal using a banner. Rather than request the application, the user clicks a Launch button on the banner to launch the OSD Wizard, which walks them through a few steps and allows the user to schedule the deployment. Shopping deploys the Task Sequence to the target machine at the scheduled time.
To understand how OSD Applications are used, please refer to Self-service Operating System deployment: OSD Applications.
Preparation
Before creating an OSD Application in Shopping, you must
Create and test the Task Sequence in Configuration Manager
Create an empty Collection in Configuration Manager that will become the target of a Task Sequence Deployment. Shopping will add machines to this Collection as requests are made
In Configuration Manager, deploy the Task Sequence created in step 1 to the Collection created in step 2. The Deployment should be Required with the schedule option As soon as possible selected
Create a new OSD Application
To create a new OSD Application.
In the Shopping Admin console, right-click the Applications node and from the context menu, choose New OS Deployment
On the Welcome screen, click Next
On the General Details screen, populate the attributes for this OSD Application:
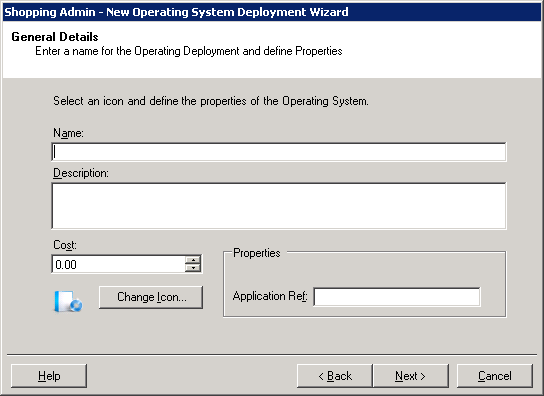
In Name, enter the name for this OSD Application – it's displayed in the Shopping Admin console and in the Shopping Web
In Description, enter a description for the OSD Application
In Change Icon, select an icon to associate with the OSD Application
Cost (displayed in the currency locale set in the Shopping central server) is an optional field to show cost for the OSD Application – it appears in the Shopping Web, Shopping basket and approval emails.
In Application Ref, enter a unique identifier for the OSD Application which is used in conjunction with the Shopping API.
Click Next.
On the SMS/Config Mgr collection screen, select the Configuration Manager collection and the OSD Application the application is associated with.
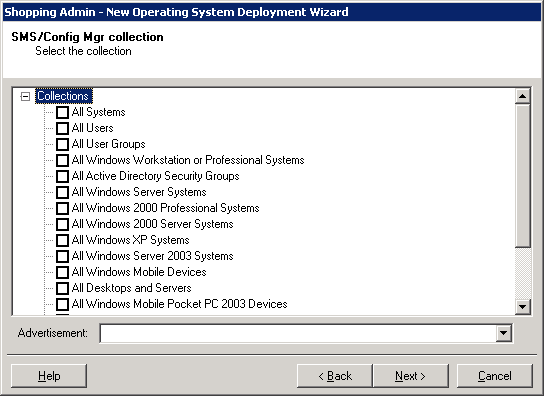
Click Next
On the Permissions screen, set the permissions for the users and machines that can request the OSD Application
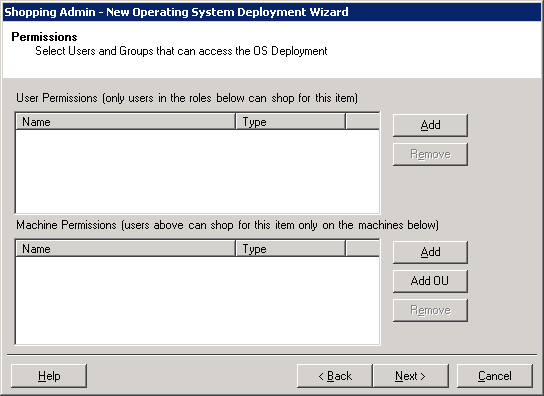
Click Next
Click Finish.
Managing core applications and delivery schedules
Once the OSD Application has been created, set the core applications and delivery schedules by selecting properties for the application.
To manage the properties for an OSD Application:
Right-click an OSD Application, and from the context menu, choose Properties.
In the General tab, you can:
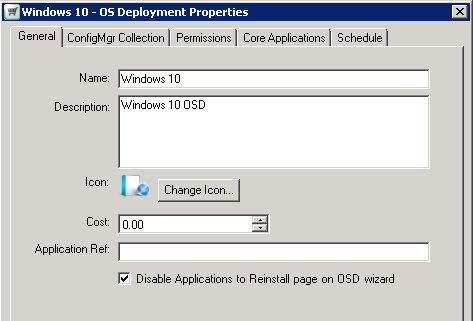
modify the name, description, icon, cost, application reference
disable the option for users to choose which applications they want re-installed during a self-service OS deployment
Note
If this option is not disabled, users and administrators will see the reinstall page as step 3 in the OSD wizard, and have the opportunity to select which applications will be re-installed after the task sequence is completed successfully.
If Shopping is not integrated with AppClarity or the SLA Platform, available applications are restricted to only those that were installed using Shopping.
If Shopping is integrated with AppClarity or the SLA Platform, applications available are determined by OSD mapping rules.
In the ConfigMgr Collection tab, you can modify the collection and advertisement the OSD Application is associated with.
In the Permissions tab, you can modify the user and machine permissions.
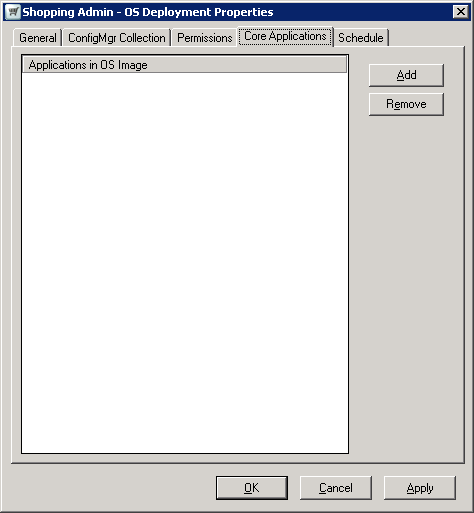
In the Core Applications tab, you can add the names for applications that are already built-in to the OS image. These applications are displayed in the OS migration wizard, and the Shopping Web to assist the user in choosing the application they want migrated to the new OS.
In the Schedule tab, choose when the OSD Application becomes available to users.
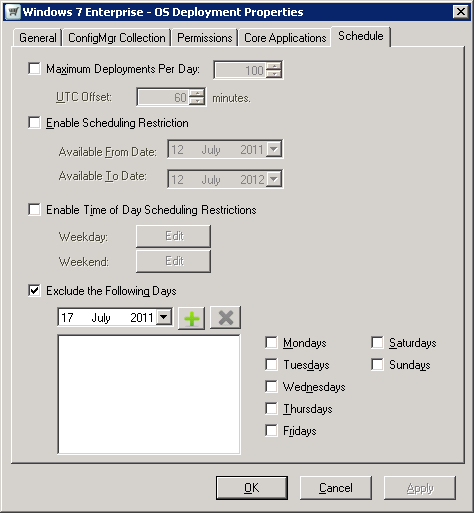
Maximum Deployments Per Day – enforces a site-wide limit on the number of times the OSD Application can be deployed during any day (from 0000h-1159h). You can modify this with the UTC offset field (in minutes) to allow for different time zones.
Enable Scheduling Restriction – enforces the date range where the OSD Application is available from
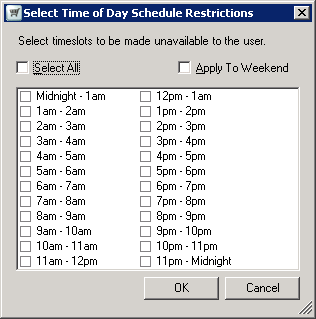
Enable Time of Day Scheduling Restrictions – enforces the times during the day when the OSD Application is unavailable for deployment.
Exclude the Following Days – enforces the days when the OSD Application is unavailable for deployment

Creating a Banner
OSD Applications do not appear in the Shopping portal as tiles like other Applications. Instead, they are published using a Banner. Banners are a feature of the Shopping portal that allow admins to highlight certain applications at the top of the page, but are also used to make OSD Applications available for users to deploy through the OSD Wizard.
Follow the process in Managing banners and featured items to create a banner for OSD Applications.
To understand how OSD Applications are used, please refer to Self-service Operating System deployment: OSD Applications.