Integrating with AppClarity
AppClarity helps you identify and accurately quantify software waste in the enterprise. It has a comprehensive catalog of applications and can determine which applications are installed on a particular computer. You can integrate Shopping with AppClarity and match up applications installed on a particular computer not using Shopping with the equivalent Shopping applications.
Integration from AppClarity
To integrate Shopping with AppClarity:
On the left navigation menu in AppClarity, click Users.
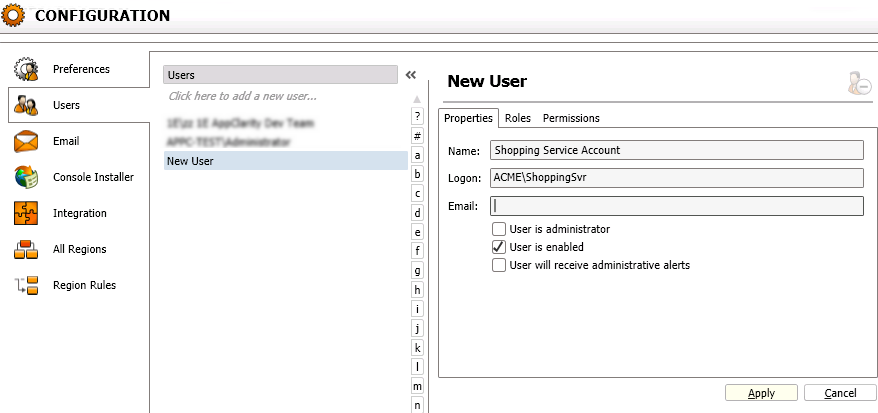
Click New User and enter the details for the new account.
If you are adding a new service account, populate the Name, Logon, and Email fields and tick the User is enabled checkbox
If you are adding a new administrative account, populate the Name, Logon and Email fields and tick the User is administrator, User is enabled and the User will receive administrative alerts checkboxes.
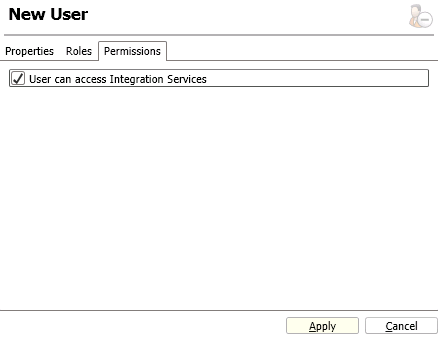
In the New User controls for each of the new users, click the Permissions tab and check the User can access Integration Services checkbox and click Apply.
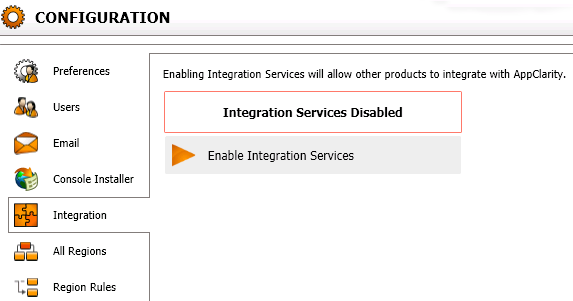
On the left navigation menu, click Integration and enable Integration Services.
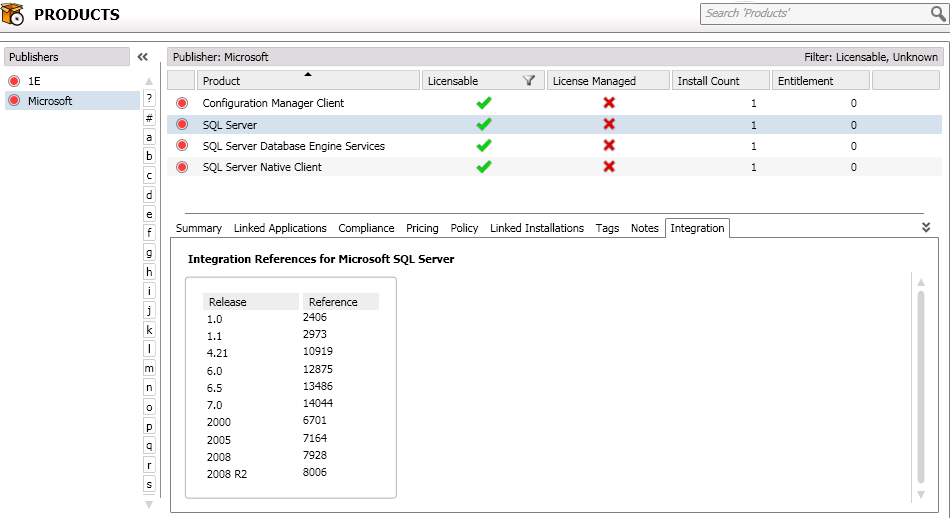
With integration services enabled, the AppClarity Products screen displays the Integration tab where an integration reference is displayed for each release of a particular product.
Integration from Shopping
To integrate AppClarity with Shopping:
In the Shopping console under Integration, enable and configure the URL to AppClarity.
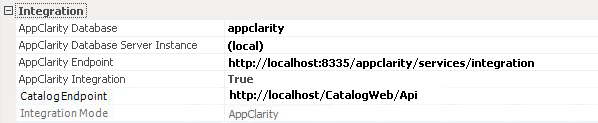
In AppClarity Database, enter the name for the AppClarity database.
In AppClarity Database Server Instance, enter the name of the instance where the AppClarity database is hosted. If it is hosted on the default SQL server instance, use the
SQLServerNameformat. If it is hosted on a named SQL server instance, use theSQLServerName\SQLServerInstanceNameformat.In AppClarity Endpoint, enter the URL to AppClarity.
In AppClarity Integration, enable it by setting it to TRUE.
In CatalogEndPoint, enter the location for the catalog API.
Note
You must perform steps a to e before running the Application Mapping Migration wizard.
IntegrationMode is a read-only field with AppClarity as its default value.
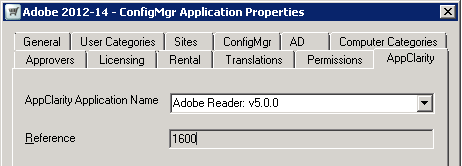
With AppClarity integration enabled, an additional tab is visible in Configuration Manager applications. This tab contains an application field which maps to the corresponding reference in AppClarity. In our example, we are associating the Adobe Reader application. If there are multiple versions for the application, click the down arrow at the end of the field for a list of versions to choose from.
There may be instances where a reference is invalid – this is likely to be from the manual mapping process in previous versions of shopping.
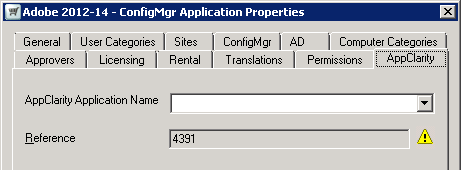
If you try to save an invalid application, a warning prompt is displayed.
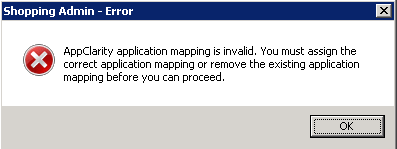
To resolve this issue, you must correct the mapping or delete it in OSD Mapping rules.
What users see
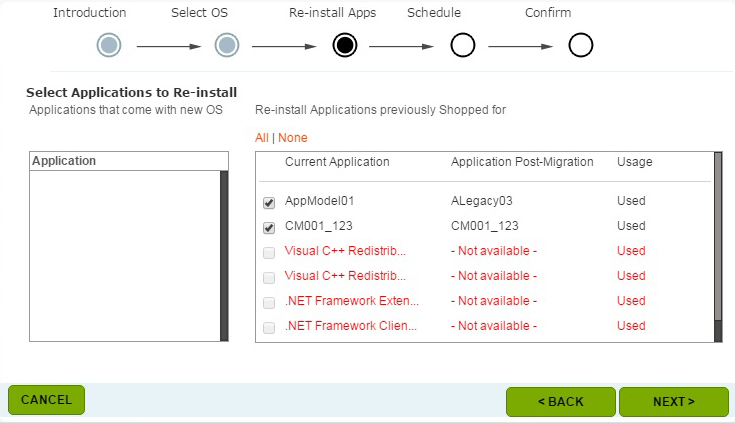
When you have integrated AppClarity and Shopping, users will see the integrated applications in My Software regardless if they used Shopping to get those applications. They will also see installed integrated applications if they use the OSD Migration wizard. The applications appear on the Re-install Apps page where they can choose to re-install them.
 |
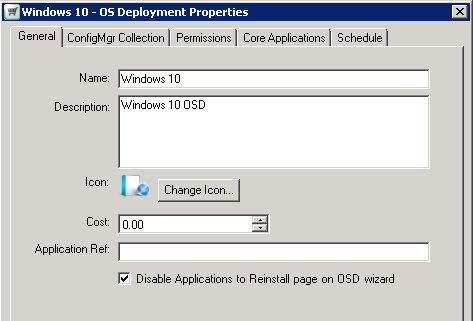
However, you can opt to remove the option for users to choose what applications to re-install during an OS deployment.
To do this:
In the Shopping Admin console, right-click an OS deployment application and from the context menu, choose Properties.
In the General tab, tick the Disable Applications to Reinstall page on OSD Wizard checkbox.
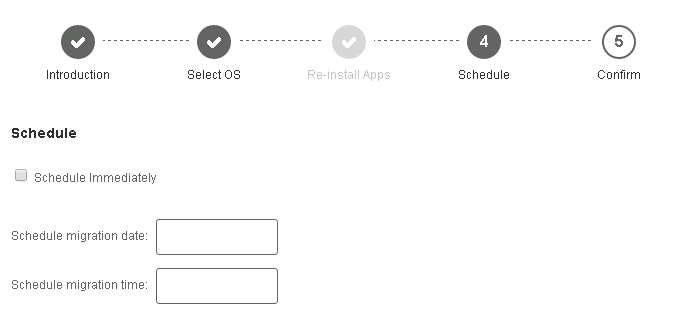
When users run the OSD Migration wizard:
They are prompted to select the OS to migrate to.
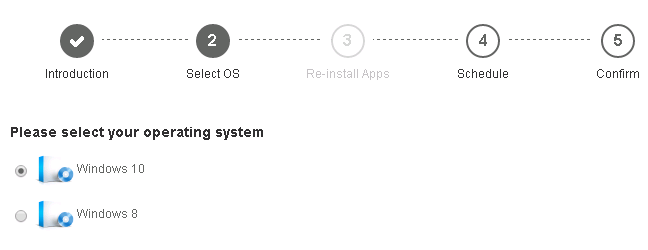
The Re-install Apps screen is disabled.
They are prompted to schedule the OS migration.