Installing NightWatchman Management Center
How to install NightWatchman Management Center using the interactive installer wizard or in unattended mode - also includes basic instructions on uninstalling NightWatchman Management Center.
Installing NightWatchman with the wizard
To install NightWatchman Management Center with the wizard, double-click on
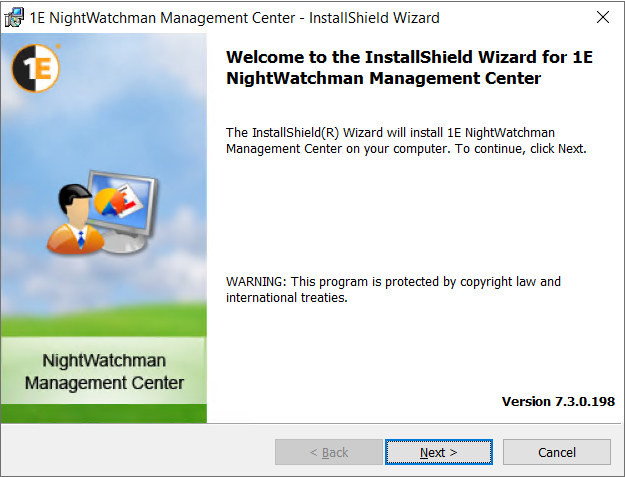
Welcome
This screen provides the version number for NightWatchman Management Center and outlines what the wizard will do.
Click Next to go to the next screen.
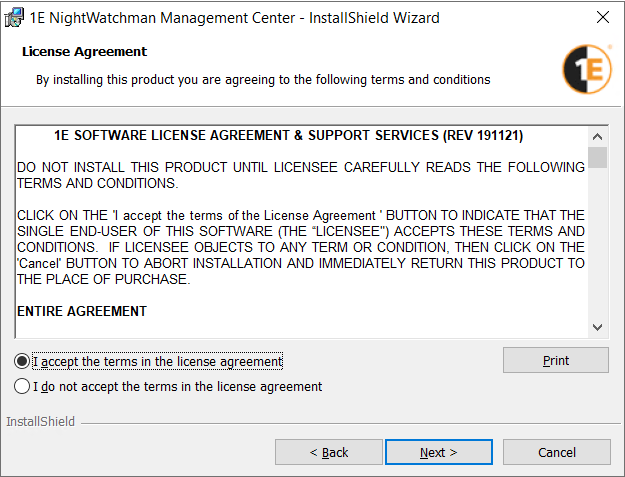
License Agreement
This screen provides the license agreement for NightWatchman Management Center.
To accept, click I accept the terms in the license agreement
Click Next to go to the next screen.
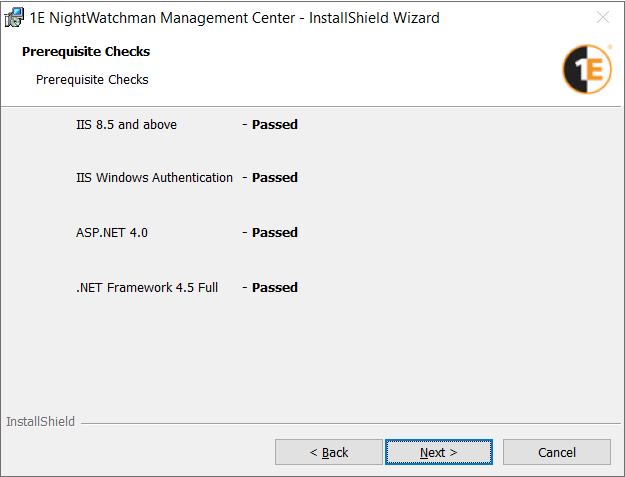
Prerequisite Checks
Background checks are run to ensure common prerequisites are met. If a prerequisite fails, the components dependent on those prerequisites are not installed. Later screens may require prerequisites for optional features.
Click Next to go to the next screen.
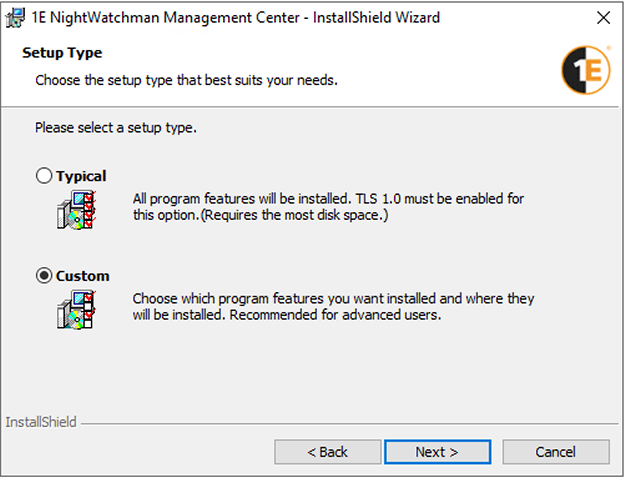
Setup Type
Select Custom.
Click Next to go to the next screen.
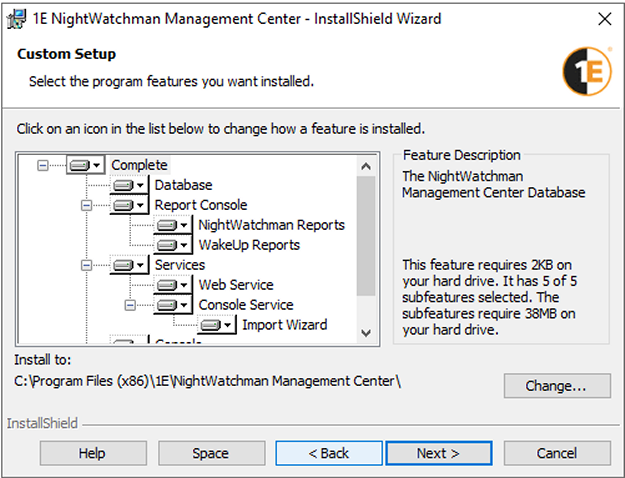
Custom Setup
This screen allows you to select the components you want to install on the local server. You do not need to change anything if you are installing all components on the same server.
Click Next to go to the next screen.
If you are installing separate components in a distributed system, you must ensure each server meets relevant Prerequisites. You will need to run the installer once for each group of components you want to install separately.
Component | Description |
|---|---|
Database | Installs database support components on the local application server, as well as the SQL Server database and SQL Agent jobs on the SQL Server database instance that you specify in next screen. You can only have one instance of the database components per implementation. The database holds all the information returned by NightWatchman clients and the WakeUp agents and forms the basis for the reports, as well as the configuration settings, and policies. The default name of the database is AgilityFrameworkReporting. |
Report Console | Installs the Reporting website, and the following reports:
You can only have 1 instance of the Reporting Website per implementation. Requires the Database component to be installed at the same time, or already on a remote server. For information about using these reports, please refer to Reporting. |
Services | Installs the following:
You can have up to 3 instances of the Web service feeding into a single database. Requires the Database component to be installed at the same time, or already on a remote server. Multiple-instances also cover hybrid environments using both HTTP and HTTPS communications (for example, HTTP for intranet-based and HTTPS for internet-based communications). Set the NightWatchman clients and WakeUp implementations in each region to communicate with the Web service using their respective protocols. |
Console | Installs the NightWatchman Management Console. You can have up to 10 instances of the console but they must be installed on computers with network access to the server where the Console service is running. Requires the Database and Services components to be installed at the same time, or already on remote server(s). |
Analysis Reports | Installs the Analysis Teports. For information about how to use these, please refer to: You can only have one instance of the Analysis reports component per implementation. Requires the Database and Services components to be installed at the same time, or already on remote server(s). |
By default, these components are installed toC:\Program Files (x86)\1E\NightWatchman Management Center\
You can select a new location by clicking Change... and navigating to a new folder.
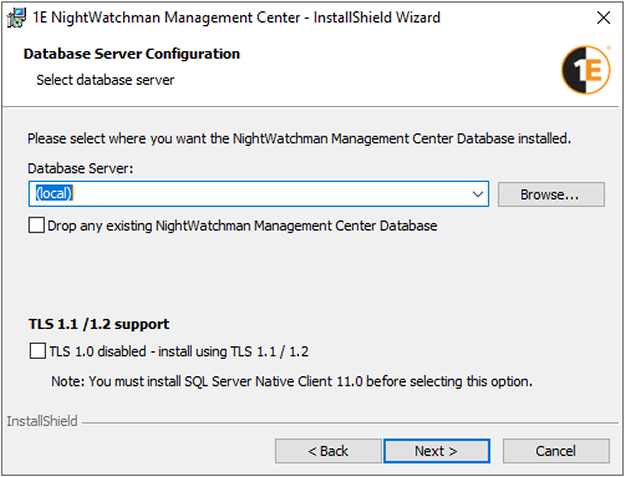
Database server configuration
The database can be specified using the following formats:
(Local) – uses the local default instance
ServerName – uses a remote server using the default instance
ServerName\Instance – uses a remote server and named instance on a dynamic port
ServerName,Port – uses a remote server and instance on a fixed port
The Browse button allows you to select any SQL Server database instance that has its Browsing service enabled and running.
Check theDrop any existing NightWatchman Management Center Databasebox, if you want to remove the existing database before installing the new one. Leave this box unchecked to use the existing database, in case of a re-install or upgrade.
Check theTLS 1.0 disabled - install using TLS1.1 / 1.2box, if TLS 1.0 is disabled in your environment and TLS 1.1 or TLS 1.2 is enabled. If you tick the checkbox then you must have installedSQL Server Native Client 11.0on the web server.
Click Next to go to the next screen.
Note
If you are installing with Typical Setup option, then this screen is not displayed if the installation wizard detects a SQL Server database instance on the local server. You must use Custom Setup if you need to do change the following defaults:
Database Server (local)
Keep the existing database
Use TLS 1.0
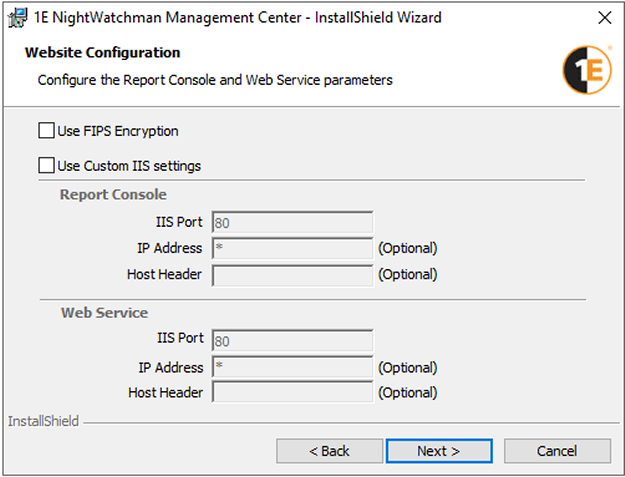
Website Configuration
Check Use FIPS Encryption
Click Next to go to the next screen.
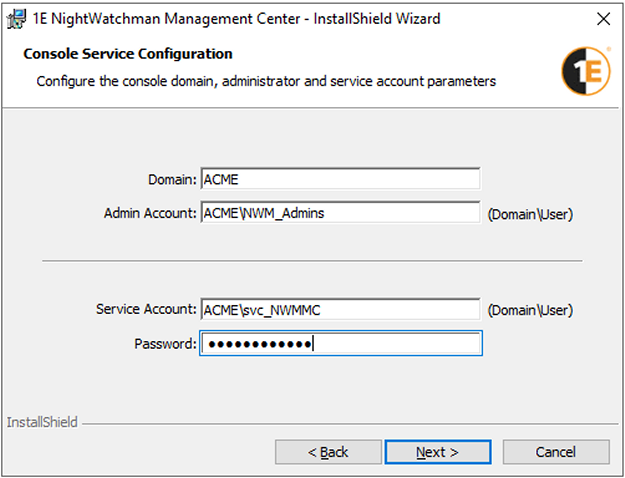
Console Service Configuration
Enter the user name and password of the NightWatchman Management Center Console service account.
Click Next to go to the next screen.
The user name must be entereed using the Domain\Account format.
For more detail about this account, please refer to Preparation: NightWatchman Management Center Console service account.
If the installation account has appropropraite permissions, the installer automatically grants the service account the permissions it needs. However, if you intend to use the NightWatchman Management Center console to implement remote wake-ups, you must manually set additional WMI permissions to the service account for the WakeUp namespaces, as described in Preparation - Accounts needed to install the WakeUp server.
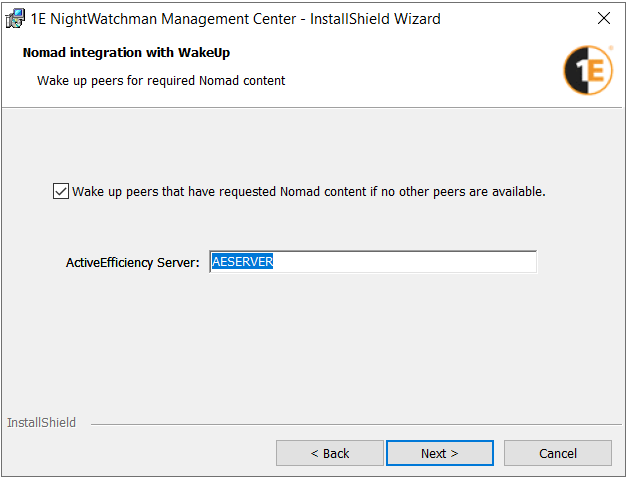
Nomad integration with WakeUp
Enable this option by checking Wake up peers that have requested Nomad content if no other peers are available.
Enter the name of the ActiveEfficiency Server
If you are using Nomad with ActiveEfficiency, enter the NetBIOS name of the ActiveEfficiency Server, for example AESERVER, or enter localhost if it is on the same server as the NightWatchman Management Center
If you are using Nomad with Tachyon Platform version 8.0 or later, enter the NetBIOS name of the Tachyon server that hosts Content Distribution - you will also need to
Click Next.
MSMQ
If the installer detects that the Windows feature MSMQ is not enabled, then you will have to abort the installation, resolve the issue and restart the installation.
If you are using ActiveEfficiency, then MSMQ must also be enabled on the ActiveEfficiency Server.
If you are using Tachyon Platform, then MSMQ is not required on the Tachyon server, and MSQM is only required on the NightWatchman server to enable installation to proceed.
Note
If the installer is unable to contact an ActiveEfficiency or Tachyon server, the installation will not proceed until the issue is resolved, and you click Next again.
Note
In previous versions of Nightwatchman, ActiveEfficiency was also used for the 1E Cloud synchronization feature, which is now obsolete. ActiveEfficiency is now only used for the Nomad integration with WakeUp feature, previously known as the WakeUp integration with ActiveEfficiency feature.
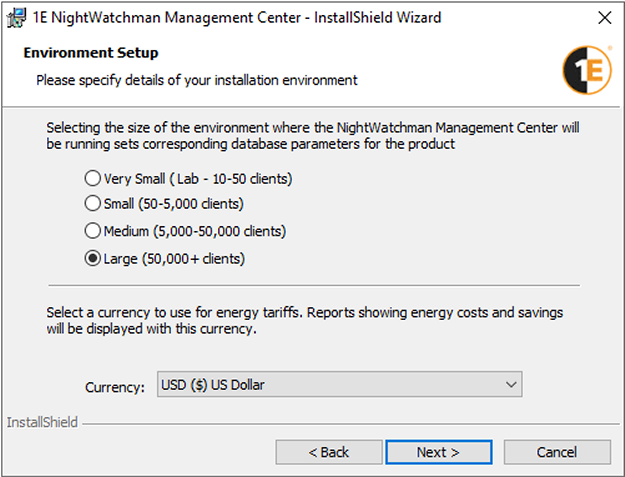
Environment setup
Select
the size of your organization - see below table
the currency that you want to use for energy tariffs.
Click Next to go to the next screen.
The NightWatchman database makes use of this information to provide the correct balance between responsiveness and database load.
Criteria | Very Small (lab) | Small | Medium | Large |
|---|---|---|---|---|
Number of clients | 10-50 | 50-5,000 | 5,000-50,000 | >50,000 |
How often client records are loaded into reporting tables | 5 minutes | 30 minutes | 1 hour | 1 hour |
How often summary data is updated | 10 minutes | 1 hour | 4 hours | 2am nightly |
How often clients will retry retrieval of Power Policy on failure | 5 minutes | 30 minutes | 30 minutes | 30 minutes |
How often clients poll for Power Policy | 15 minutes | 90 minutes | 500 minutes | 1500 minutes |
The maximum amount of time before a client sends up data | 900 seconds | 3600 seconds | 7200 seconds | 14400 seconds |
A client will send data as soon as it has this many messages to send | 5 | 5 | 15 | 25 |
How often new unassigned computers are assigned a power policy | 5 minutes | 5 minutes | 30 minutes | 60 minutes |
The currency is selected from a drop-down list of available currencies. For fresh installations, the currency set on the machine where the installation is taking place will be selected from the list by default. For upgrades, the default selected currency will be the one set in the earlier version of NightWatchman Management Center.
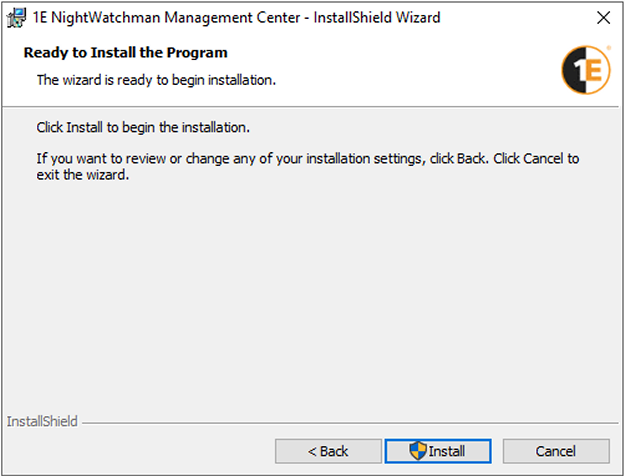
Ready to install
Click Next to begin installation.
Install
Click Finish when installation is complete.
Installing NightWatchman Management Center in unattended mode
You can install NightWatchman Management Center to a large number of machines by choosing to install it in unattended mode using the /qn switch in the installer command-line.
For example, to carry out a default installation where all the components are installed locally, run (the command-line is broken down into separate lines for clarity. Run it as a single command-line):
msiexec /i NightWatchmanManagementCenter.msi
ACTIVE_DIRECTORY_SERVER=ACME
AESERVERNAME=localhost
ADMINACCOUNT=ACME\NWM_Admins
SVCUSER=ACME\svc_NWMMC
SVCPASSWORD=Pa55w0rd
SQLSERVER=ACMESQL
CURRENCYCODE=GBP /qn
To install only the NightWatchman console where the NightWatchman Management Center console service is installed, run (the command-line is broken down into separate lines for clarity. Run it as a single command-line):
msiexec /i NightWatchmanManagementCenter.msi
ADDLOCAL=Console
SERVICELOCATION=ACME023 /qn
There are a number of installer properties which are detailed in Installing NightWatchman Management Center.
Note
Prerequisite checks are still carried out when you run in unattended mode. If they are not met, components will not install.
Uninstalling or repairing the NightWatchman Management Center
The NightWatchman Management Center can be removed using the Add or Remove Programs in Control Panel. To uninstall, select the NightWatchman Management Center item in the Currently Installed Programs list and click the Remove button. You can also access support information for the product in the Add or Remove Programs dialog.
When you carry our a repair or re-installation, certain information stored for the WakeUp server is not available to the installer. You may need to configure additional WMI permissions to the service account for the WakeUp namespaces, as described in Preparation - Accounts needed to install the WakeUp server.
To implement a repair the NightWatchman Management Center, run: Msiexec /fvom NightWatchmanManagementCenter.msi or if you are planning an upgrade, please refer to Upgrading NightWatchman Enterprise.
Detailed requirements
A definitive checklist of prerequisites and dependencies you need to meet in order to install NightWatchman Management Centre.
Component | Product | Notes |
|---|---|---|
OS |
| NightWatchman Management Center will install on systems running these server OSes.
|
Database servers |
| SQL server must be configured to use a case-insensitive, accent-sensitive collation as the server default (the preferred collation is
|
Runtime libraries |
| |
Installation and service accounts | To install NightWatchman Management Center, you need the following accounts and groups. Installation account
Console service account
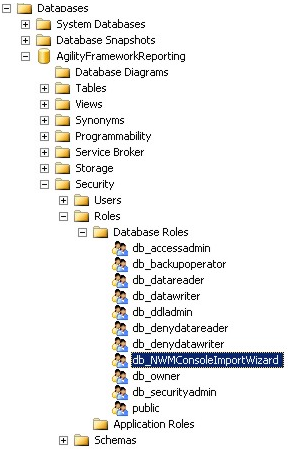
User accounts or AD GroupsUser account or AD Security Groups are required for use as administrators in the NightWatchman Management Center Console. NoteIf you are using the import Wizard to populate hierarchies, check that:
Any user or group that needs to use the Import Wizard must:
 If you are installing NightWatchman Management Center across multiple servers, install the database component first – it can be done remotely from a server where one or more of the other components are installed. If you are performing a clean NightWatchman Management Center installation or are upgrading NightWatchman Management Center and all the WakeUp Server components, permissions for the service account are set automatically as part of the installation process. The NightWatchman Console administrator account (used to define primary NightWatchman Console administrators) can be a domain user or group account. If you are upgrading NightWatchman Management Center, have legacy WakeUp Servers or intend to use the NightWatchman console to implement remote wake-ups (which is done after installing the WakeUp Server):
To set permissions:
For a default installation, the programs and files associated with NightWatchman Management Center are created in | |