Step through setting viewing and access options for the group hiererchies
Tip
In this tutorial, we are going to:
Create an Allow to view Location and Organization security role.
Grant view permissions to group hierarchies.
Assign this role to the US IT Managers group
Grant view permissions to the US IT Managers group at the folder level.
To assign an Allow to view Location and Organization security role to the US IT Managers group:
In the Security section, select the Roles tab.
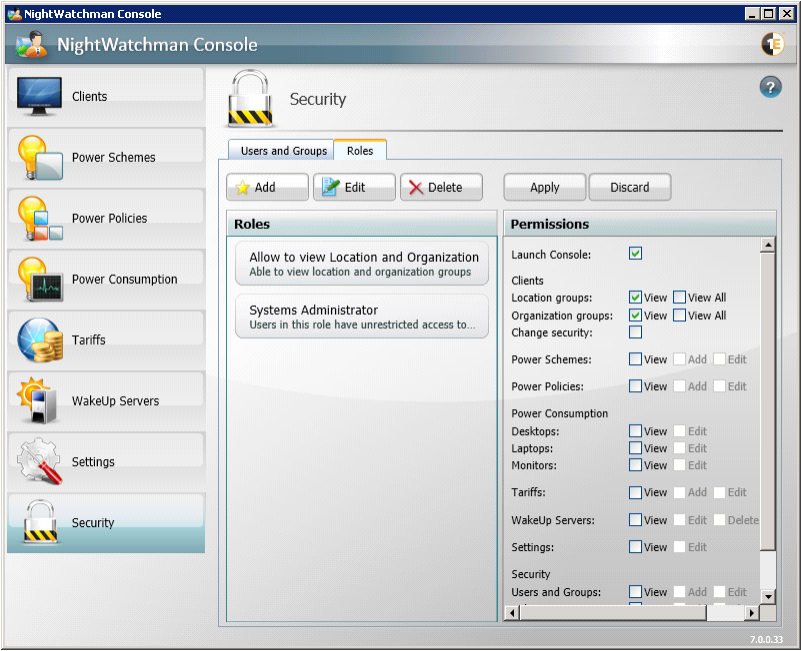
Click the Add button.
In the Add Security Role dialog, enter Allow to view Location and Organization and add description for the role.
Click OK to save the role.
Select the Allow to view Location and Organization role.
In the Permissions panel, enable the Launch Console permission, the View Location groups and View Organization groups for Clients.
Click the Apply button to save the permissions for this role.
Click the Users and Groups tab.
Select the US IT Managers group.
Select the Allow to view Location and Organization role to assign to this group.

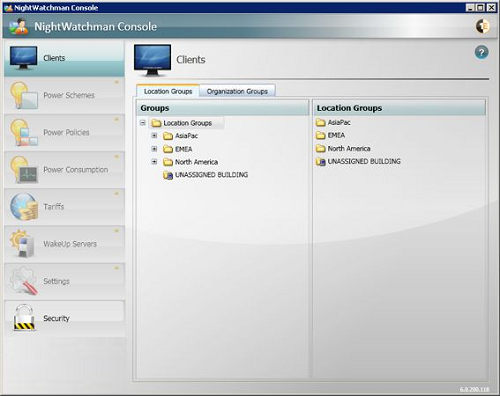
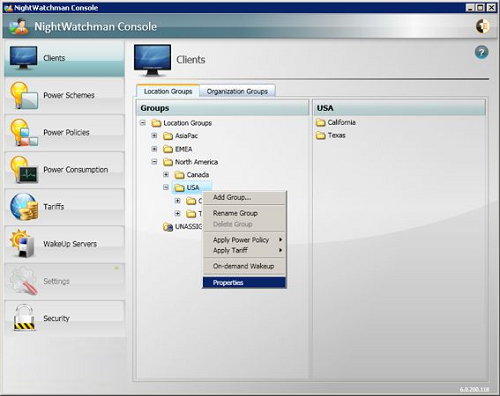
Select the Clients section.
Select the USA group and right-click your mouse.
On the context menu, select Properties.
In the Group Properties dialog, select the Security tab.
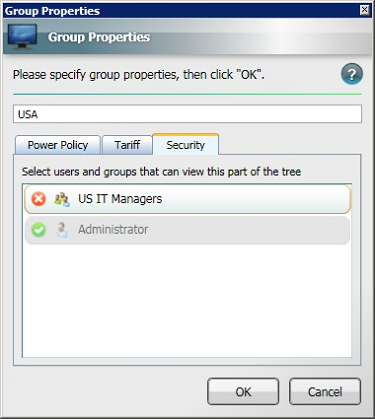
Click the US IT Managers to grant viewing permissions for the tree. With the permission granted, theUS IT Managersgroup can now see the tree.