Step through populating hierarchies with the Import Wizard
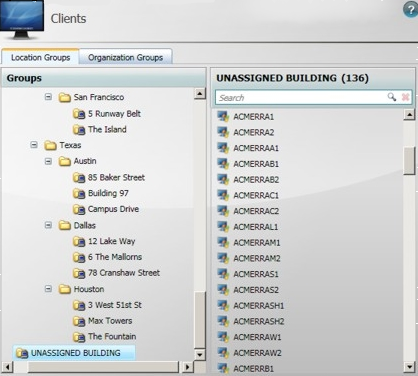
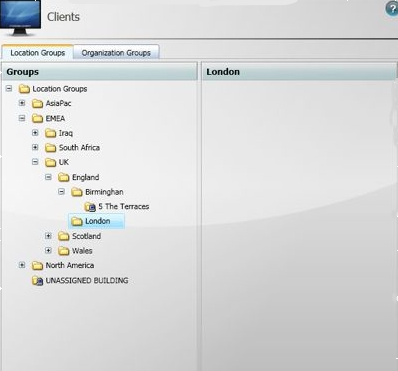
The UNASSIGNED BUILDING group has a number of computers that need to be assigned to various buildings in the London node. The London node is empty – there are no buildings for this location.
Tip
In this tutorial, we are going to:
Run an unattended import using the map machines to groups script to associate computers with buildings in the London group.
Discover conflicts after the silent install.
Run the import again in interactive mode to resolve these conflicts.
You are not able to resolve conflicts that arise because the Conflict Resolution dialog is not used in an unattended import. You need to run the import again but in interactive mode to determine what to do with the conflicts.
Before you start the Import Wizard
Before you start the Import Wizard, you need to populate the input file for the script you are going to use. We also recommend you do the following:
Stop the NightWatchman ConsoleService.
Create a backup of the Agility Framework Reporting database.
Restart the NightWatchman central service.
To run the Import Wizard successfully, you must be a database administrator or have been added to the Import Wizard database on the Agility Framework database server.
To enable the Import Wizard to do the work for us, we need to tell it how certain named computers map onto specific buildings. NightWatchman import script have an associated input file located in the same directory.
C:\Program Files\1E\NightWatchman Management Center\ConsoleService\ImportScript
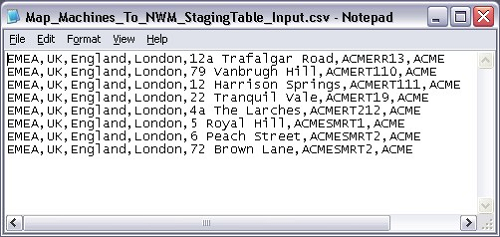
For Map Machines, the import script is called Map_Machines_To_NWM_StagingTable.vbs. For the Import wizard to process this file successfully, we edit the associated input file where the format of each line is
Level1,Level2,Level3,Level4,Level5,NetBiosName,DomainName
Levels 1-5 are the levels of the group hierarchy that the computer (identified by its NetBiosName and DomainName) is placed.
For example, to import a computer called ACMERR13 on the ACME domain into the London node we update the file with:
EMEA,UK,England,London,12a Trafalgar Road,ACMERR13,ACME
where the hierarchy is EMEA, UK, England, London, 12a Trafalgar Road. As the 12a Trafalgar Road group does not yet exist in the hierarchy, it will be created during the import.
We define a new line for each computer we import to the hierarchy.
Starting a unattended import
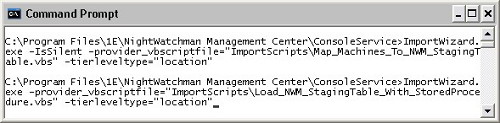
To run the Import Wizard in unattended mode, open a command prompt and change directory to where the Import Wizard is located:
C:\Program Files\1E\NightWatchman Management Center\ConsoleService
Run:
ImportWizard.exe
-IsSilent
-provider_vbscriptfile="ImportScript\Map_Machines_To_NWM_StagingTable.vbs"
-tierleveltype='"location"
 If you want to know more about import parameters, see Import Wizard command line parameters.
Note
The Import Wizard can be run in unattended mode, during which it will not display any user interface. This is particularly suited to running the Import Wizard as a scheduled task. However, note that any conflicts encountered during a silent import will not be resolved, and these machines will not be moved to the appropriate location/organization tier. Please check ImportWizard.exe.log for more information. To address the conflicts, we run the Import Wizard interactively (without the -isSilent switch).
Running an interactive import to resolve conflicts
To run the Import Wizard in interactive mode, change to the directory where it is located.
C:\Program Files\1E\NightWatchman Management Center\ConsoleService
Run:
ImportWizard.exe -provider_vbscriptfile="ImportScript\Map_Machines_To_NWM_StagingTable.vbs" -tierleveltype='"location"
If you want to know more about import parameters, see Import Wizard command line parameters.
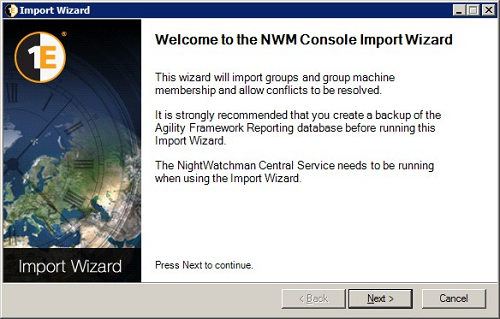
On the Welcome screen, click Next.
In the Data Import Script dialog, the Select the script: field is already populated with the location of your input file (derived from the command-line).
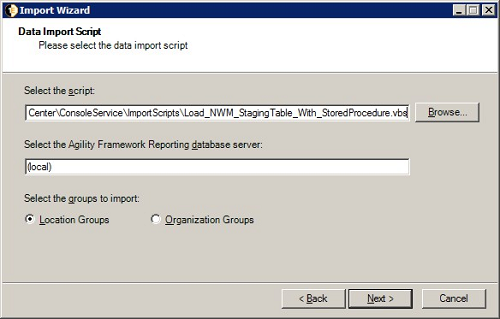
Click Next to continue.
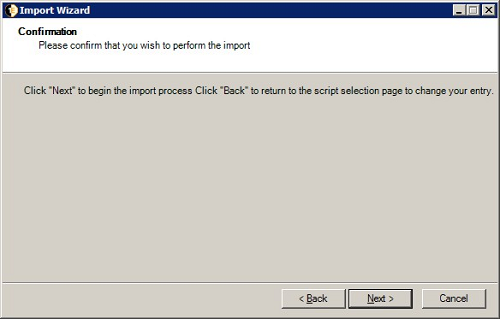
In the Confirmation dialog, click Next to start the import, Back to return to the Data Import Script dialog or Cancel to abort the import.
On the Import Progress screen, the progress of your import is displayed.
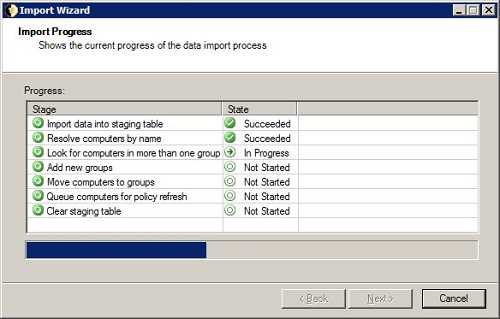
The statuses are:
 – Succeeded
 – Failed
 – In progress
 – Not started
 – To do
You may be prompted to resolve conflicts. In this particular instance, ACMESMRT2 has been referenced twice.
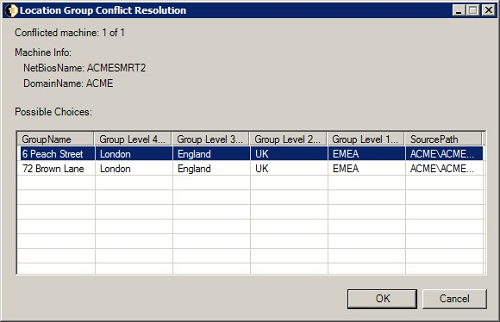
To resolve the conflict:
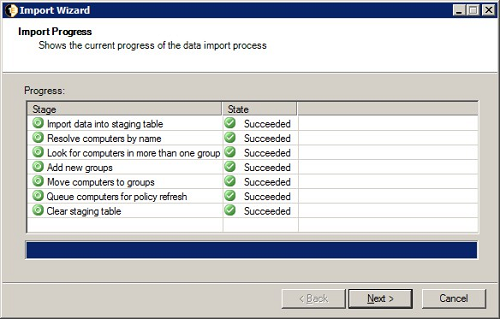
Choose the correct location for ACMESMRT2 and click OK. The import resume with until all records have been successfully imported.
Click Next to go to the final page of the Import Wizard.
To exit the Import Wizard, click the Finish button.
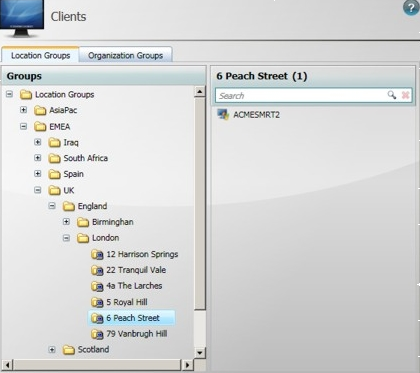
NightWatchman Console displays the resolved conflict.
After the import, ACMESMRT2 is placed under 6 Peach Street