Installing
How to download and install the 1E ITSM Connect app and perform post-installation configuration steps.
App Installation
The 1E ITSM Connect app is available on the ServiceNow app store and can be installed onto your ServiceNow instance using the following steps:
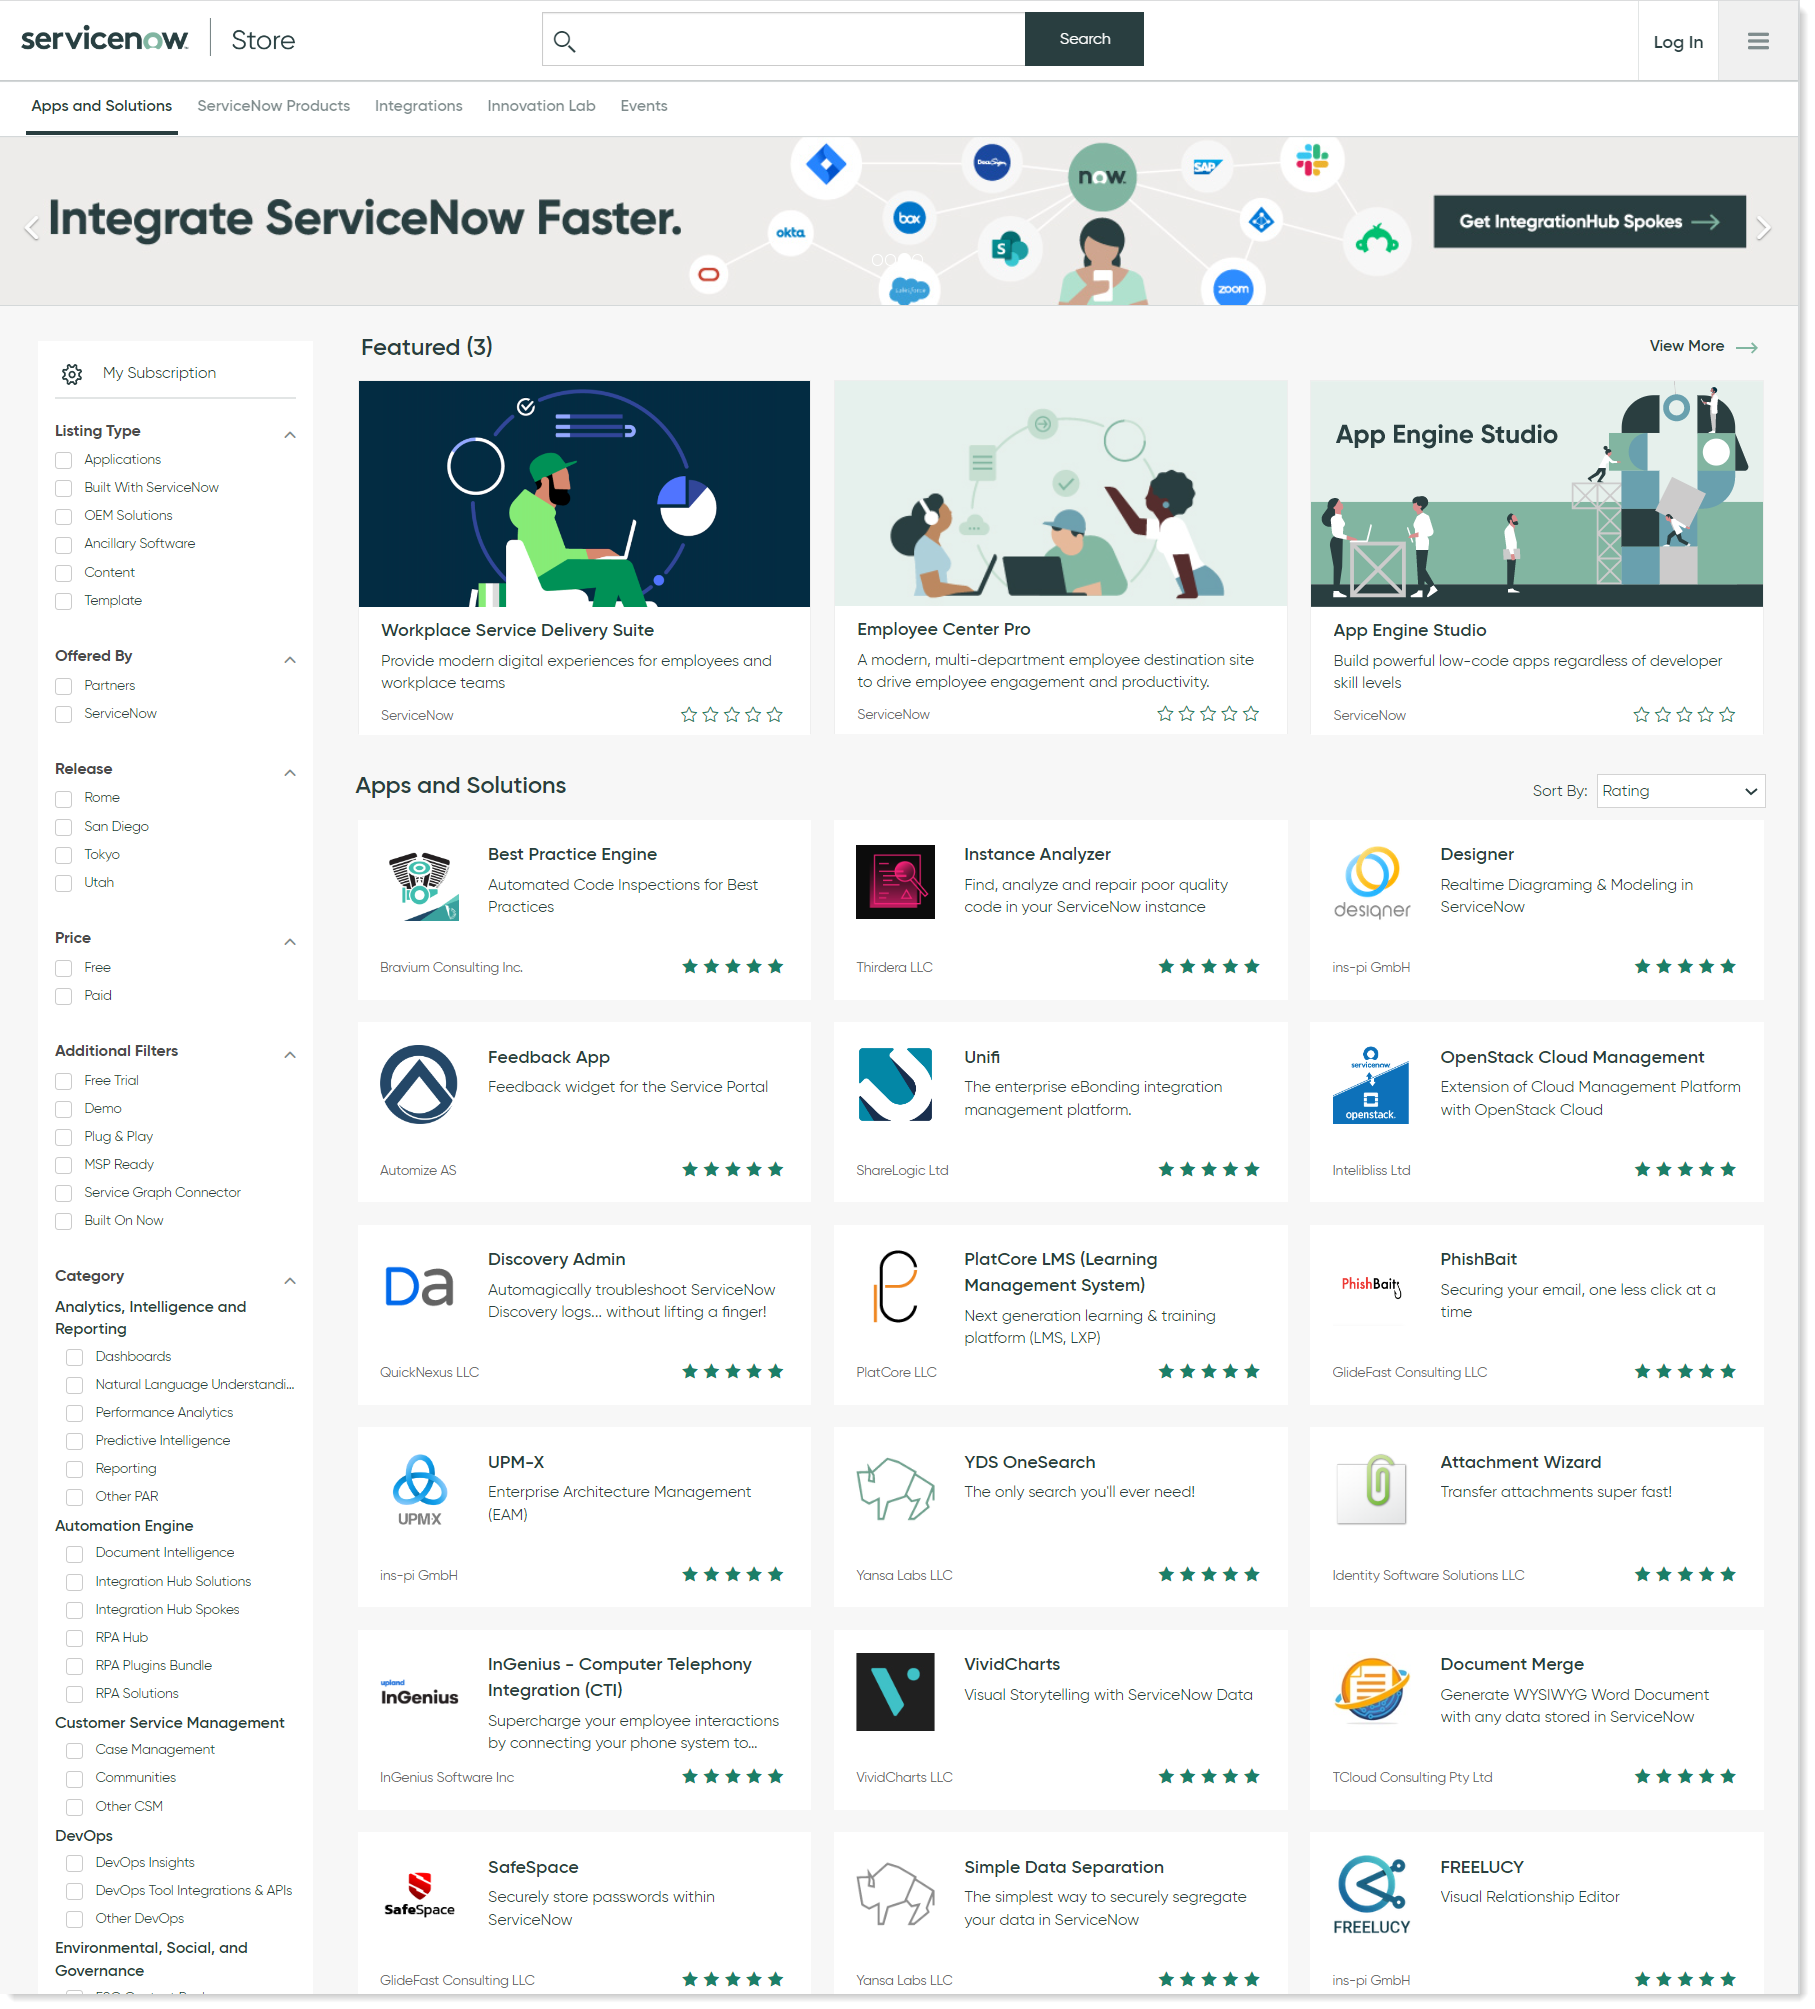
Browse to the ServiceNow App Store using the following URL: https://store.servicenow.com/sn_appstore_store.do#!/store/home, as shown in the picture.
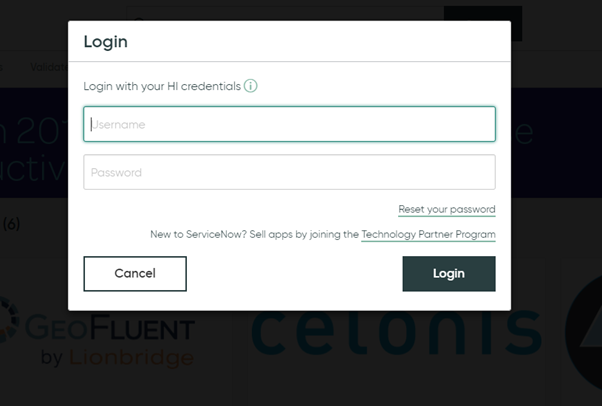
Click the Log In button at the top-right of the ServiceNow Store to log in.
In the Login popup you will be prompted to enter your HI credentials. The username and the password should be the ones provided when you created your HI ServiceNow support account.
You can also reset your account password from here.
After you've logged in find the 1E ITSM Connect app from the list of available apps.
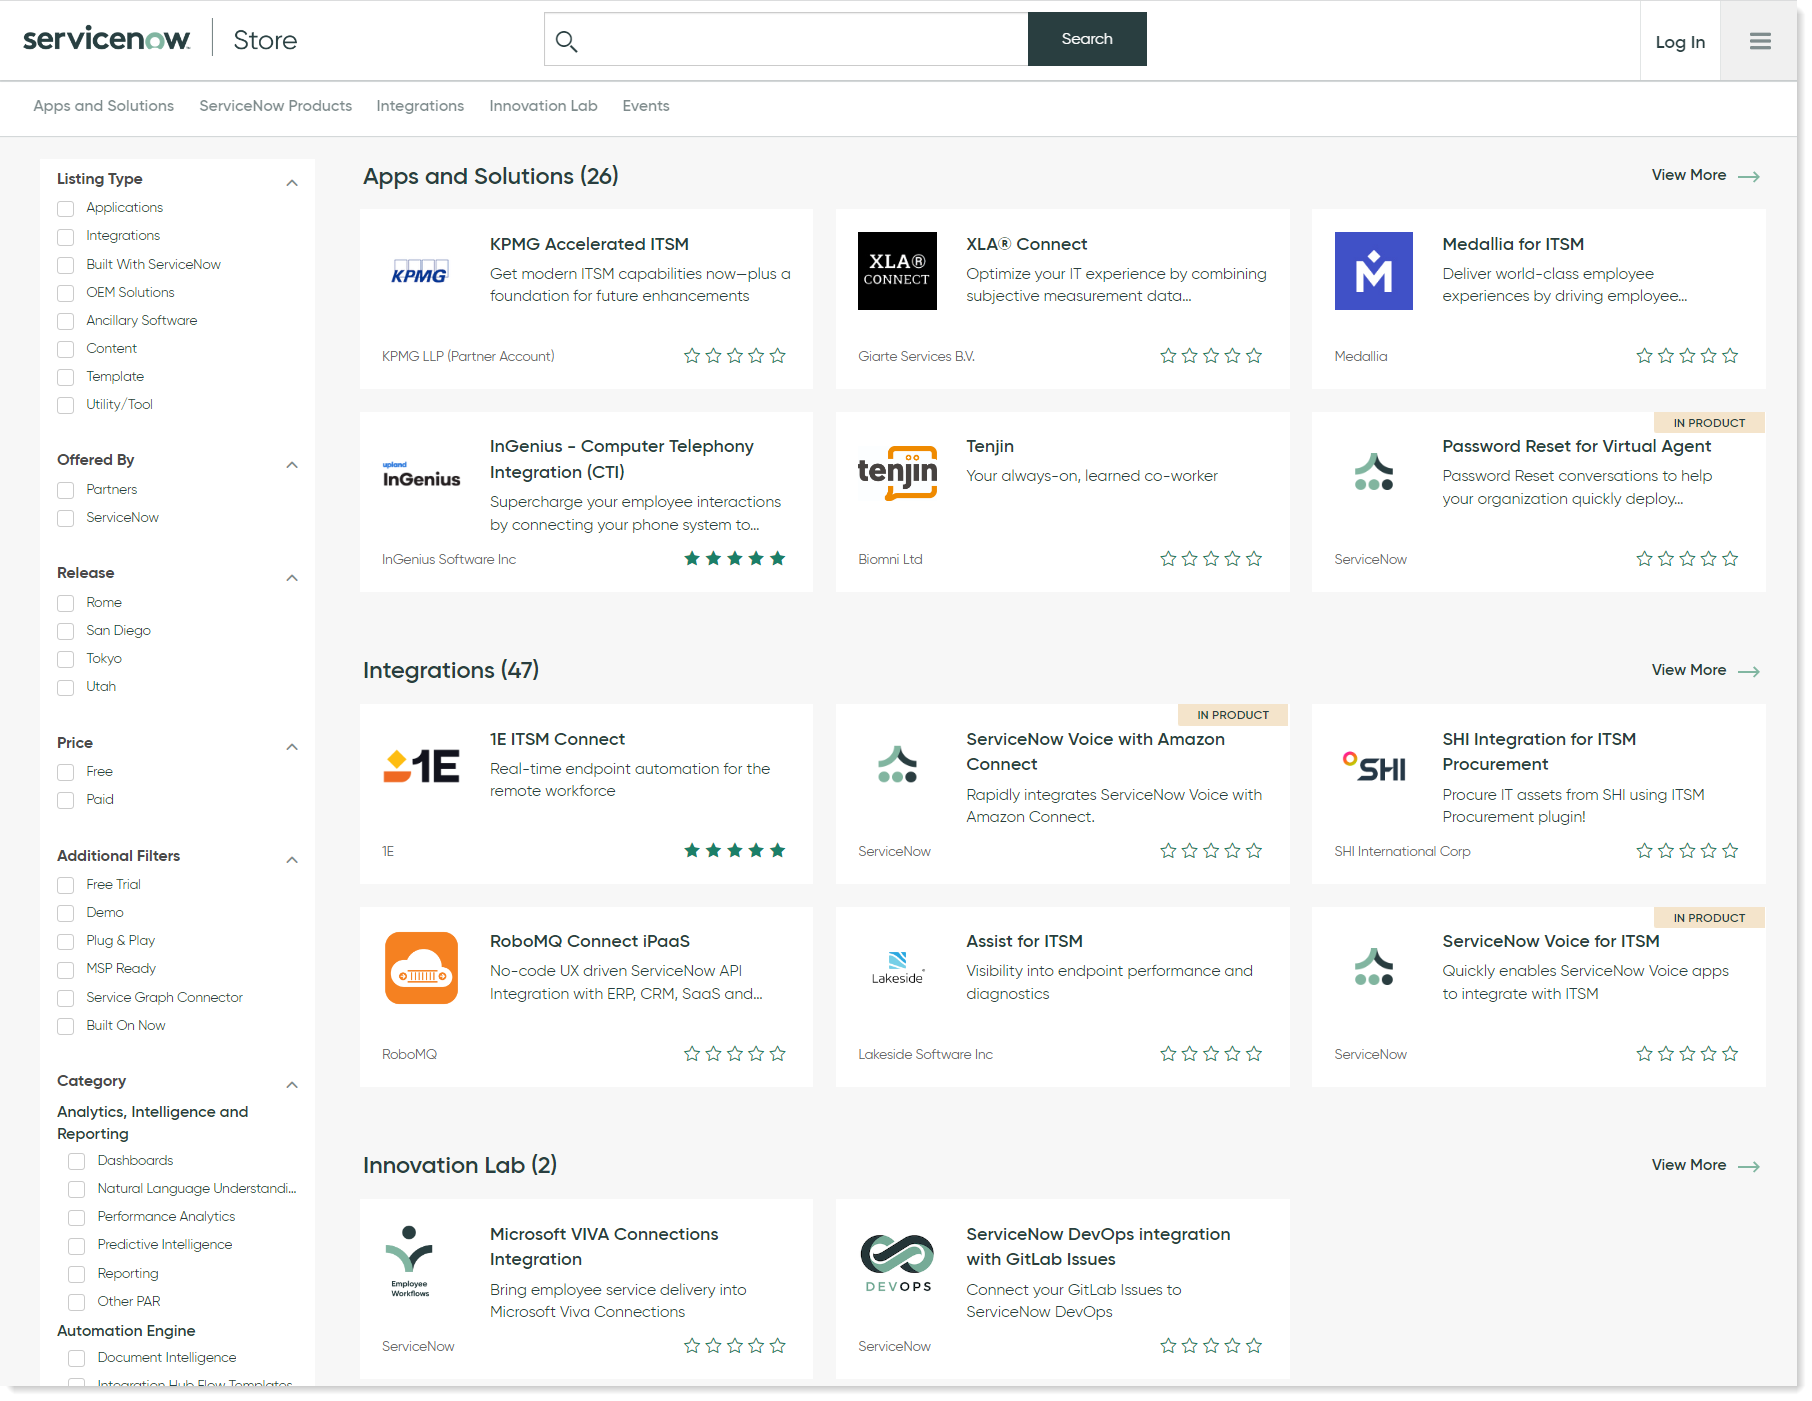
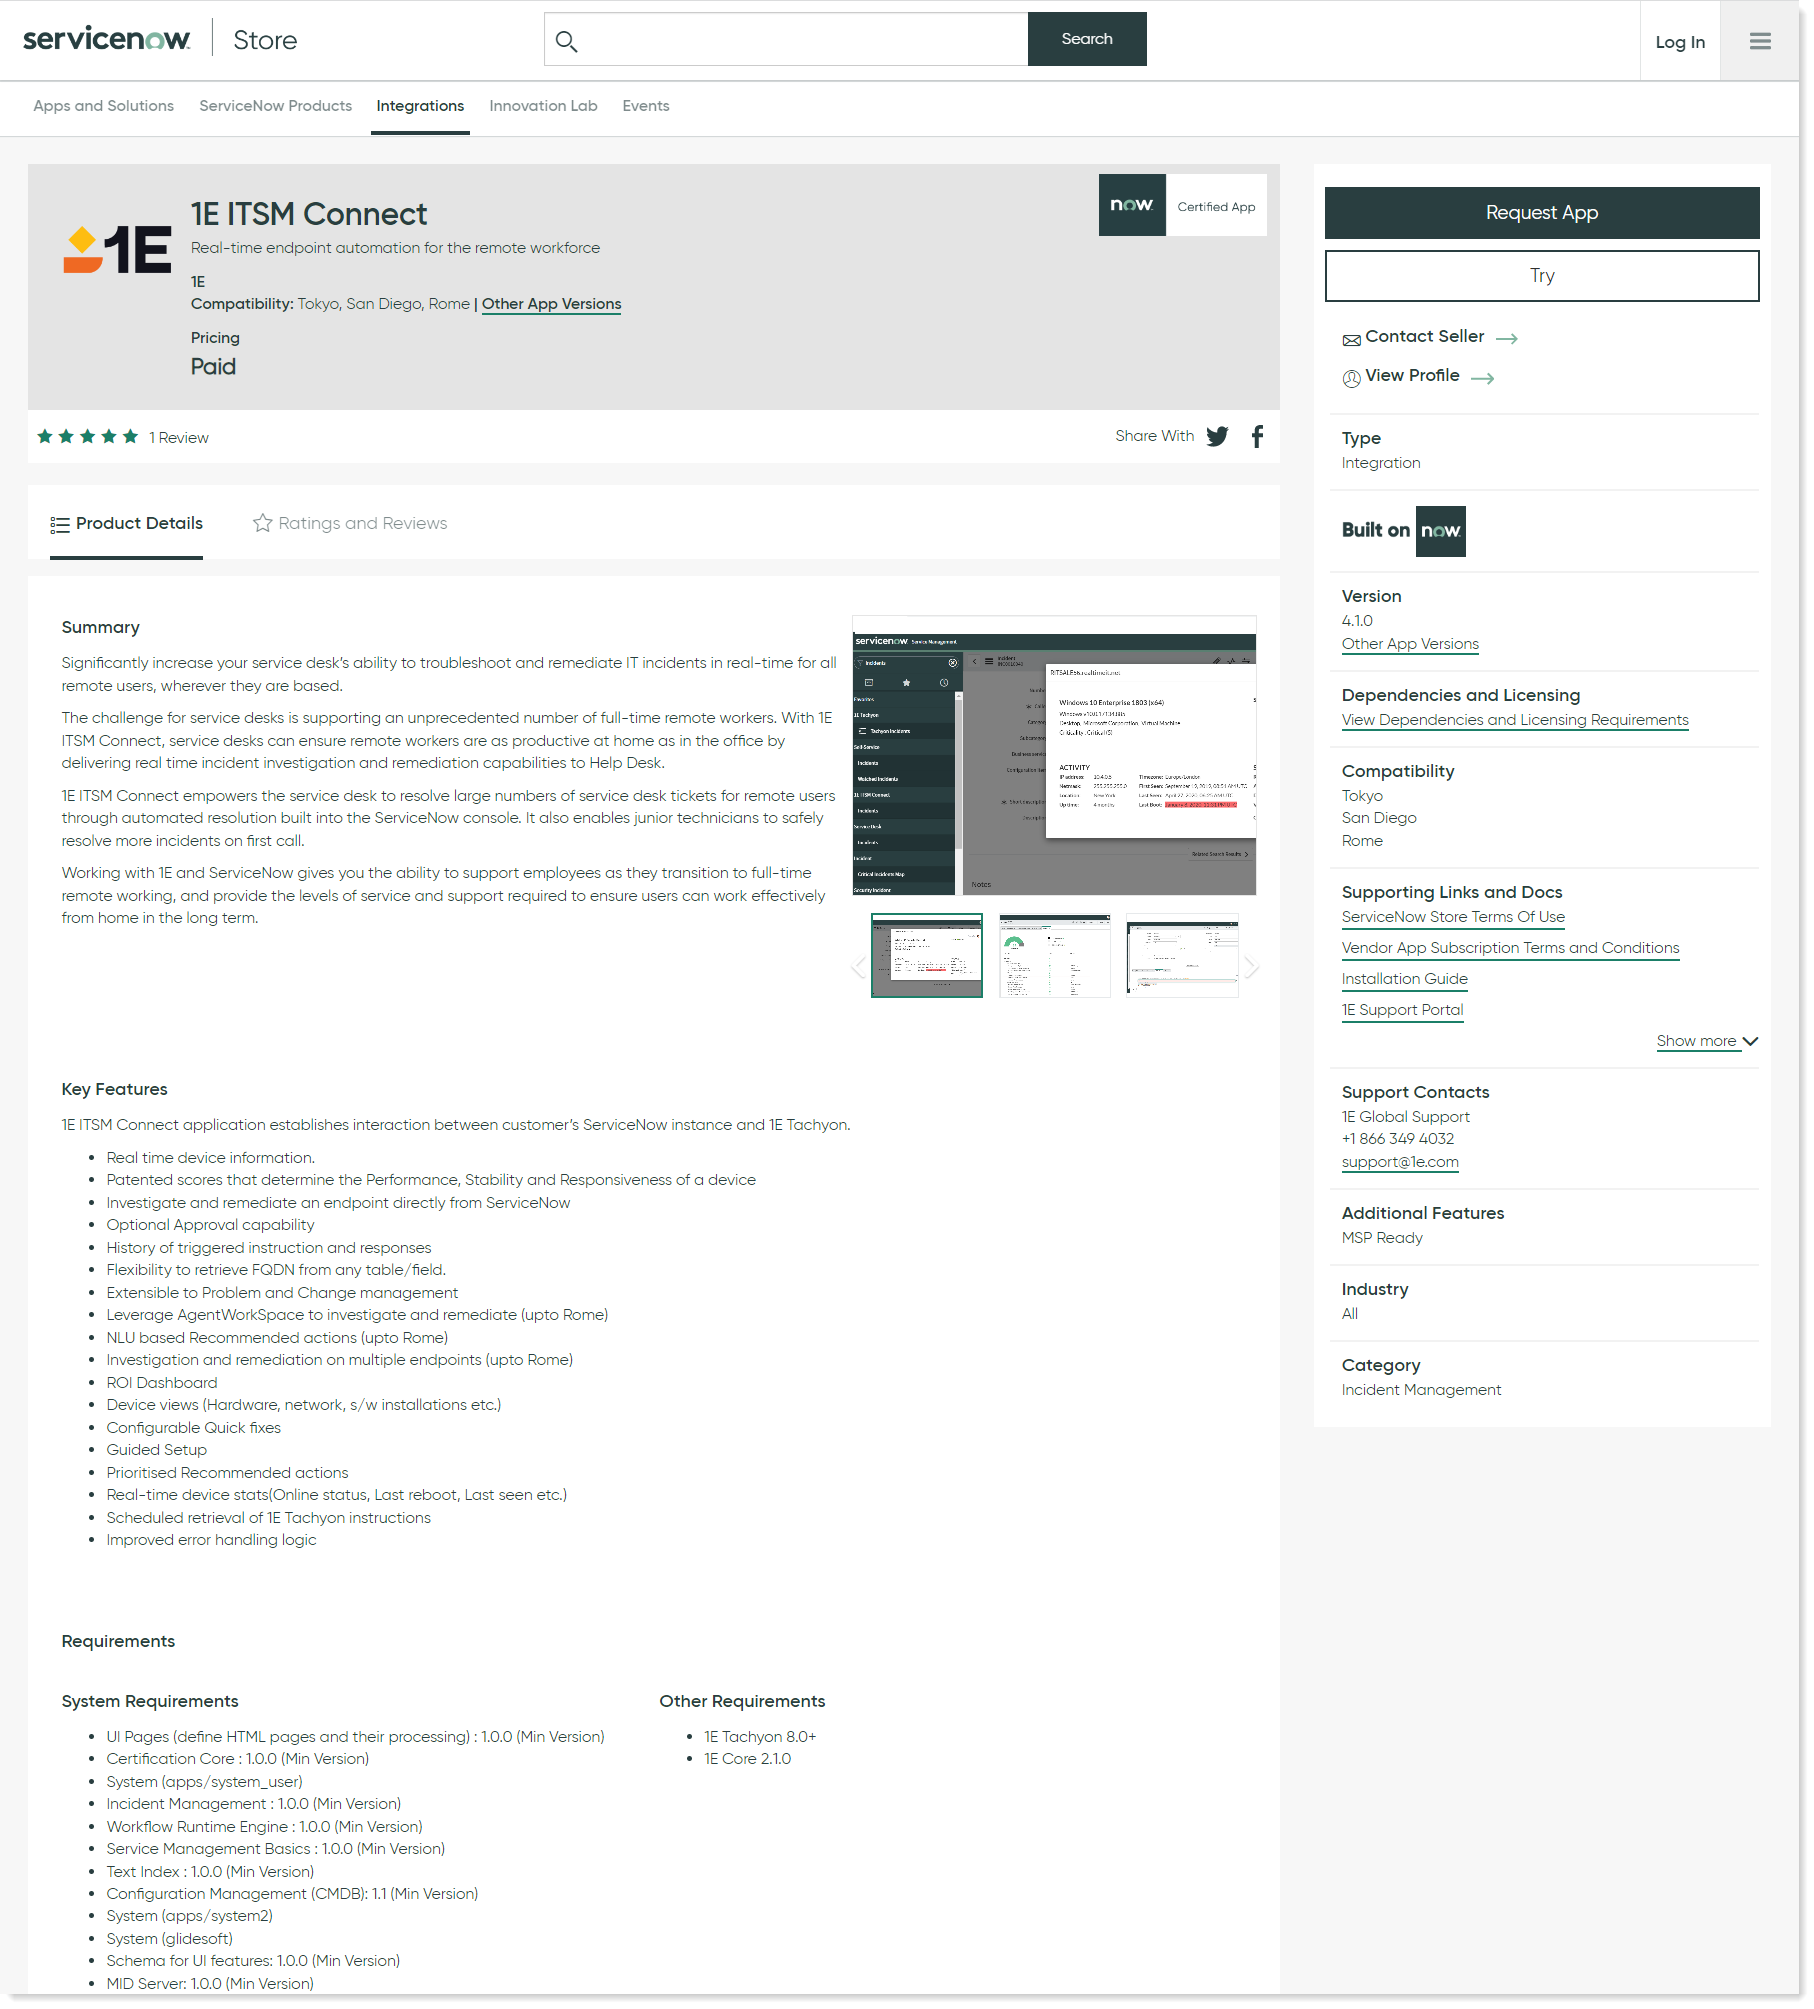
Click on the application and enter the payment details when prompted.
Once your payment has been processed successfully, the 1E ITSM Connect app will install automatically on your ServiceNow instance. The ServiceNow Instance details are already available in ServiceNow because they are part of your TPP credentials.
ServiceNow Limitations
If you request a trial version of 1E ITSM Connect it will not be available to your ServiceNow production instance, but will be available on other instances.
If you buy 1E ITSM Connect, it will be made available on the all your ServiceNow instances.
Setup
Setup is a step-by-step guided procedure to configure 1E ITSM Connect.
The guided Setup is available under the 1E ITSM Connect menu items in the application navigator. Only users with an Administrator role will see this option in the menu. This Setup contains the basic configuration steps you will need to complete to get the application working.
Getting Started
Click on Setup to open the Getting started page on the right-pane of the ServiceNow window, as shown in the picture below.

Click on the Get Started button to start the guided setup and configure the connector.
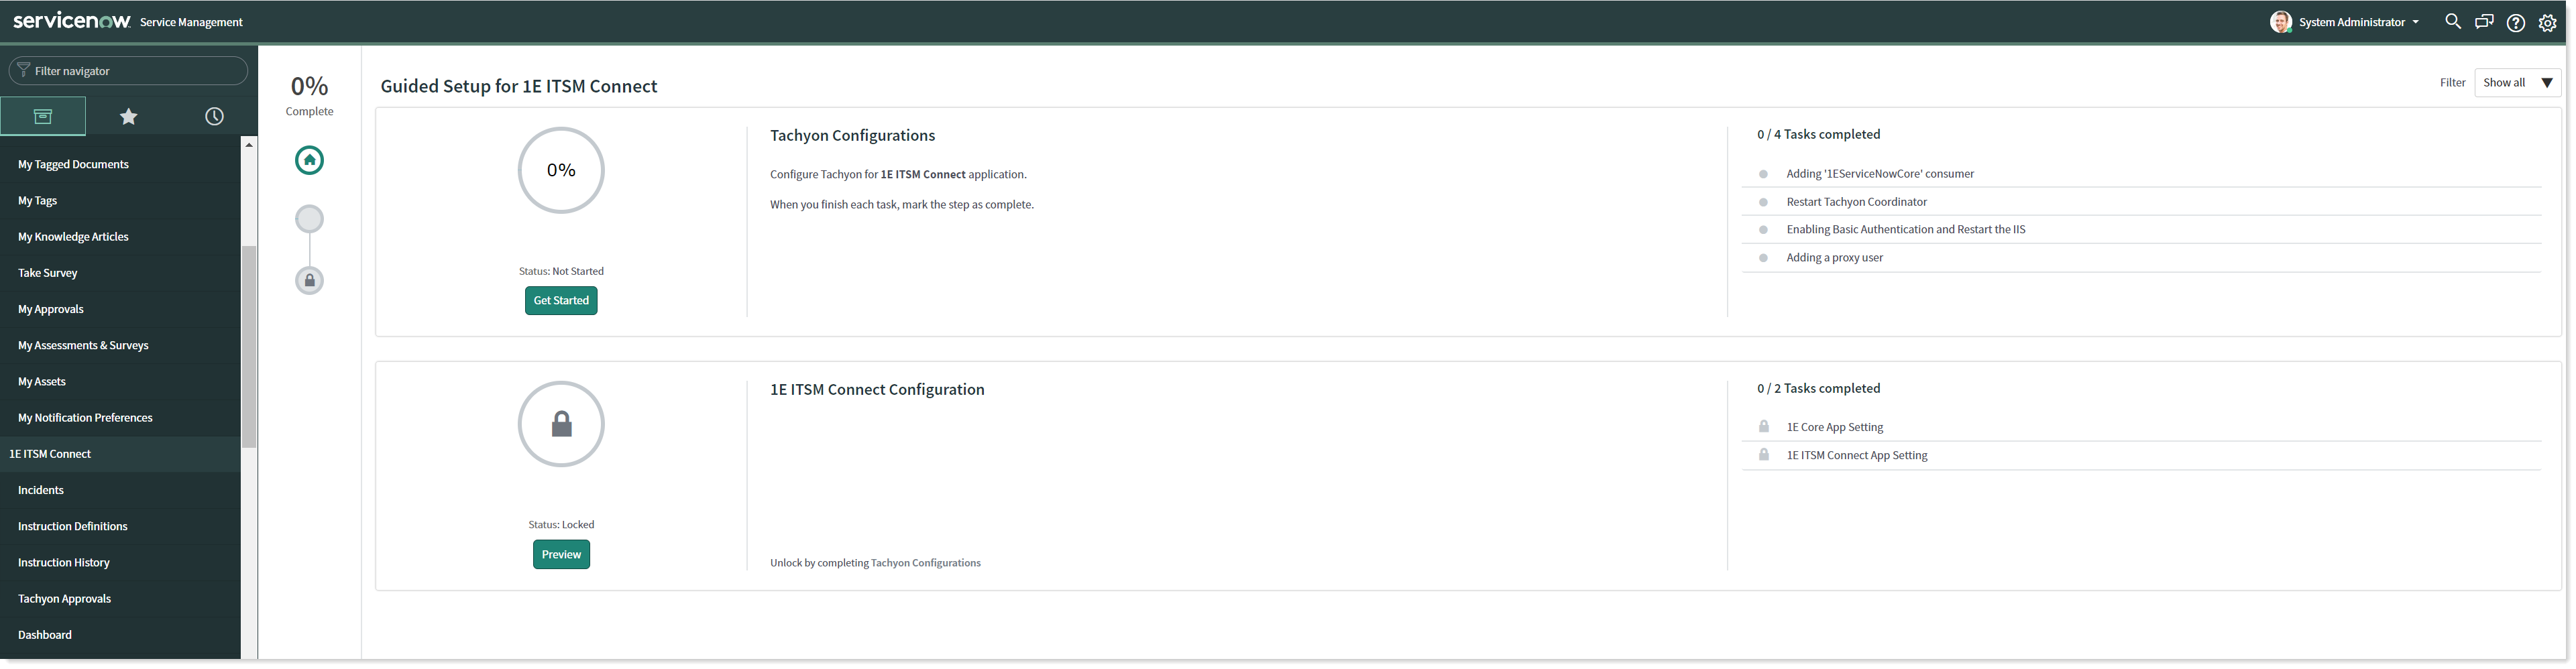
The configuration process has two steps, as shown in the picture above, these are:
Tachyon Configuration
1E ITSM Connect Configuration
Click on Get Started button to view each step's associated tasks.
Tachyon Configuration
The step Tachyon Configuration has four tasks to complete, as shown in the picture below.
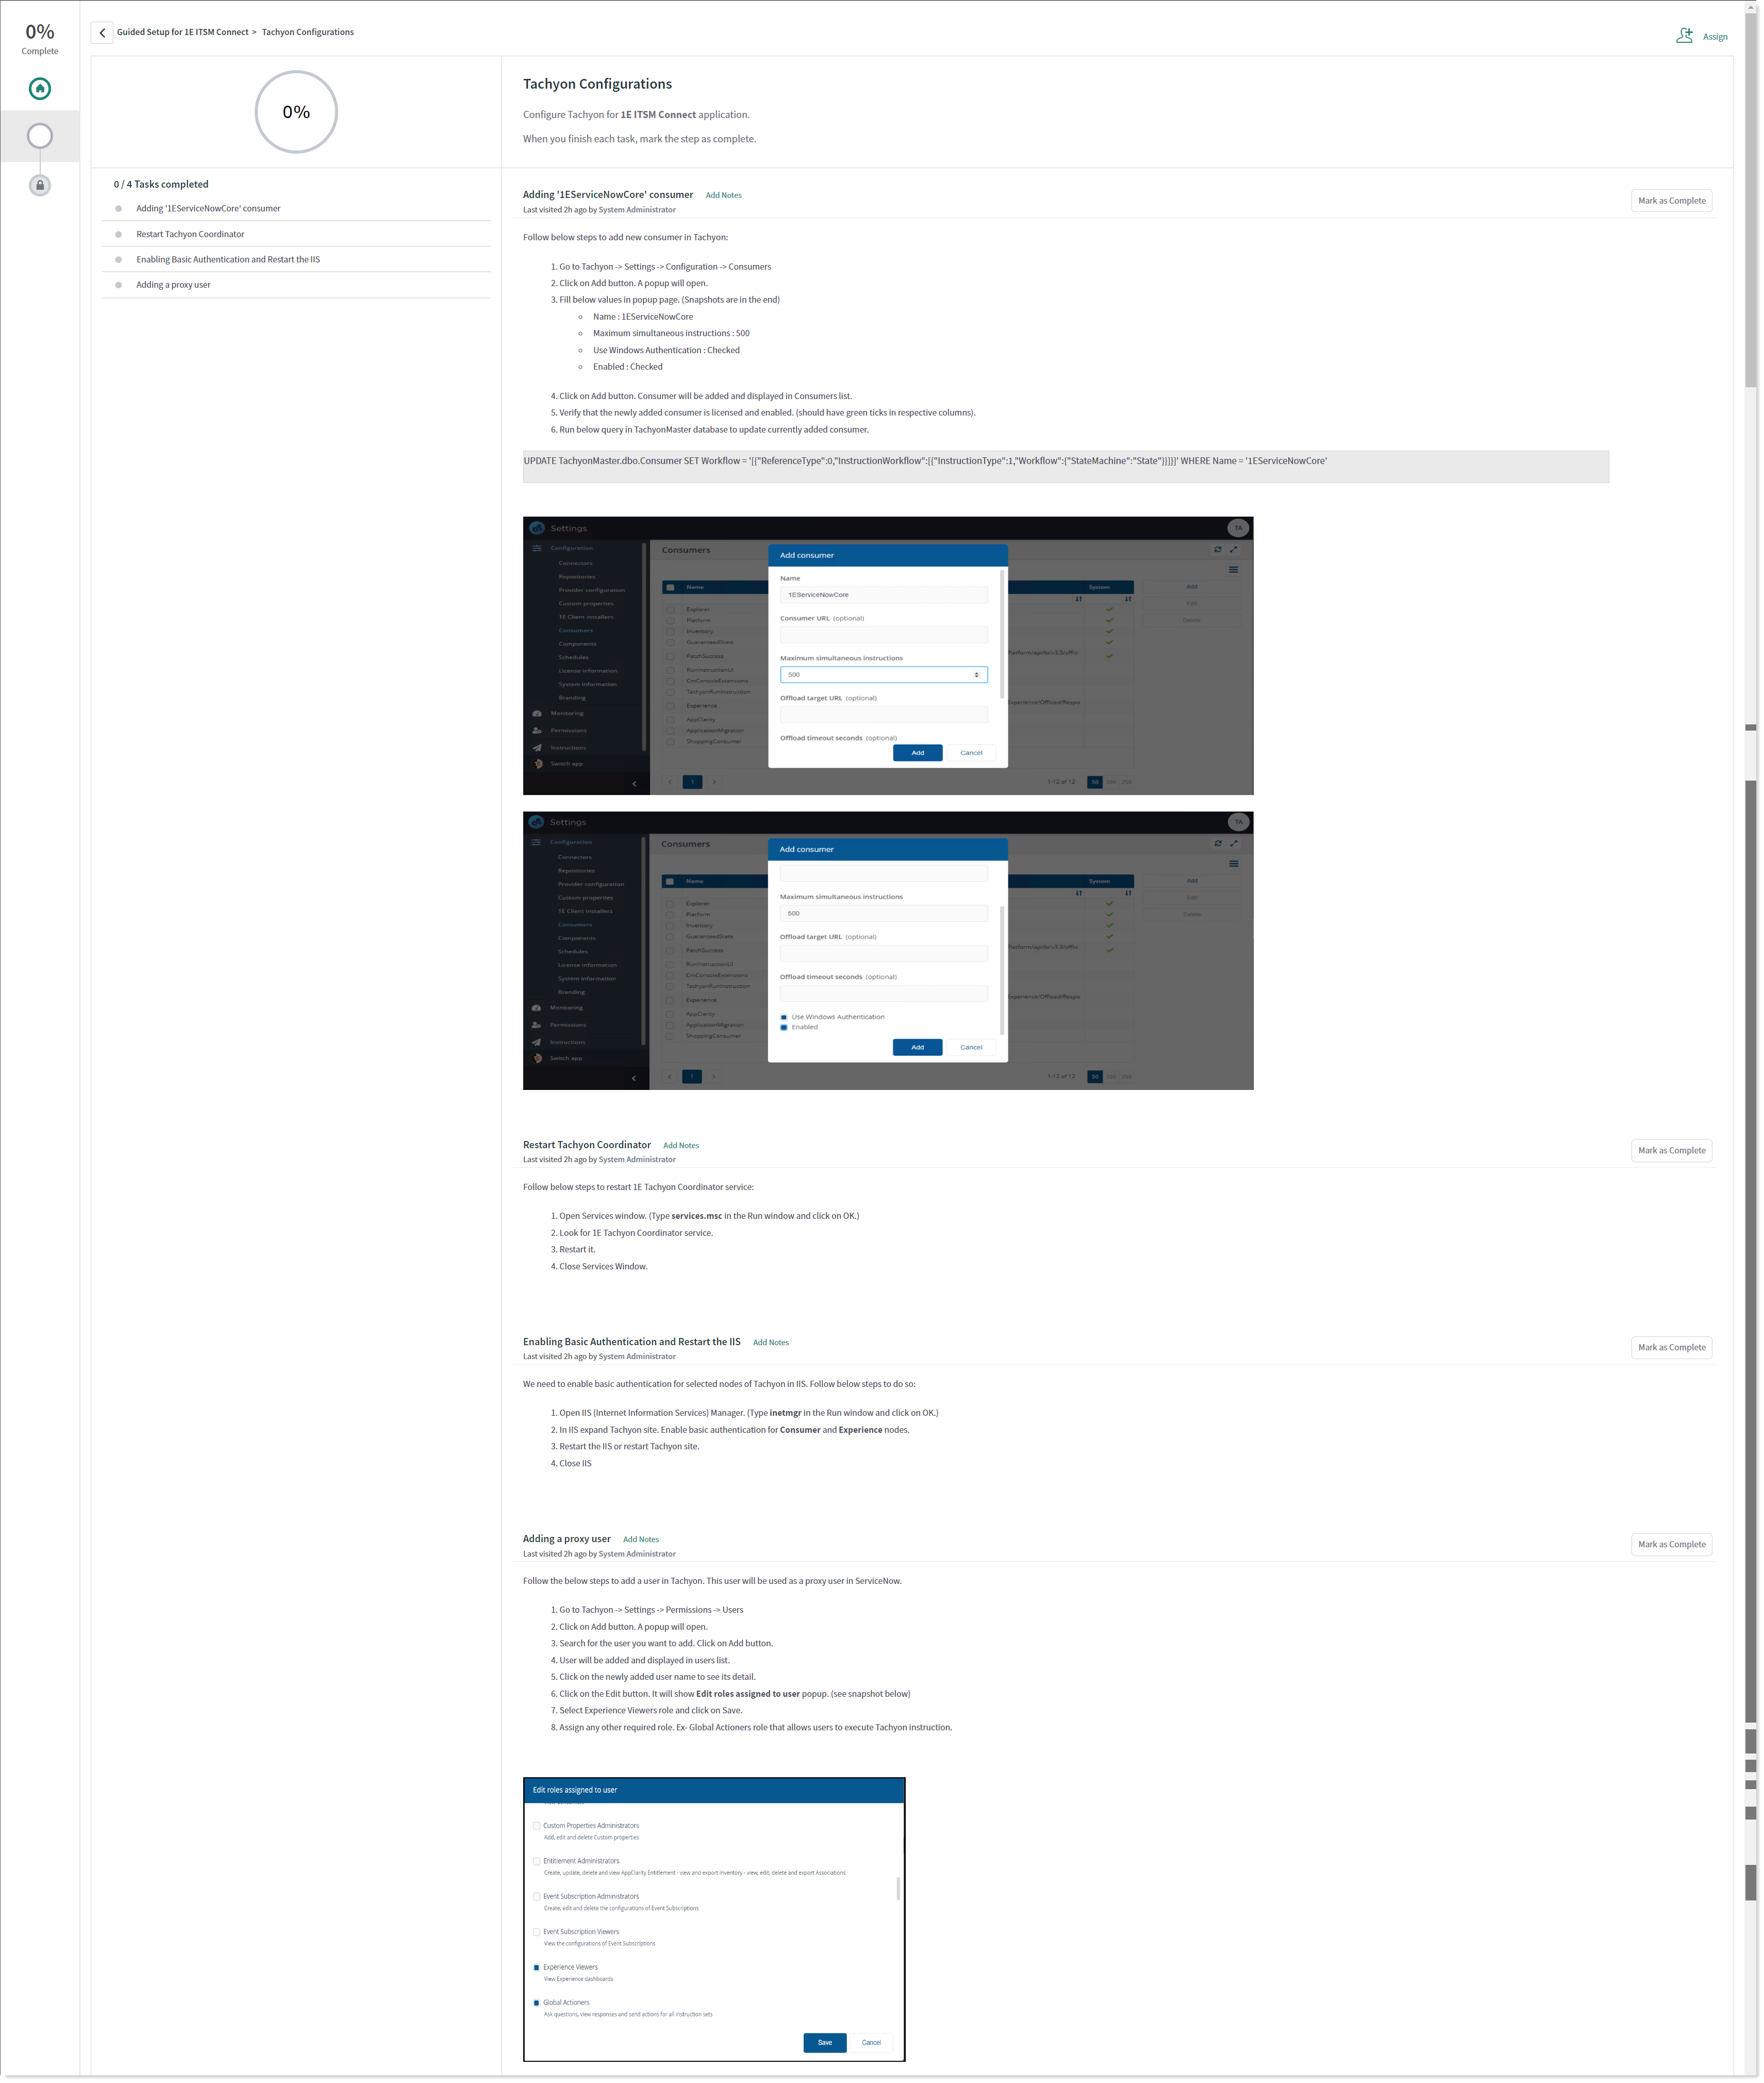
Adding 1EServiceNowCore Consumer
Restart Tachyon Coordinator
Enabling Basic Authentication and Restart the IIS
Adding a proxy user
Every task involves a series of configuration steps, as mentioned in the above picture. You need to complete each step before moving onto the next one. As you finish configuring each task, click on Mark as Complete button and move on to the next one.
Note
As you complete the configuration of each task, your progress shows as a percentage at the top of the page.
Once you have performed all the actions associated to Tachyon Configuration for your connector, your progress should now show 50% complete.
1E ITSM Connect Configuration
The step 1E ITSM Connect has two tasks to complete, as shown in the picture below.
1E Core App Settings
1E ITSM Connect App Settings
Click the Configure button to work on each task.
Every task involves a series of configuration steps, as mentioned in the above picture. You need to complete each step before moving onto the next one. As you finish configuring each task, click on Mark as Complete button and move on to the next one.
Note
As you complete the configuration of each task, your progress shows as a percentage at the top of the page.
1E Core App Settings
This step guides you in configuring 1E Core application settings for your connector, click the Configure button to continue. The admin user must complete the form as shown in the picture below.
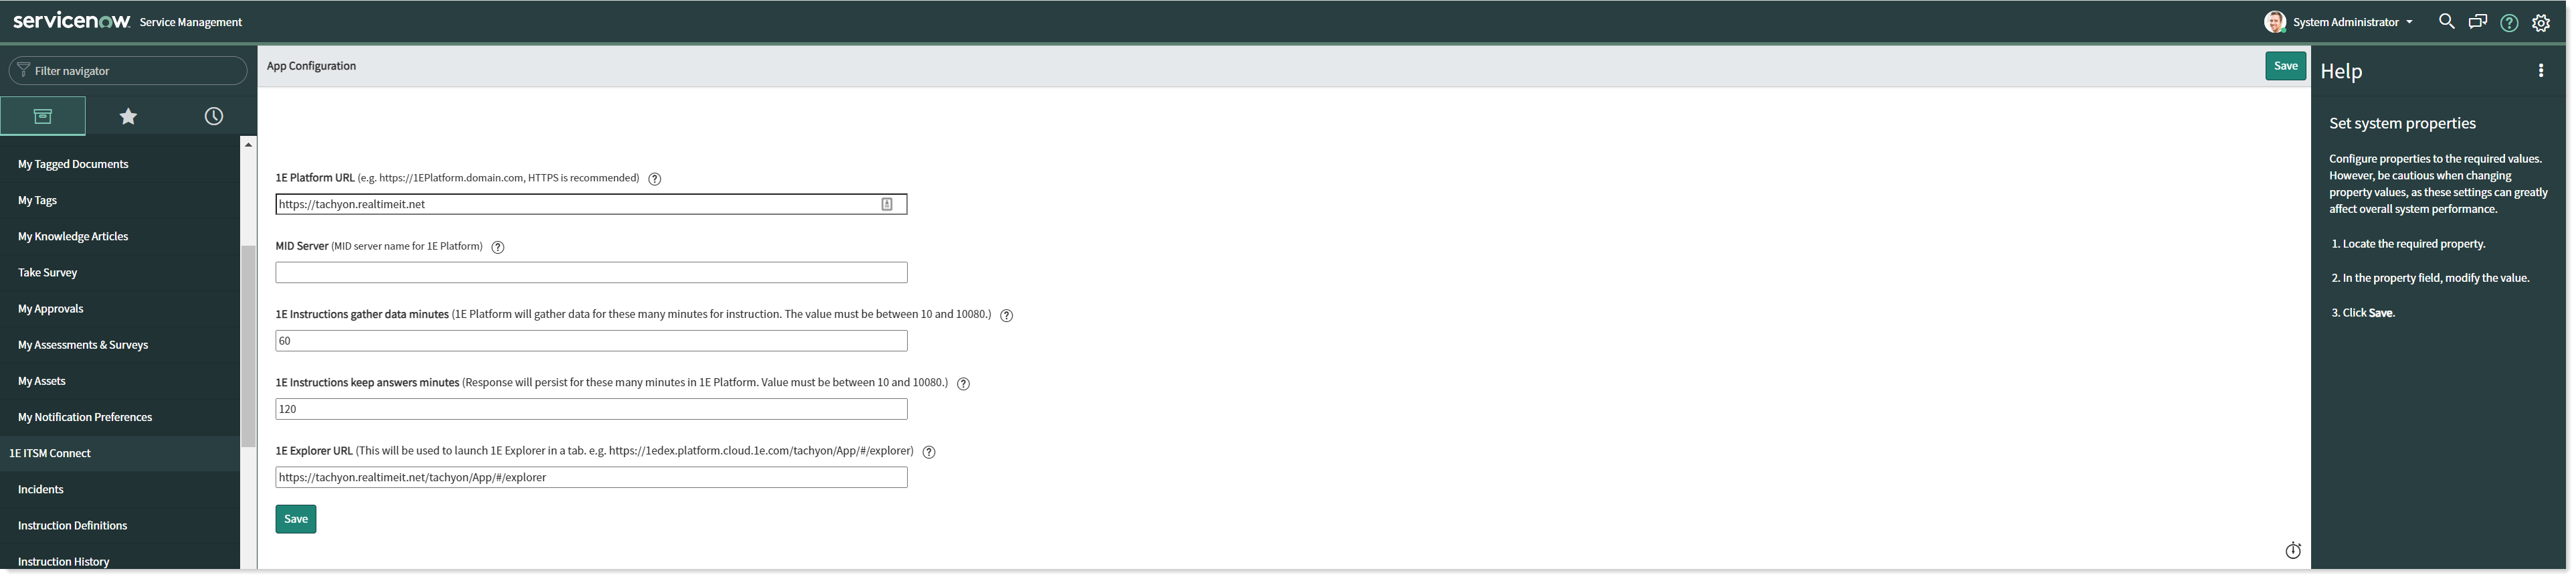
To save your changes, click Save.
Once you complete the above actions, click on Mark as Complete to complete this task of configuration and move on to the next part.
1E ITSM Connect App Settings
If you click on Configure button, it redirects you to App Settings page. The admin user must complete and save the App Settings form as shown in the picture below.
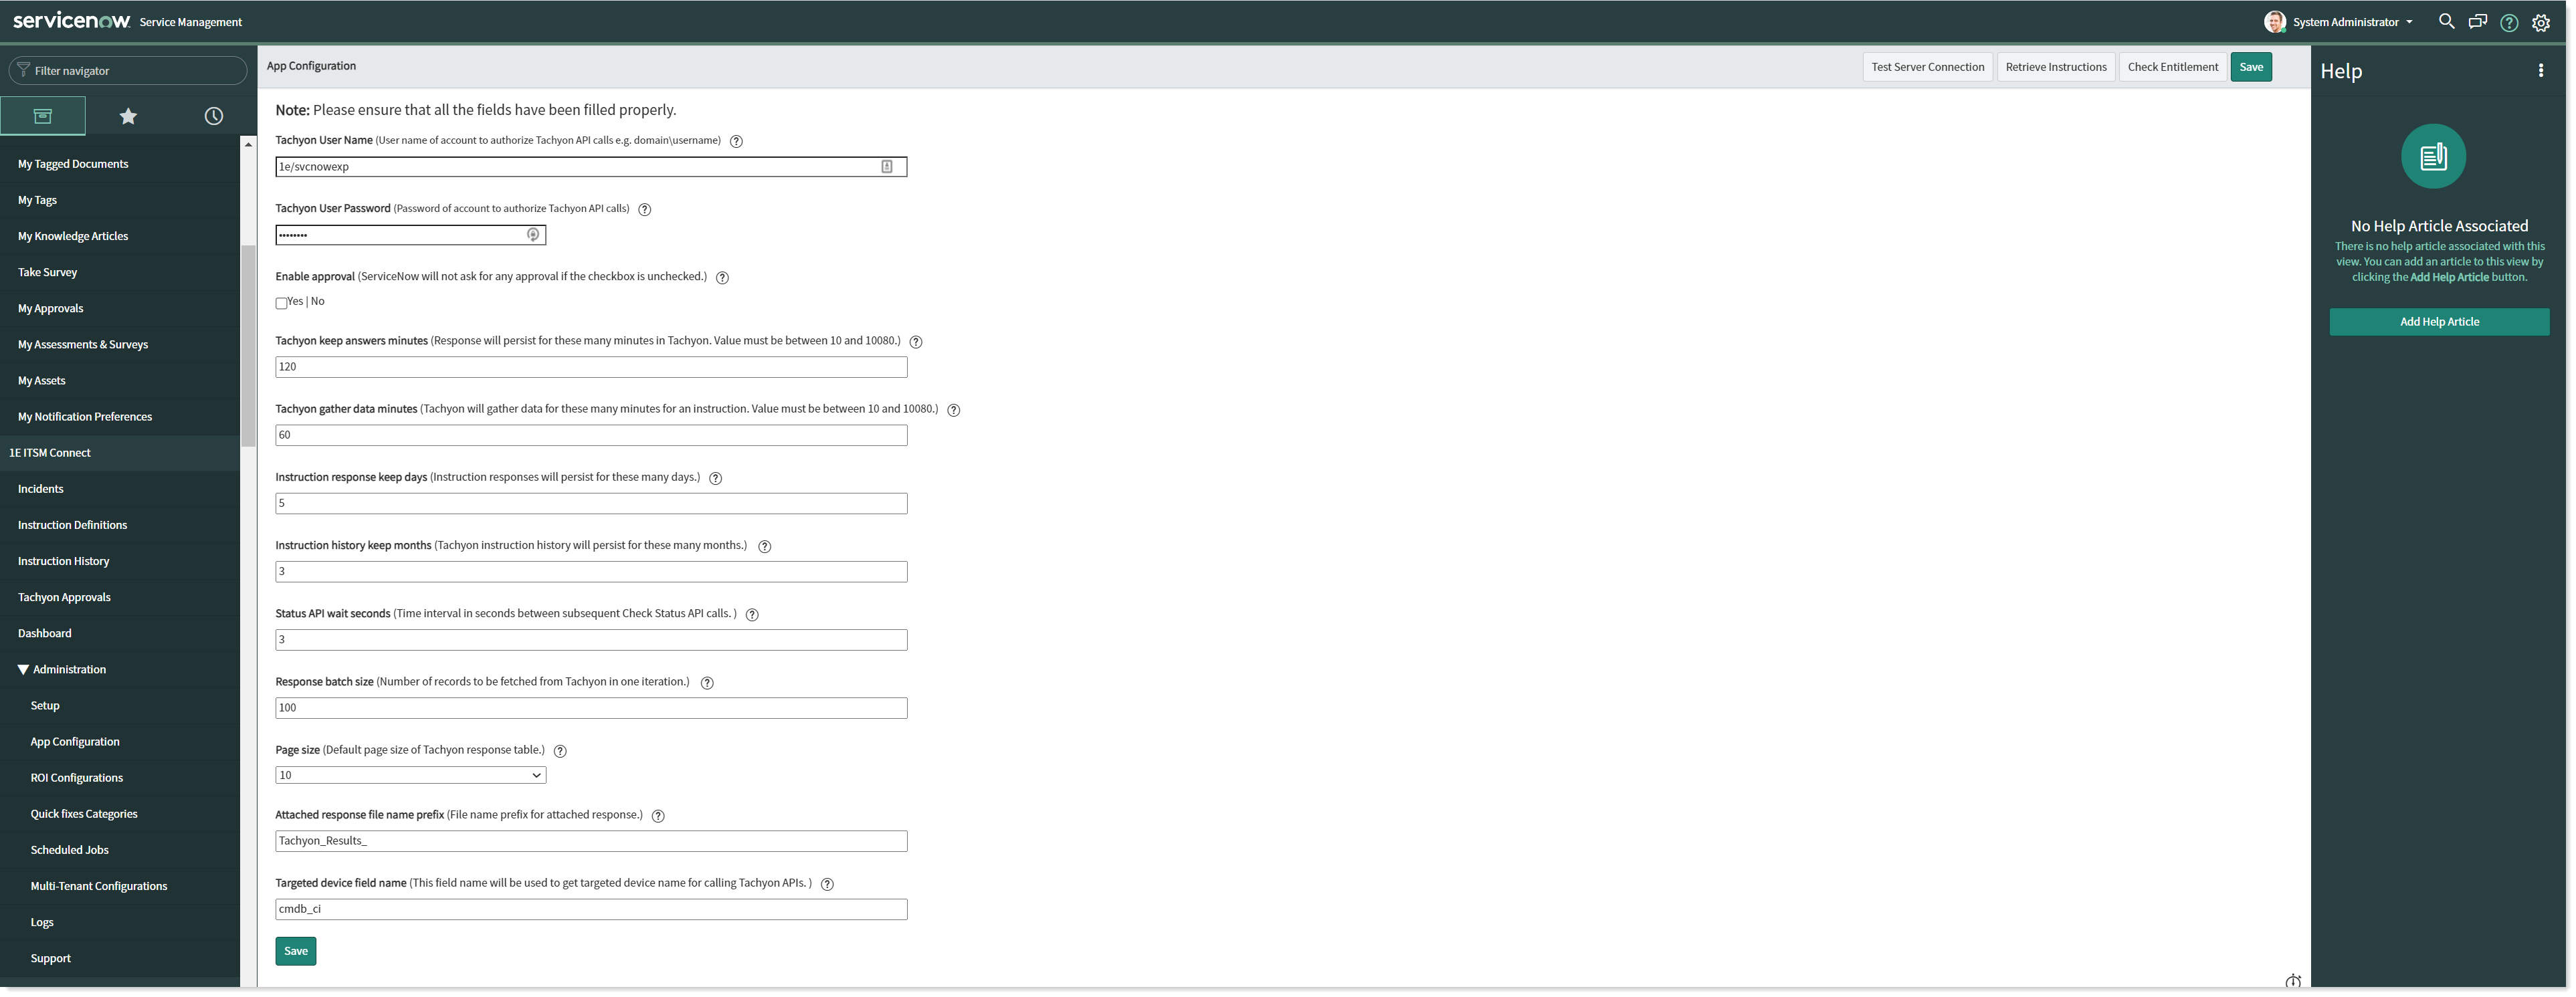
Completing this configuration allows the connector to communicate with Tachyon. To test whether the application is successfully synced with Tachyon server, click on Test Server Connections in the top right corner. Once the connection is established, click on Retrieve Instructions to import the instructions from Tachyon into ServiceNow. To confirm if Experience is licensed and enabled, click on Check Entitlement.
Once you complete the above actions, click on Mark as Complete to complete this task of configuration. With the completion of this last step, your configuration is now complete, and the progress should show 100% complete.