File Upload connector
Uploads inventory data from a folder containing tab (TSV) and comma (CSV) separated value file(s).
Before adding a new File Upload connector, you will need the following:
inventory files with the correct column structure
folder location with at least read access for the SLA Platform service account.
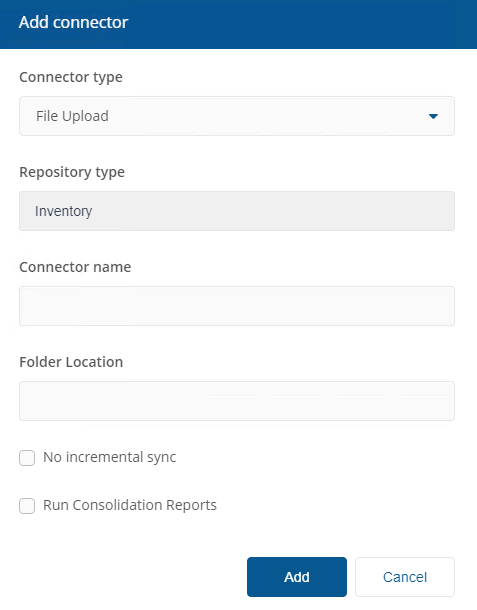
File Upload connector configuration
To add the connector:
In Connector name, enter a logical name for this connector
Tip
You should use a naming convention for connector names:
<connector type> <scope> <RCR>
Scope describes where data is coming from or what it's being used for. For example Demo, Test, Lab, Q2 Audit.
Include RCR in the name if you have enabled Run Consolidation Reports.
In Folder Location, enter the location for your inventory TSV/CSV file(s)
Check the Run Consolidation Reports checkbox if you want consolidation actions to be processed each time the Sync Data action is executed for the connector.
This can lead to unnecessary processing if you enable this on more than one connector. The recommended method of processing consolidation actions is to schedule the action Generate Report - Basic Inventory Consolidation to execute after the Sync Data actions have run for all connectors. This will execute the remaining consolidation actions. Alternatively check the Run Consolidation Reports checkbox on one of your connectors. You can view action processes in Settings→Process log.
Click Add
Note
The No incremental sync checkbox is reserved for future use.
After adding the connector, please refer to:
Connectors page: Test a connector - to test the connector configuration
Connectors page: Execute a connector sync action - to actually sync data into a repository
Tip
All files in the folder location will be uploaded, including sub-directories.
Test will confirm whether the service account has read access to the folder location.