Getting started with TIMS
Steps to create a simple instruction using Tachyon Instruction Management Studio (TIMS).
About TIMS
TIMS is a graphical user interface for authoring and testing Tachyon instructions, which can then be saved so they can be uploaded and used in your Tachyon system.
The instruction definition XML files that TIMS creates can be uploaded into Tachyon using the Tachyon Portal Setting application so that they can then be used within Tachyon, or combined with other instructions into a Product Pack zip.
TIMS makes it easy for you to:
Run instructions and verify the results they return from your client devices
Manage resources (such as files) which are associated with the instruction (question or action) you are developing
Save an instruction, and resources, as an XML file, which can be loaded into Tachyon and made available as a question or action
Sign an instruction with a different code signing certificate.
TIMS and the Tachyon client
TIMS contains a copy of the 1E Client, isolated from the local 1E Client installed on your computer. It has only the Tachyon client features enabled, other client modules are disabled. Earlier versions of TIMS contained a copy of Tachyon Agent.
Each version of TIMS is bound to its version of 1E Client, which does not have to be the same version as your local client, nor does it have to be the same architecture. This means you can have multiple versions of TIMS installed, and you can test your instructions against different versions of the client that you may have in your Tachyon system, or are planning to have. However, you can run only one copy of TIMS at any time.
Note
Currently, TIMS is supported only on Windows OS.
For supported OS versions and other requirements please refer to version specific documentation.
The Tachyon Activity Record feature is enabled (module.inventory.enabled=true). It has its own database (Engine.Inventory.dat) which does not affect the database of the local client (Inventory.dat). This means you need to leave TIMS running if you want to accumulate data to test with, and each time you start TIMS it will continue adding to the database. If you are testing instructions with older versions of TIMS then take care not to be confused by data captured by later versions.
Note
This documentation refers to the Tachyon Agent, which is an old name for 1E Client. It provides client modules for Nomad, PXE Everywhere, Shopping/WSA and WakeUp. The NomadNomad client module has some methods available for use in SCALE.
Instructions and product packs
Instructions are developed and signed in TIMS. The name of the instruction and how it is signed governs whether it can be uploaded and run in Tachyon. Once signed, the instruction XML file can be uploaded directly into Tachyon using the Tachyon Portal Settings application.
Classic product packs are zips containing one or more Tachyon instructions. These are uploaded into Tachyon using the Tachyon Portal Settings application.
Integrated product packs are zips containing Guaranteed State policies and may also contain Tachyon instructions. These are uploaded in Tachyon using the Product Pack Deployment Tool. The tool can also be used to upload classic product packs but the documentation has not been updated to explain this.
Code signing certificates
Instructions do not need to be signed if you only want to develop and test instructions locally in TIMS, or share them with other developers.
Instructions must be signed with an appropriate code signing certificate if you want to import instructions into a Tachyon system and run them. An appropriate code signing certificate is one that has been registered in your Tachyon license to be used with instructions that have a specific prefix. For more details about code signing certificates, prefixes and licensing, please refer to Running instructions in Tachyon for the first time.
Known issue:The current version of TIMS does not support CNG code signing certificates. You can select a CNG certificate but when you attempt to save an instruction then you will see an error: Tachyon Instruction Management Studio: Warning. The file <xml file> could not be digitally signed. Invalid provider type specified.
Installing TIMS
Installing Tachyon Instruction Management Studio (TIMS).
The TIMS installer is downloaded from the 1E Support Portal https://support.1e.com/ as a zip containing x86 and x64 MSI installers.
You should install the same or later version of TIMS as the 1E Client you want to develop instructions for. The latest version of TIMS will be suitable because SCALE is backwards-compatible in most cases. Functions and Methods Reference tells you the earliest version in which a SCALE function or method was implemented, and on which OS.
After installing TIMS you can begin development of Tachyon instructions. A good place to start is Writing instructions.
About TIMS
Tachyon Instruction Management Studio (TIMS) is a graphical user interface for authoring and testing Tachyon instructions, which can then be saved so they can be uploaded and used in your Tachyon system.
The instruction definition XML files that TIMS creates can be uploaded into Tachyon using the Tachyon Portal Setting application so that they can then be used within Tachyon, or combined with other instructions into a Product Pack zip.
TIMS contains a copy of the 1E Client, isolated from the local 1E Client installed on your computer. It has only the Tachyon client features enabled, other client modules are disabled. Earlier versions of TIMS contained a copy of Tachyon Agent.
Each version of TIMS is bound to its version of 1E Client, which does not have to be the same version as your local client, nor does it have to be the same architecture. This means you can have multiple versions of TIMS installed, and you can test your instructions against different versions of the client that you may have in your Tachyon system, or are planning to have. However, you can run only one copy of TIMS at any time.
Note
Currently, TIMS is supported only on Windows OS.
For supported OS versions and other requirements please refer to version specific documentation.
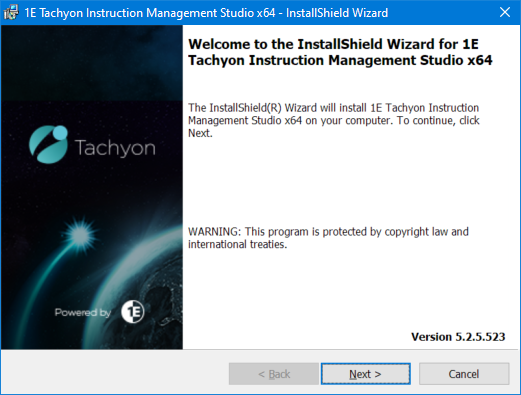
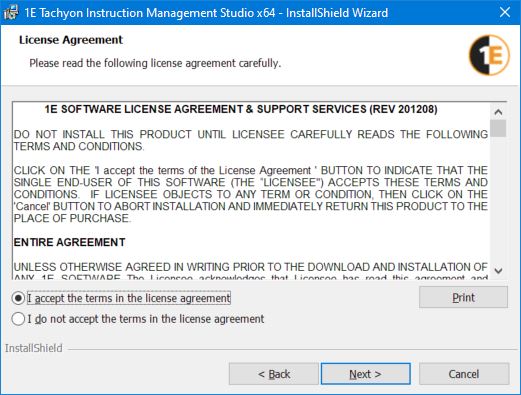
Interactive installation
During installation you may see a UAC prompt for 1E Client.
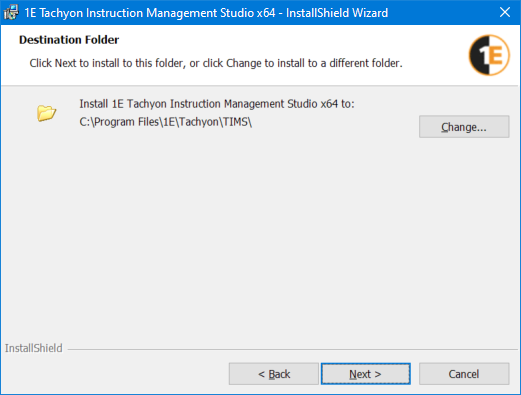
The default installation location is C:\Program Files\1E\Tachyon\TIMS - you can safely rename this folder to be version specific - say TIMS_v5.0.0.745_x64.
A shortcut named Tachyon Instruction Management Studio is added to the public desktop ( C:\Users\Public\Desktop) - which runs Tachyon.InstructionManagementStudio.exe
You can only have one version of TIMS installed or running at the same time. However, you can safely make copies of the TIMS installation folder and create your own shortcuts, if you want to keep multiple versions of TIMS on the same computer.
 |
 |
 |
 |
Starting TIMS
Double-click on the shortcut or executable Tachyon.InstructionManagementStudio.exe you may see a UAC prompt from the 1E Client.
Starting TIMS in SYSTEM context
Sometimes you may need to develop and test your instructions in SYSTEM context, in order to replicate how the Tachyon client runs actually runs.
You can do this by starting TIMS using Microsoft SysInternal's PSEXEC utility.
Copy PSEXEC utility to a known path, eg. Windows\System32 folder, or to the same folder as TIMS.
In the TIMS folder, create a command file called StartTIMS.cmd containing the instructions shown below
Create a shortcut to the cmd file, and use this to start TIMS using Run As Administrator
If you are using PSEXEC64 then edit the cmd file accordingly.
Click here to view StartTIMS.cmd ...
Download...
StartTIMS.cmd
:: Used to start TIMS in SYSTEM security context
:: PSEXEC.EXE should exist in local folder or a system path
:: This script should exist in the TIMS folder
:: Create shortcut and use Advanced to set as Run as administrator
@pushd %~dp0
:: create default folder for SYSTEM to avoid popups
@md "%SYSTEMROOT%\system32\config\systemprofile\Desktop" 2>nul
:: Set folder option to see file extensions
@reg add HKEY_USERS\S-1-5-18\Software\Microsoft\Windows\CurrentVersion\Explorer\Advanced /v HideFileExt /t REG_DWORD /d 0 /f
:: Start TIMS in SYSTEM context
PsExec.exe -s -i -d "%~dp0Tachyon.InstructionManagementStudio.exe"
:: Stop and display error if Psexec not found, or not admin
@if %ERRORLEVEL% == 9009 @pause>nul
@if %ERRORLEVEL% == 5 @pause>nul
The TIMS user-interface
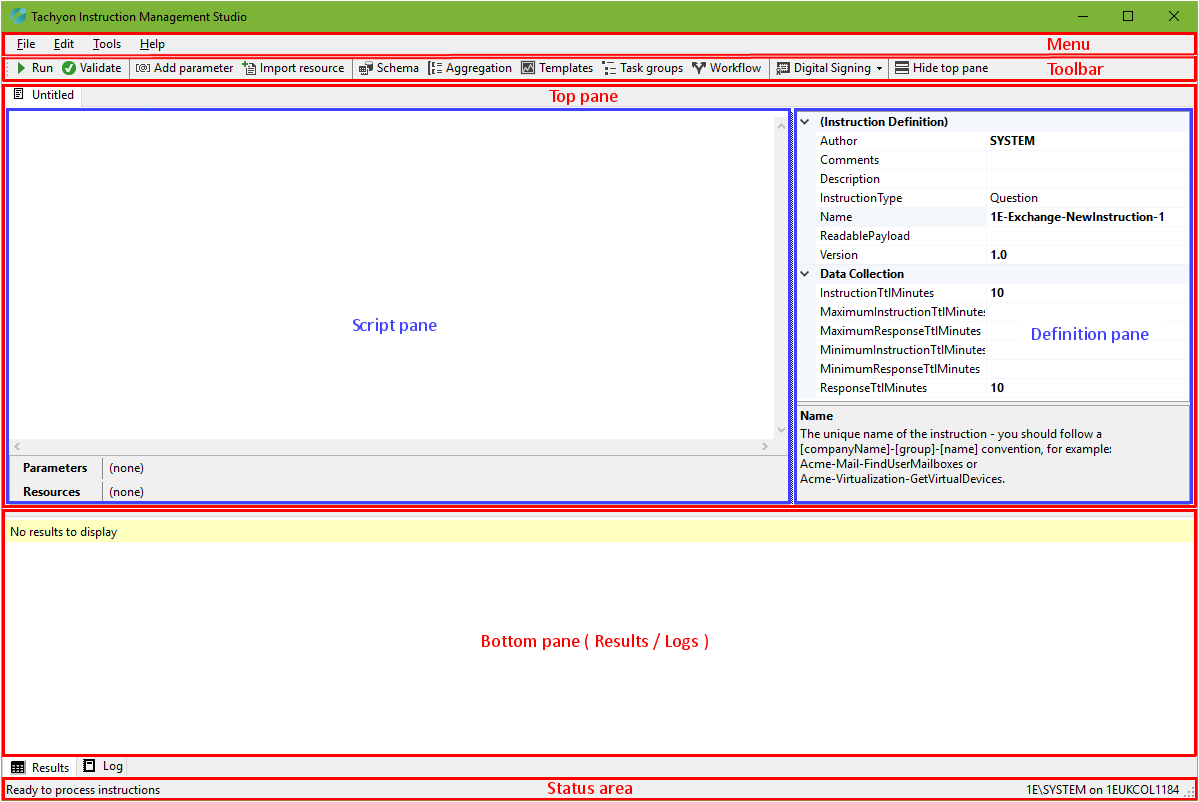
With the TIMS user-interface you can:
Execute your script by clicking on Run or pressing F5
Highlight part of your script and then execute
Increase the size of the text in the script pane by using Zoom on your mouse (Ctrl+scroll up and down).
Results are shown in the bottom panel by clicking on the Results tab. You can click on any column heading to sort the results. In TIMS, columns are displayed in alphabetic A-Za-z order, not necessarily in the order defined in the instruction. The order they appear in Tachyon Explorer may be different as well and is defined by the Schema as described in Adding a schema. The Schema allows you to pick which columns are included in the response to the Server.
If you get an error, such as 'syntax error in instruction' then review the log by clicking on the Log tab as the bottom of the TIMS window. You can disable log scrolling by unchecking the Auto-scroll log tick box. The log will periodically scroll as the client performs background tasks, such as updating the Tachyon Activity Record tables. See also Exit Codes.
You can adjust TIMS window and panel positions:
entirely hide the top pane temporarily by clicking the 'Hide top pane' icon. Click it again to re-display the top pane
adjust the relative size of the top and bottom panes of TIMS by dragging the horizontal splitter bar
adjust the relative size of the script and instruction definition panes by dragging the vertical splitter bar in the top pane.
Use the F11 button to toggle visibility of the top pane (the script and instruction definition). Hiding the top pane is useful to display the bottom pane (results and log details).
Quick verification that TIMS is working
Enter the line of text.
SELECT "%environment:now%";
Click the Run icon.
You should see the current date/time as shown below.

Note
By default, TIMS runs all the code in the script pane. However, if you select a block of code, and click Run, TIMS will run only the selected block of code, as long as it is terminated with ;
The TIMS menu
Above the toolbar, the TIMS menu provides additional functionality.
The Tools menu
The tools menu allows you to view the agent properties, loaded modules and change preferences.
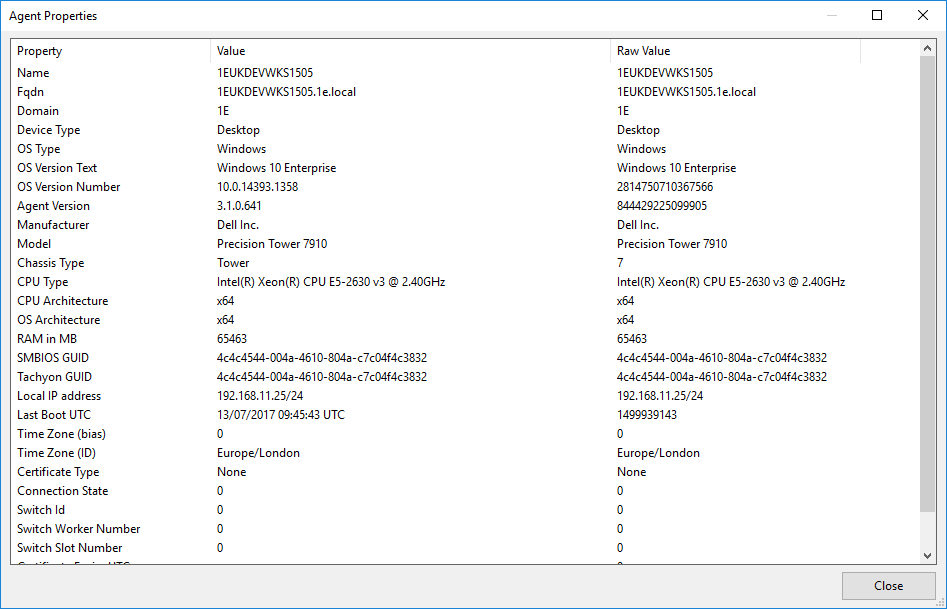
Agent properties
The agent properties dialog shows the current properties of the endpoint device
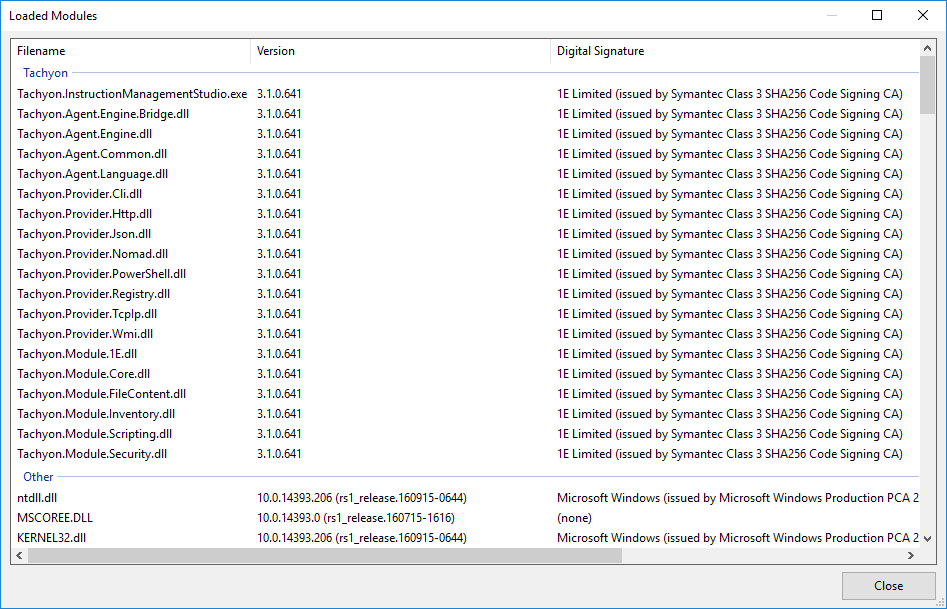
Loaded modules
The loaded modules dialog shows all the DLLs loaded by TIMS. If you are familiar with the names of Agent language modules and methods, then you will notice the DLLs have the similar names, however some modules appear missing because they are are combined into DLLs.
As stated before, TIMS has a version of th eAgent runnig in a sanbox, so this list reflects those versions and any extensibles that may have been added.
Preferences
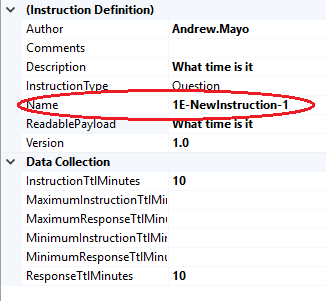
The preferences dialog allows you to change the prefix associated with instruction names.

Tachyon's licensing system uses name prefixes to control which instructions can be uploaded and used. For an instruction to use a name prefix, the prefix (pattern) must be registered in your Tachyon system's license file (obtained from1E) along with details of each code signing certificate that can use that prefix. All the instructions which you sign should have the same prefix that is unique within your Tachyon system. Do not prefix your instructions with 1E.
Specifying a prefix saves time by pre-populating the Name field in the instruction definition, so that you only need to add the unique part of your instruction name.