Process log page
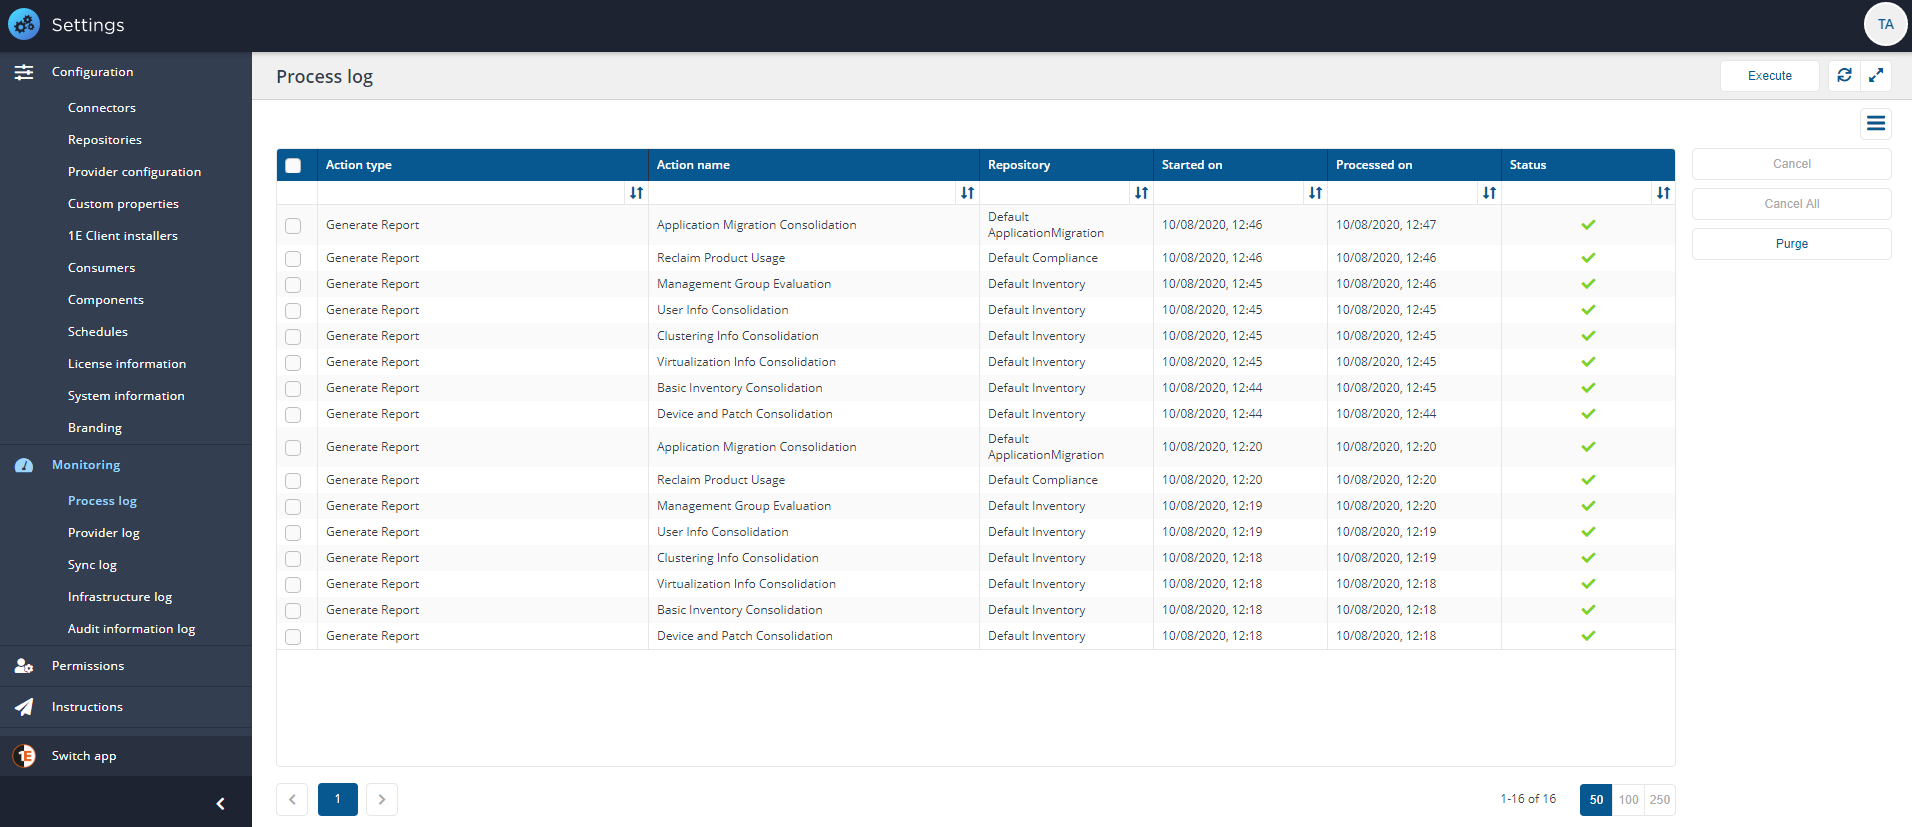
The Process log page lets you view the progress of queued actions, cancel actions that are pending and purge process log history.
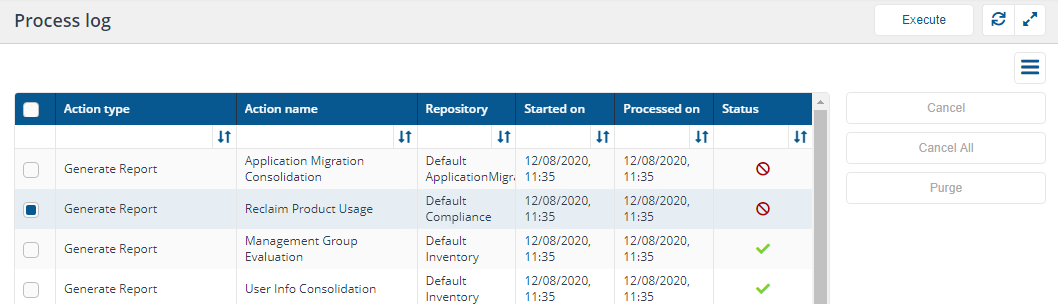
The Process log table
Column | Description | |||||||||||||||||
|---|---|---|---|---|---|---|---|---|---|---|---|---|---|---|---|---|---|---|
Action type | The type of action queued. For example CleanSync and Sync Data might be two actions executed when executing an overall connector sync data action. | |||||||||||||||||
Action name | The name of the action being executed. For example CleanSync - SCCM and Sync Data - SCCM might be two actions executed when executing an overall Configuration Manager sync data action. | |||||||||||||||||
Repository | The name of the repository (if any) the action is being performed on. For example Default Inventory. | |||||||||||||||||
Started on | The date and time the action started. | |||||||||||||||||
Processed on | The date and time the action finished. | |||||||||||||||||
Status | This indicates the current state for the action and ultimately whether it succeeded, failed or was cancelled. This may be one of the following:
|


Execute an action
The Execute button allows you to manually run an action. To schedule an action, please refer to Schedules page.
Click the Execute button.
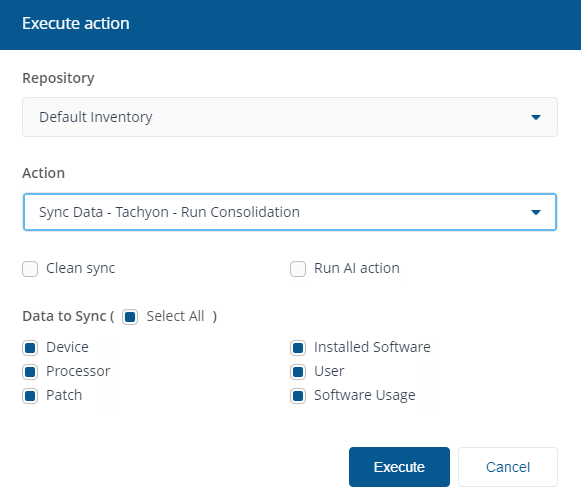
In the Execute action popup subsequently displayed, use the Repository menu to select the inventory repository you want to populate.
Once the repository has been selected you can then select the action to run. In the case of inventory repositories the actions will be restricted to inventory related actions. For a connector you will be looking for an action with the form Sync Data - <connector name>.
For inventory syncs (where you sync a connector) you have additional options to check as shown in the example picture opposite:
Warning
Clean Sync causes deletion of existing data previously imported by the selected combination of action and repository. Data imported by any other connector actions is left intact and consolidated with new data. To clear all data from a repository, please refer to Clearing data from a repository.
If Clean Sync checkbox is not checked then an incremental sync occurs, consolidating new data with old. An incremental sync is quicker than a clean sync.
Clean Sync will prevent the Management Groups feature and applications such as Patch Success from working until the sync is complete and new data has been consolidated. This operation should only be performed if you need a clean sync or are experiencing problems with sync times taking too long.
Note
Run AI action will cause the AI action to run, this is only available if AI Powered Auto-curation has been enabled. The Run AI action checkbox is also available if the selected Action is Generate Report - Basic Inventory Consolidation. For detail on how to enable AI Powered Auto-curation the information is on the AI Powered Auto-curation page.
Note
Data to Sync allows you to select some or all categories of data supported by the connector.
Click the Execute button in the Execute action popup to start the sync.
A popup appears momentarily informing you that the Sync has started and you can monitor progress in the Process log.
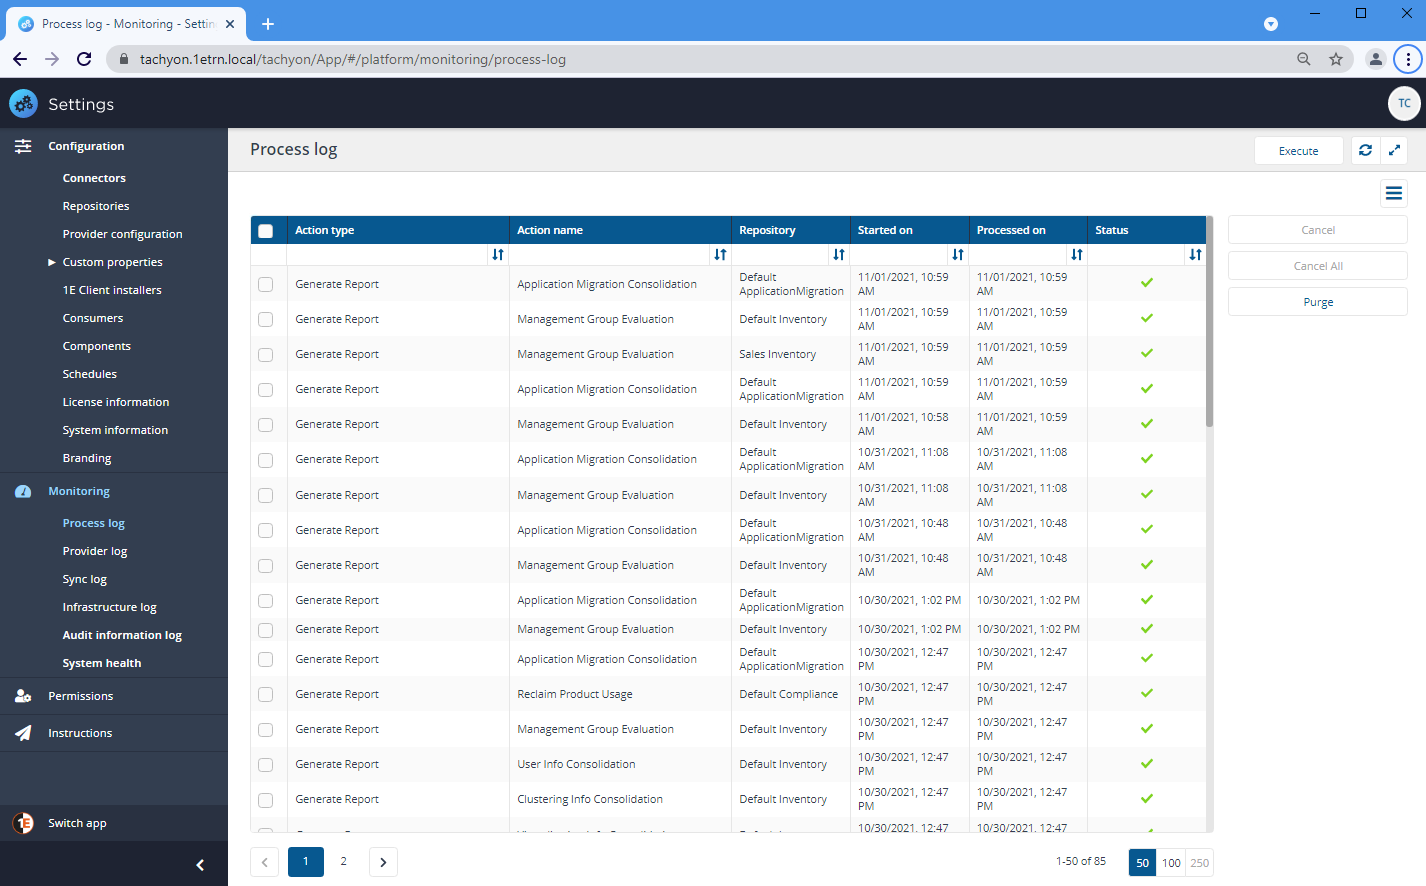
When the sync starts a number of actions are queued to be performed on the selected repository. To check the progress of the sync actions:
Navigate to the Monitoring→Process log page.
Here you can see the sequence of actions that have been queued for the selected repository related to the Sync Data action selected.
When each action has finished running you'll see a check icon

appear in the Status column if it succeeds or a failed icon

if it fails.
Once all the actions have succeeded you can check the results. To do this:
Navigate to the Monitoring→Sync log page.
This displays the items that have been added to the selected repository as a result of running the sync.
Note
The Execute button is also available on the Connectors page: Execute a connector sync action.
Cancelling actions
You can use the Cancel button to cancel individual actions or the Cancel All button to cancel all running or stuck actions.
Note
Only Full Administrators have permission to use the Cancel All and Purge buttons.
TheCancelbutton is used to cancel multiple or individual pending queued actions, you can do this by:
Select the queued

action(s) you want to cancel from the Process log table by checking the box at the left-hand end of each action's row.
If any of the selected actions is queued the Cancel button will be enabled.
Click the Cancel button.
The Cancel actions popup asks if you want to proceed.
To proceed and cancel the selected queued actions click the Yes, cancel actions button.
The actions will not longer be run and the status of the selected queued actions will change to cancelled

.
Note
When one action is selected, all the dependent actions are also cancelled.

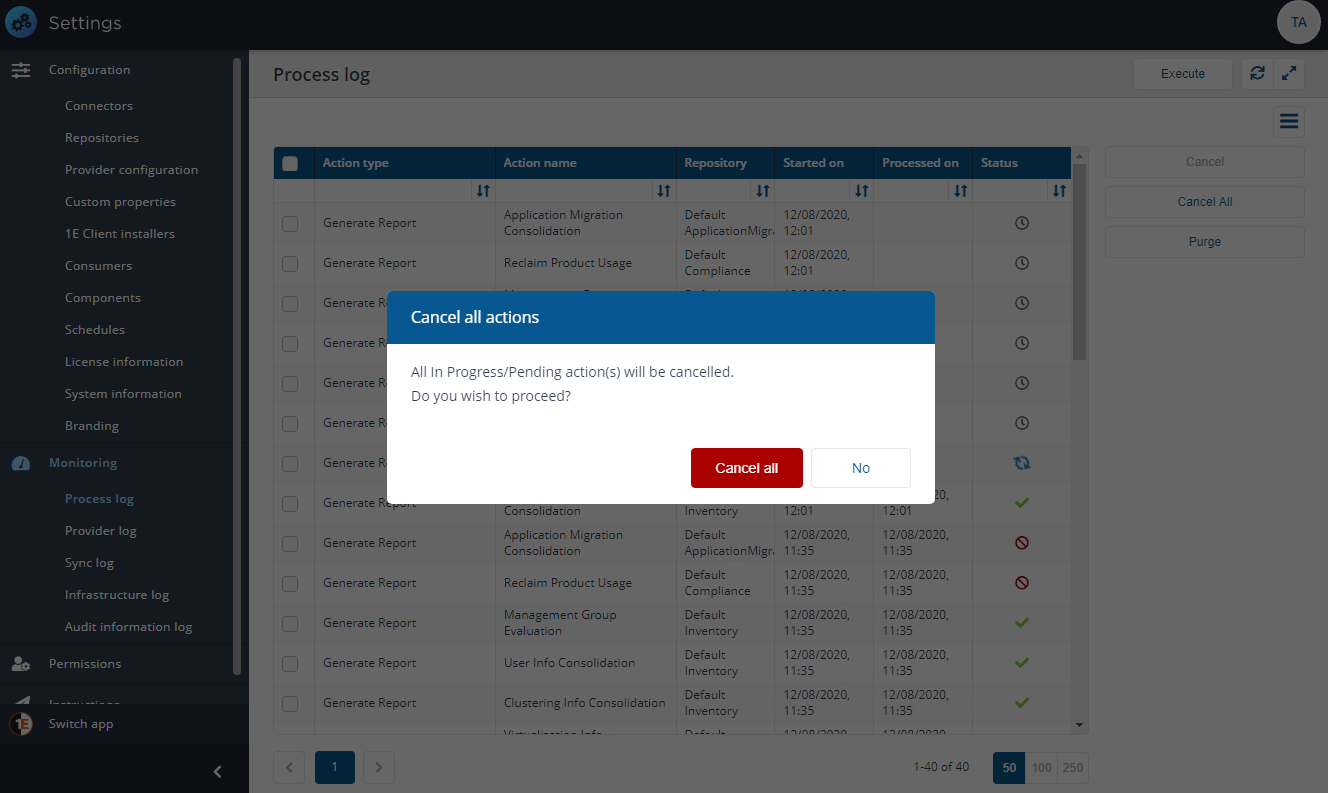
The Cancel All button can be used to cancel all currently running or stuck actions. You do not need to select an individual action before doing this.
You'll see a warning message if Cancel All is clicked, then all actions will be cancelled.
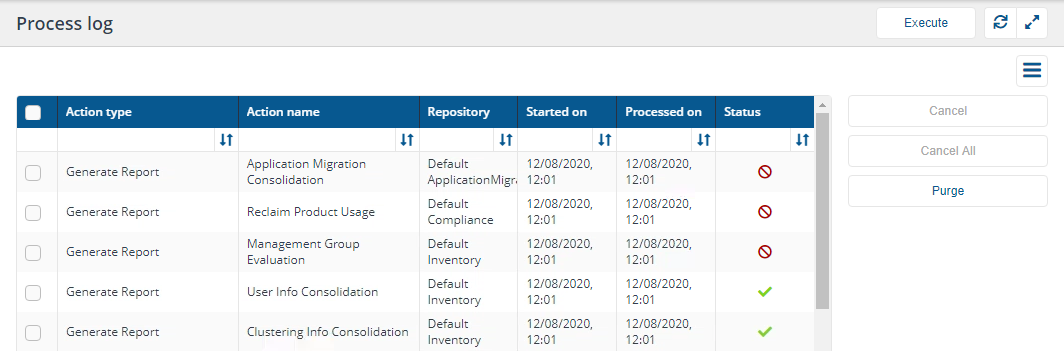
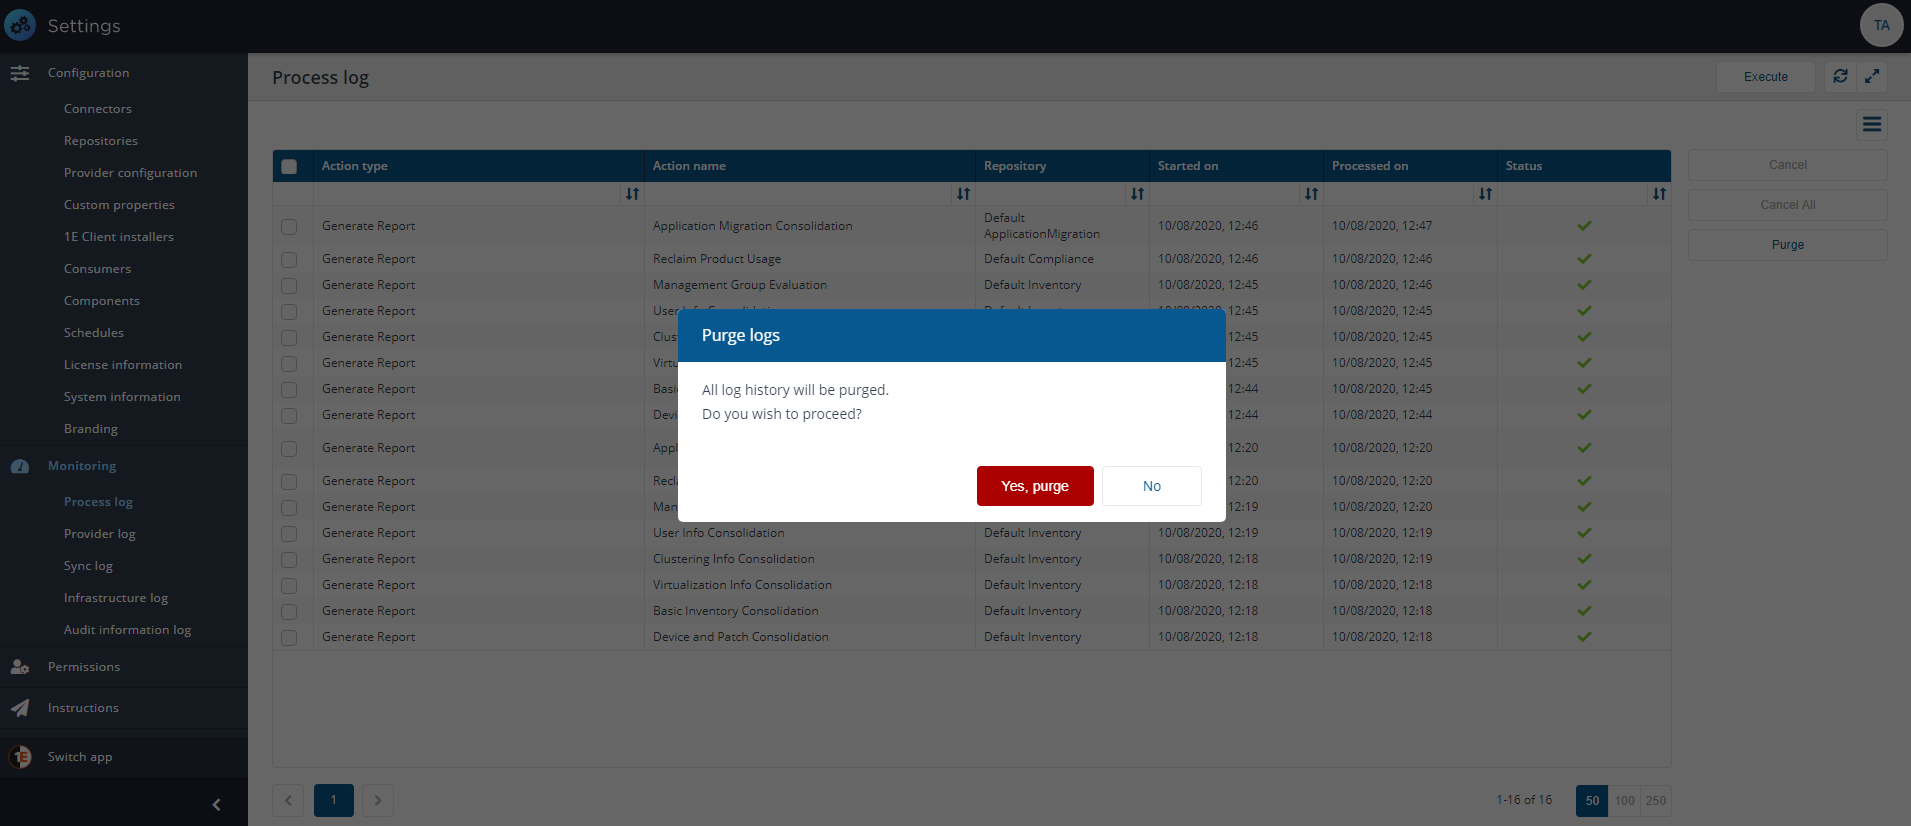
Purge logs
You can purge the entire Process Log history by:
Clicking the Purge button.
The Purge logs popup asks if you want to proceed.
To proceed and purge the logs, click the Yes, purge button.
The Process log is then purged of all items.
Note
If any Action type items are selected the Purge button will be disabled.
Note
Only Full Administrators have permission to use the Cancel All and Purge buttons.