Installation issues
Some issues when installing PXE Everywhere.
Log files
When you have issues, a first place to look is the log files.
PXE Everywhere component | Folder | Log file |
|---|---|---|
1E Client | C:\ProgramData\1E\Client | 1E.Client.log |
PXE Everywhere Central | C:\ProgramData\1E\PXELite | WebService.log |
PXE Everywhere Responder | C:\ProgramData\1E\PXEEverywhere | PXEEverywhereResponder.log |
PXE Everywhere Agent | C:\ProgramData\1E\PXEEverywhere | PXEEverywhere.log |
Please also refer to Upgrading PXE Everywhere: Name changes introduced in PXE Everywhere 4.0.
If the issue is related to PXELite boot media creation/updating using CreateBootImage.exe then please provide:
C:\Program Files (x86)\Microsoft Configuration Manager\AdminConsole\AdminUILog\CreateTsMedia.log
If the issue is related to the deployment of PXELite boot image into the TFTP folder of PXELite agent then please provide:
C:\ProgramData\1E\PXElite\CreateBCD.log
Windows Installer log
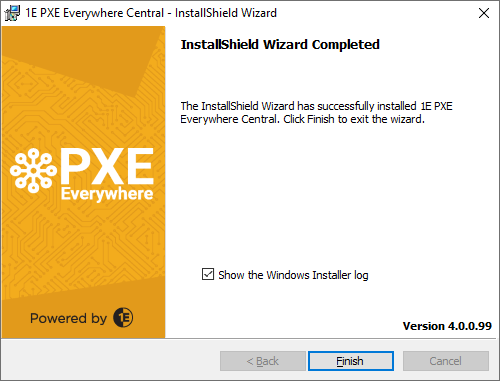
In case of problems during installation, each of the PXE Everywhere installers provide an option to view their installer log file at the end of the installation process. We recommend that you check the box and keep the log file handy until the installation has been validated. This way if there are any issues you can easily pass the installation log files on to the 1E Support department. Here is an example of the final page of the PXE Everywhere Central installer with the Show the Windows Installer log checkbox shown:
The installer takes 30 seconds (or more) to appear
Check to see if the computer has access to the Internet. The MSI files are digitally signed. This signature is verified during installation. Windows also checks to see whether the certificate used to generate the signature has been revoked. This requires Internet access, but will time out after 30 seconds.
Possible solutions are:
Allow this to happen. This does not affect the installation other than to delay by the time out period.
Connect the computer to the Internet.
Re-sign the MSI with your own key. Use one that is trusted by the computer, and does not need to access the Internet to find the certificate revocation list (CRL).
Please refer to Supported Platforms: Certificate limitations - signing certificates missing.