Role Based Application Sets
A Role Based Application Set defines a set of applications that should be installed on a computer for a user performing a particular role, or perhaps working at a particular location.
Role Based Application Sets are primarily designed to be used when building a new computer, where there are no applications to be migrated but there is a base set of applications the new user needs. They can also be applied when rebuilding, upgrading or replacing a computer, so the user gets the applications defined for their role plus any applications migrated as a result of migration rules.
How Role Based Application Sets work
Before defining Role Based Application Sets, you will need to create Management groups in Tachyon platform corresponding to the roles or locations that your Application Sets will apply to. Management groups can be defined using AD Site, OU or Computer Name. You can use partial matching of computer name in a Management group definition if your computer naming convention includes identifiers for location or department.
Role-based Application Sets are built by defining the name of the set and the Management groups the set is associated with, you then add applications to the set. You can preview the results of Role-based Application Sets on a computer from the Preview Device page in Application Migration. At deployment time, the Application Migration step in the Task Sequence returns the list of applications that need to be installed based on matching of the computer name, Organizational Unit (OU) and Active Directory (AD) site of the computer being deployed.
If a computer meets the criteria of multiple Management groups, the combination of all applicable application sets applies. If two or more applicable application sets include different versions or editions of the same application (vendor and title), Application Migration will attempt to install all versions / editions. The end result on the computer will depend on the behavior of the vendor's installers - for example, if they support side-by-side installation of multiple versions - and may be affected by Application Supersedence rules in Configuration Manager.
To read more about:
Management groups, refer to Management Groups page
How to create and manage Role-based Application Sets, refer to Managing Role-based Application Sets.
Note
Migration rules are applied to Role Based Application Sets before the results are returned.
For example, if your application set includes Visio 2013 but there is a rule applicable to the computer being deployed that upgrades Visio 2013 to Visio 2016, Application Migration will return Visio 2016 in the list of applications to be installed.
Working with Role Based Application Sets
The following examples show the behavior of Role-based Application Sets, based on the following Management groups:
Management group name | Included applications | Membership criteria | Members |
|---|---|---|---|
All Workstations | Adobe Acrobat DC Standard 7-Zip 17.0.0.0 | Workstations OU | ACME-WIN1001, ACME-WIN1002, ACME-WIN701, ACME-WIN702, ACME-WIN802 |
Sales | Microsoft Project Professional 2016 | Workstations\Sales OU | ACME-WIN702 |
Finance | SAP GUI 7.4.0 | Workstations\Finance OU | ACME-WIN802 |
New York office | WinZip 18.5.0 Standard XML Notepad 2007 | New York AD site | ACME-WIN1003 |
Simple implementation of a Role Based Application Sets
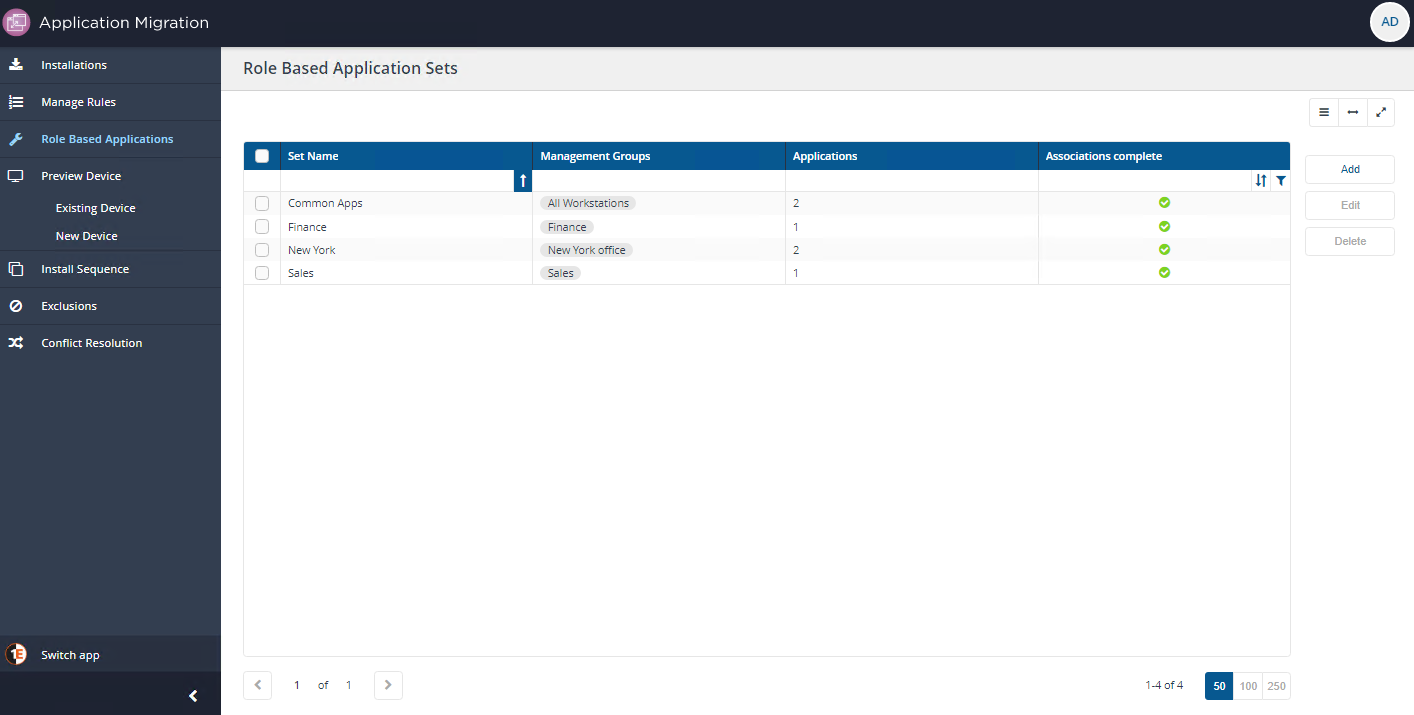
In the following example, a Role Based Application Set named Common Apps has been created for the All Workstations Management group.

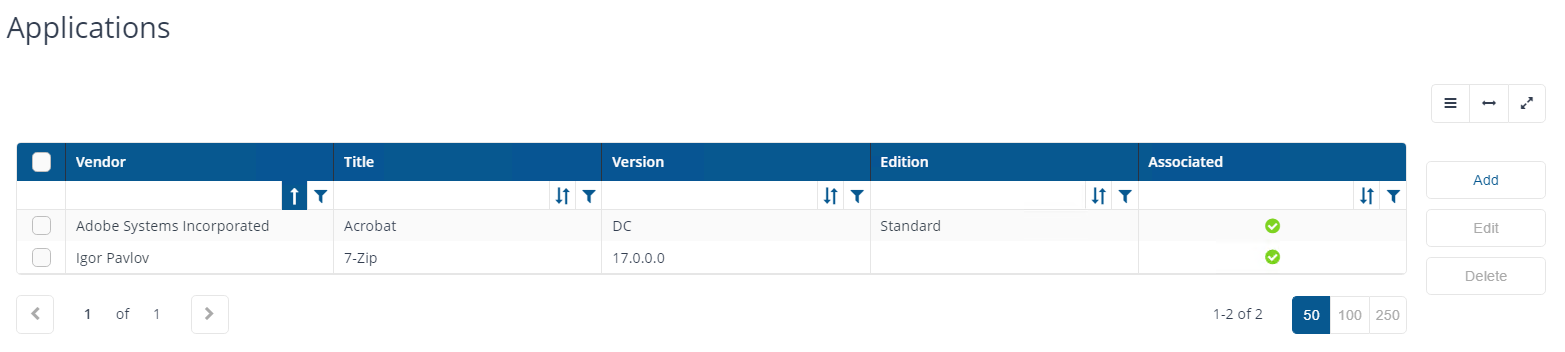
The set includes Adobe Acrobat DC Standard and 7-Zip 17.0.0.0. Because the All Workstations Management group includes all computers in the Workstations OU, any new computer that's added to the Workstations OU in the Task Sequence will have Adobe Acrobat DC and 7-Zip 17.0.0.0 installed.
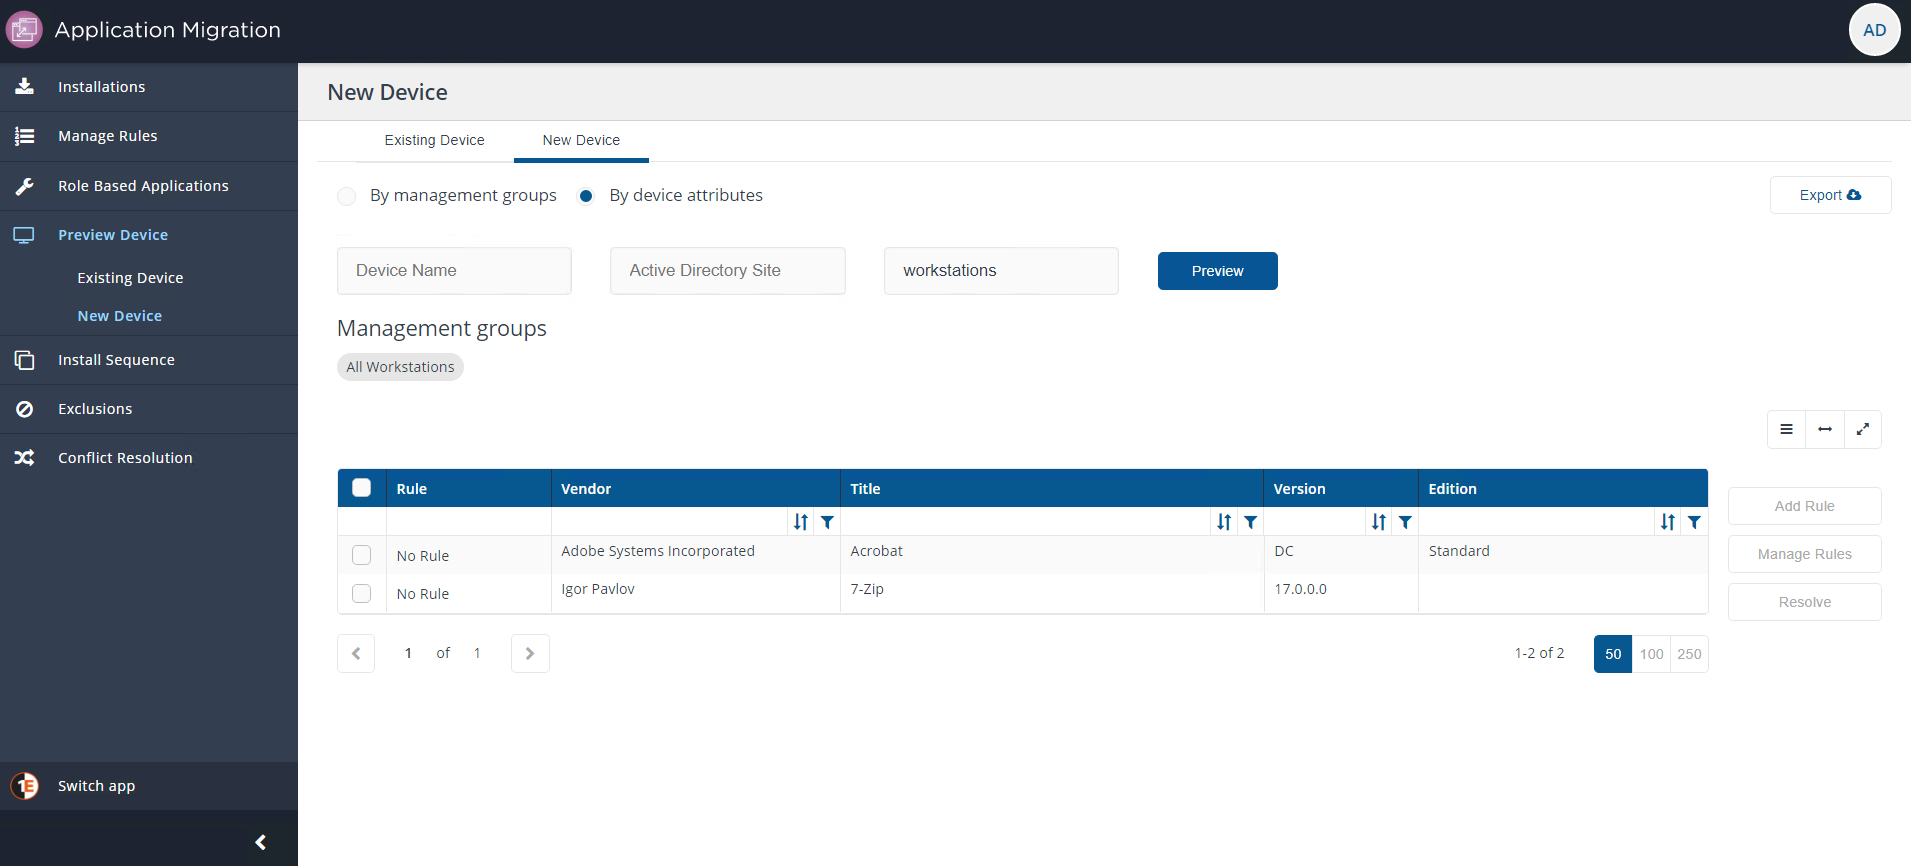
You can use the preview New Device view to determine what applications will be installed when a new computer is built. Application Migration can determine which Management groups it will belong to based on how it will be configured during the OS deployment.
On Preview Device, the administrator selects New Device then selects By device attributes. The admin knows the new computer will be added to the Workstations OU, so enters Workstations in the OU field to find the corresponding Management group which is All Workstations.
The results show the Management groups the computer will belong to based on the attributes entered. This defines the applications that will be installed on that computer, in this case Adobe Acrobat DC Standard and 7-Zip 17.0.0.0 from the Common Apps set.
Please refer to Previewing post-OS migration application states for details about what the applications on a device will look like after OS migration.
Note
It's possible to associate a Role Based Application Set with multiple Management groups. For example, we could have used the Sales and Finance Management Groups instead of All Workstations.
Applying multiple Role-based Application Sets
It's possible for a computer to exist in multiple Management Groups and have multiple Role-based Application Sets applied to it.
For example, the Sales Management group includes computers in the Sales OU and the All Workstations Management group includes computers in the Workstations OU.
Because the Sales OU is a child of the Workstations OU, a computer in the Sales OU will also be in the Workstations OU. A computer built in the Sales OU will be included in both All Workstations and Sales Management groups and have the Common Apps and Sales applications installed.
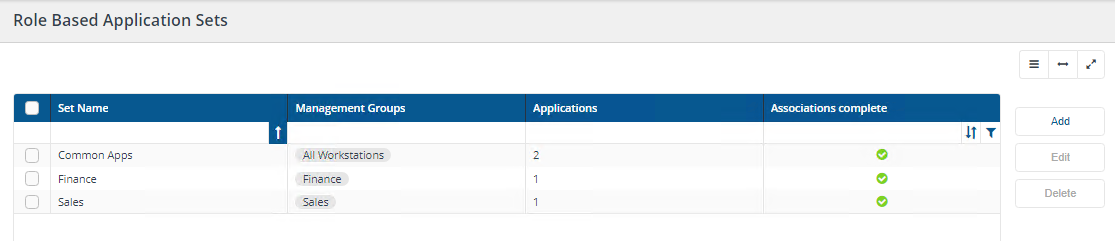
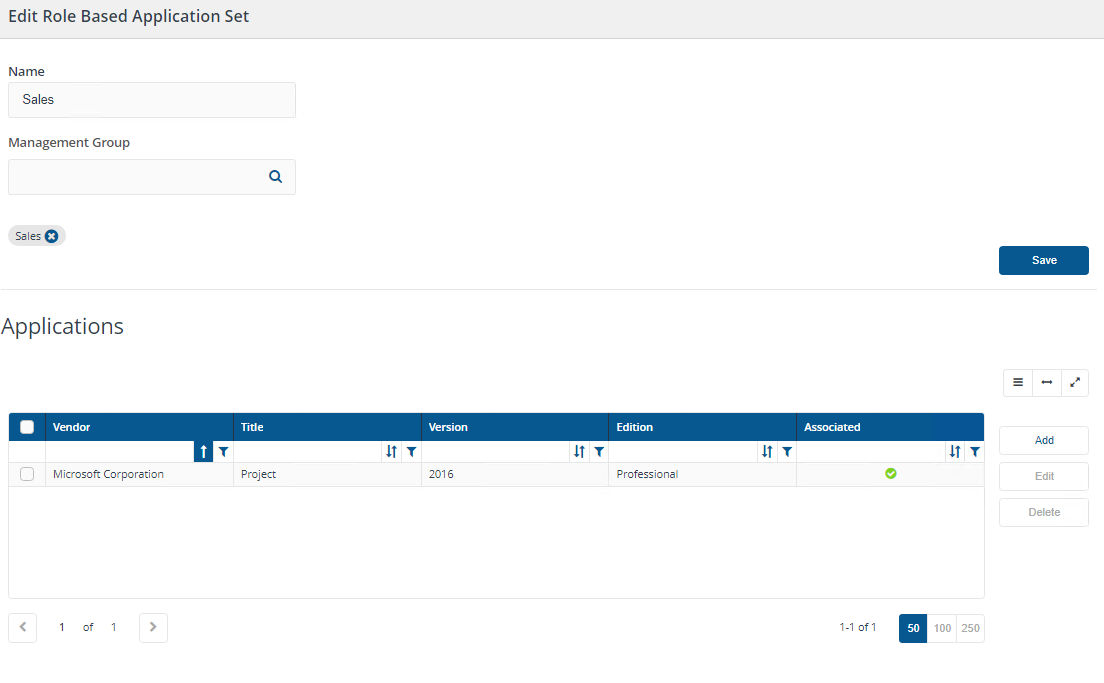
The Sales applications set includes just Microsoft Project Professional 2016
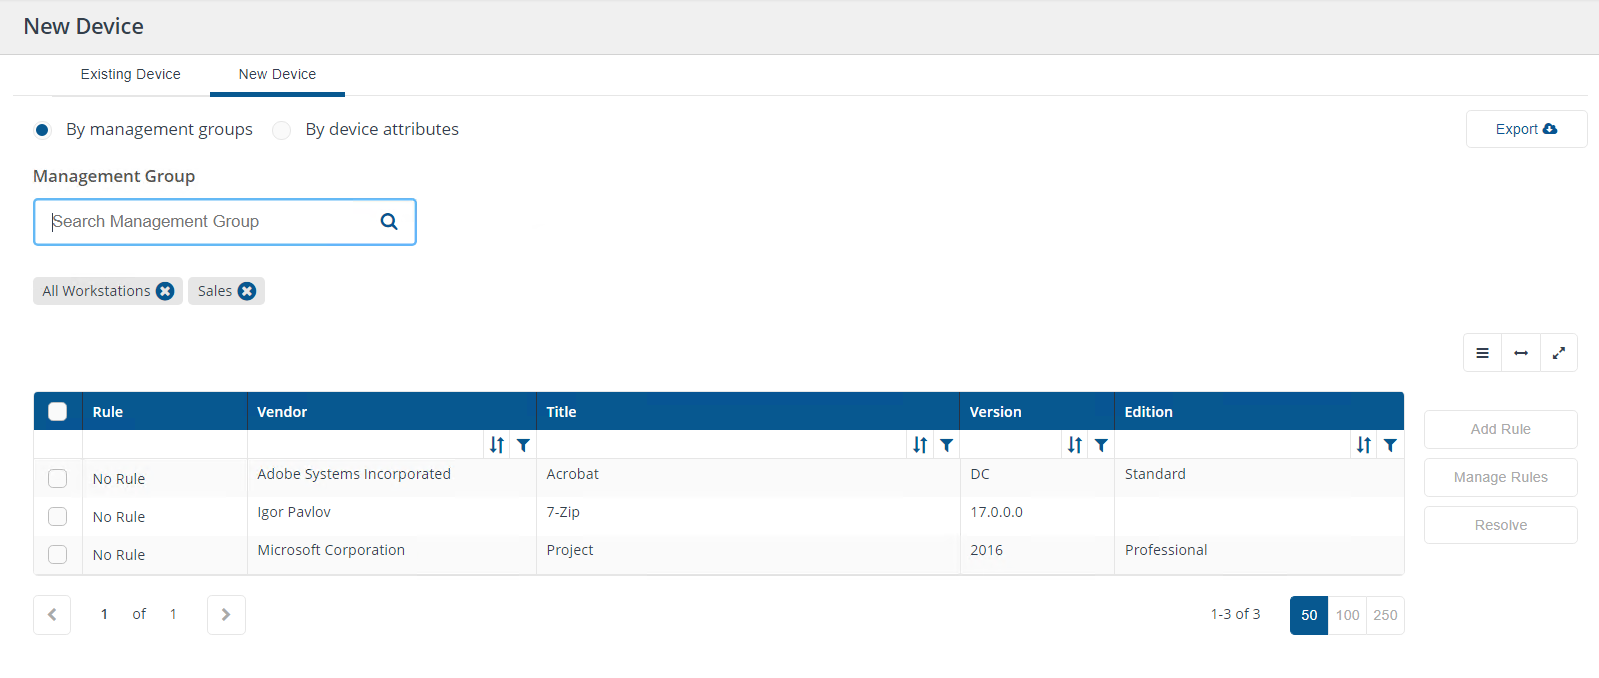
The Preview page does not allow you to select multiple OUs when viewing results by device attributes. Instead, you can view By management groups and select multiple management groups, as shown in the example.
Using the By management groups view, you can see that a computer built in the Workstations\Sales OU will get Adobe Acrobat Standard, 7-Zip 17.0.0.0 and Project Professional 2016.
How Migration Rules modify applications installed using Role-based Application Sets
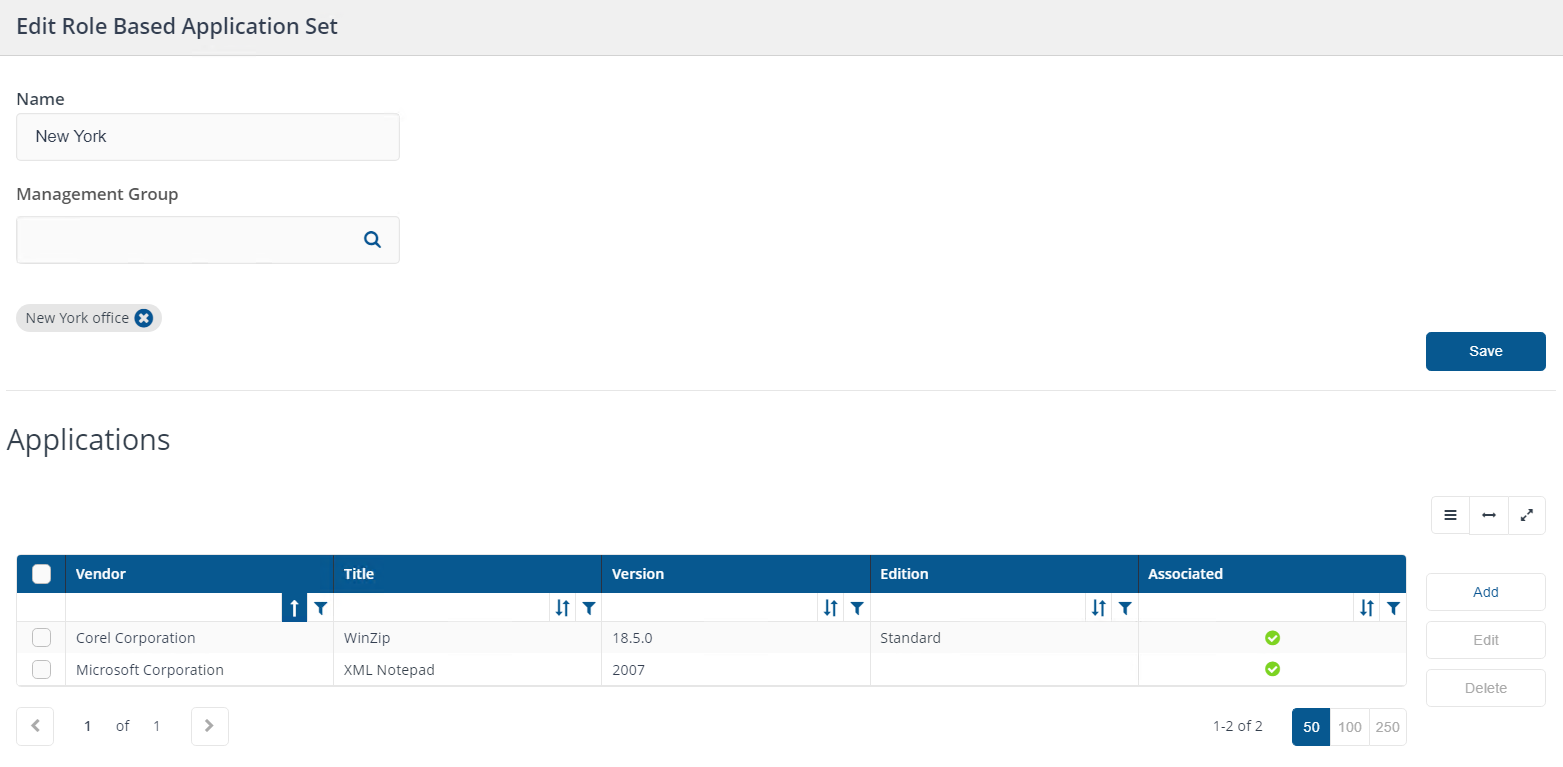
The following example shows how migration rules can change applications defined in a Role-based Application Set. In this example, we'll add a Role Based Application Set for the New York office Management group.
The New York office application set includes WinZip 18.5.0 and XML Notepad 2007.
As the New York Management Group is based on the New York AD site, we can use device attributes to preview what applications would be installed on a computer that was built in New York in the Workstations OU.
Although the New York Office application set included WinZip, a migration rule has been defined to replace WinZip with 7-Zip, so a computer build in New York in the Workstations OU (All workstations Management Group) will have these applications installed:
Adobe Acrobat DC Standard
XML Notepad 2007
7-Zip 17.0.0.0.
Role-based Application Sets are likely to be defined in the early stages of Application Migration implementation and may not be updated frequently, whereas migration rules are likely to be updated more frequently as new application versions are released.
The behavior of Role-based Applications ensures the latest rules are applied to Role-based Application Sets. This means you can be sure that new computers are built with the current set of applications even if the Role-based Application Set has not been reviewed for some time.

Auto Install for Configuration Manager Applications and Packages
Application Migration uses the Install Application and Install Package steps in a Task Sequence to install migrated applications and packages. These Task Sequence steps are dependent on the relevant checkbox (auto install flag) being enabled for each application and package:
Allow this application to be installed from the Install Application task sequence action without being deployed
Allow this program to be installed from the Install Package task sequence action without being deployed.
If a checkbox is not enabled, the software installation will fail for that application or package. An administrator can enable this checkbox for each application and package by using either of the following methods:
in Configuration Manager during or after creating each application and package,
using the Auto Install feature in Application Migration when creating application associations, rules or Role Based Application sets.
For information about manually enabling these checkboxes for Configuration Manager applications and packages, please refer to Using Application Migration in a Task Sequence: Auto Install for Configuration Manager Applications and Packages.
Note
Application Migration's Auto Install feature is able to read the checkbox (auto install flag) for applications and programs, but in order for Application Migration to enable them for you, you'll need to configure related providers in the Settings application of the platform. These should already be configured as a post-installation step. Refer to Post-install configuration.
How Auto Install works with Role Based Application Sets
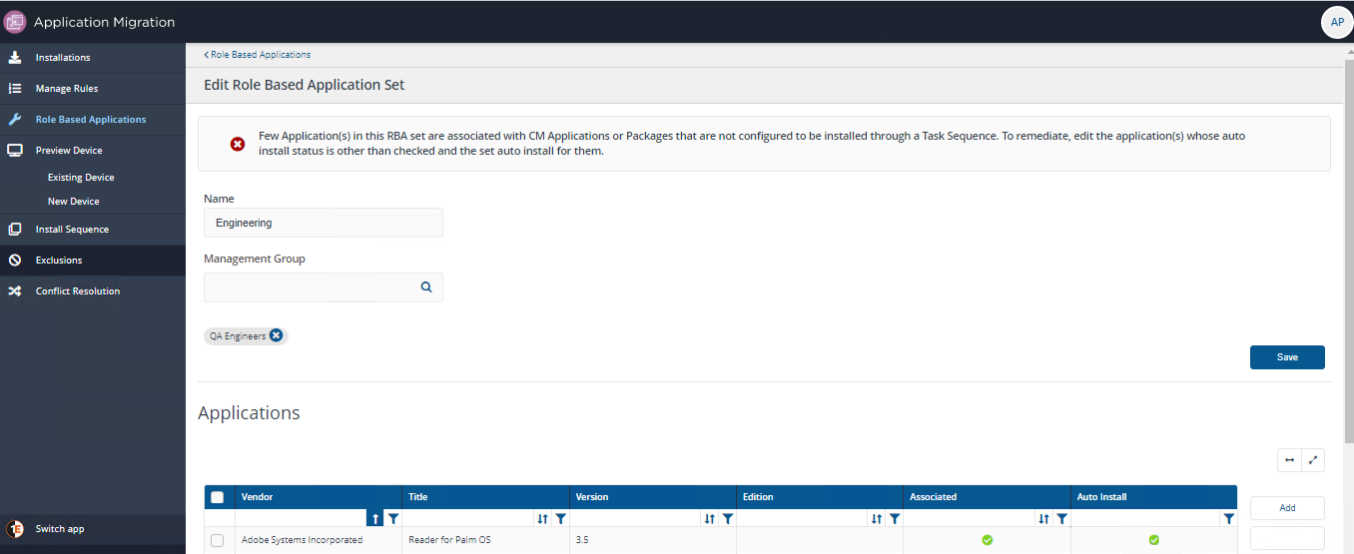
Once the provider configuration is configured, you can enable the relevant Configuration Manager checkboxes Allow this application/program to be installed from the Install Application/Package task sequence action without being deployed for Configuration Manager applications/packages associated with a Role Based Application set.
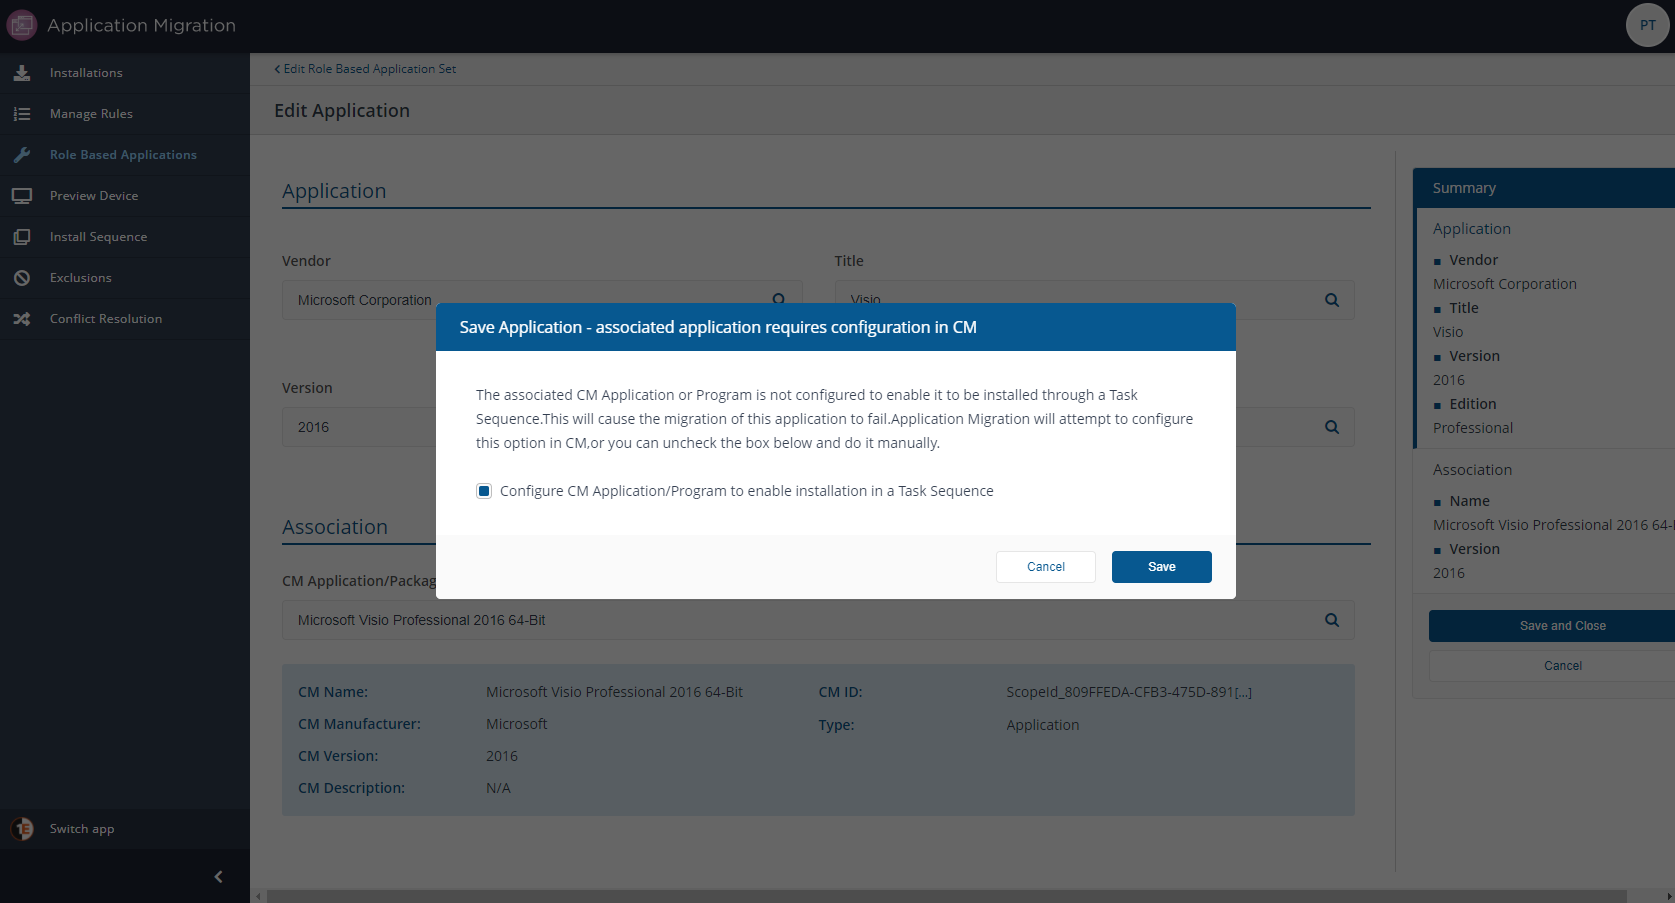
When you create or edit an application or package in a Role Based Application set rule you will be prompted to check Configure CM Application/Program to enable installation in a Task Sequence when you click Save and close.
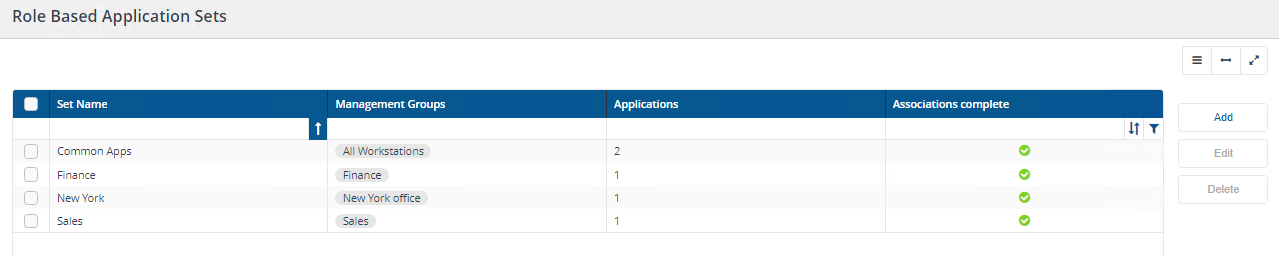
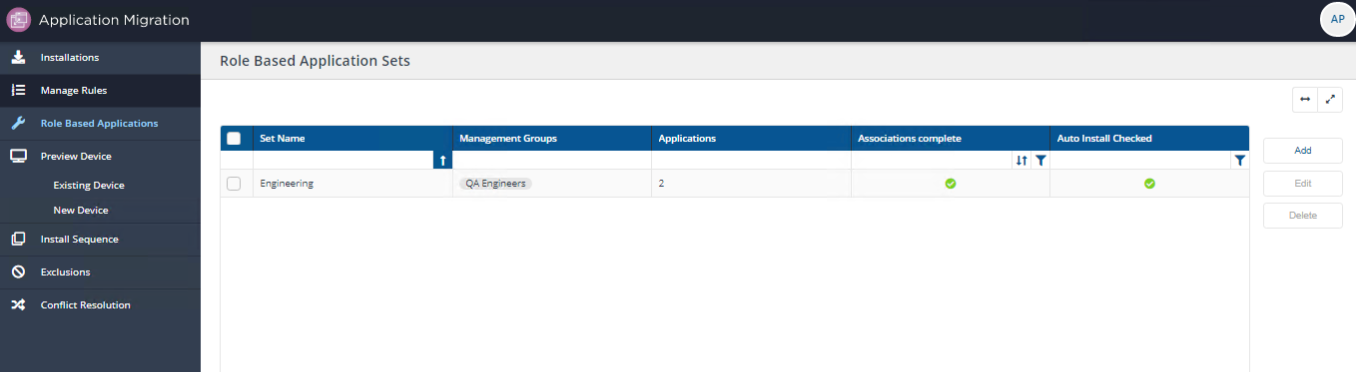
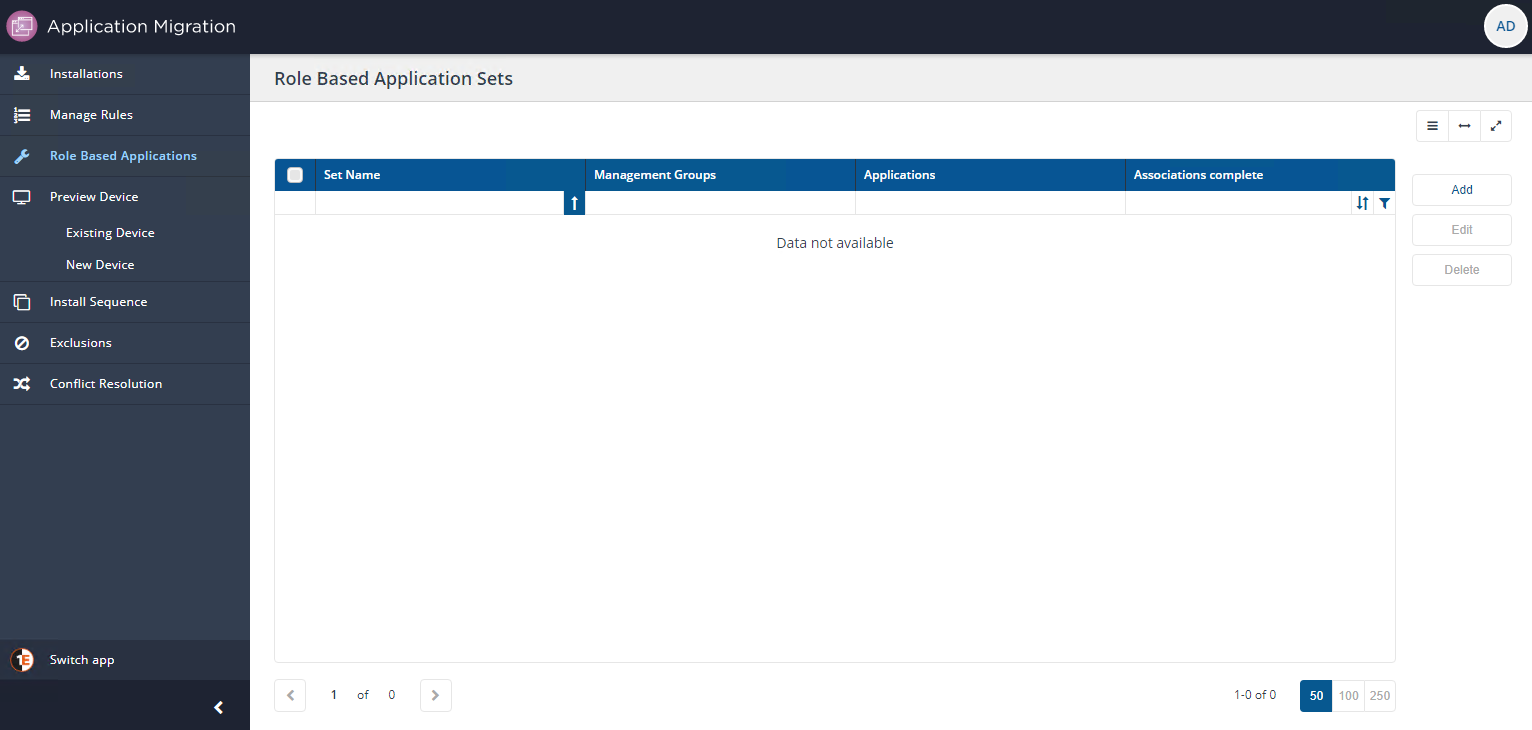
The current state of the Auto Install flag for a Role Based Application set can be seen on the Role Based Application Sets page, as shown in the example.
The Auto Install Checked column can have either of the following values:
Yes - all applications in the set have auto install value checked
No - at least one of the applications have auto install value other than checked.
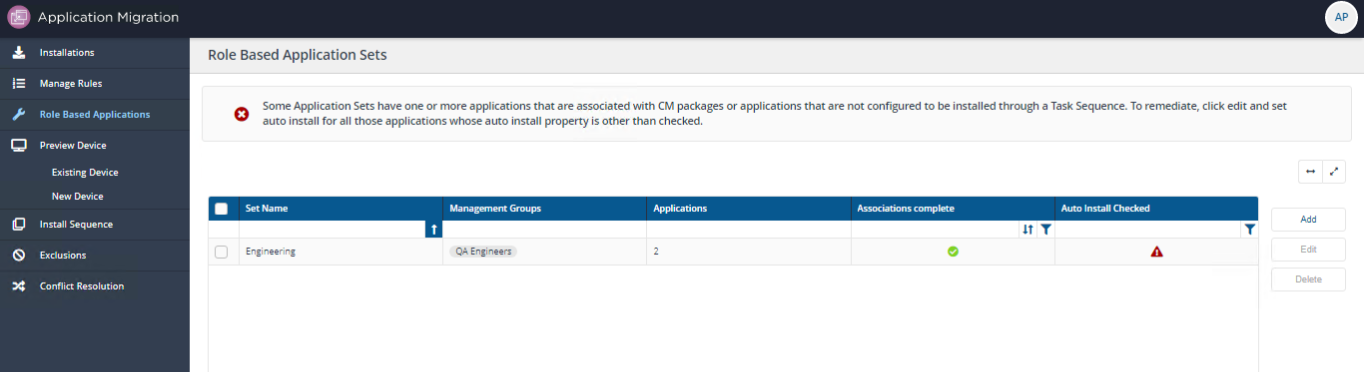
Note
If Role Based Application set has an application with the Auto Install unchecked, you will be prompted to edit that rule and set the Auto Install to enabled. You can view this type of rule by filtering the Auto Install column by Not Checked.
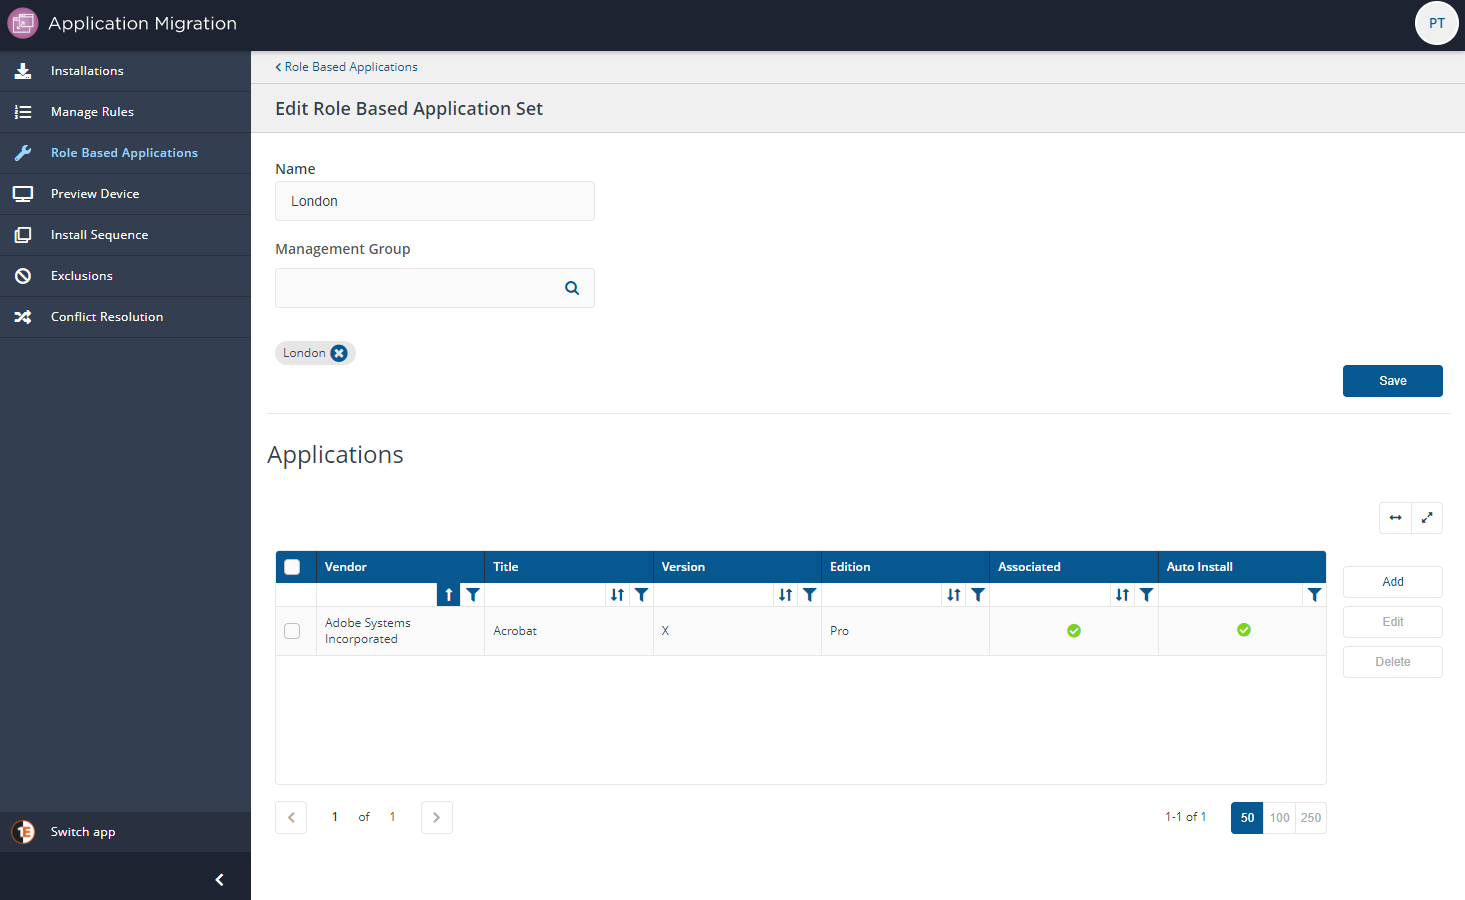
The current state of the Auto Install flag for individual applications of a Role Based Application set can be seen while editing a Role Based Application set as shown opposite.
The Auto Install column displays a status for each migration rule. Our example shows two different types of status, In-Progress and Not Checked.
Auto Install status | Description |
|---|---|
Checked | Auto install flag for Configuration Manager application or package program is set. |
Not Checked | Auto install flag for Configuration Manager application or package program is not set. |
In-Progress | Application Migration has triggered an operation which attempts to set the auto install flag of Configuration Manager application or package program. |
Failed | Application Migration triggered an operation which failed while trying to set the auto install flag of Configuration Manager application or package program. |
Not Applicable | A rule has a broken association and the application migration report is not run. |
Note
If an application in a Role Based Application set has the Auto Install unchecked, you will be prompted to edit that rule and set the Auto Install to enabled.
You will also see a similar message on the following Application Migration pages and a prompt to take action if the Auto Install is unchecked:
Installation
Preview Device→Existing Device
Preview Device→New Device.
Managing Role-based Application Sets
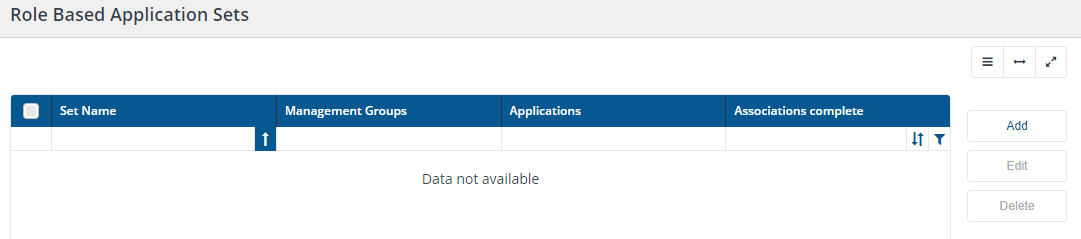
You can add, edit and delete Role-based Applications Sets from the Role Based Application Sets page.
Adding a Role-based Application Set
The process for creating a new Role-based Application Set is:
Create and save the application set.
Associate the applications to this particular application set.
To create a new Role-based Application Set:
Choose Role Based Applications from the navigation menu.
Click Add.
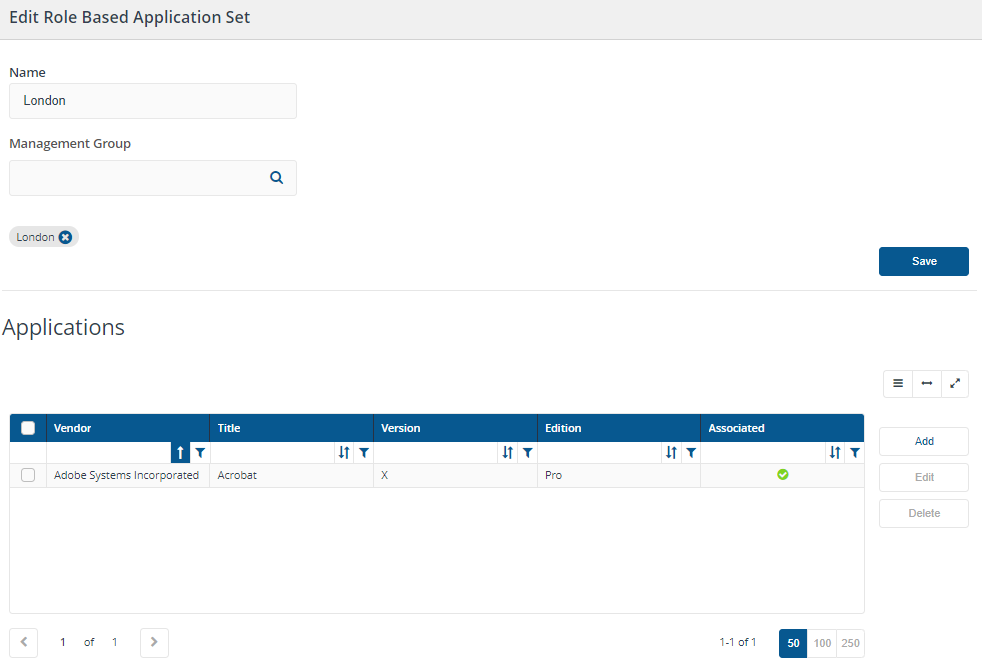
UnderNew Role Based Application Set:
InName, enter a name for this particular set.
InManagement Group, start typing the name of the management group you want the set associated with – a list matching your string is dynamically generated for you to choose from.
If there are more management groups you want to associate with this particular set, repeat step b.
Click Save.
In the Applications section, click Add.
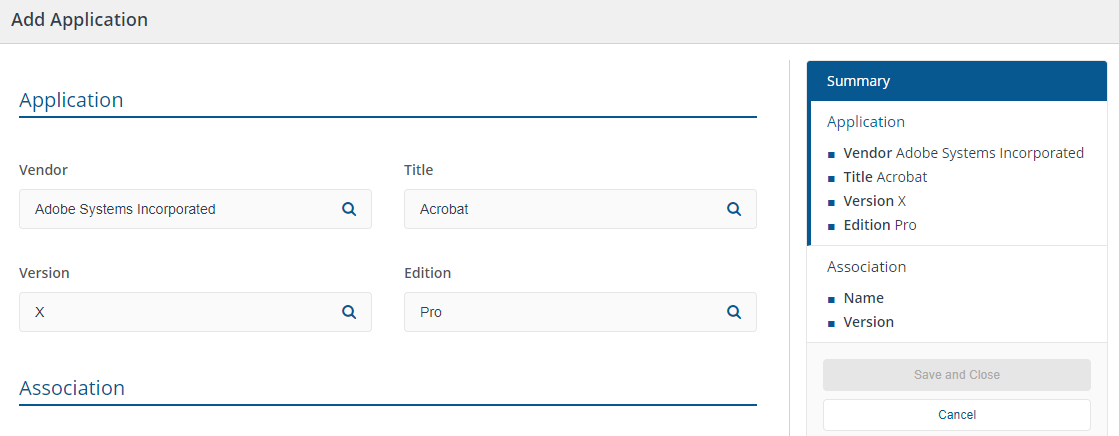
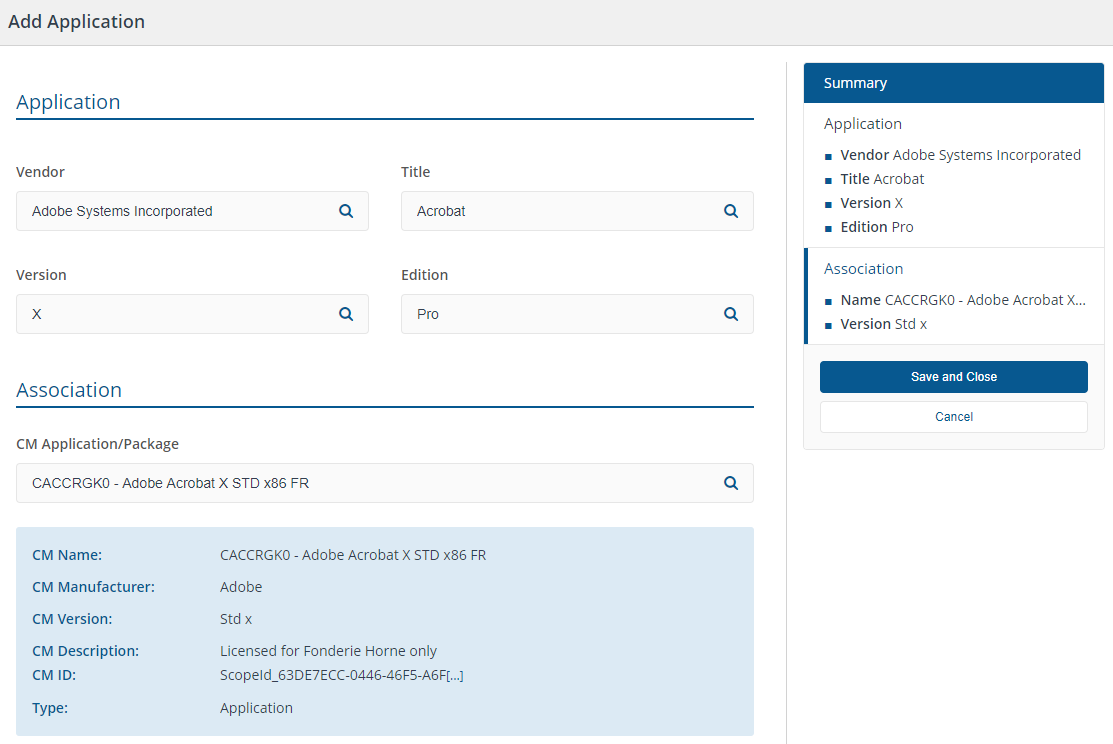
On the Add Application screen:
Populate the Vendor, Title, Version and Edition fields. As you start typing in the Vendor and Title fields, a list matching your string is dynamically generated for you to choose from. In our example, we are adding Adobe Acrobat to the application set we just created.
With the Vendor and Title fields populated, click the Version and Edition fields respectively for a list to choose from.
In Association, click CM Application/Package.
In the CM Application/Package field, select the application you want from the list.
Click Save and Close.
Click Role Based Applications in the left-hand menu to view the Role Based Application Set.

Editing an existing Role-based Application Set
To edit an existing Role-based Application Set:
From the Application Migration menu, choose Role Based Applications.
On the Summary screen, locate the set you want from the list, select it and click Edit.
On the Edit set screen, choose the attributes you want to modify.
To modify the attributes for the application set if you want to:
Update the existing Name, place your cursor in the filed and update it
Add a new management group, start typing the name of the management group in Management Group – a list matching your string is dynamically generated for you to choose from
Remove an existing management group, click the delete icon next to a management group
Click Save when you have finished.
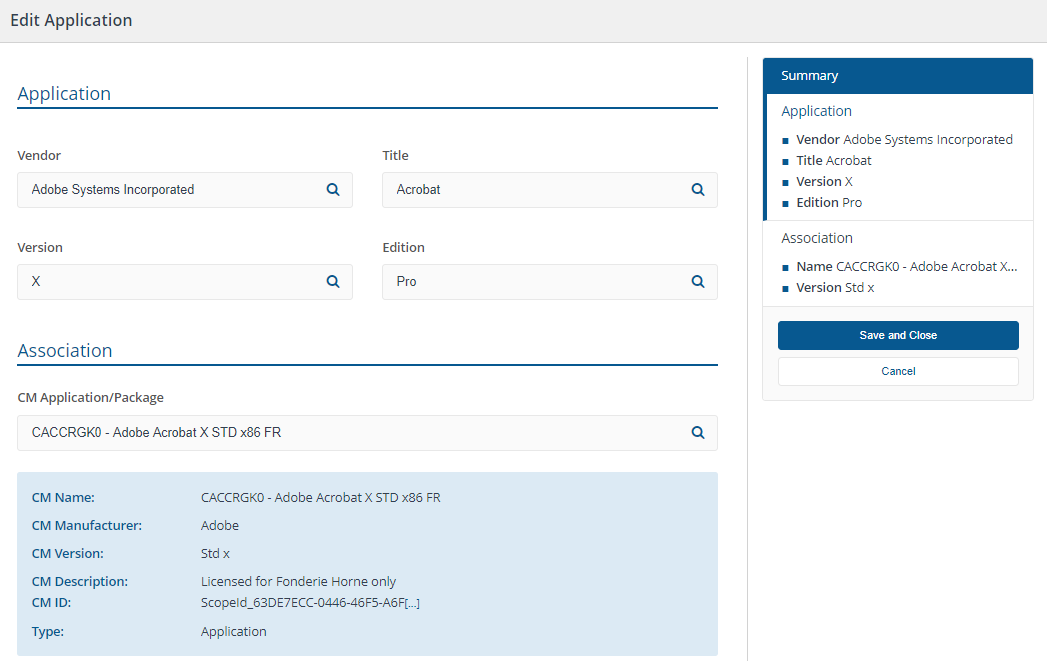
In the Applications section, modify the attributes for the associated applications:
Locate the application you want from the list, select it and click Edit
On the Edit Application screen, update the details
Click Save and Close.
Deleting an existing application set
To delete an existing application set:
From the Application Migration menu, choose Role Based Applications.
Locate the set you want from the list, click Delete.
Confirm your actions.
