Advanced configuration
Advanced editing of a MST transform file to support configuration options not supported by the CDA wizard UI.
1E Client Deployment Assistant supports the following 1E products, you should review documentation for their installer properties to know what options are possible.
1E Client (includes clients for Nomad, PXE Everywhere, Shopping/WSA, WakeUp, and Tachyon) (new)
1E NightWatchman Agent 7.3.0.774
The guidance here is for adding an installer property by editing the base MST transform file provided out-of-box for 1E Client, but the process also works for other MST. Editing a base MST before running the CDA wizard helps you if know you will use the modified MST more than once, for example if you are working in a lab, and want to re-use it in a production environment. This approach only works if you are adding or editing installer properties that are not affected by running the CDA wizard.
An alternative approach is to edit the updated MST transform produced by CDA after running the wizard. This is only useful if the edited MST will be used in the same environment, although you can also edit the environment-specific settings you set when running the wizard. This approach is most frequently used if you need fine-tune properties provided in the base MST and the CDA wizard is not able to configure them exactly the way you need.
In both cases, you will probably need to edit both x64 and x86 files.
Please review Installer properties page for a full list of installer properties included in each base MST.
Note
You must use UPPERCASE when specifying the name of any installer property in a mst transform file, and preferably when including them in a msiexec command-line.
Note
The pictures on this page may not show the latest versions of 1E products.
Adding installer properties to the base MST transform file
To extend installer properties or change default settings for Nomad clients, you can edit their associated MST transform files by using a tool such as Orca a database table editor for creating and editing Windows Installer packages.
Note
Orca is a Microsoft tool for creating and editing Windows Installer packages (MSI) and merge modules (MST transforms). It is available from the Windows Installer Development Tools - https://docs.microsoft.com/en-us/windows/desktop/msi/orca-exe.
The following example configures StatusMsgEvents by modifying the x86 and x64 .mst files. When the wizard is run, the new transform is applied to the deployment and package, and the new value is set when Nomad is installed.
Warning
Status message events should be used with caution as they could impact your Configuration Manager environment when scaled up to tens of thousands of machines.
Note
The steps are recommended only for values unaffected by running the CDA wizard, because updated base settings may be changed when the wizard runs. Please review Installer properties page to see which installer properties are used by CDA.
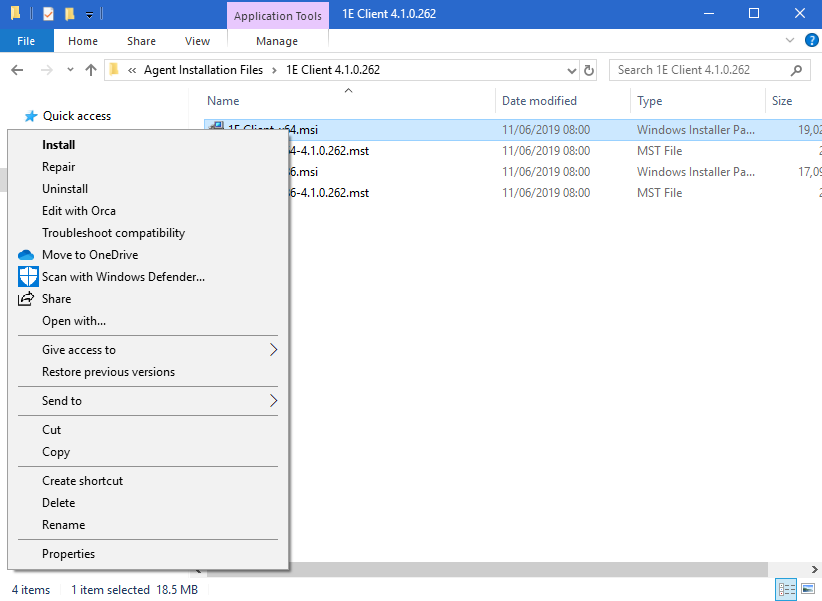
To edit the installer with Orca:
Right-click the 1E.Client-x64.msi choosing Edit with Orca from the context menu.
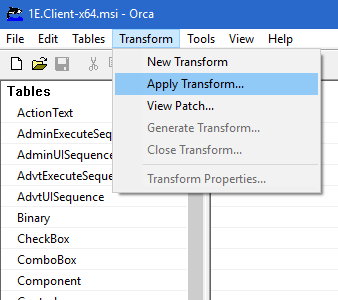
From the Transform menu in the Orca application, select Apply Transform...
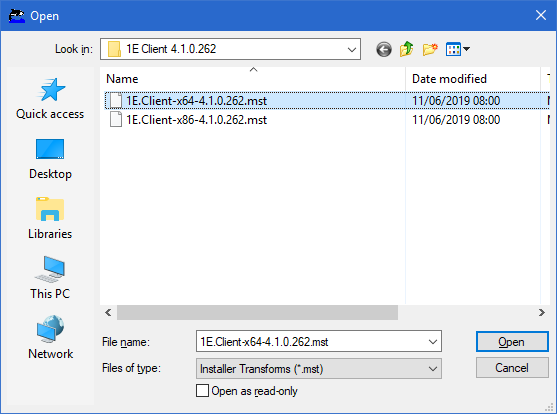
In the Open dialog, select the 1E.Client-x64-5.1.x.mst file.
In the Table list on the left, scroll down and locate
Property.On the right pane, scroll down to StatusMsgEvents and update its value to 0x1000000064 (
0x0by default).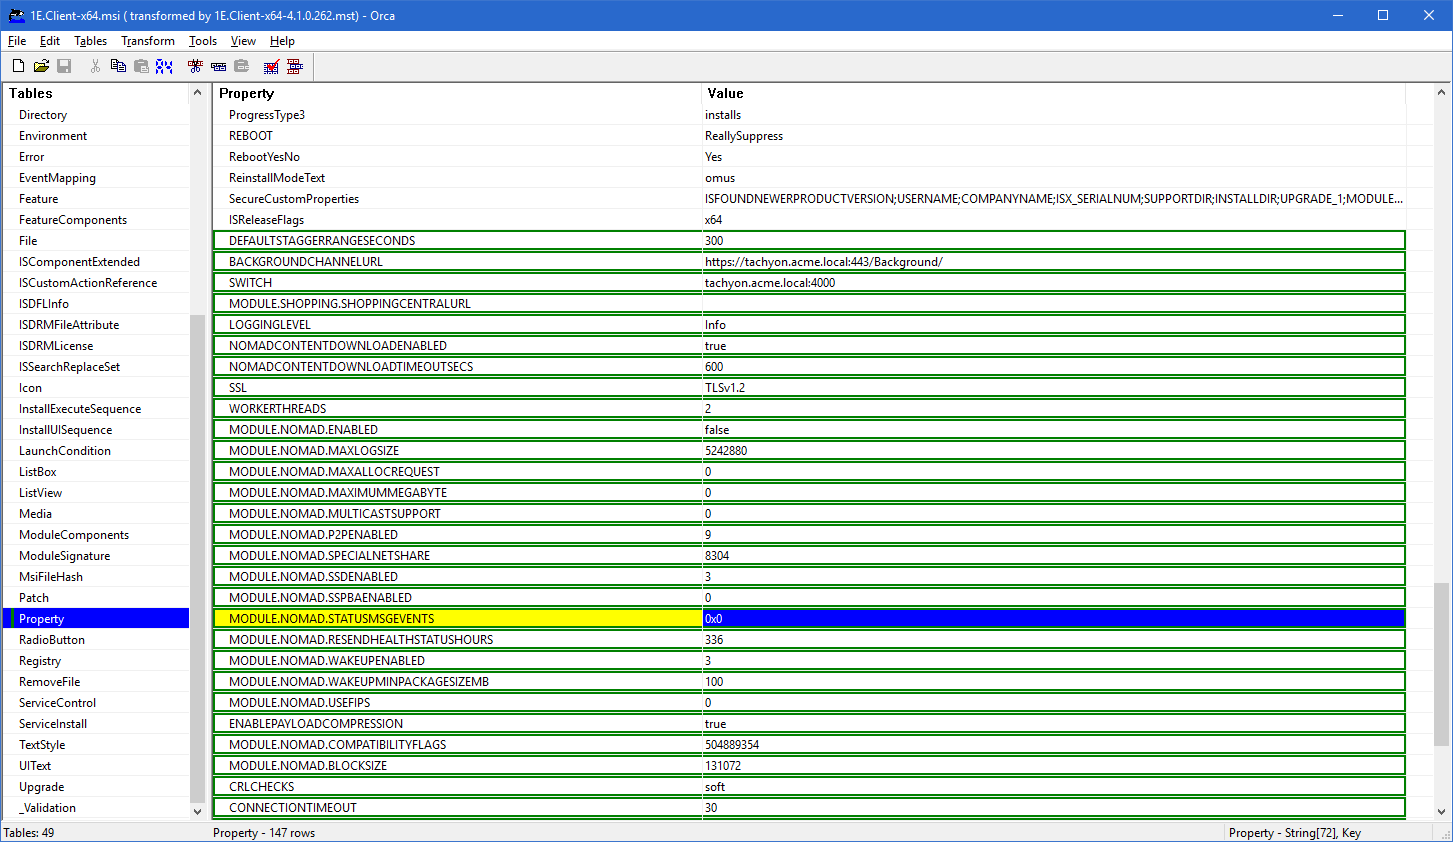
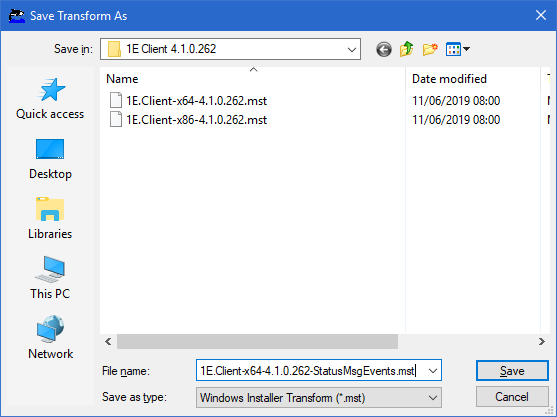
From the Transform menu, choose Generate Transform and save the file with a new name.
For example: 1E.Client-x64-x.x.x-StatusMsgEvents.mst
Repeat steps 1-6 for the x86 version of the installer and
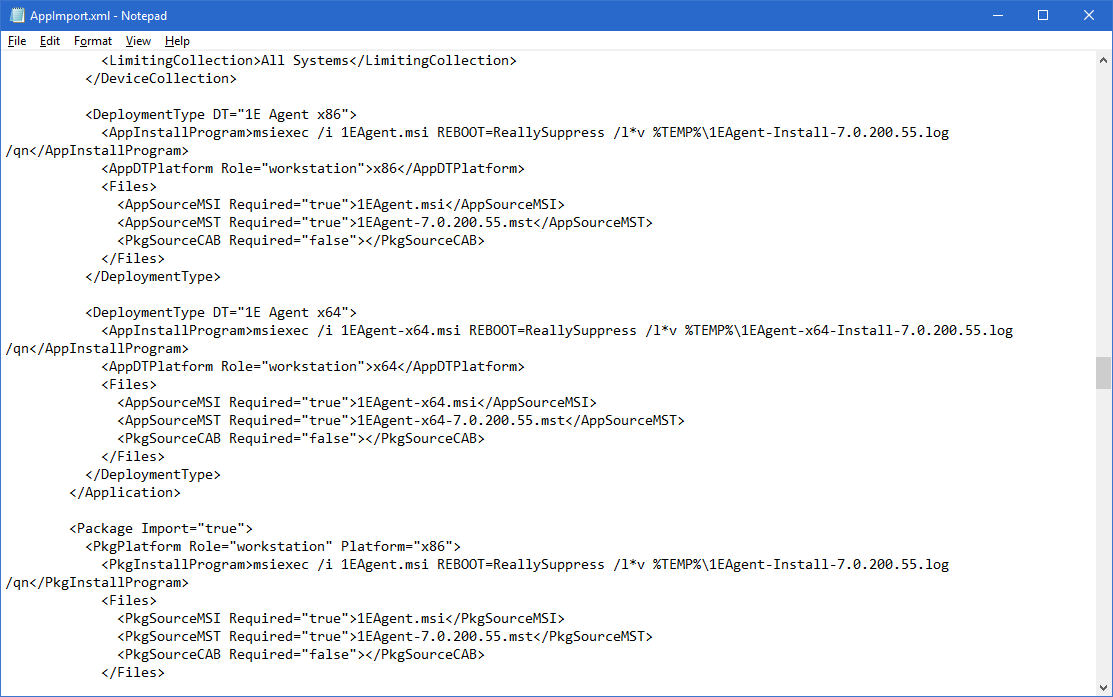
.mstfile.Edit the
AppImport.xmlfile and update<AppSourceMST>and<PkgSourceMST>to point to the new transform files for both x86 and x64 versions.The picture shows the original file.