Installing the Nomad download monitor
A step-by-step guide to interactively installing the Nomad download monitor (also known as NomadBranchGUI).
Installing the Nomad download monitor
The Nomad branch download monitor is a tool for observing Nomad activity on either the local or a remote computer. The tool is required only for testing and troubleshooting on selected computers, and is not required or recommended for general deployment to all computers.
Generally, you only install the download monitor to administrators workstations in Advanced UI mode (UI=1) to enable them to connect any Nomad client.
To find out more about this tool, refer to Nomad Download Monitor.
Installing interactively
The following describes each of the screens in the installation wizard, double click NomadBranchGUI.msi
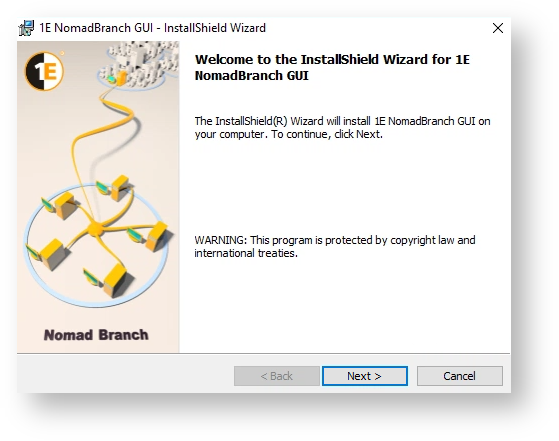
Welcome
The welcome screen, just click Next to continue.
License Agreement
Accept the license agreement and click Next.

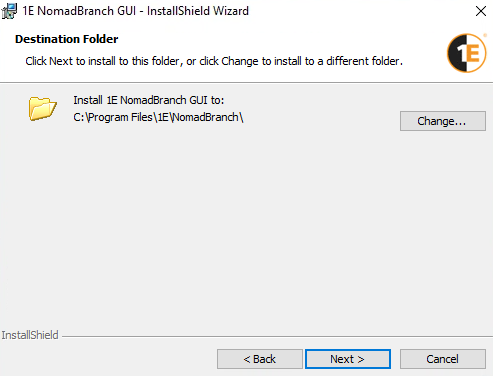
Destination Folder
On the Destination Folder screen, click Next to accept the default location (C:\Program Files\1E\NomadBranch\ or C:\Program Files\1E\NomadBranch (x86)\) or Change... to select a new location.
UI Mode
On the UI Mode screen, choose either Basic or Advanced mode.
Mode | Description |
|---|---|
Basic | You will only see progress bars in the UI. Useful for those who only need to see the status of the downloads. |
Advanced | You will see an extended UI – useful for administrators to troubleshooting downloads as they can connect to remote devices to view the status of the downloads, provided they have sufficient Remote Activation DCOM permissions. By default, the Download Monitor connects to the local machine. |

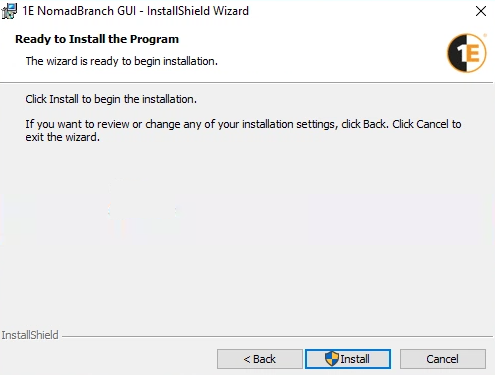
Ready to Install the Program
On the Ready to install the program screen, click Next to start the installation.
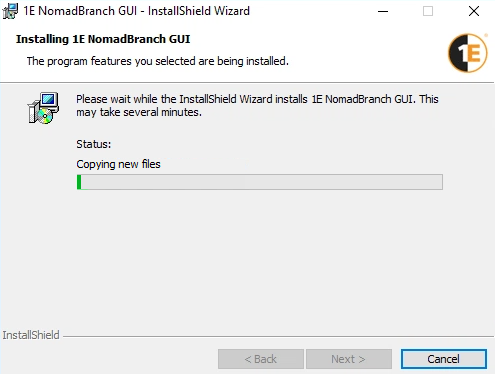
Installing 1E NomadBranch GUI
This screen shows the current progress of the installation. If a User Account Control dialog pops-up, click Yes to continue.
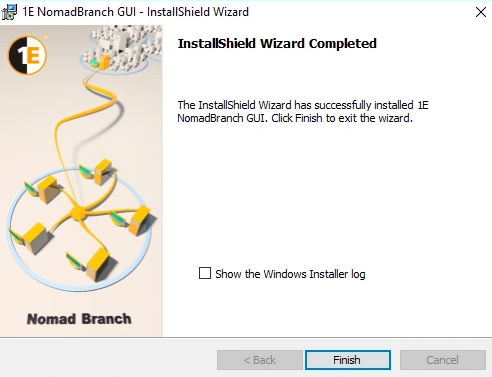
InstallShield Wizard Completed
If the installation has succeeded the InstallShield Wizard Completed will be displayed.
Here you can check the Show the Windows Installer log checkbox to view the installer log. Click Finish to close the installer wizard.
Alternatively, you can install the monitor in unattended mode. The installer has two properties which determines the behavior of the monitor:
0 – sets the UI to basic mode and is the default value
1 – sets the UI to advanced mode.
To install the monitor in basic mode in unattended mode, open a command prompt and run:
> msiexec.exe /i NomadBranchGUI.msi /qn
To install the monitor in advanced mode silently, open a command prompt and run:
> msiexec.exe /i NomadBranchGUI.msi UI=1 /qn
Reviewing the installation
A status icon is added to the system tray after installation to display the download status:
Icon | Description | |
|---|---|---|
| Download in progress | |
| No downloads. |


To open the download monitor, double-click the status icon. If you see the basic UI, you have installed the monitor in basic mode, if you see the expanded UI, you installed the monitor in advanced mode.
UI Mode | Displayed UI |
|---|---|
Basic UI |  |
Advanced UI | 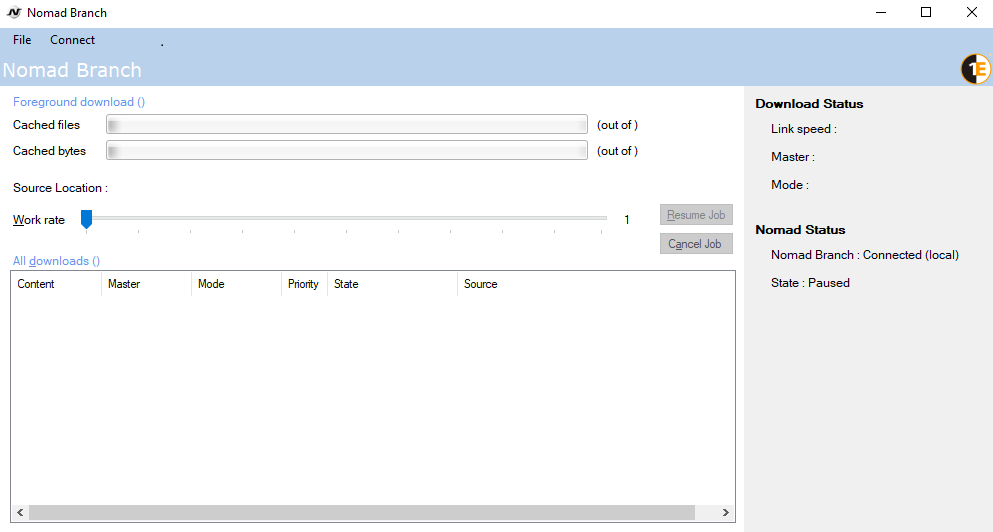 |
Changing the behavior of the monitor
You can change the behavior of the download monitor by updating its registry value after installation. The installer has two properties which determines the behavior of the monitor:
0 – sets the UI to basic mode and is the default value
1 – sets the UI to advanced mode.
To change the behavior, you can set the appropriate registry Value:
On 32-bit machines, go to HKLM\software\1e\NomadBranch\UI
On 64-bit machines, go to HKLM\software\Wow6432Node\1e\NomadBranch\UI
Note
A restart might be required when changing from advanced mode to basic mode.