Contracts page
A description of the fields on the Contracts page.
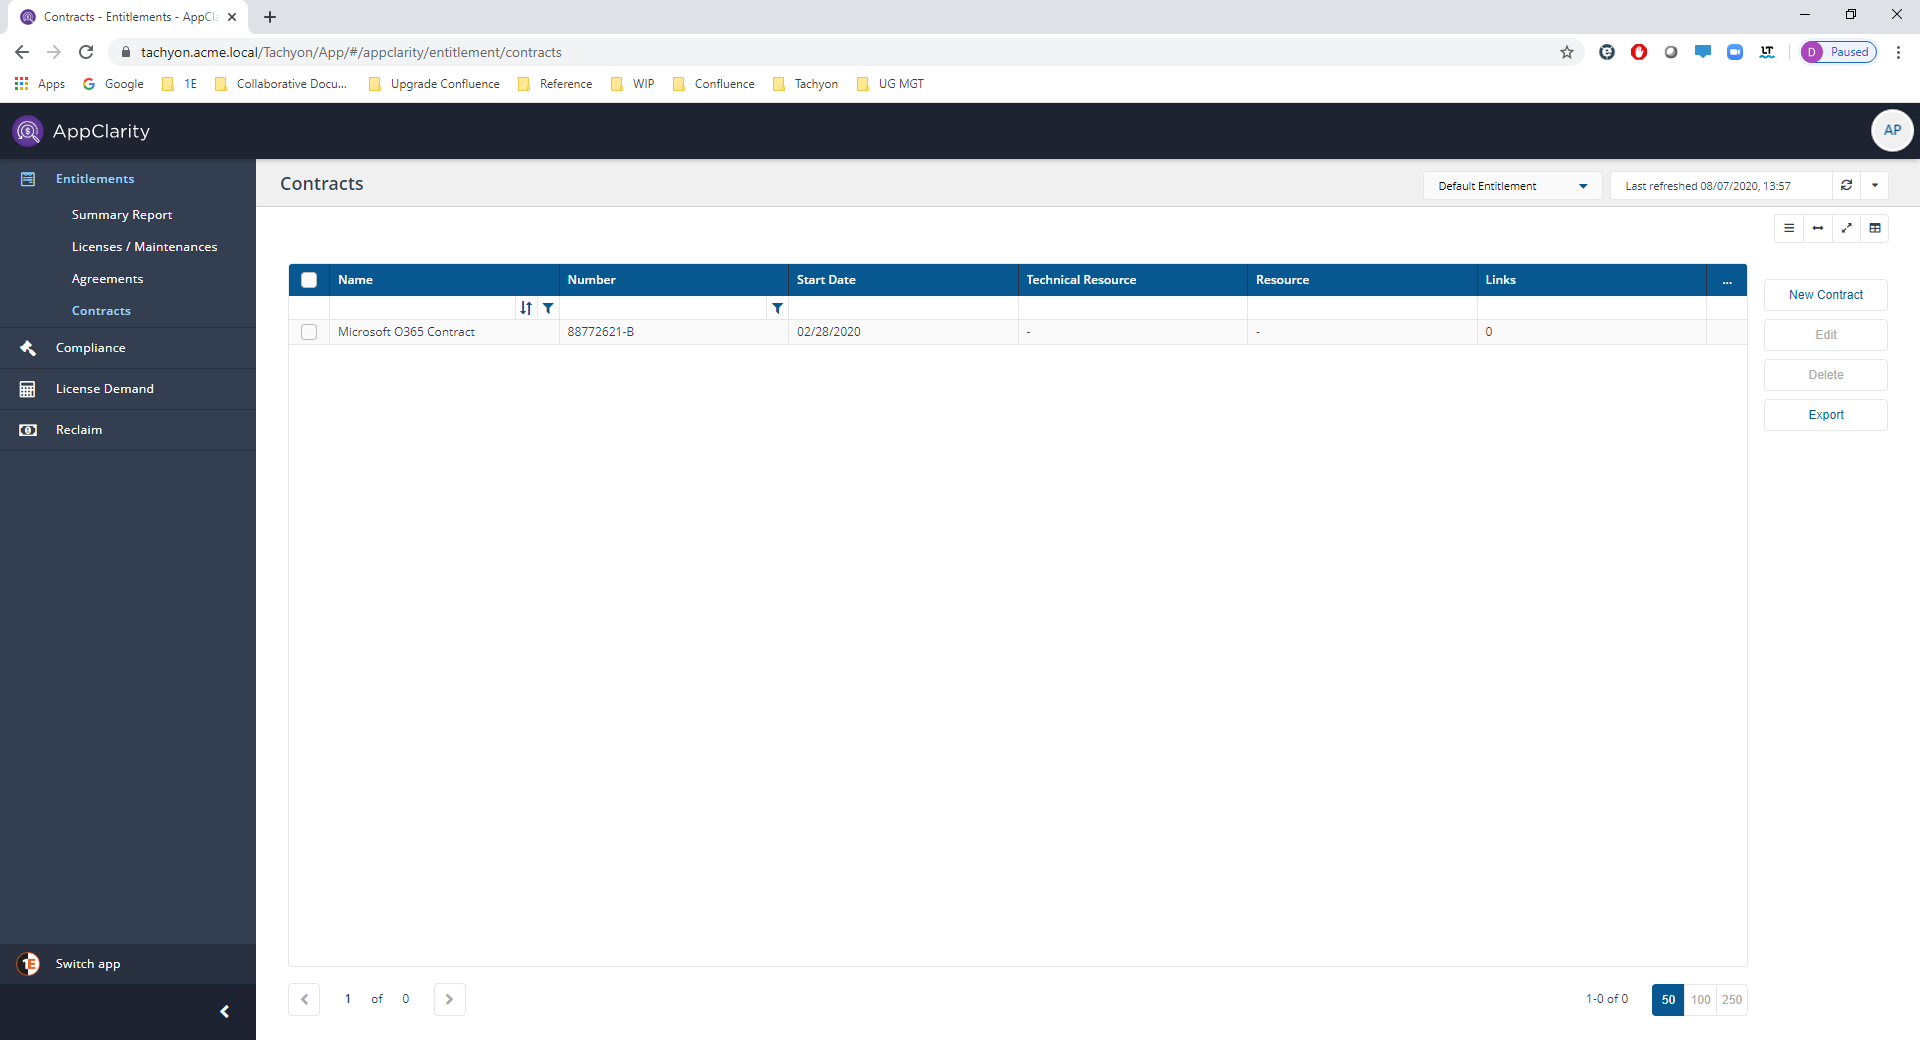
Here you can view, edit, and delete contracts. You can also export all the contracts in the selected repository to a TSV file. You get to this page by clicking the AppClarity→Entitlements→Contracts node in the navigation panel.
The fields on the Contracts page are:
Report Refresh
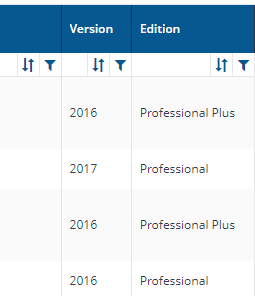
Contracts table
Name
Number
Start Date
Technical Resource
Resource
Links
...
Column actions
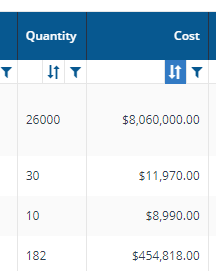
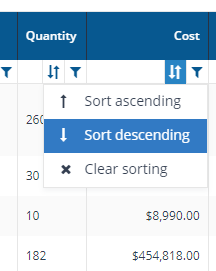
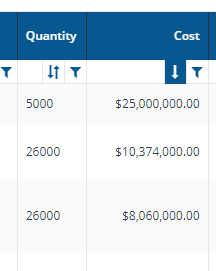
Column sort
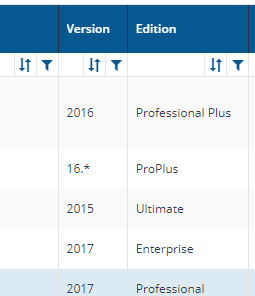
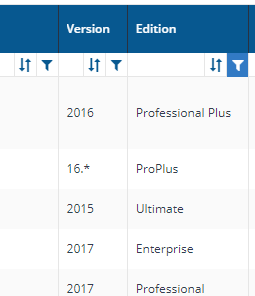
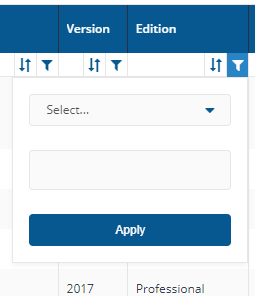
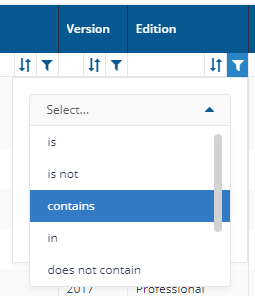
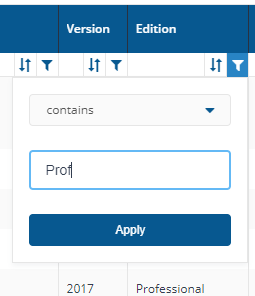
Column filter
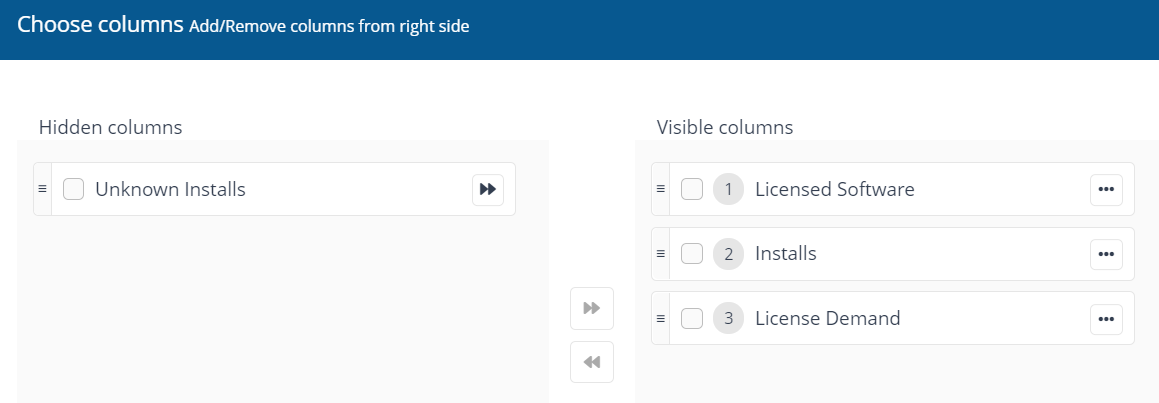
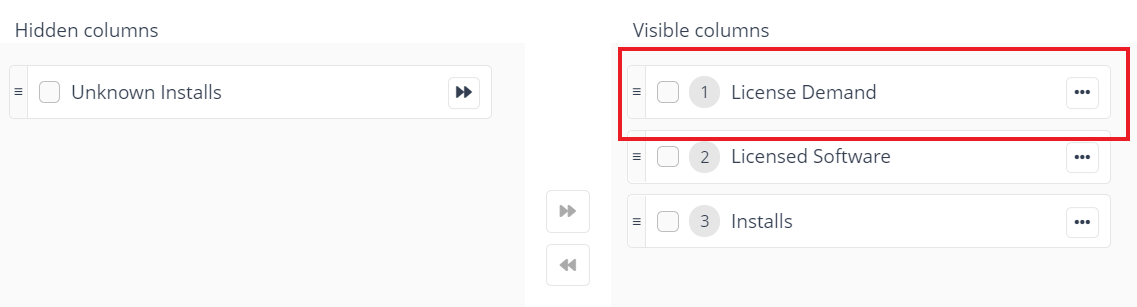
Column Picker
Action Buttons
New Contract
Edit
Delete
Export
Field | Description | ||||||||||||||||||||||
|---|---|---|---|---|---|---|---|---|---|---|---|---|---|---|---|---|---|---|---|---|---|---|---|
You can refresh reports from individual AppClarity screens as well as using the Settings App. Where this is available you can do this by using the refresh icon next to the Last Refreshed box:  | |||||||||||||||||||||||
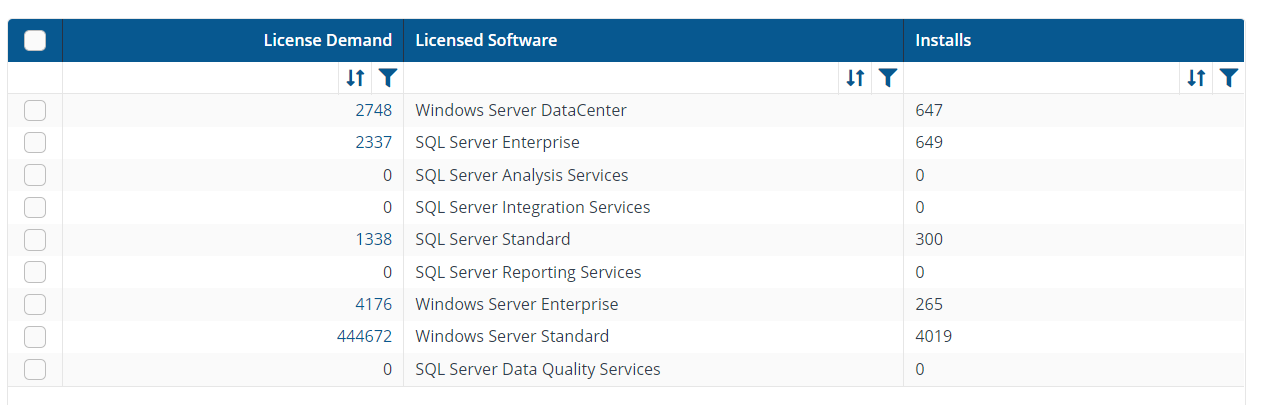
The following table describes the columns displayed in the Contracts table:
The following column actions are available on some columns in the table.
| |||||||||||||||||||||||
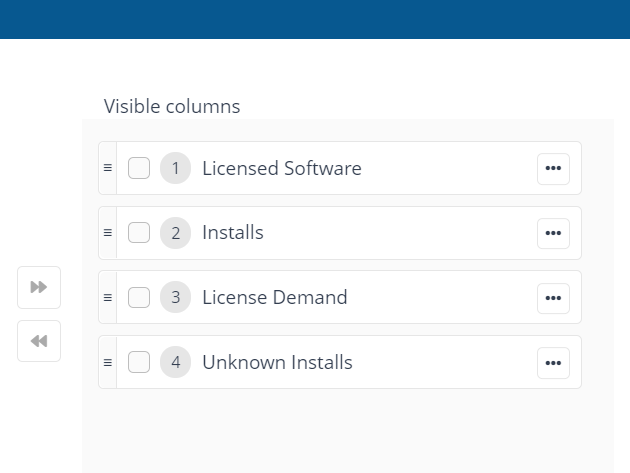
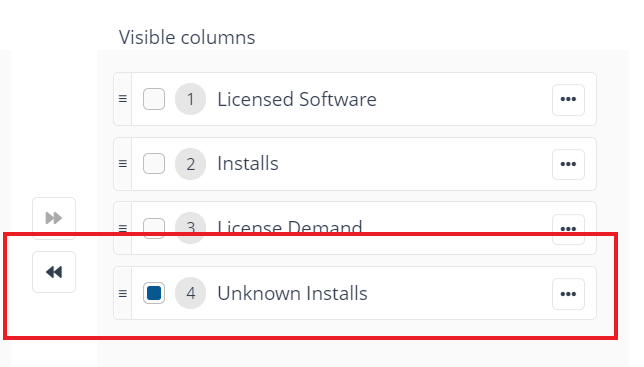
Where the column picker control is shown  To pick the displayed columns:
 | |||||||||||||||||||||||
The following table describes the action buttons displayed on the Contracts page.
|


New Contract page
A description of the fields on theCreate Contractpage. This also covers the Edit Contract page.
A contract entitlement type in AppClarity represents the evidence or proof that the license exists and is genuine. It is an artifact that can be virtually anything - it may be a scan of the signed contract for an enterprise agreement, for example, or it could be a PDF of the use rights for the software. Essentially the contract is where you will link file details that describe the specifics of an agreement.
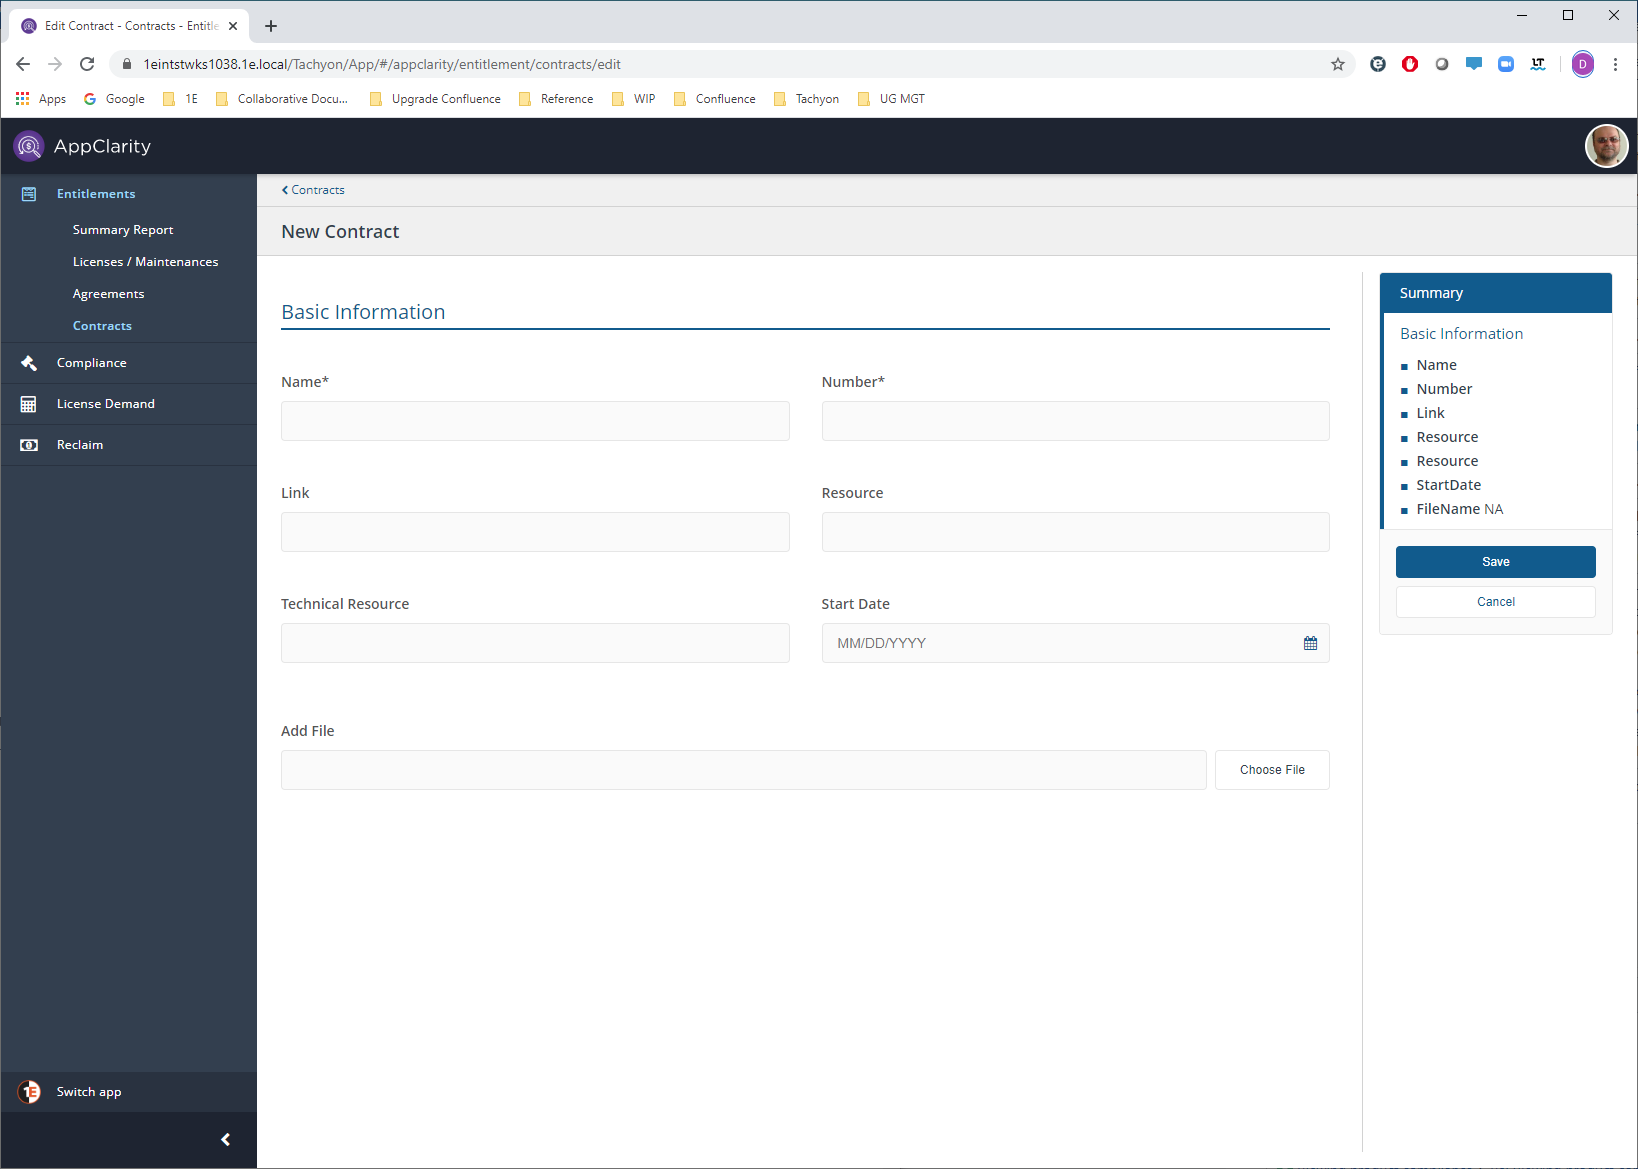
The Summary panel
The Summary panel on the right-hand side displays a summary of the settings that have been made in the contract so far.
The panel also contains the following buttons:
Button | Description |
|---|---|
Save | Saves the contract so it becomes available for linking to entitlements. |
Cancel | Cancels the current edits and closes the page. |
Basic Information
The following fields are available on the New Contract page.
Field | Details |
|---|---|
Name | Name of the contract. For example: Microsoft O365 Contract. |
Number | An alpha-numeric string that identifies the contract. For example: 8877621-B could be used to identify a particular contract, perhaps taken from a paper or emailed copy of the contract.You should ensure that the combination of the Name and Number is unique. |
Link | A link to an online contract. |
Resource | Name of the person who manages the agreement This would likely be used only on agreements, but could be extended to individual entitlements. |
Technical Resource | The name of the person who knows the technical details behind licensing, or product information for an agreement (optional) This would likely be used only on agreements, but could be extended to individual entitlements. |
Start Date | The date when the contracts starts.You can select the date using the date picker. |
Add File | The file attachment. This field displays the attachment after it has been selected using the Choose File button. |
Choose File | Clicking this button displays a file Open dialog where you can browse to find any attachment that you want to add to the contract. |