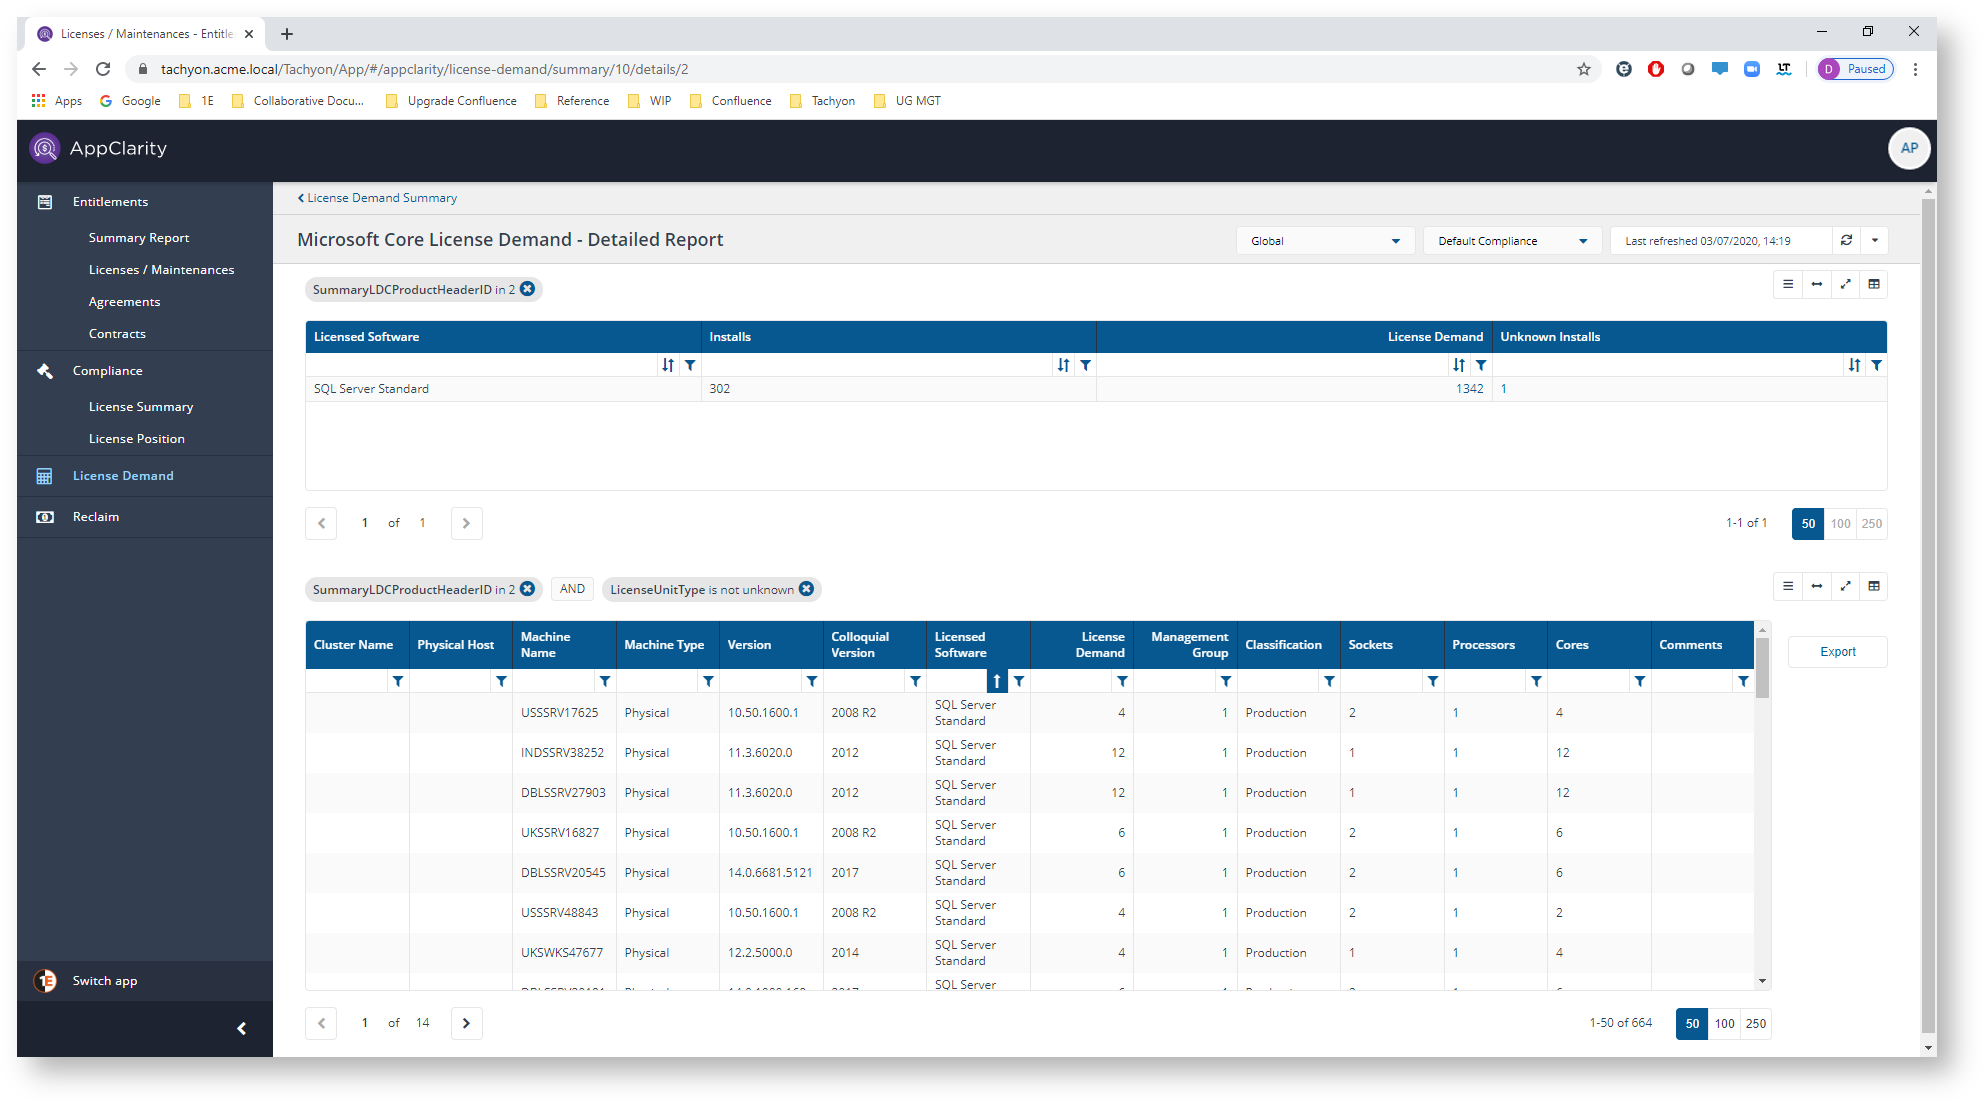
Microsoft Core License Demand - Detailed Report page
A description of the fields on the Microsoft Core License Demand - Detailed Report page.
This page displays the data for a selected software title on the Microsoft Core License Demand page. You get to this page by navigating to the AppClarity→Licence Demand node in the navigation panel, selecting a row in the table and then clicking on the Show Detailed Report button.
The fields on the Microsoft Core License Demand - Detailed Report page are:
Field | Description | ||||||||||||||||||||||||||||||||||||||||
|---|---|---|---|---|---|---|---|---|---|---|---|---|---|---|---|---|---|---|---|---|---|---|---|---|---|---|---|---|---|---|---|---|---|---|---|---|---|---|---|---|---|
Certain pages in AppClarity have a management groups selector. This drop-down lets you select the management group you are interested in. By default this is set to Global. | |||||||||||||||||||||||||||||||||||||||||
This field lets you select the repository where the compliance data displayed on the page comes from. By default this is set to Default Compliance. If you have created your own compliance repositories, click on the name to select these from the drop-down list. | |||||||||||||||||||||||||||||||||||||||||
You can refresh reports from individual AppClarity screens as well as using the Settings App. Where this is available you can do this by using the refresh icon next to the Last Refreshed box:  | |||||||||||||||||||||||||||||||||||||||||
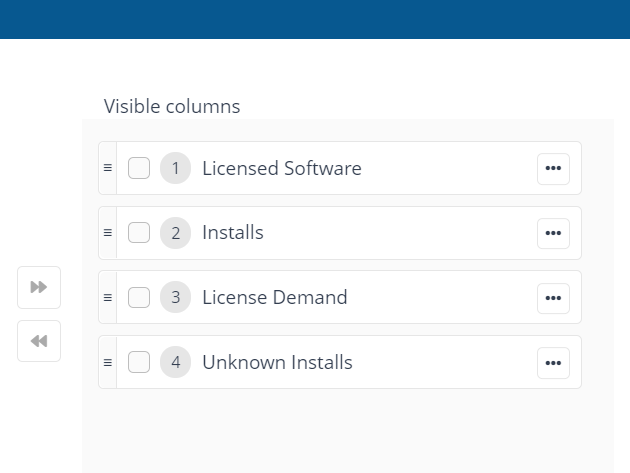
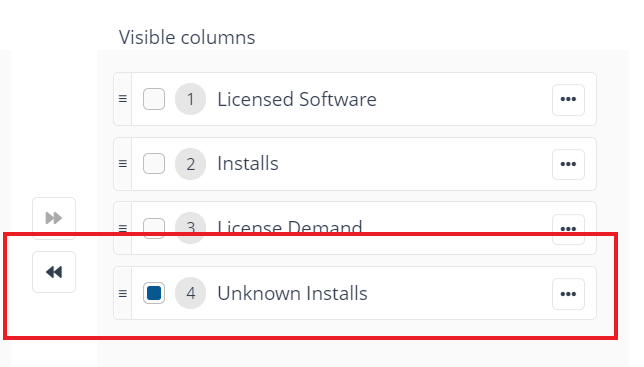
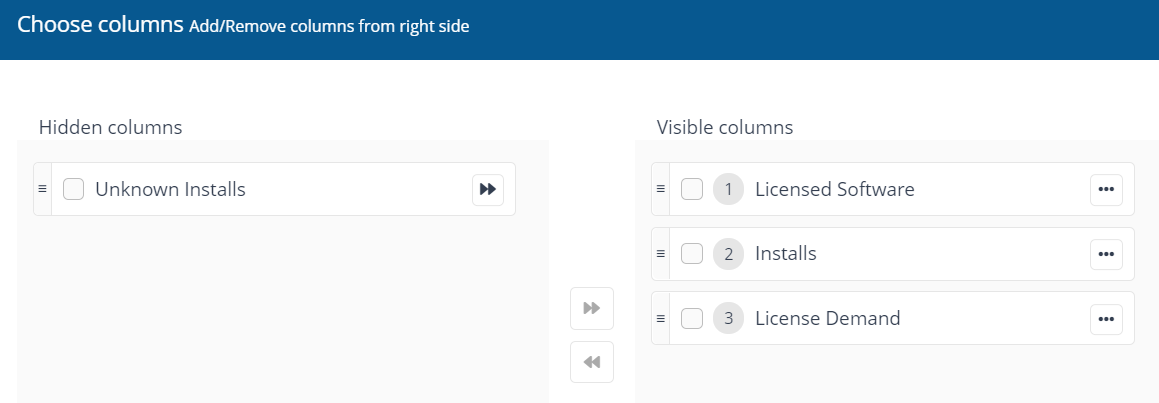
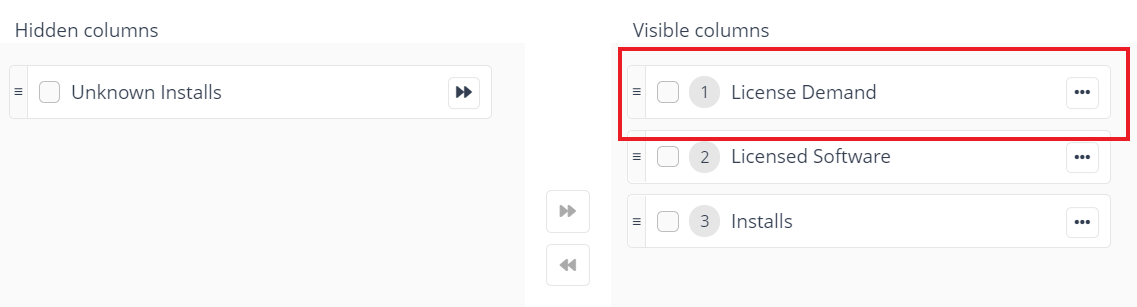
Where the column picker control is shown 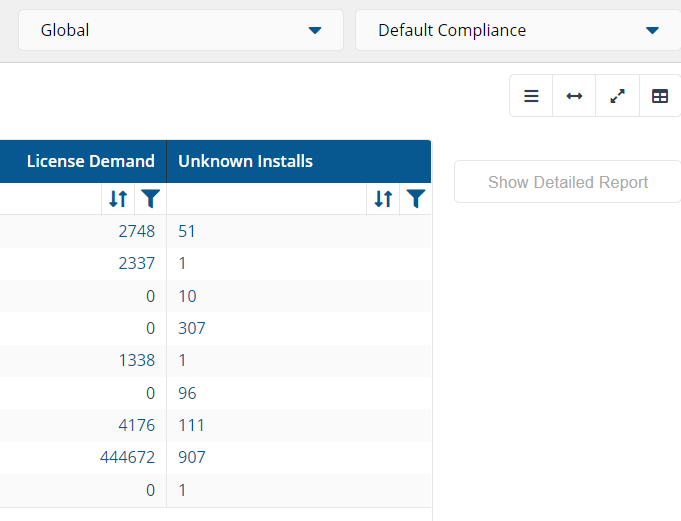 To pick the displayed columns:
| |||||||||||||||||||||||||||||||||||||||||
The following table describes the action buttons displayed on the Microsoft Core License Demand - Detailed Report page:
| |||||||||||||||||||||||||||||||||||||||||
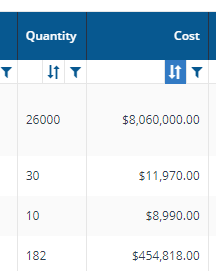
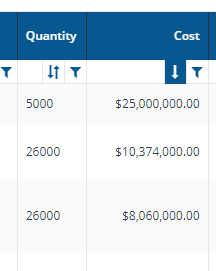
This table displays a summary of the rows displayed in the Microsoft Core License Demand - Detailed Report table. The following table describes the columns displayed in the Microsoft Core License Demand Summary table:
| |||||||||||||||||||||||||||||||||||||||||
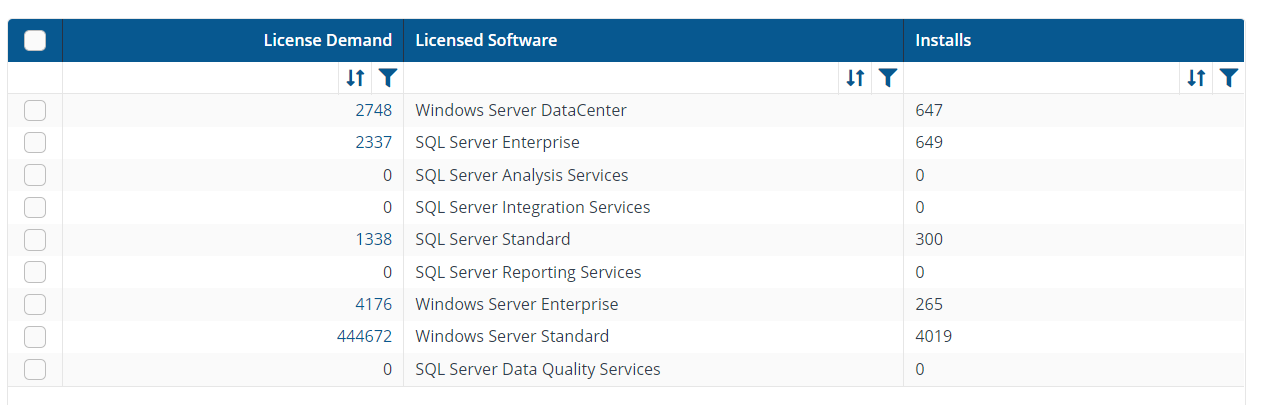
The following table describes the columns displayed in the Microsoft Core License Demand - Detailed Report table:
| |||||||||||||||||||||||||||||||||||||||||
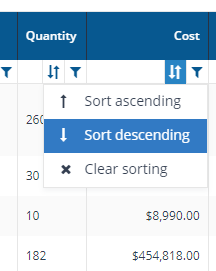
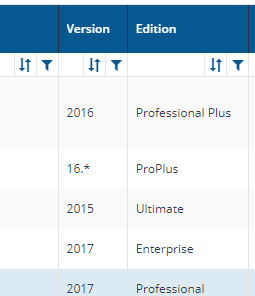
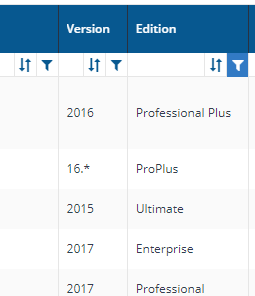
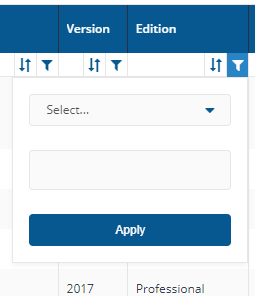
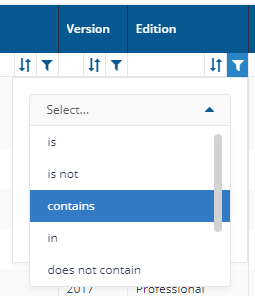
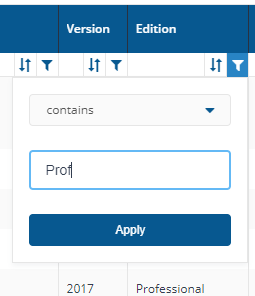
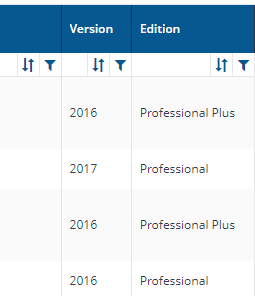
The following column actions are available on some table columns:
|