Policies page
A description of the fields on the Policies page.
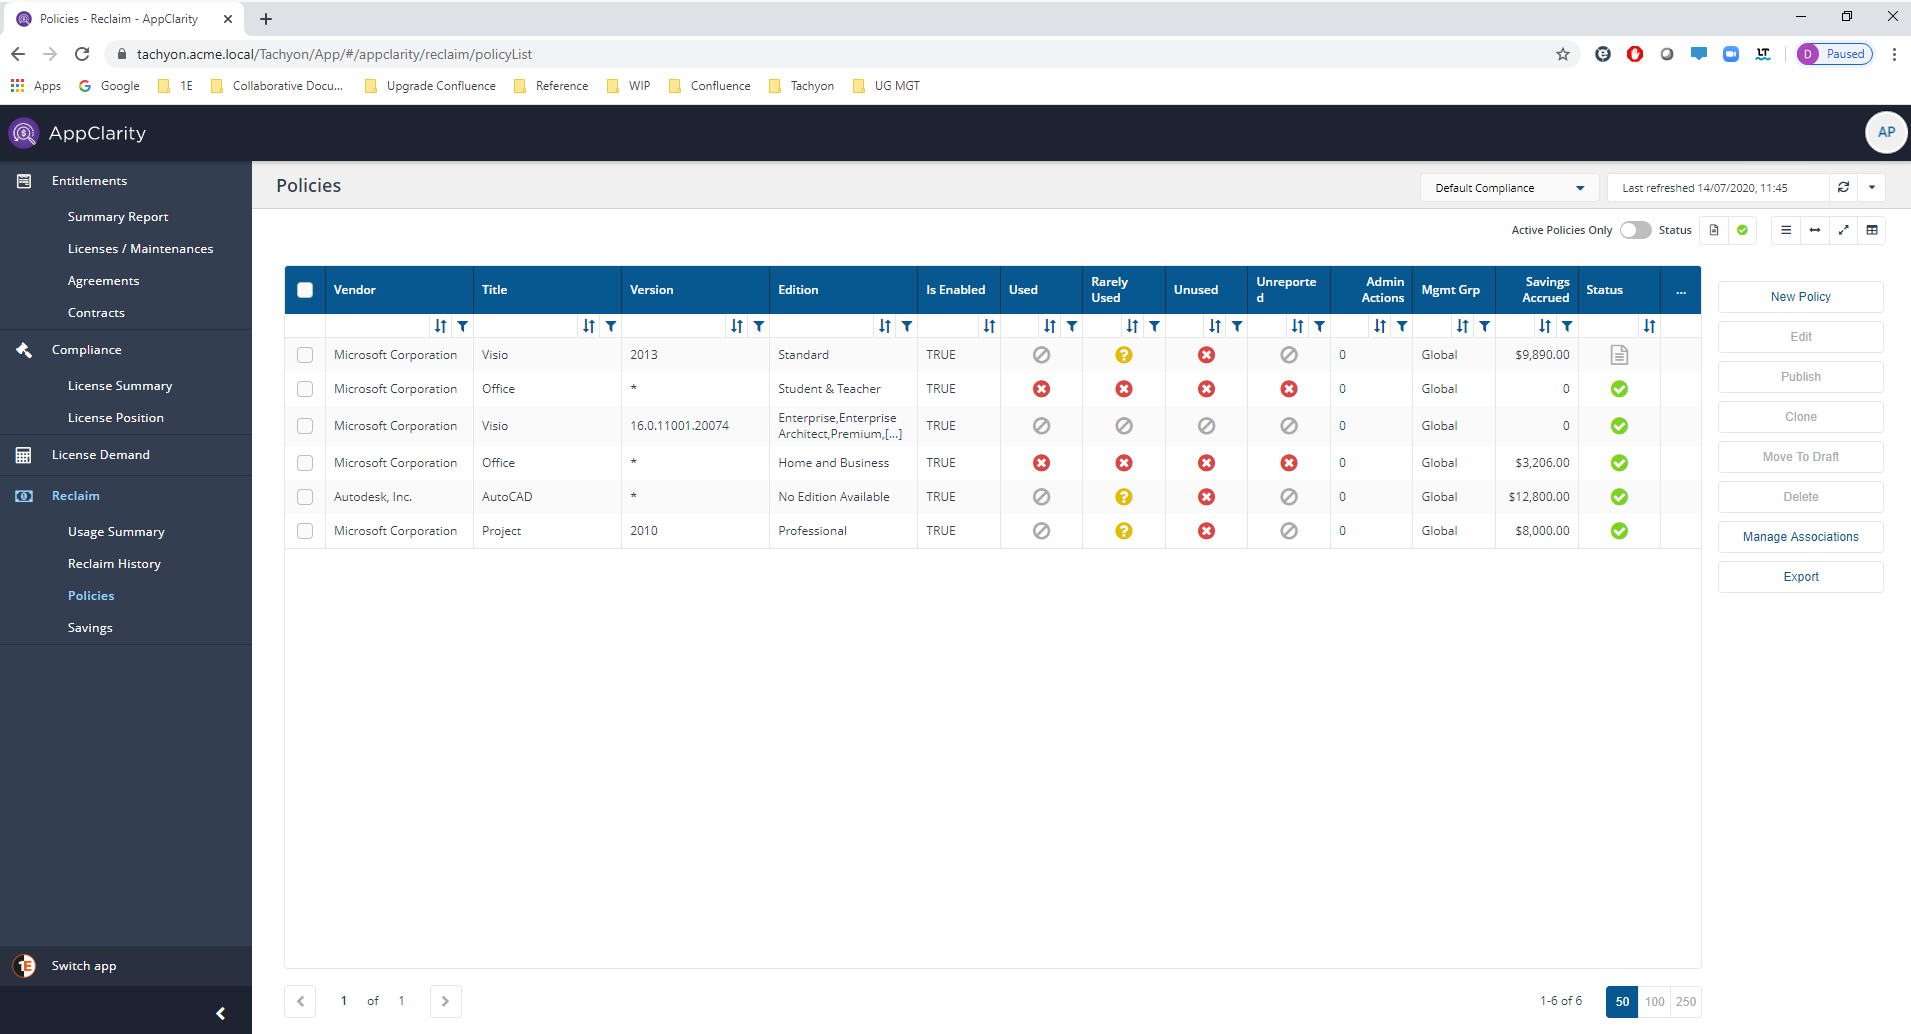
Here you can view the reclaim policies that have been published. You get to this page by clicking the AppClarity→Reclaim→Policies node in the navigation panel.
The fields on the Policies page are:
Field | Description | ||||||||||||||||||||||||||||||||||||||
|---|---|---|---|---|---|---|---|---|---|---|---|---|---|---|---|---|---|---|---|---|---|---|---|---|---|---|---|---|---|---|---|---|---|---|---|---|---|---|---|
This field lets you select the repository where the compliance data displayed on the page comes from. By default this is set to Default Compliance. If you have created your own compliance repositories, click on the name to select these from the drop-down list. | |||||||||||||||||||||||||||||||||||||||
You can refresh reports from individual AppClarity screens as well as using the Settings App. Where this is available you can do this by using the refresh icon next to the Last Refreshed box:  | |||||||||||||||||||||||||||||||||||||||
The Active Policies Only toggle adds a filter when it's turned on that filters the table to only display the reclaim policies that have been published and their status is set to enabled. | |||||||||||||||||||||||||||||||||||||||
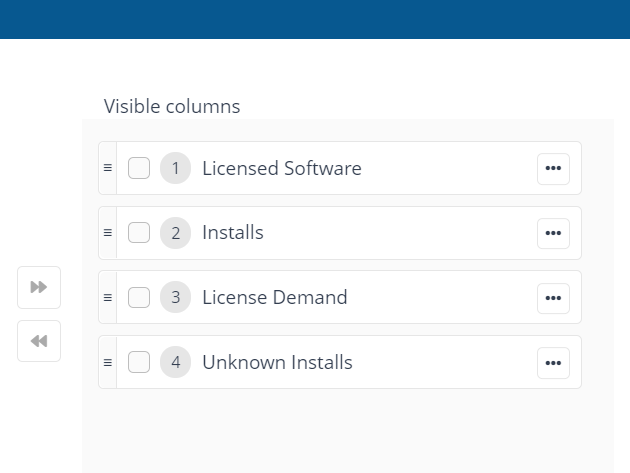
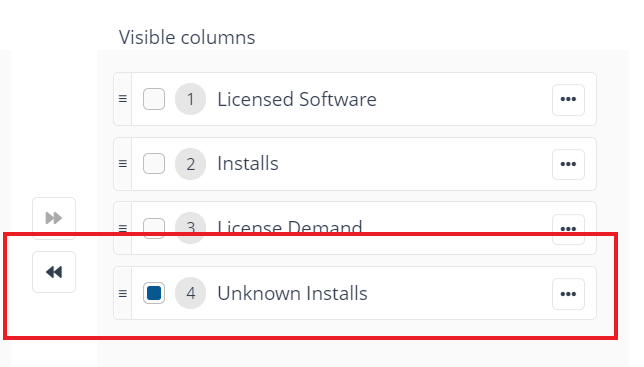
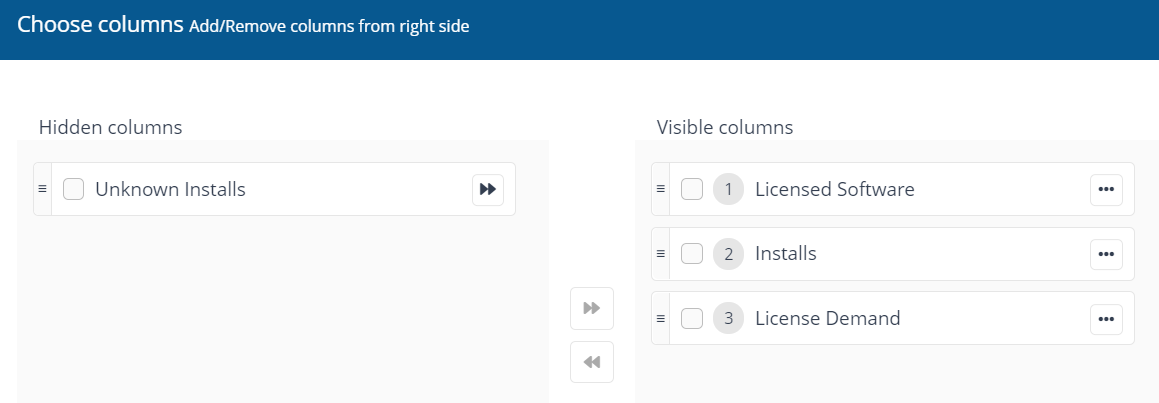
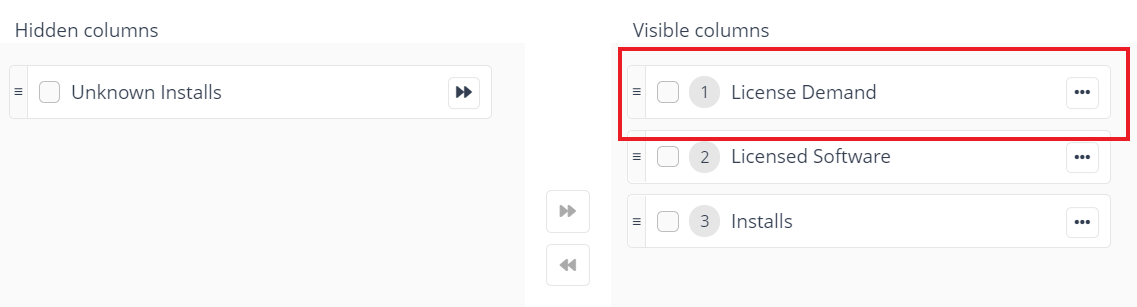
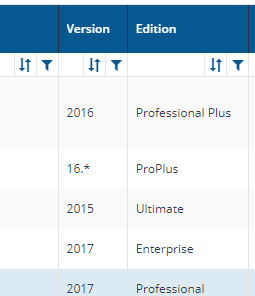
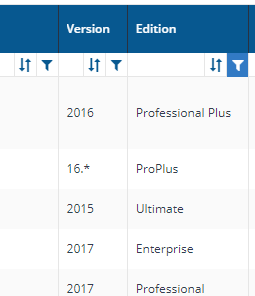
Where the column picker control is shown 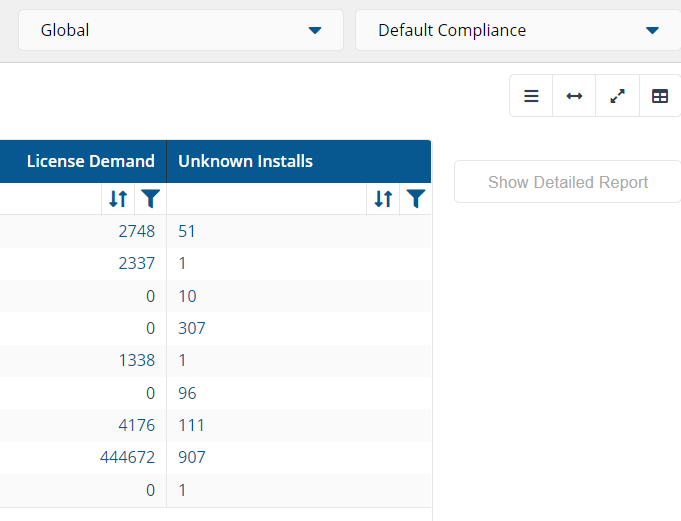 To pick the displayed columns:
 | |||||||||||||||||||||||||||||||||||||||
The following table describes the action buttons displayed on the Policies page:
| |||||||||||||||||||||||||||||||||||||||
The following table describes the columns displayed in the Policies table:
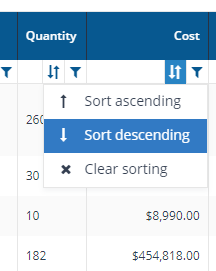
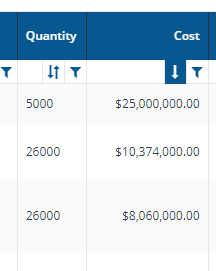
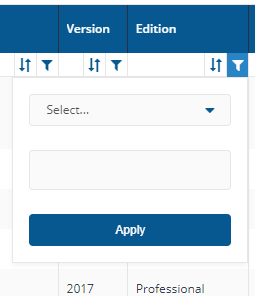
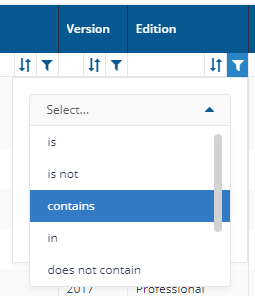
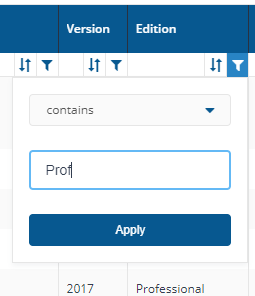
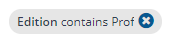
The following column actions are available on some table columns:
|


New Policy page
A description of the fields on the Reclaim Policies page.
Here you can create a Reclaim Policy for a specific product. You get to this page by any of the following ways:
Clicking the Reclaim→Policies node in the navigation panel, then clicking the New Policy button
Clicking on the Add Policy button on the side of a product entry in the Usage Summary page. If this method is selected the page will be pre-filled with the details of the product.
Clicking on the Edit button on the Policies page. When this is done the Reclaim Policy page will be pre-filled with the contents of the selected reclaim policy.
Clicking on the Clone link on the Policies page. When this is done the Reclaim Policy page will be pre-filled with the contents of the selected reclaim policy and when you subsequently click Draft or Publish a copy of the original reclaim policy will be saved including any changes you have made.
The fields on the Reclaim Policy page are:
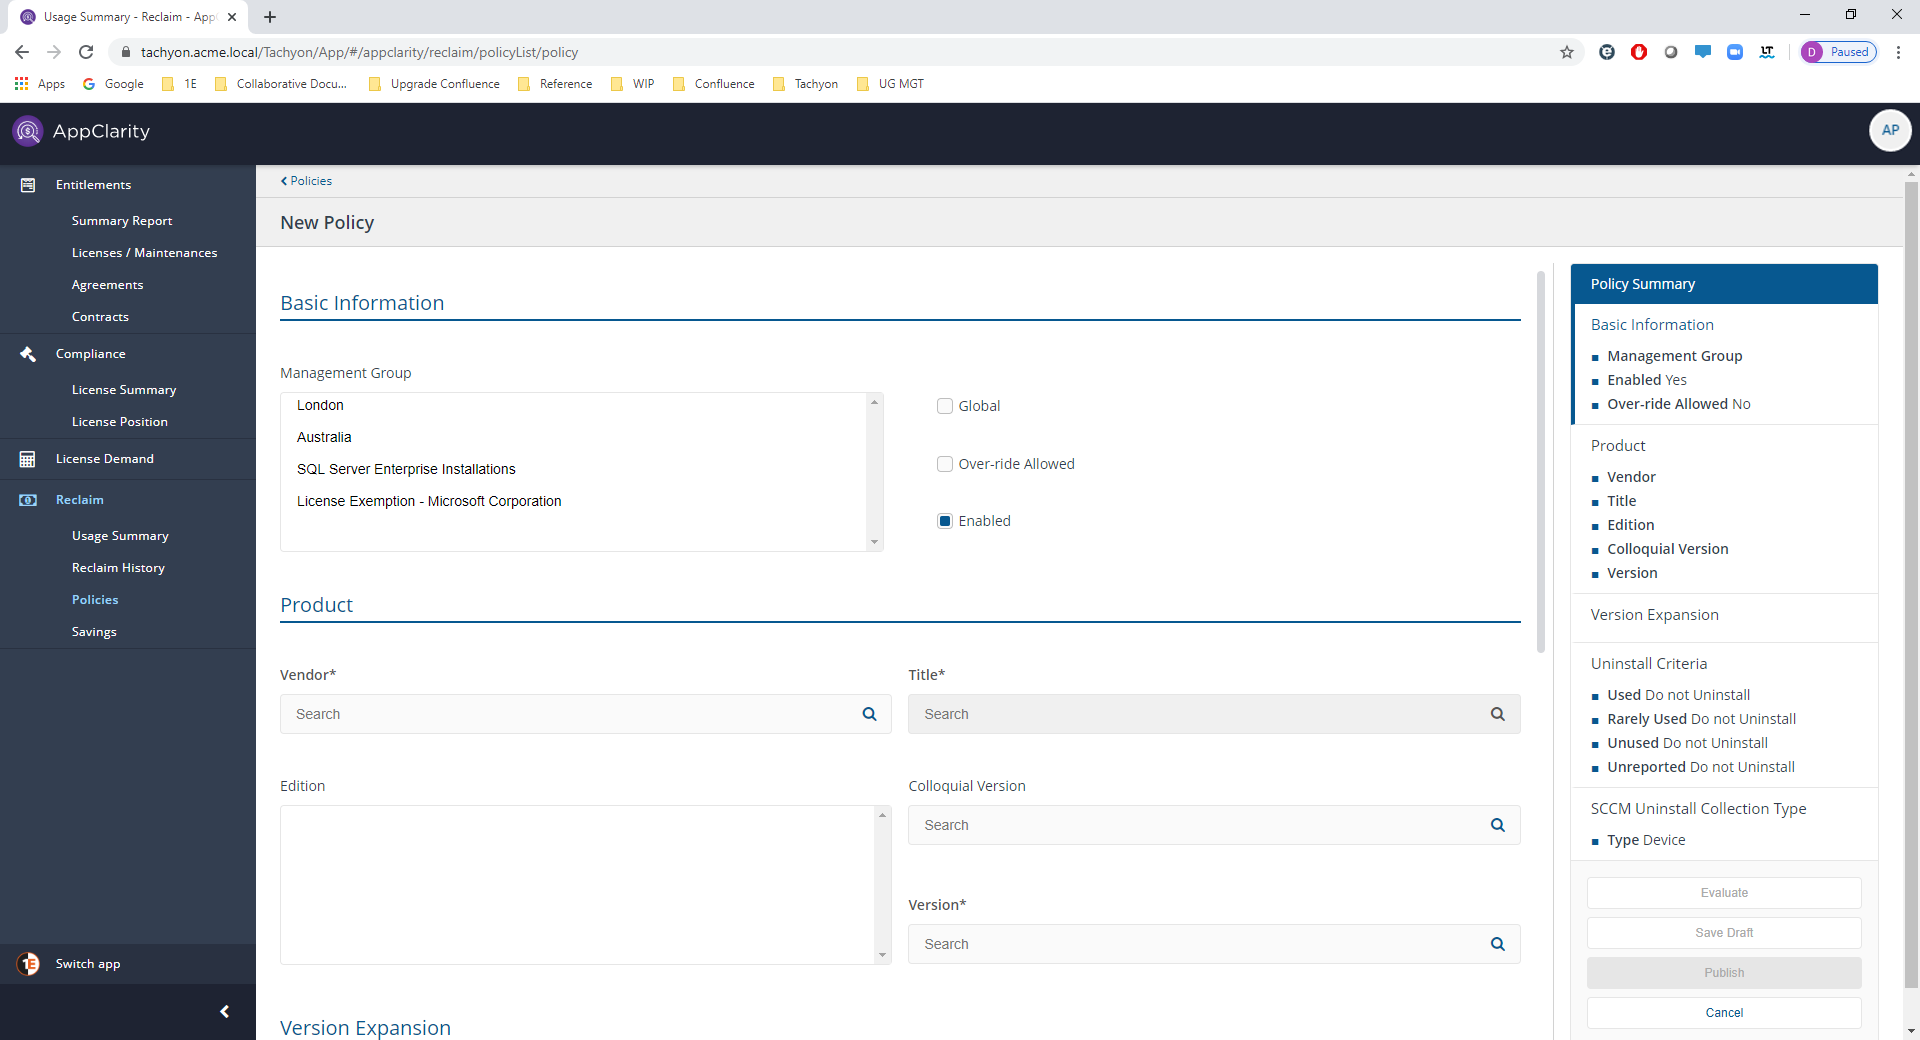
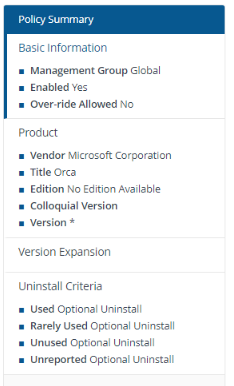
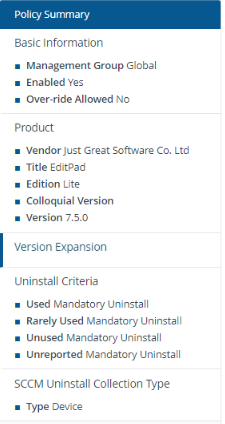
Policy Summary
This table to the right shows you the information about the policy as you are building the policy or if you are editing a policy. This is useful because the policy pane is larger than can be seen on one screen. Each of these sections are hyperlinks to that specific area of the policy page.
Field | Description |
|---|---|
Details about the Management Group, if the policy is enabled and if Over-ride is allowed | |
Give Vendor, Title, Edition, Colloquial Version and Version for the software in the policy | |
No details here, just a hyperlink to the Version Expansion area | |
Details each usage category and the action that Reclaimer will take |
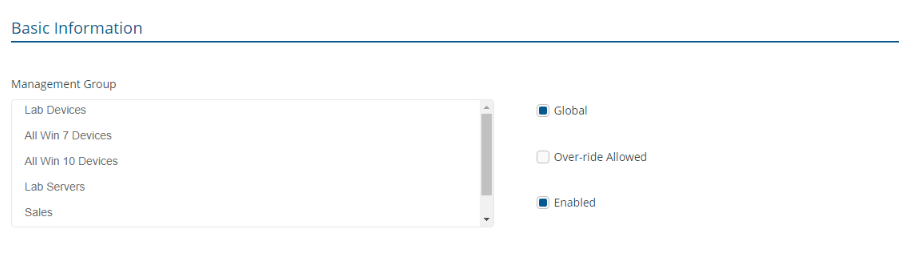
Basic Information
Field | Description |
|---|---|
This field displays a list of the current management groups, you can select all the management groups that you want this reclaim policy to apply to. You must select at least one management group or set the reclaim policy to global. | |
This checkbox determines whether the reclaim policy will be applied to all products matching the vendor, title, version and edition information regardless of which management groups they belong to. | |
This checkbox is only displayed when the Global checkbox has been checked. When Override Allowed is checked:
WhenOverride Allowedis unchecked:
| |
This checkbox determines whether the policy is enabled or not, even if it is published. You can use this to disable policies that are no longer in use, or re-enable policies that have been disabled previously. |
Product
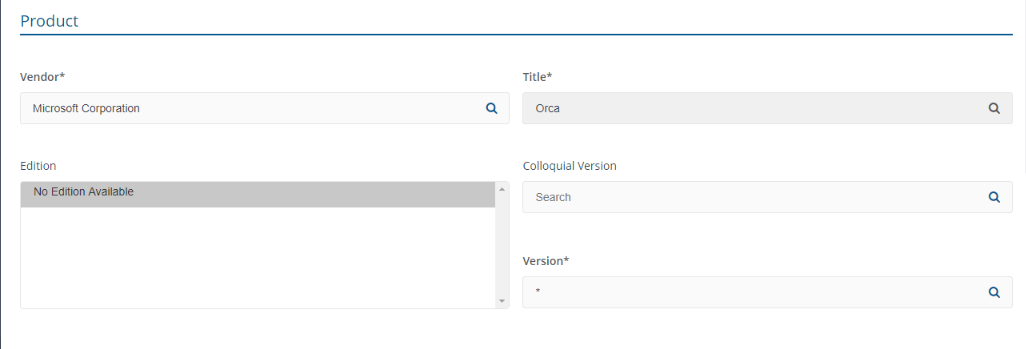
Field | Description |
|---|---|
The vendor part of the vendor, title, version and edition for a product. This must be filled out before any other fields. Suggested suitable vendors that match your text are displayed as you type into the field, which you can select to auto-complete the entry. | |
The title part of the vendor, title, version and edition for a product. Suggested suitable titles from the selected vendor that match your text are displayed as you type into the field, which you can select to auto-complete the entry. | |
Sets the edition for the product to be reclaimed. This field displays a list of editions that match the selected Vendor and Title fields. NoteYou must ensure that you select at least one edition from theEditionlist. If the list showsNo edition available, then you must ensure that you select that option. | |
This field is optional and sets the colloquial version for the product to be reclaimed. |
Note
When manually entering the information on the Reclaim Policy page you must enter the values in the order they are presented, as each subsequent field is dependent on the fields above it.
Version Expansion
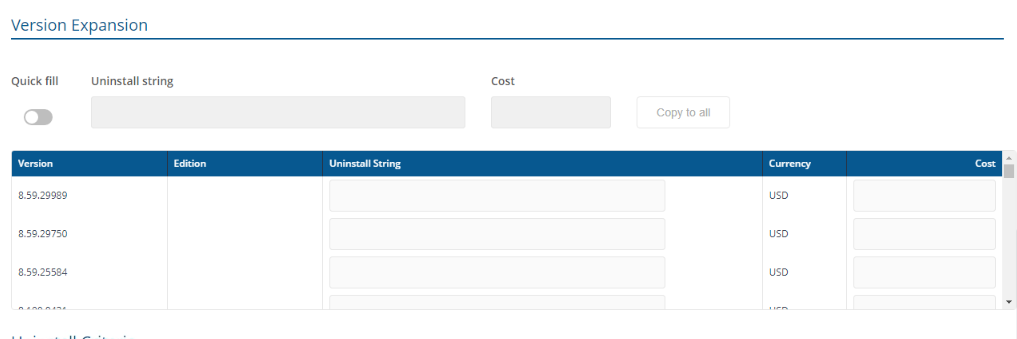
Field | Description | ||||||||||||
|---|---|---|---|---|---|---|---|---|---|---|---|---|---|
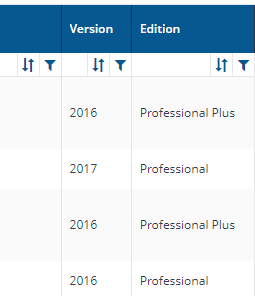
Here you select the versions of the software you want the reclaim policy to apply to. Enter a value and then select one from the list of versions displayed. This is taken into account in addition to the vendor, title and edition. This field accepts the asterisk character * as a wildcard. For example. This field could be set to:
| |||||||||||||
This field will expand all the individual matching versions for the vendor, title, edition and version. The expansion is done according to the wildcards in the Versions string:
There are four fields for each matching version row displayed in the Version Expansion field, as described in the following table:
|
Field | Description |
|---|---|
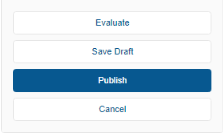
Click this button to run the evaluation report for the reclaim policy to see which devices and software installations would be affected by the policy. Clicking this button creates a report that is downloaded by the browser as a TSV file. NoteYou may need to enable popups on the Tachyon site to enable the download to proceed. | |
Click this button if want to save a copy of the policy you are currently working on. Clicking this button does not close the Reclaim Policy page. | |
Click this button to publish the policy. NoteWhen you publish the policy a check will be made to see if it overlaps with any other existing policy. If it does, you will see a popup similar to the following: 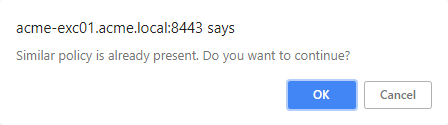 If you decide to proceed with the publishing you will subsequently need to set the precedence for the policies to decide which one should be preferred. This is done on the Precedence page but can only be done for live policies. This means that you will have to refresh the reclaim consolidation report first, which can be done from the Policies page. | |
Click this button to leave without making any changes to the policy. |
SCCM Uninstall Collection Type
When you have the SCCM Uninstall Provider configured you are presented with an additional section in your Policy Summary. This will allow the Reclaimer to use the SCCM Uninstall for the Reclaimer. The Reclaimer will create a device collection, a user collection or one of each. Based on the setting in the picture below (from the policy). When the Reclaimer runs either the device or the user or both is added to the collection. The Reclaimer also creates deployments for the Program or the Application model for the uninstallation.

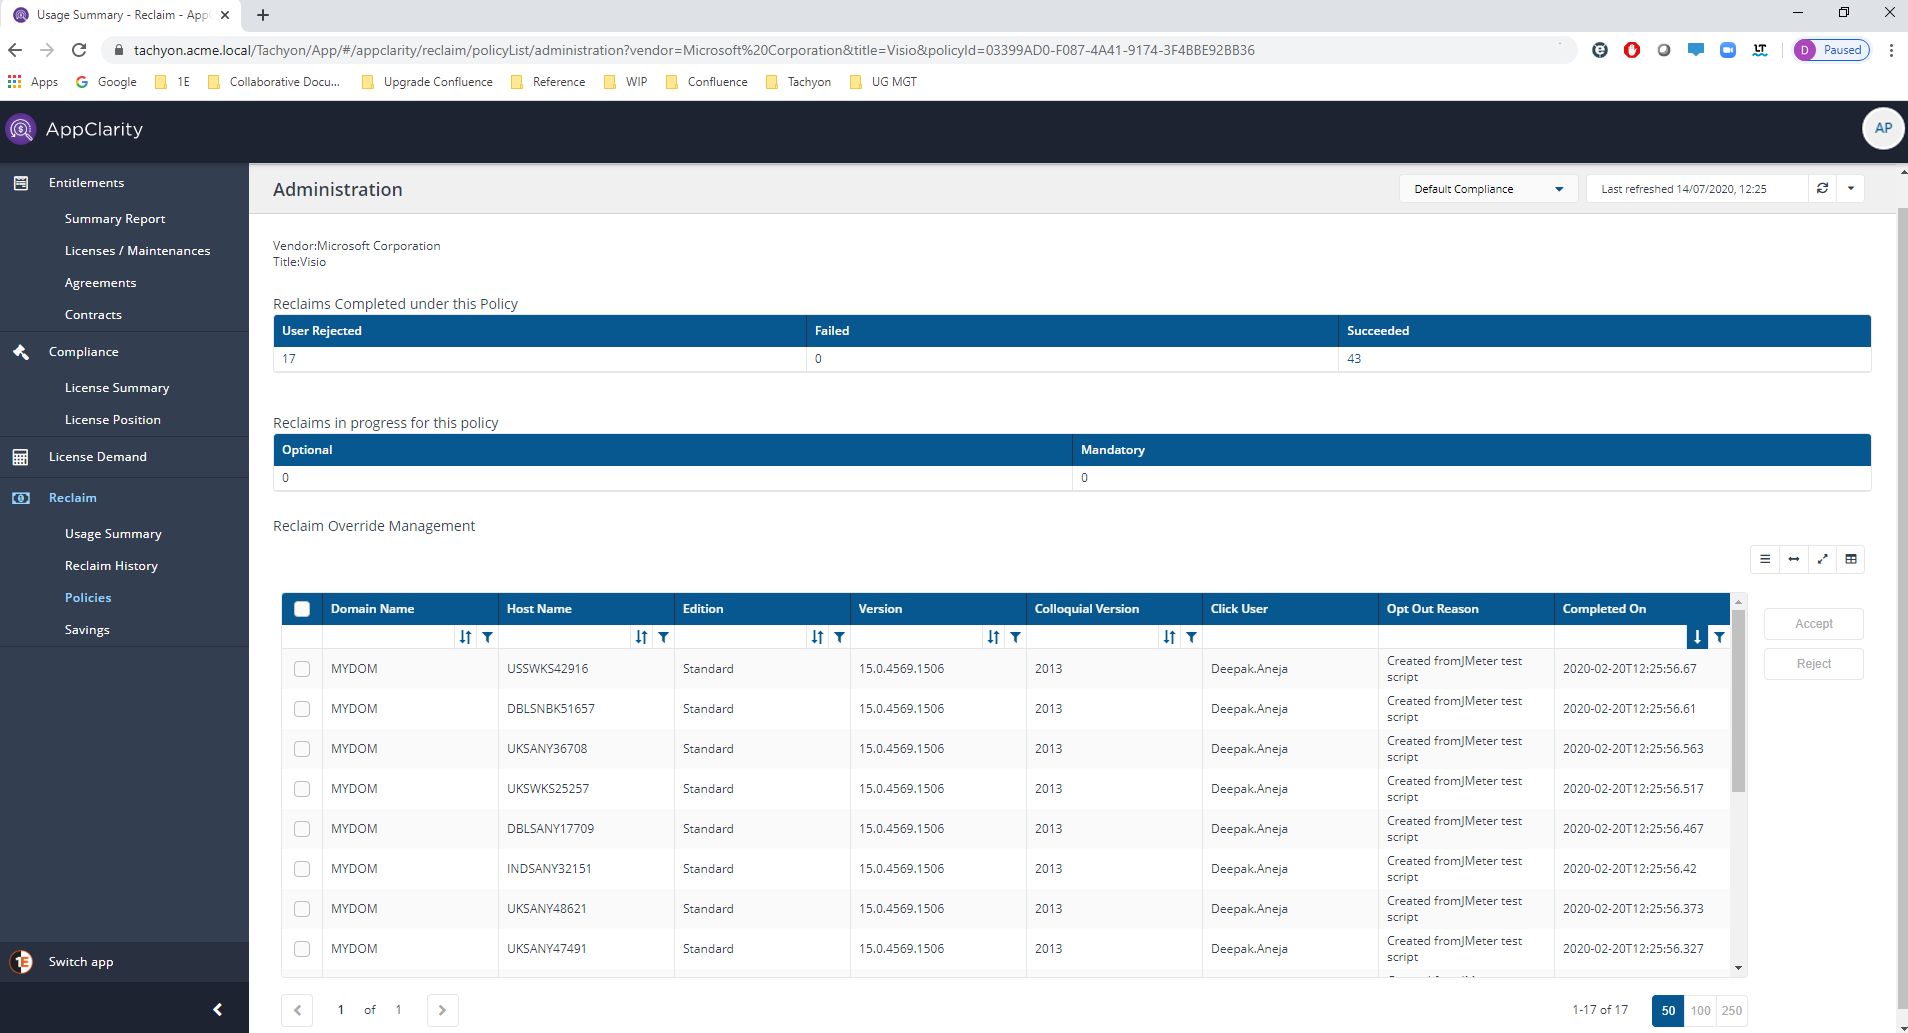
Administration page
A description of the fields on the reclaim policy Adminstration page.
Here you can view the current progress and status for the selected reclaim policy. You get to this page by clicking the AppClarity→Reclaim→Policies node in the navigation panel and then clicking on the Number link in the Admin Actions column.
The fields on the Administration page are:
Field | Description | ||||||||||||||||||||||||
|---|---|---|---|---|---|---|---|---|---|---|---|---|---|---|---|---|---|---|---|---|---|---|---|---|---|
You can refresh reports from individual AppClarity screens as well as using the Settings App. Where this is available you can do this by using the refresh icon next to the Last Refreshed box: | |||||||||||||||||||||||||
Displays the vendor for the target product related to the selected reclaim policy | |||||||||||||||||||||||||
Displays the software title for the target product related to the selected reclaim policy | |||||||||||||||||||||||||
This table shows the reclaims that have been completed by this reclaim policy. The columns of the table are as follows:
| |||||||||||||||||||||||||
This table shows the number of reclaims currently in progress for this reclaim policy. The columns of the table are as follows:
| |||||||||||||||||||||||||
This table shows the reclaims that must be processed by the administrator. This is where the user has opted to keep the software and provided a suitable reason for it and that reason must be approved or rejected by the administrator. The columns of the table are as follows:
There are also two buttons below the table that determine the action to take on the selected rows in the table:
|
The three buttons above Accept and Reject
Icon | Name | Description |
|---|---|---|
 | Toggle compact rows | Allows the rows to have slightly more space for easier viewing. |
 | Toggle action buttons | Allows the action buttons (Accept and Reject) to be displayed as a hamburger menu only. This expansion of the table allows for easier viewing. |
 | View fullscreen | Allows the table only to be viewed in the full browser window. Clicking the button while in fullscreen mode will collapse it back to default. |
 | Where the column picker control is shown To pick the displayed columns:
|